
Crash Bandicoot N. Sane Trilogy Guide Medieval Location
Toad Village
Rewards: Clear Gem—destroy all 42 boxes.
As the first level in Warped, Toad Village gives you a chance to get some “ump” in your Wump and prepare for the challenges ahead.
Start off simple by walking forward and breaking the two boxes you see. Continue past the water to the right side of the path—it’s completely harmless—to find two bounce boxes. Bounce between the two to break them before moving ahead.
Jump onto the log in your path, breaking the bounce box on top of it. You now face your first harrowing enemy…a goat. Defeat the goat by using any attack method, including jumping on its head. Once you’ve bravely made it past the goat, break the next box and wade into the water to reach the Aku Aku box on the other side. Break it to claim your mask!
Continue, avoiding the pit to the left. Break the four stacked boxes before reaching and breaking open the checkpoint box. Once you pass the checkpoint, steer clear of the pit and the goat—either eliminate it, or avoid it as well.
After dealing with the goat one way or another, you reach your first slot box. It quickly switches between being an empty box, a “?” box, and a Crash box. Time it right to claim the life! If you wait too long, the box becomes a solid iron crate, and you can’t break it, which ends your chance of getting the gem for this level.
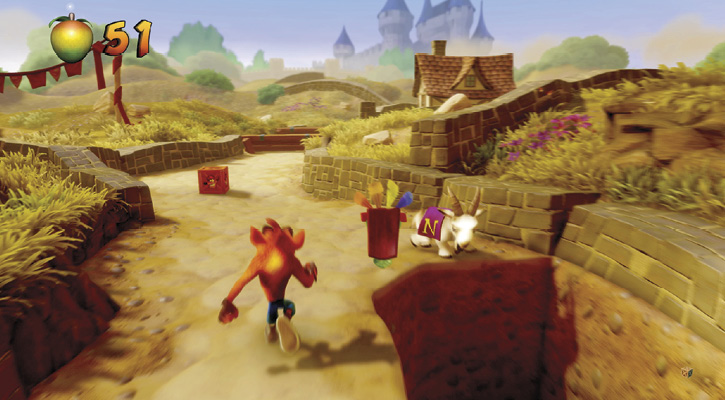
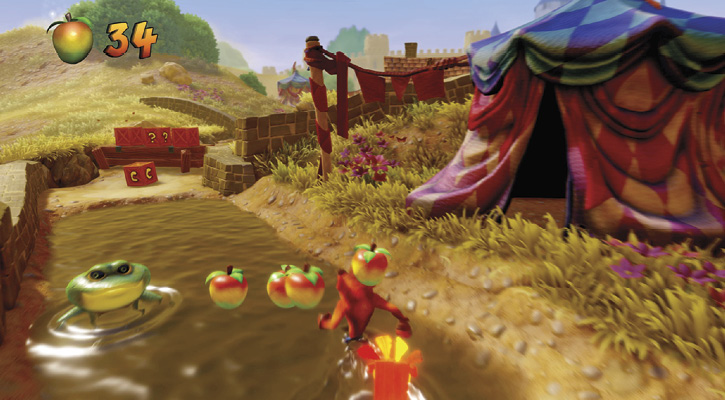
Jump over the two logs in your way to reach a small pond with a frog (or is it a toad?). Eliminate it, and make your way to the other side. Break the four boxes and continue past the pit. Here you find something more menacing than goats or frogs: a sword-wielding knight lab assistant!
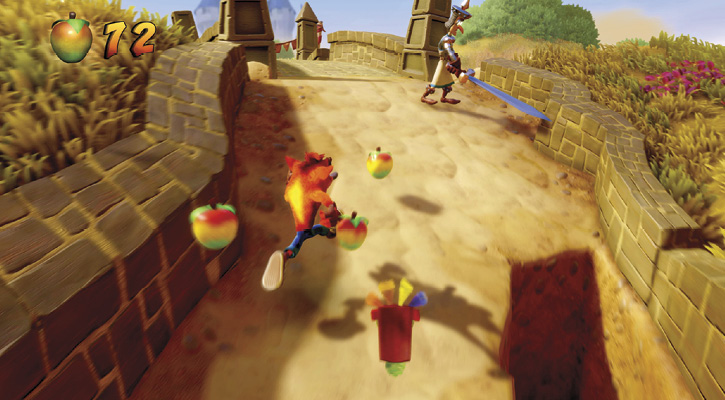
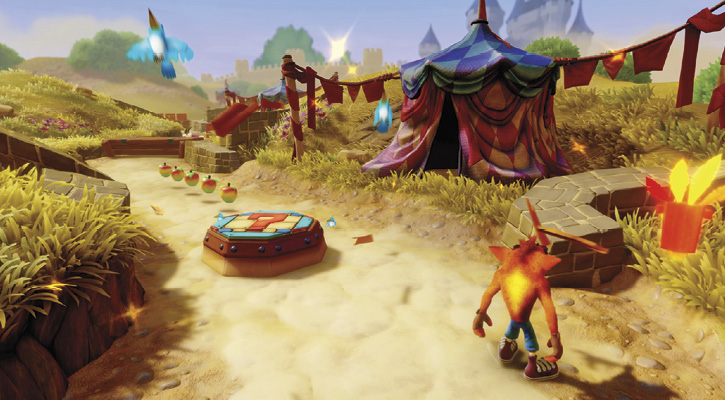
That sword looks dangerous. Wait until he swings it to the side and gets it stuck. When this happens, quickly spin into the fool to eliminate the threat. Cross the bridge and break open the Aku Aku box to claim your mask. Mask in hand, move onto the “?” platform to access the bonus stage.
After exiting the bonus stage, forge ahead to reach another log with yet another goat behind it. Vault the log and handle the goat. Farther along the path, you reach another pool with a frog. Deal with the frog and break all six boxes in the water. Break open the checkpoint on the other side. Continue to jump on the nearby log, breaking all three boxes there. Head over the log to reach another pool with another frog; you know what to do.
After eliminating the frog, cross to the other side of the pond to reach four boxes. Break them and approach the sword-wielding enemy waiting there. As before, his sword gets stuck after he swings. Once it does, spin into him. Cross the bridge he was guarding and claim the crystal.
Don’t let the goat stand in your way; exit the bridge and break the box. The path soon narrows, with a yawning pit to each side. Carefully navigate this stretch and take out the goat in your path. Continue across the water, to break the two slot boxes before they turn solid. Once you break these, the Clear Gem appears! Claim your prize and step into the warp to complete the level.
 Time Trial
Time Requirements
Sapphire: 1:03:00
Gold: 0:57:50
Platinum: 0:44:03
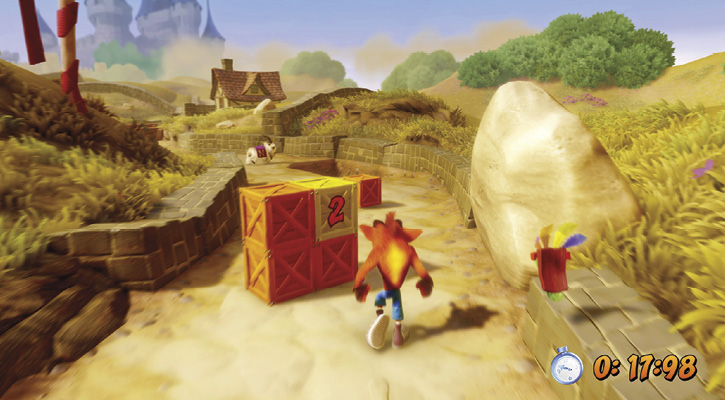
To make a good start, utilize the two time boxes near the beginning of the level to freeze the timer for two seconds each. Farther down the path, you reach two sets of three boxes that each freezes the timer for one second. It may not seem like much, but altogether they really add up! Don’t let the enemies with swords slow you down. Get hit and it takes time to recover, even with an Aku Aku Mask in play. Earning the gold relic is extremely challenging; it requires a near-perfect run.