
Crash Bandicoot N. Sane Trilogy Guide Oriental Location
Dino Might!
Rewards: 2 Clear Gems—destroy all 112 boxes.
As you move forward, avoid the steam vent to the right and break the Aku Aku box nearby. Double-jump and spin to break the Crash box on top of the iron boxes.
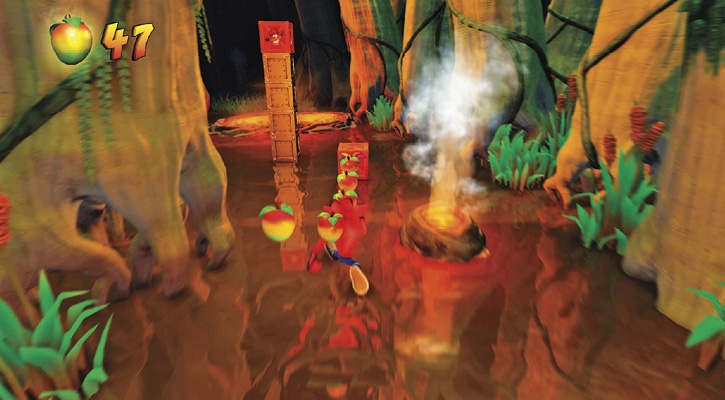
Jump over the pit of lava and head through the grass to meet a new, somewhat familiar-looking enemy—Bandifish! The Bandifish’s spin attack pushes you back, so wait until he’s done spinning, then take him out in the usual manner.
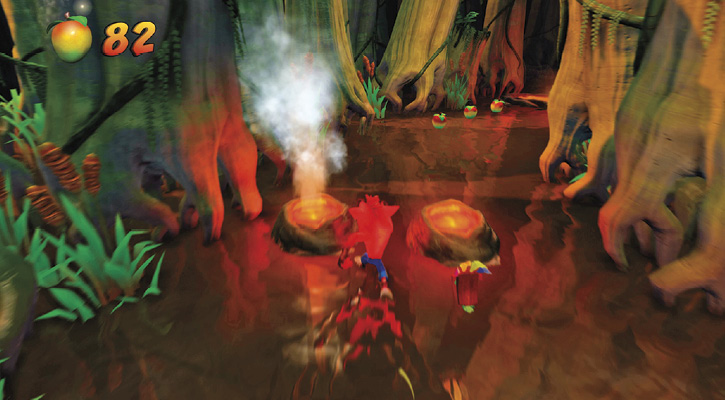
Carefully walk around the lava pit and the nearby steam vent by keeping to the left. Break the boxes here. Go around the next lava pit on the right and take out the Bandifish there as well. Jump onto the log and head down onto the right side of the path to avoid a lava pit to the left. Pass the two steam vents in the center of the path and face another Bandifish. Something about their faces just seems so annoying…
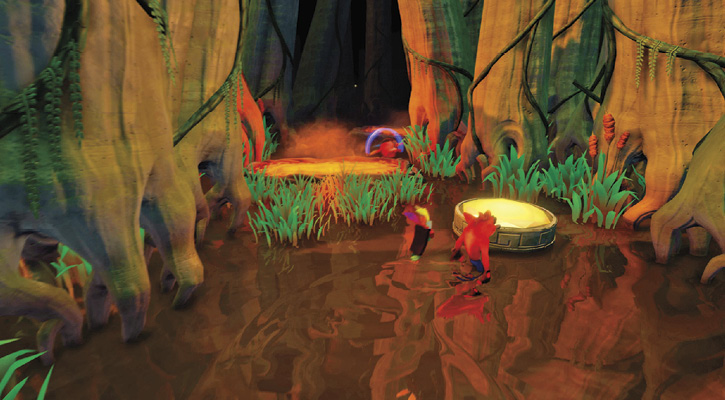
Jump over the lava pit to find another enemy swimming. Deal with it, then break open the checkpoint box. Continue on to see a yellow, wire-framed platform. If you have the Yellow Gem, this takes you to the Yellow Gem path. You must access that path to destroy all the boxes on this level.
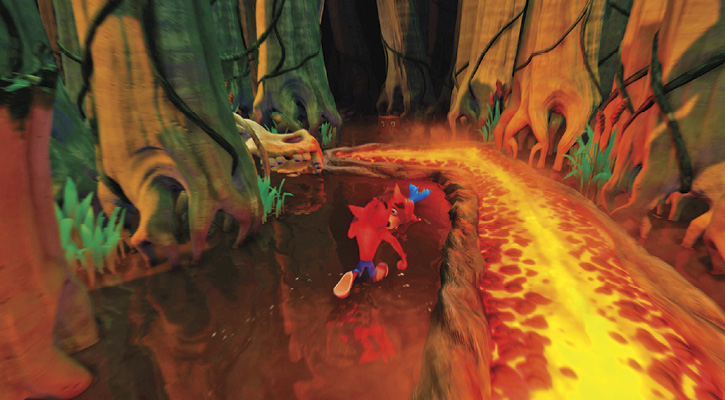
Jump over the next pit of lava and defeat the Bandifish here. Jump over the first part of the C-shaped lava pit to land on the left, then cross it again to reach another Bandifish. Deal with it, then break the box and approach the egg in the nest.
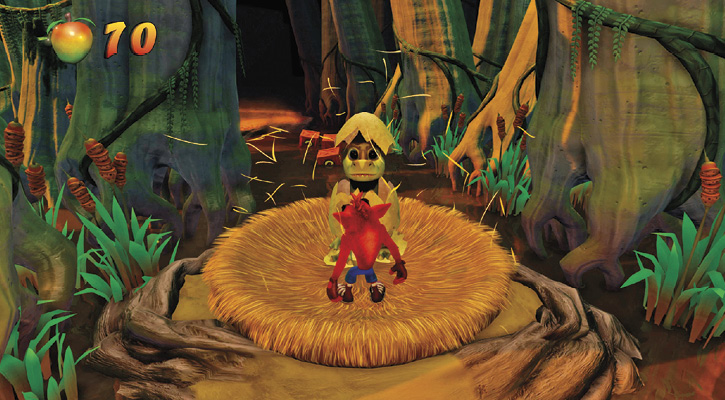
Spin into the egg to crack it and reveal a dinosaur. Jump onto it and go for a ride! Unlike Pura the tiger, the dino doesn’t constantly run forward, and you can hop off at any time by pressing Crouch.
Besides being just plain fun, the advantage of riding the baby dino is that it’s a bit faster than hoofing it, and the grass doesn’t slow down the dino like it does Crash.
Break the three boxes before jumping over the lava pit. Jump over another lava pit and break the three stacked boxes. Keep left to avoid the steam vent and lava pit. You go past grass before reaching yet another lava pit; be ready to jump it. Avoid the volatile nitro to the right, and jump over the log.
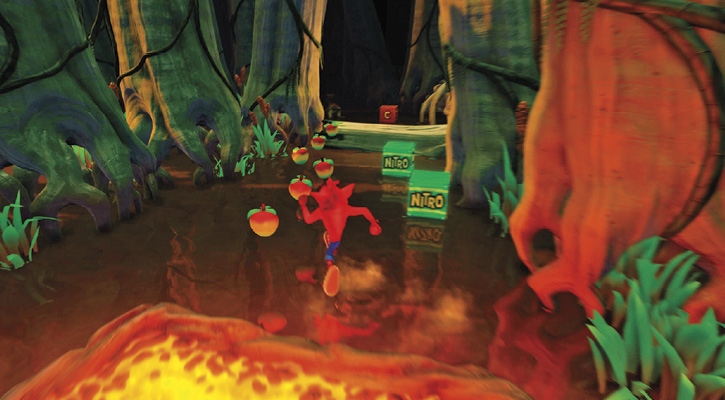
Break the checkpoint box and deal with the Wave Lab Assistant. Avoiding the lava pit on the left, hop over the log and land on the left side to avoid yet another lava pit. Take out the Wave Lab Assistant and break the stack of nine boxes, followed by the two boxes behind it.
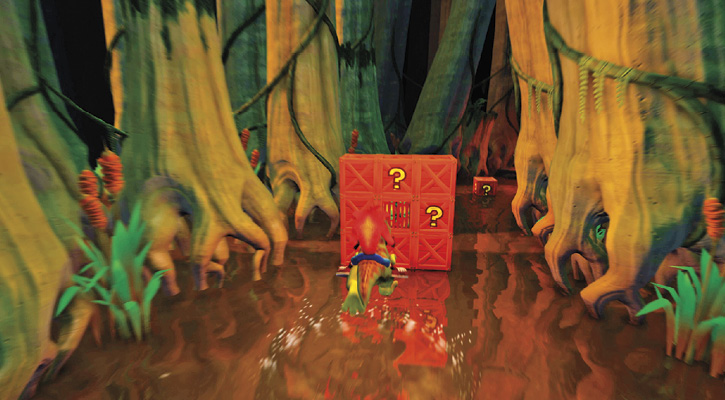
Jump the pit of lava and keep left to avoid two steam vents on the right. Bust the two boxes behind the vents and keep left of the lava pit on the right. Run past the steam vent, avoiding the pit on the left and the one on the right that follows. If you’ve managed to stay on the dino this whole time, this is where your free ride ends.
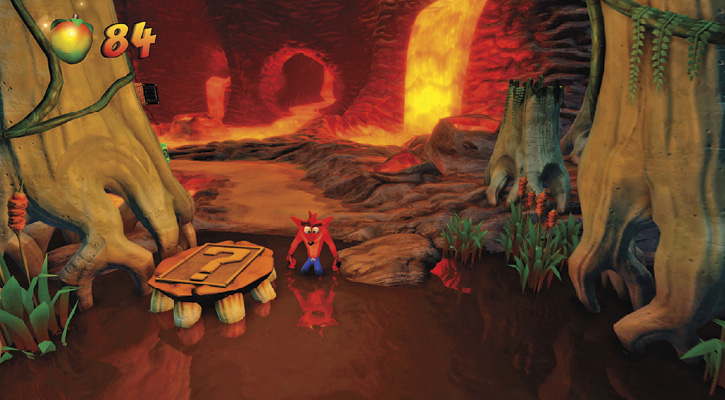
Back on your own two feet, break the nearby boxes and collect the crystal in your path. Head past the crystal’s position to the right and bounce on the iron arrow box. Break the boxes above it, and be sure to hit the “!” box above those.
This activates the wire-framed boxes on the right, providing a path over two boxes of nitro. Jump on the iron boxes to break the box above them. When you’re done, drop down on the other side of the nitro, having avoided blowing yourself into tiny Bandicoot pieces. Continue to the “?” platform, which takes you to the bonus stage.
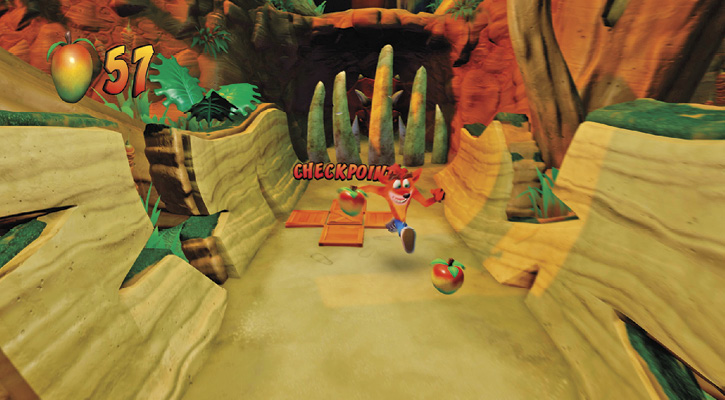
After exiting the bonus stage, drop to a lower level and get ready to once again be “it” in a game of dino tag! Break the three boxes and the checkpoint box here. Once you enter the tar pit, the chase is on.
Break the boxes and enter the speed boost area on the left. Make your way right to reach the next speed boost near the grass. Keep left to avoid the pterodactyl hanging out on the log, and jump over the lava pit directly behind it.
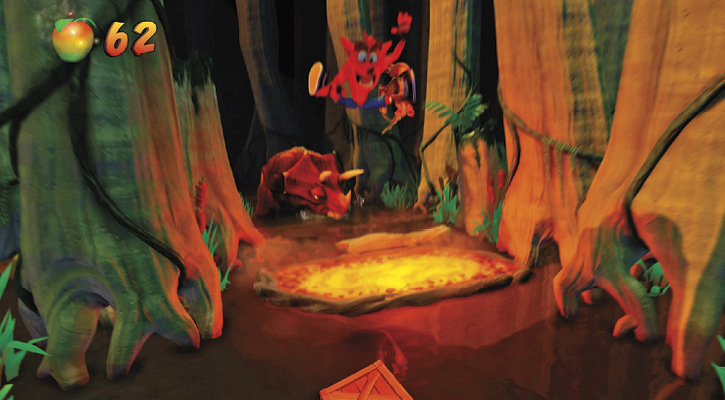
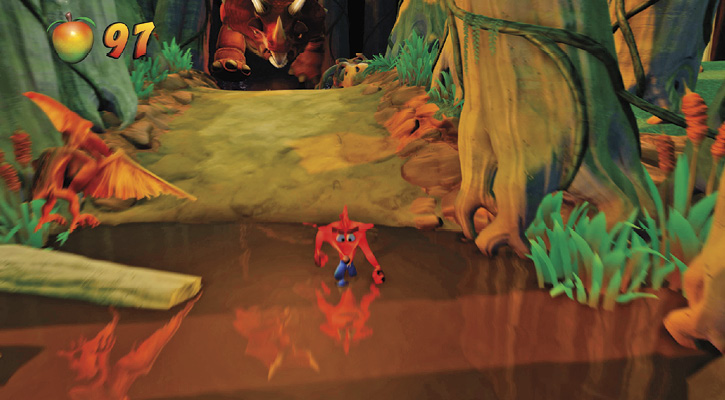
Break the box and keep left to avoid the steam vent. Run through the speed boost and keep left to steer clear of yet another pit. Once you’re back in the tar, avoid the pterodactyl on the left. Here you exit the tar briefly before finding yourself right back in it. Break two boxes and stay to the left to claim a speed boost and avoid a steam vent.
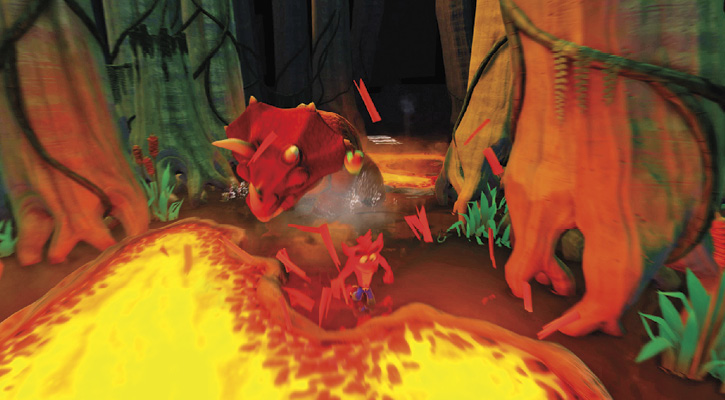
Jump over the first part of the lava pit, landing on the right side of the path. Double-jump to break the box above you. Afterward, jump over the remaining lava. Break the stack of four boxes, then keep right to avoid another lava pit. When the lava crosses your path, jump over it and hit the speed boost. If you’ve broken all of the boxes, which you can only do once you have the Yellow Gem and complete the Yellow Gem path, you claim your Clear Gem.
 Time Trial
Time Requirements
Sapphire: 1:34:00
Gold: 1:25:73
Platinum: 1:05:00
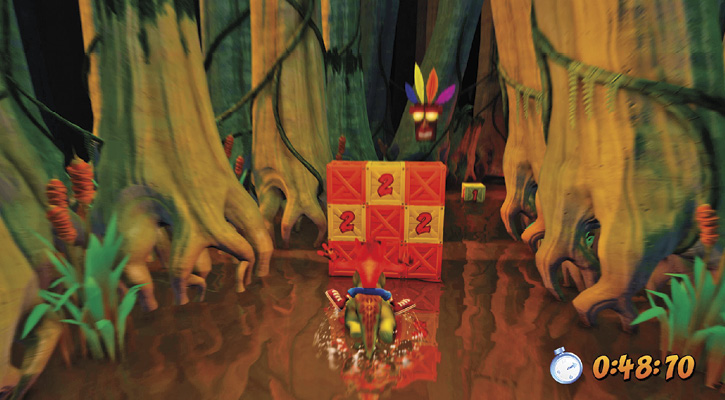
The Bandifish prove annoying when you’re trying to get through this level as quickly as possible. Since you must wait until they stop spinning before you eliminate them, the first part of the level can eat up a lot of time—time you don’t want to waste!
Luckily, there are many time boxes here, and you have a dinosaur to run through them. Hitting all of the boxes gives you more than enough time to claim the relics.