
Crash Bandicoot N. Sane Trilogy Guide Future Location
Gone Tomorrow
Rewards: 2 Clear Gems—destroy all 87 boxes.
When you start, a UFO lab assistant is waiting to beam you up! Wait for the beam to quit, and jump on his head, or just use the Fruit Bazooka. Jump a pit and head onto the conveyor belt. Break two boxes. Take down the next two shield robots with the Fruit Bazooka, then jump the pit to reach another conveyor belt.
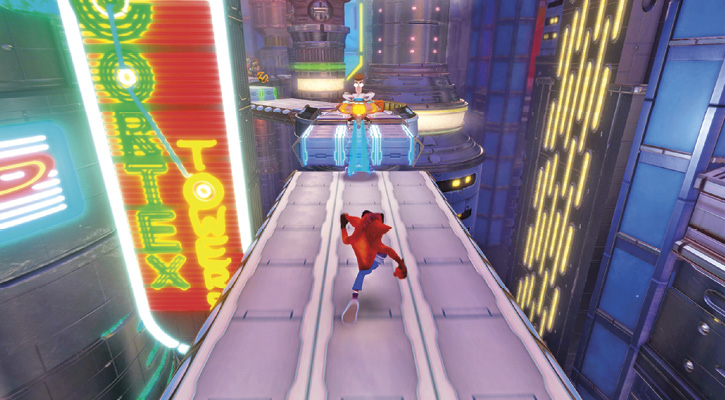
Break three boxes and keep going to face a large robot blocking the entire path. When you get close, it fires its rockets at you. Avoid them and wait for the robot to flip and expose a large green button. Spin into this vulnerable spot, or hit it with the Fruit Bazooka.
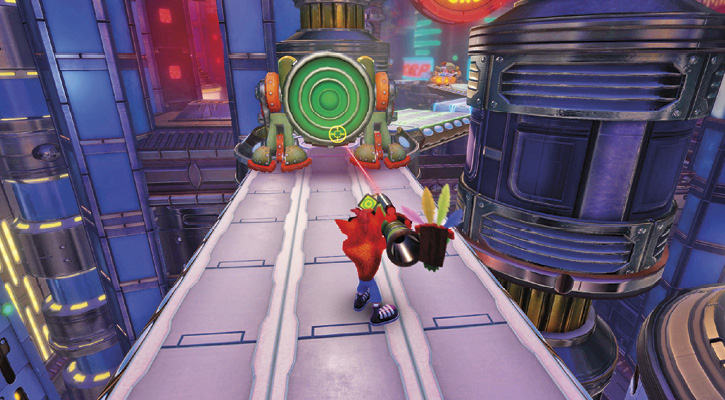
Break the next stack of boxes, then take down the flying saucer nearby and the one across the pit ahead of you. Jump onto the conveyor belt and break the checkpoint box. Pass another conveyor belt and take down the large robot it holds as you did before. When you’re finished with it, take out another shield robot with the very useful Fruit Bazooka.
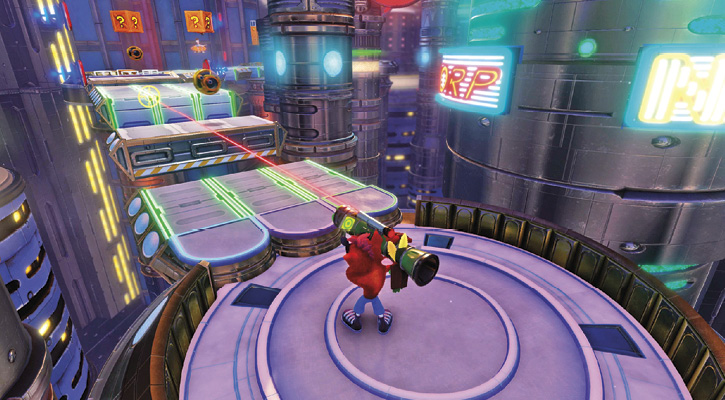
Head onto the small conveyor belt, and jump over the pit at the end to reach a small platform. Shoot another shield robot down, and use the bazooka to also break two boxes above the conveyor belt on the opposite side of the next pit.
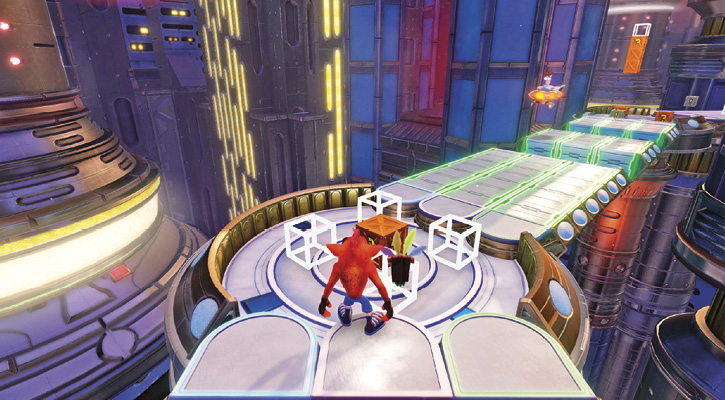
Jump over the pit and onto the next conveyor belt. Pass the two plasma gates when they’re off, and jump the pit at the end of the conveyor belt. Break the one regular box in between the four wire-framed boxes (more on them later). Jump onto the conveyor belt, take out the UFO with the bazooka, then run to the end of the conveyor belt. Jump over the pit and get on the platform past the last conveyor belt nearby.
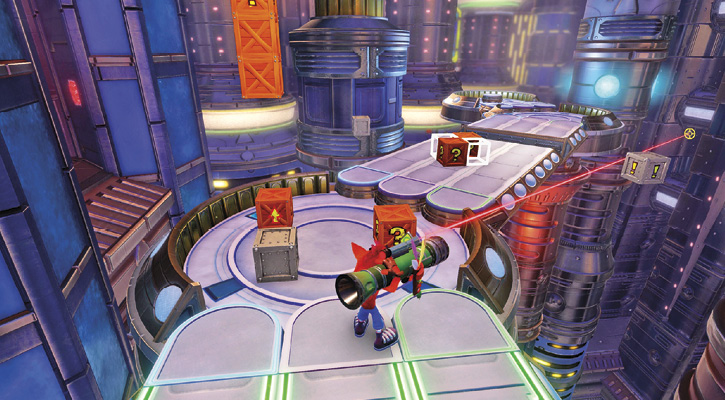
Hit the “!” box to make the wire-framed boxes you passed earlier appear. Go back to break them. Afterward, come back, break the box next to the “!” box, and jump to the arrow box. Break the three boxes above it, but don’t break the arrow box. You need it to reach the wire-framed box above it once it’s triggered. Pass more wire-framed boxes, and take out the two shield robots with the Fruit Bazooka. Keep your bazooka at hand and use it to blast the “!” box floating to the right side of the platform, making two nearby wire-framed boxes appear. Do the same thing to the “!” box to the left of the platforms. Break the four boxes that appear, and jump over the pit in front of you. Climb onto the platform to continue.
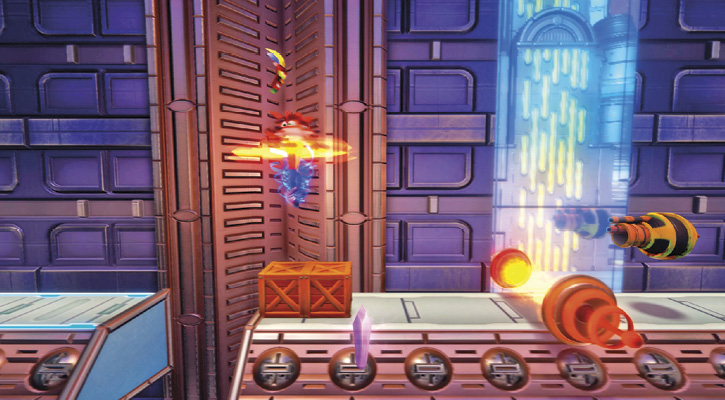
Break the checkpoint box and go right. Grab the crystal on top of the conveyor belt and jump over the plasma gate to the right. Jump the next pit at the end of the belt and break the two boxes on the other side. Eliminate the shield robot with the Fruit Bazooka and jump the plasma gate to the right. Head up to the next platforms and continue right, past iron boxes that lead you across a pit.
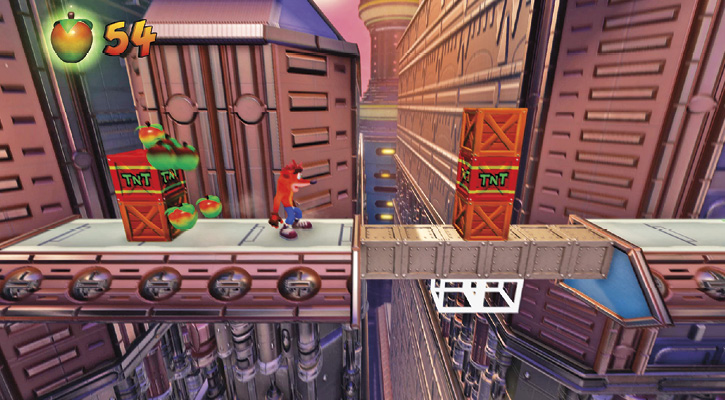
On the opposite side is a spiked shell. Wait for the spikes to retract, and jump on its head. Break the boxes and trigger the TNT box. To the right is a pit with a group of iron boxes creating a path. Above and below the iron boxes is a group of boxes, and careful planning is required to get them all. Destroy the two regular boxes flanking a TNT box just above the iron boxes, but don’t trigger the TNT yet, as you’ll want it later. To make the wire-framed boxes underneath appear, you need to take the Green Gem path later in the level.
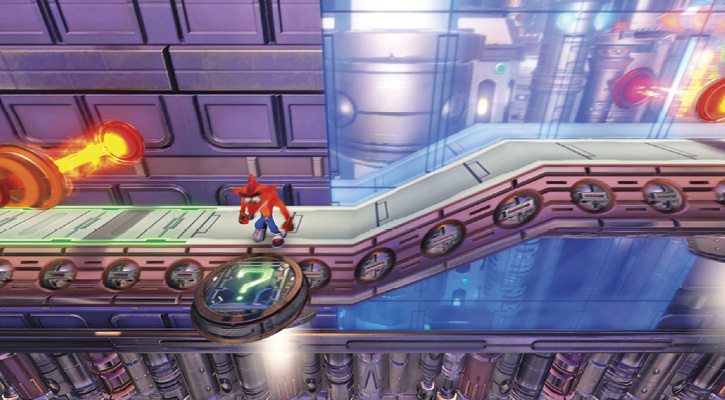
Leaving the TNT box intact, jump on the next conveyor belt, take down the shield robot, and press the Crouch button to go under a plasma gate. Take the “?” platform to the bonus stage.
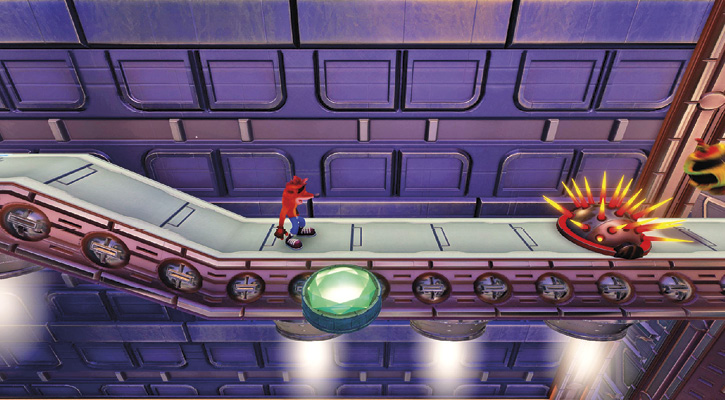
When returning to the main level, take down the UFO and jump over the plasma gate behind him. Break the checkpoint box before continuing. To the right are five boxes; break them and use the iron arrow boxes to bounce to the next platform. Deal with the spiked shell here when the spikes retract, and continue to the conveyor belt to the right. Break the two boxes above it, then eliminate another spiked shell. Notice the wire-framed platform to the side. If you have the Green Gem, earned from completing the Skull Platform Death Route in Flaming Passion, take this platform to the Green Gem path.
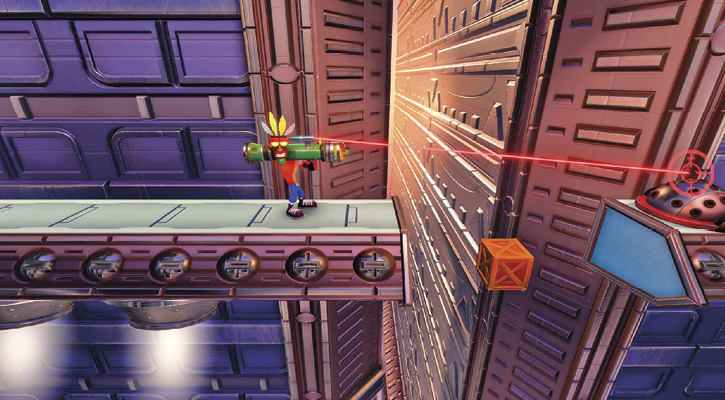
Forge ahead to find a shield robot and a spiked shell. Take them both down and head right, eventually reaching a pit with a box in it. Use the Fruit Bazooka to hit the spiked shell. When it flips over, double-jump over the pit and finish off the enemy when you land. Take the platform at the end of the path.
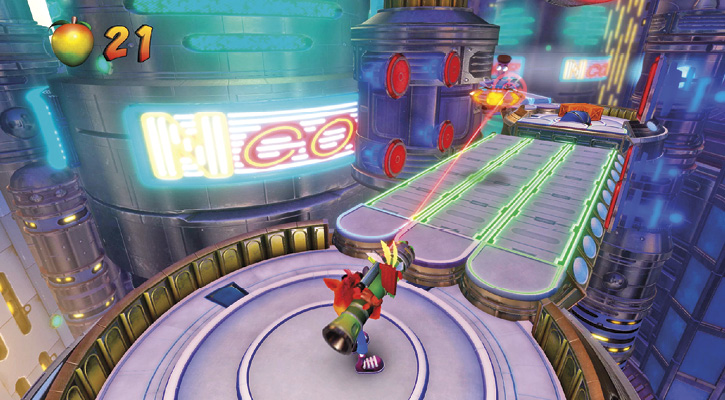
Break three boxes and use the bazooka to eliminate a UFO above the conveyor belt. Note the plasma gates above the conveyor belt. When they’re off, go past them and jump the pit at the conveyor belt’s end. Take out the spiked shell and break the three boxes. Jump over the pit and onto a conveyor belt. Take down the large rocket-firing robot to reach the end of the level.
 Time Trial
Time Requirements
Sapphire: 2:05:00
Gold: 1:25:60
Platinum: 1:02:10
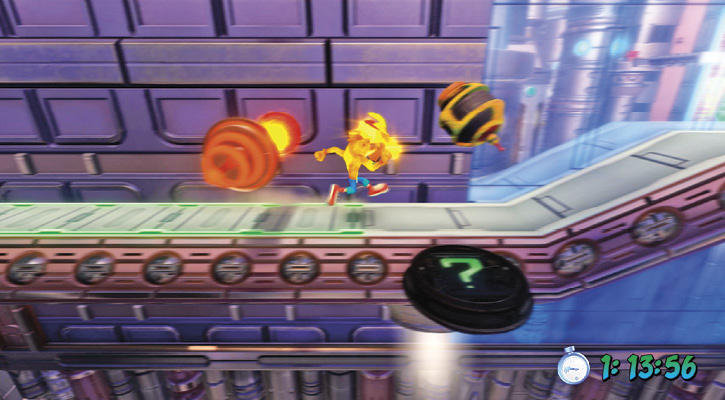
The time allotment for sapphire is generous, but claiming the gold or above really takes some practice. Break as many time boxes as you can, when they’re on the path. This level also offers a total of four Aku Aku boxes, meaning you can become invincible twice. This, as well as spinning around the rocket-firing robots instead of engaging them, is key to shaving off enough time to get the gold!