
Crash Bandicoot N. Sane Trilogy Guide Medieval Location
Under Pressure
Rewards: Clear Gem—destroy all 92 boxes.
It’s time for a swim! It’s a well-known fact that Bandicoots are natural swimmers. In this first underwater level of Warped, you can control the direction you swim, and you swim faster by pressing the Jump button. However, the only attack you have is your spin.
First, head to the right and break the six boxes on the bottom of the water. Continue right to find a shark. Don’t give it the chance to touch you; spin into it.
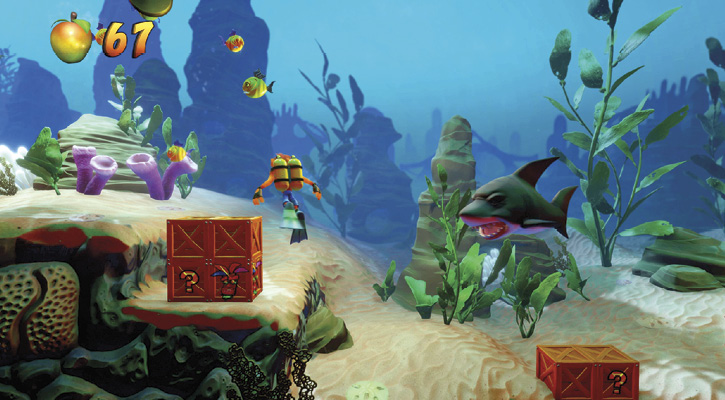
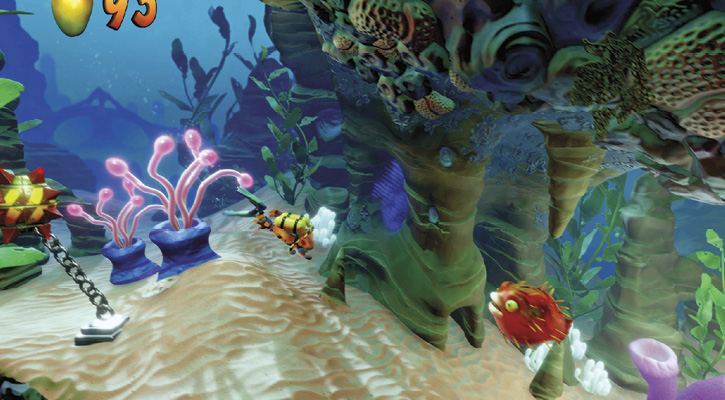
Break the boxes below it and turn right to reach a mine chained to the sea floor. Touch it and you are immediately hurt (or killed if you don’t have Aku Aku’s protection). This mine, and others like it you encounter later, move with the chain to block your path. Pay attention to where the chain ends, which lets you get by easier. Swim past the mine to break three boxes on the floor. Carefully make your way around another mine before the path angles downward.
You soon encounter another piece of aquatic wildlife—a puffer fish. Watch it puff up, and time your spin to when it isn’t puffy. Once you flatten the fish, break the two boxes nearby to reveal a checkpoint. Continue past it to reach a tube. Swim into it and notice it leads down. However, a spinning, electrified plate is in your way. Touching the plate is a bad idea. Wait for the opening and continue down, past the plate.
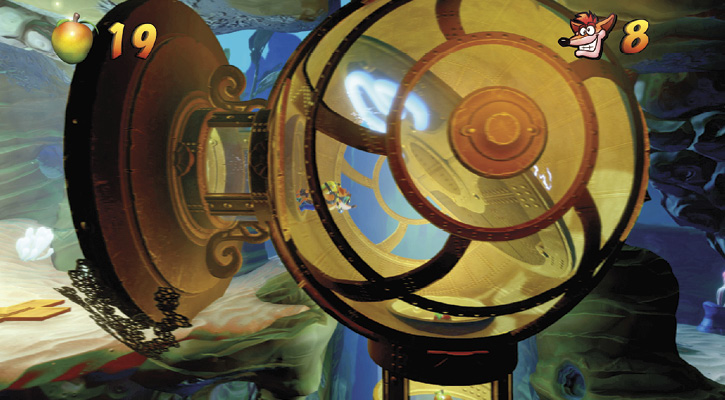
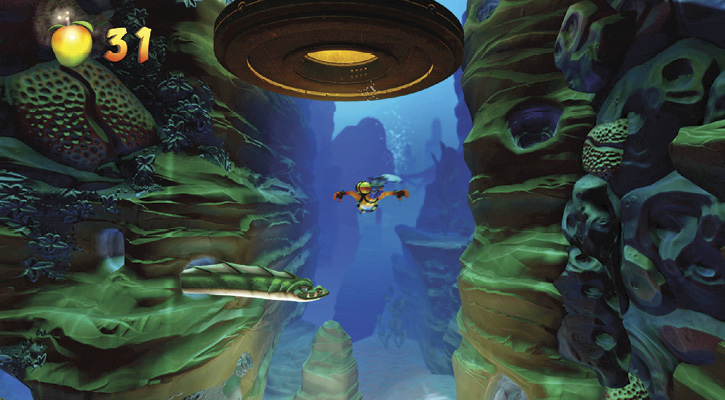
As you make your way down the tube, eels appear from the walls to bite you. Avoid the bites and spin into them to clear the way. Once you reach the bottom, break the group of boxes, including a slot box. Head left to take on another shark and enter a second tube. Break the four boxes when you reach the bottom, and swim through the tube. Avoid the mine on the other side.
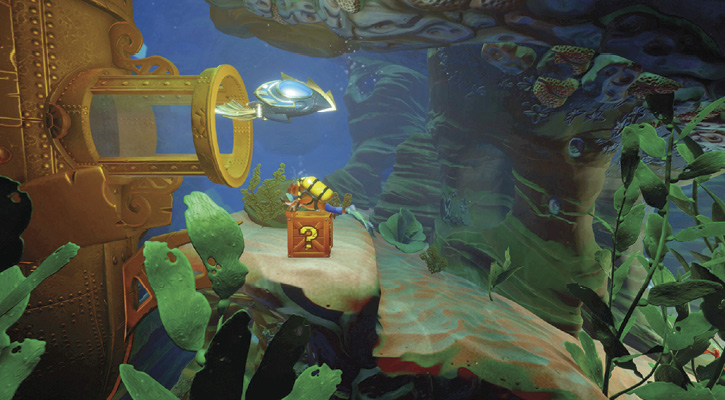
Eliminate the next puffer fish, break the nearby checkpoint box, and enter another tube. When you do, a fan pushes you down. On the other side, there’s a fan pushing you up. Ignore these fans and break all of the boxes you find on the platforms on the side of the tube. Once you reach the bottom, head right and claim the mini-sub. With this in your possession, you swim faster and, perhaps more importantly, can fire torpedoes to kill enemies, break boxes, destroy mines, and even destroy reefs. Don’t get hit, or you lose the sub—Aku Aku can’t help you.
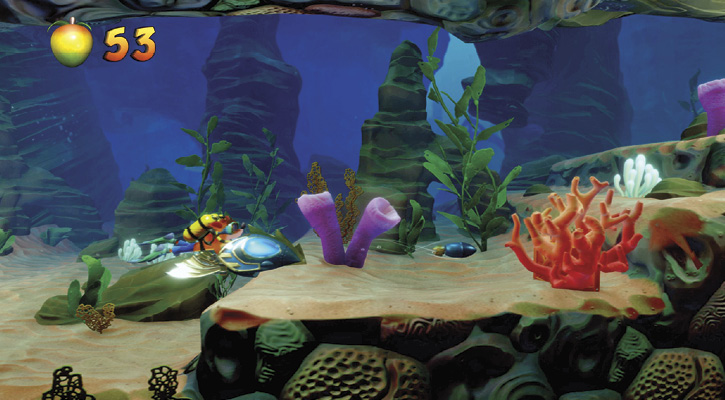
Find another box below the sub, break it, and then head right, breaking a stack of boxes. Forge ahead to the right to reach a reef and a stack of four boxes. Break the boxes first, including a slot box—bust it before it becomes solid. Use your newfound firepower to launch a torpedo at the reef, revealing a box. Break it and head right to break the six boxes here. Swim onward to reach two more reefs, each containing a box. Break them all, head right, and break four more boxes on the floor. Blow up the next two sharks with your torpedoes. Once the area is a shark-free zone, break the three reefs and bust open the boxes they were hiding.
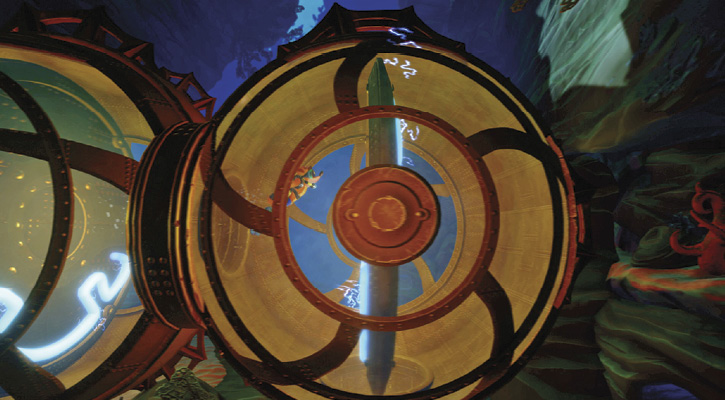
Head past those boxes to spot another mine. Use your torpedo to destroy it before swimming into the tube on the right. You can’t take the sub with you, unfortunately. Break the six boxes here, including the checkpoint box. Head right to find two electrified plates. Carefully swim past them, avoiding the electrified areas. Once the tube goes down, look out for emerging eels; eliminate them and break the four boxes at the bottom. Swim left, avoiding the mine. Grab the mini-sub and blow up the reef below you to reveal the box inside. Bust it up, then go left and break six more boxes.
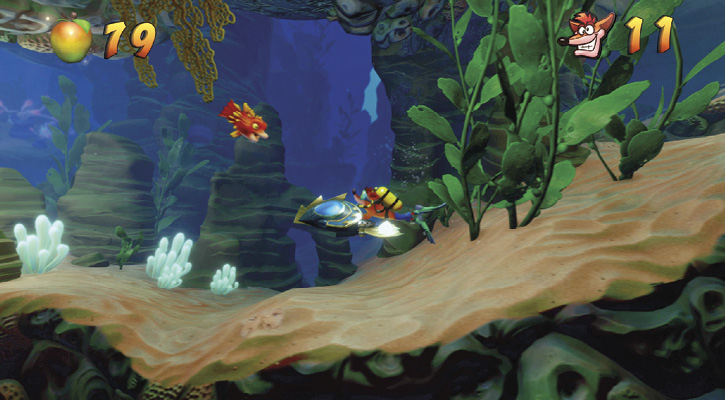
Now that you have your firepower back, take out the three reefs to the left, revealing three boxes. Continue left and break all the boxes at the top of the stair-like structure. Move forward to find a shark and two puffer fish, who definitely don’t expect your torpedoes. Once they’re out, destroy the mine with a torpedo and then destroy the remaining reefs, collecting the boxes. Collect the crystal floating above you and move to the tube on the left. Eliminate the shark and claim the Clear Gem. Head through the warp to finish the level.
 Time Trial
Time Requirements
Sapphire: 1:46:00
Gold: 1:10:90
Platinum: 1:03:50
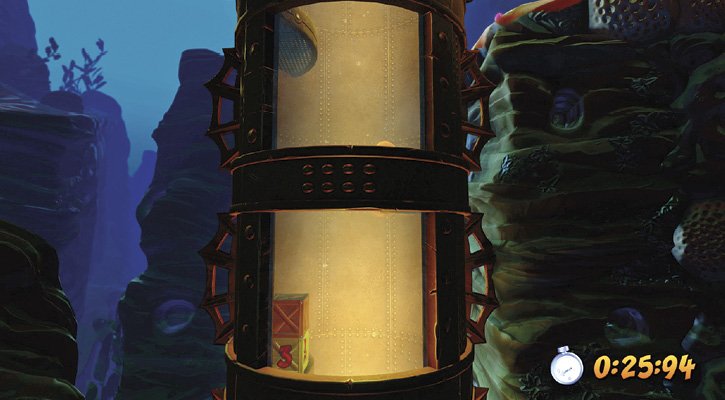
Since this is an underwater level, one of the most important things you can do is tap the Jump button to swim faster. While claiming the sapphire relic is pretty straightforward (move as fast as you can and get the time boxes), it’s still challenging. Claiming the gold is much more challenging, requiring you to get all the time boxes as efficiently as you can. While it’s not guaranteed to earn you a gold or platinum, blast your way ahead when you have the sub. Continuously fire torpedoes, and don’t let anything stop you.