
Crash Bandicoot N. Sane Trilogy Guide Wumpa Island
Road to Nowhere
Rewards: Clear Gem—destroy all 42 boxes (Red Gem required to get all of the boxes).
Jumping is the key to this level. Crash needs to get across a series of rope bridges, but few of the planks are solid. A few creatures represent a hazard, but the main threat is the bridge itself—or, more precisely, the long drop if you fall.
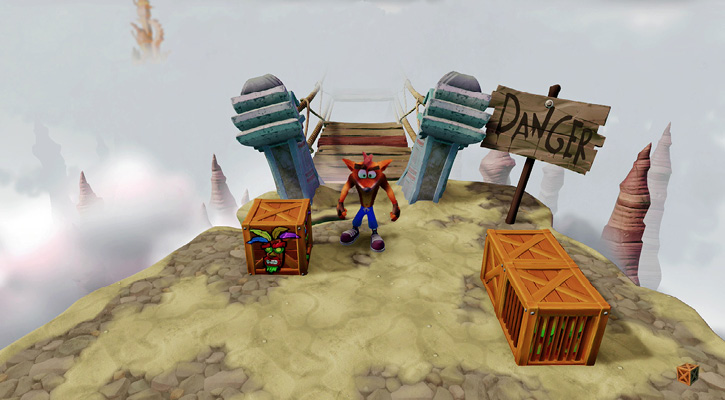
Start off by grabbing a mask and some Wumpa fruit from the nearby boxes. Then it’s time to start across the bridge. The light tan-colored planks on the bridge are safe; stand on them as long as you want. The reddish-brown planks, on the other hand, are weak. If you stand on them for just a bit, they break and Crash drops to the depths below, losing a life. Run across these weak planks or land a jump on them, but keep moving. This first section of the bridge features only these two types of planks. There are a couple of long jumps, so run right to the edge and then jump.
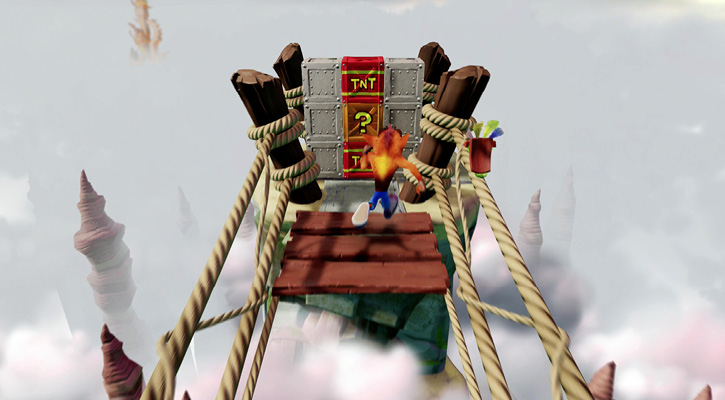
The first platform contains a number of boxes that block your way. While standing next to the wooden box, jump up and perform a spin attack so you only hit the wooden box and not the explosive TNT boxes. Then jump over the TNT boxes and start down the next part of the bridge before they explode. This next section includes broken planks. Don’t run or land on them—as soon as you touch them, they fall. Pretend they don’t exist while rushing across the bridge, then hit some boxes at the next platform to activate your first checkpoint. Checkpoints are especially important here, since you don’t want to start back at the beginning if you fall. This platform also holds a box containing the first Tawna icon.
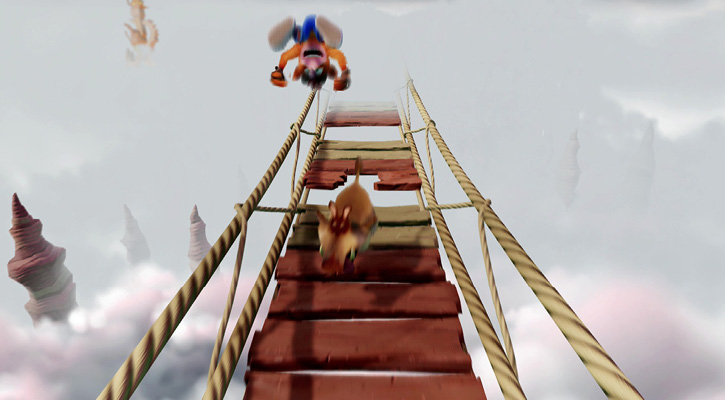
The third section of the bridge adds a new threat. A warthog runs back and forth along part of the length of the bridge. You can’t avoid it simply by traveling down one side; it can move from side to side, so time your jumps. This is doubly difficult since you also have to time your jumps across planks. A good plan is to stand on a solid plank, and make sure you have solid or weak planks to jump to as the warthog comes at you.
Then run away from it. It usually doesn’t run the entire length of a section. You also now face the final type of plank: the blue planks are slippery and tilt down. If you’re standing on one, you’ll slide toward an opening in the bridge and fall. Don’t stand on these, and if you land on them, be ready to run or jump off.
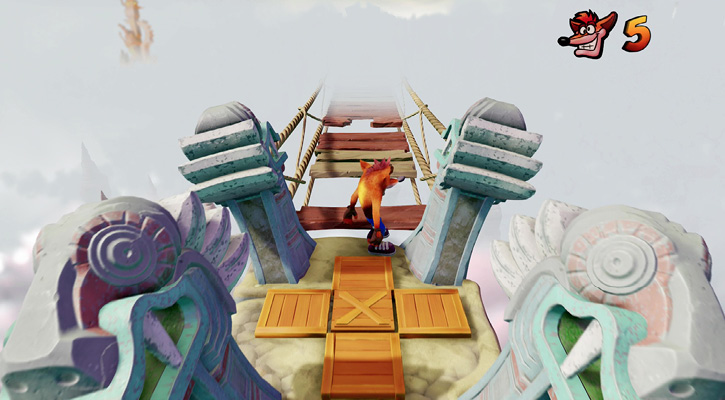
Be sure to clear out all the boxes at the small platforms between bridge sections. The next stage has some long gaps. Run to the edge of the planks, some of which are slippery, then jump. Keep moving, because most of the planks you land on are weak and don’t hold you for long. The next platform contains an extra life and a checkpoint. The following section of bridge has more planks, plus a warthog. Again, time your jumps over the beast and then run away. Be sure to get the second Tawna icon at the platform.
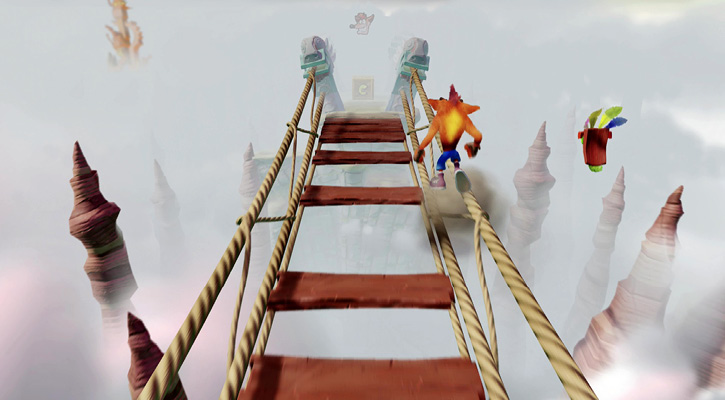
Jumping across planks while getting the timing just right can be difficult. There’s an easier way to traverse these bridges: jump up onto the rope. This takes some practice. It’s easiest when standing on a solid plank and jumping up and to the side. You want to land right on the rope. Then, as you run along the rope, keep centered or you may fall off. While you’re on the rope, the warthogs can’t reach you. Later, you’ll have to jump from a platform at an angle to get onto the ropes if there are no planks nearby. This is a good skill to learn and makes this level easier.
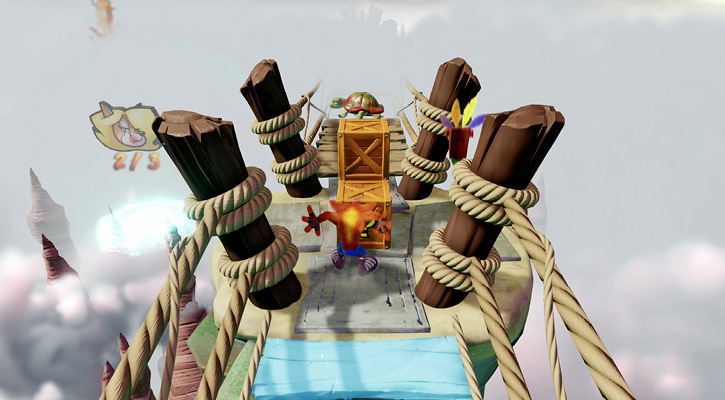
The bridge sections become increasingly more difficult as you go. There are fewer solid planks and lots of slippery ones with large gaps. The key is to keep running and jump at the last moment. If you stop, you’ll fall through a weak plank, slip off a blue plank, or not have enough momentum to get across the gaps. Keep going until you reach the Tawna portal. Break open the boxes, grab the third icon, and jump across to the portal. Don’t walk—though you can’t see it, there’s a gap between the portal and the platform. If you walk, you’ll fall.
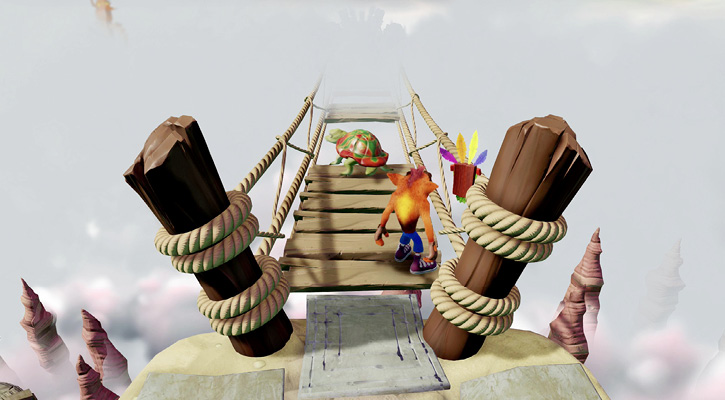
Once you return from the bonus stage, you’re near the end of the level. However, the last two sections of bridge are among the toughest. A turtle blocks you way—you need it. Wait until it walks away from you to the edge of a gap, then jump on it to flip it over. Move back and run toward the turtle. Jump onto it and hit the Jump button as you land to bounce across a long gap to a row of solid planks.
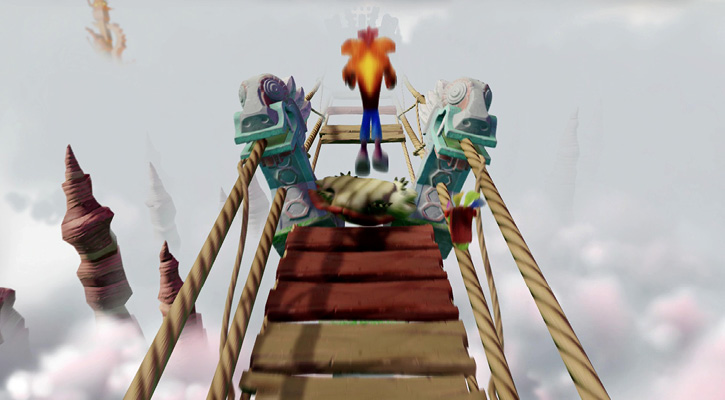
Once you’re across, you have to bounce off another turtle; the first was good practice. This one’s already on its back. A section of planks provides an approach, so run and bounce off the turtle to leap across the gap, then continue to the exit portal to leave the level. If you’re a rope-walker, you can avoid the turtles. Instead of bouncing on the last turtle, jump from one rope to the next, over the stone support. Crash needs to be about as far to the outside of the rope as possible without falling so he can jump straightaway and land on the next rope that takes him to the end. This takes practice, but if you’re having trouble timing the turtle jump, this method offers an alternative.
 Time Trial
Time Requirements
Sapphire: 1:24:00
Gold: 1:03:26
Platinum: 0:57:85
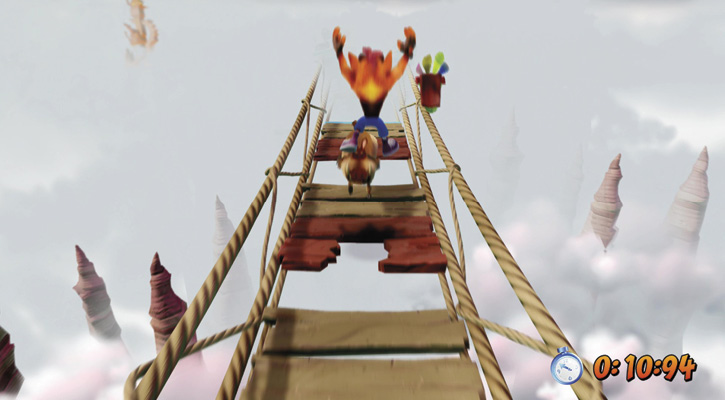
This is a tough level, more so when you’re trying for time. Luckily, all the time boxes are in your path. Grab the mask right after you touch the clock, in case you have trouble with the TNT explosive boxes near the start. To earn gold and platinum, you have no time to stop; stay in constant motion, and make every jump perfectly.