
Crash Bandicoot N. Sane Trilogy Guide Egyptian Location
Sphynxinator
Rewards: 2 Clear Gems—destroy all 105 boxes.
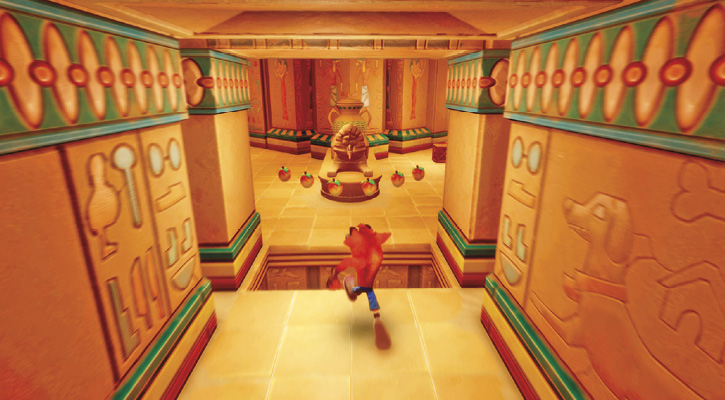
When you start this level, don’t move forward right away, but instead turn around and break four boxes behind you. Then move forward and jump over the pit to reach a split in the path. Ignore the path to the left. Although it provides an alternate way to get through the level, it contains no boxes.

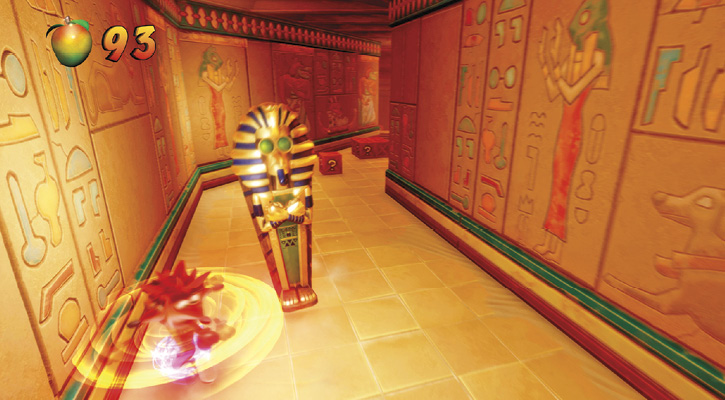
Take the right path, breaking the two boxes and jumping over two pits. Break the next two boxes and forge ahead until you see a sarcophagus that bears an eerie resemblance to a lab assistant. Spin into the sarcophagus to make a mummy lab assistant emerge. Spin into the mummy to eliminate this slow-moving threat.
Break the next five boxes and avoid the pit on the left. Note the holes in the ground near the pit; five spears jut out of these holes to puncture any Bandicoot caught in them. When you first approach, they only emerge a small way, so jump over them. If you’re too slow, they rise all the way, blocking the path. Wait for them to descend, or go around them when possible, to make your way past them. Travel down the slope to reach two boxes resting on top of a TNT box. Break the two boxes, then trigger the TNT by jumping on it. Move before it explodes!
You soon see a pit, with an enemy flamethrower on the opposite side. Time your jump to when he points the flame to the left or right, then spin into him. Continue down the slope to reach a wall that opens and closes. Cross it when it opens and break the checkpoint box.
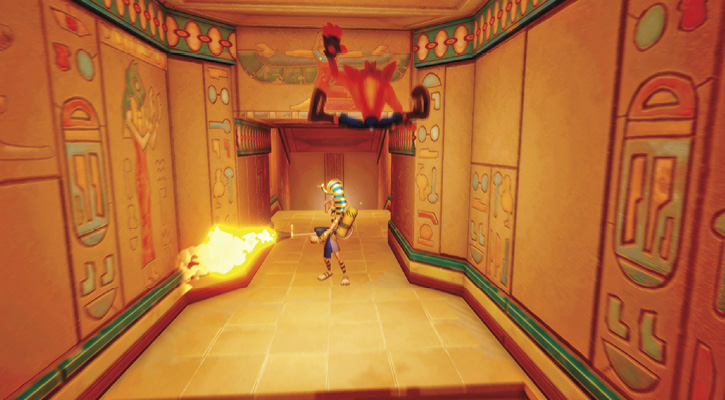
The next pit has a platform floating across it. Jump onto the platform, then off onto the solid platform. Watch out for the holes where spears emerge from the floor. (If you followed the left path at the start, you end up here.) Head right to cross another pit with a moving platform. Jump to that platform, then onto the sturdy platform. Break the box at the edge of the stairs. Climb them and make your way through the opening and closing wall when the coast is clear.
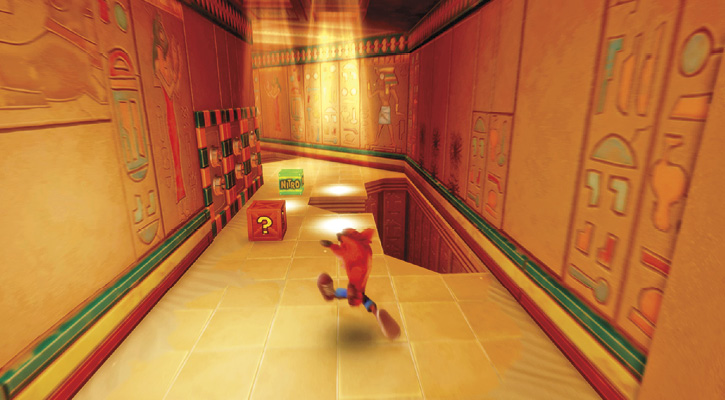
When you reach a pit on the right side of the path, you see familiar-looking rays of light nearby. As before, avoid these rays to keep from becoming an arrow-filled pincushion. Break the box near the rays, then move left, between the first two rays of light. Now get ready to move quickly. Jump over the pit to the right of the second ray, then past the nitro box and directly through the third light ray. Be quick, and the arrows will miss you.
Before crossing the next pit, wait for the first block to fall from the ceiling, slide across the slippery surface, and fall into the pit, taking out the two nitro boxes as well. Once the nitro is cleared, jump across the pit and cross the oil, jumping over the blocks as they head your way. Once you reach the other side, take out the enemy operating the lever.
Break four boxes ahead and the checkpoint box farther on. Climb the stairs, waiting at the top to make it through the opening and closing wall. Follow the path where it narrows between two pits. The path holds three stacks of boxes. After breaking the first stack, jump and spin to break the boxes you can safely reach in the second and third stacks before triggering the TNT boxes and letting them do the rest of the work. Afterward, you come to the Blue Gem Platform, which is wire-framed unless you have the Blue Gem.
Past the Blue Gem path, you reach two pits and two sets of spear holes. Avoid the spears as you pass between the two pits. You see yet another pit to your left, with a nearby sarcophagus. Spin into it, then spin again to take out the emergent mummy. Bust the three boxes to reach a point where the path narrows. Carefully make your way past the spear trap.
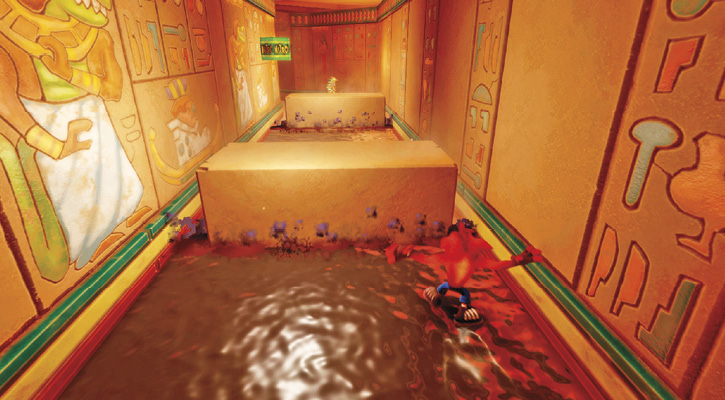
Next, you reach another pit, with blocks dropping down into the oil on the other side. This time, two blocks drop at a time. Wait for the first set to go, taking out one of the two nitro boxes here. The second nitro box floats above the left side of the path. Keep to the right to avoid it as you slide across the oil, also avoiding the dropping blocks. Deal with the pesky lever operator as you pass by to reach the checkpoint and another box just past it.
Jump onto the next platform, which takes you through a convenient line of Wumpa fruit. When it stops at another platform, jump onto it and ride that one over the remaining pit. Watch the flamethrower enemy on the other side. Wait until he aims left or right with his weapon, then jump over there and take him out. Break the next box in your path and collect the crystal next to the “?” platform.
After exiting the bonus stage, break the next box and head up the stairs. Take down the sarcophagus and the mummy inside. Wait to jump over the pit until the wall on the other side opens, then make the leap. Bust open two boxes and eliminate the monkeys blocking the path to reach a stack of 16 boxes. Break as many as you can while avoiding the two TNT boxes. Once you have, trigger those and let them finish off the stack for you.
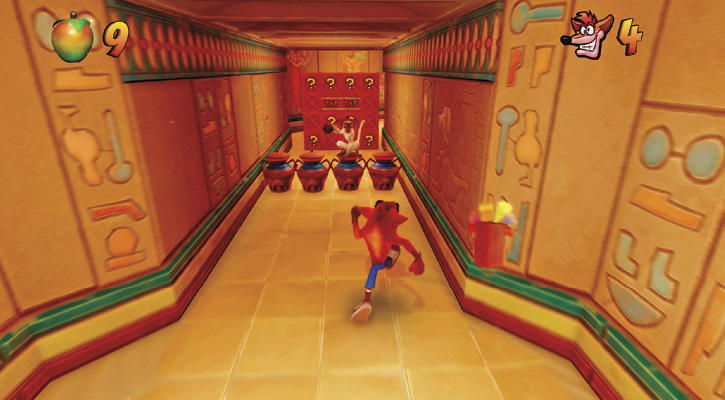
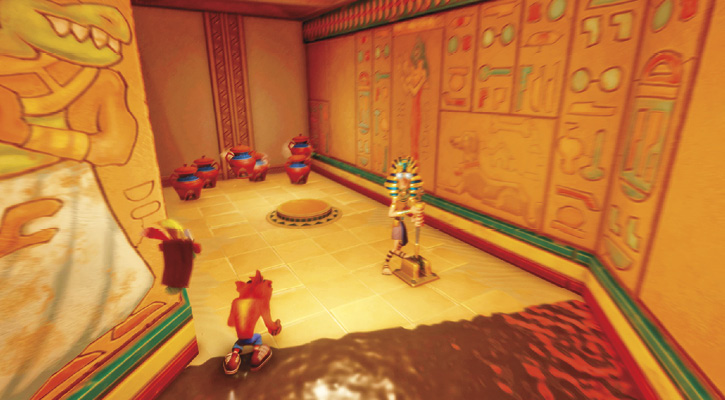
Farther along the path, you reach another pit with a slippery area and falling blocks beyond it. Note the nitro box above the right side of the path. Jump over the pit and any sliding blocks that get in your way, keeping left to miss the nitro. Eliminate the lever operator to reach more monkeys you need to take out. Hit the switch to open up a nearby wall. Go through the opening and hit the green “!” box. If you’ve gotten all the boxes, claim the Clear Gem and warp out of the level.
 Time Trial
Time Requirements
Sapphire: 1:42:00
Gold: 1:22:63
Platinum: 0:56:70
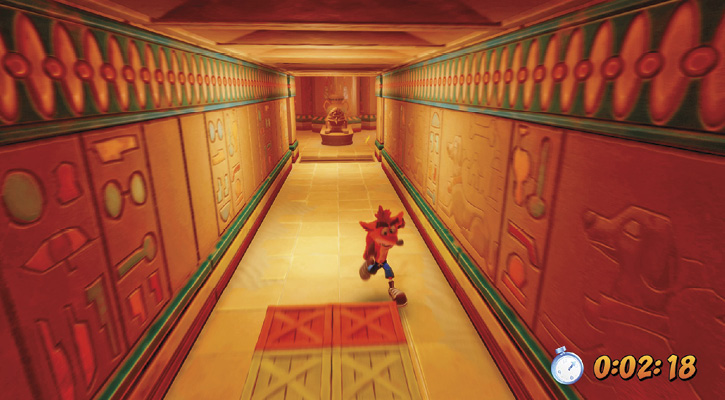
The hazards in this level make it a challenging time trial. After starting the trial, immediately turn around and grab the time boxes behind you to stop the timer and gain a few important seconds.
When the path splits, take the right fork, as there are no time boxes along the left path. The Aku Aku boxes are helpful, particularly if you manage to grab all three without being hit and utilize the invincibility. Earning the gold here without the Speed Shoes requires a near-perfect run, so practice, practice, practice to earn a good time.