
Crash Bandicoot N. Sane Trilogy Guide Cortex Island
Stormy Ascent
Rewards: Clear Gem—destroy all 56 boxes.
This extremely challenging level is set on the side of a castle, which Crash must scale to reach the end, smashing boxes along the way. You must make numerous carefully timed jumps and pinpoint landings to complete this level.

Smash some boxes right at the start to grab an Aku Aku mask, then jump up a series of stairs. The second flight includes a section that retracts, so time your jump. At the top of the second flight, a lab assistant throws test tubes at the landing. As soon as one hits, jump up onto the landing and then to the right to hit the enemy with a spin attack. Ride a platform to another series of stairs, some of which retract. Stop at an alcove and destroy some boxes for a Nitrus Brio icon.

Head up more stairs and ride a platform up. Jump across to a shelf that extends and retracts to reach another flight of stairs. Watch for a prisoner who reaches out and tries to grab you at the top. Continue up a series of stairs, sliding shelves, and elevator platforms to find another test-tube-throwing foe. From the elevator, jump across to some steps, then wait for an opening to take him out. Ride another elevator platform to some stairs, then jump onto moving platforms. Jump onto a ledge to break a fruit box, then ride the platforms around and up to an elevator platform.
Jump across onto the back of a bird, then to more steps. Ascend to an alcove with a checkpoint, then jump onto a fast-moving platform—don’t miss, or you’ll hit the spikes below. Continue to the right on a tilting series of platforms. Jump onto one, then to the middle platform, then quickly jump to the right and off to an alcove with a couple of more boxes. Jump across the back of a bird and spin-attack to hit a prisoner to prevent him from grabbing you. Jump onto some retracting steps, then quickly onto moving platforms. Continue to the right until you encounter a third lab assistant, who’s busy throwing test tubes at a retracting shelf. Time your movements to cross the shelf without getting hit. After eliminating the enemy, hit the Aku Aku box and grab a second Nitrus Brio icon.
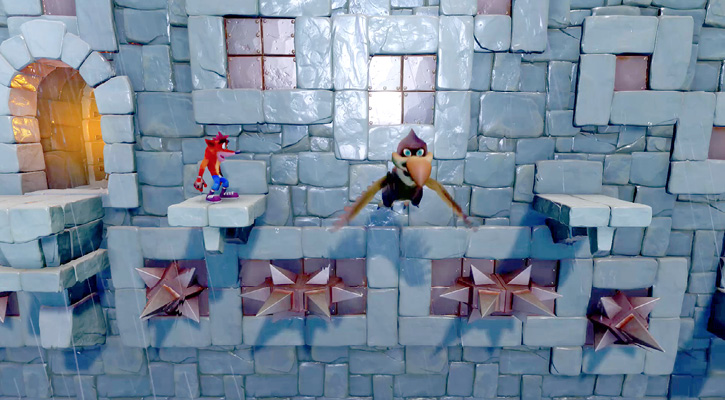
As you move right, you cross a series of moving platforms. Where the platforms move in circles, jump from one to another—quickly to avoid getting knocked off. Continue across a couple birds to an alcove. Now jump down onto a retracting stairway, and just before it retracts, jump onto a retracting shelf and into another alcove with a checkpoint. Cross a series of shelves while avoiding test tubes. The test tubes land on the solid platform, so quickly move past it and onto the final two retracting shelves to take down the lab assistant.

You encounter a series of retracting stairways leading down. Time your jumps to eliminate the prisoner and avoid spikes as you land on solid platforms containing boxes. As you descend, run down the stairs and jump before they retract. If you jump at the top, you’ll hit a spike. At the bottom, break boxes for an extra life. Time your jump onto a shelf and then a series of moving platforms to reach an alcove. Find the third Nitrus Brio icon here, then access the nearby portal to the bonus stage.
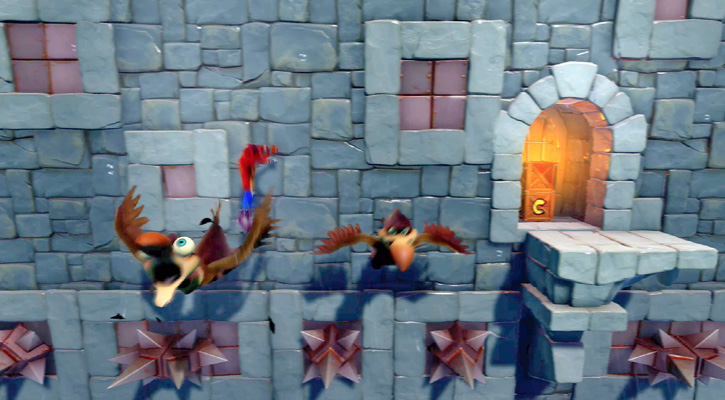
Jump across onto the backs of three birds. Since they’re moving, time your movements to land on each as it comes up. Find an alcove with some boxes. Jump across onto a moving platform, then to a stable platform. Another lab assistant is up ahead. His test tubes land on a moving platform. It only hits every other platform, so after one hits, jump to the next and spin-attack him out of your way. Ride an elevator up to some stairs. Ascend the left side and wait at the top to jump onto a moving platform. From a stable platform, jump across a shelf to reach an alcove with a couple of boxes. Cross shelves to reach an elevator, and ride it up to more stairs. Time your movements to get past the retracting part and onto a stable platform. Head up a series of shelves with timed jumps to another elevator, and ride it up. Climb more stairs and ride another elevator to reach a checkpoint.
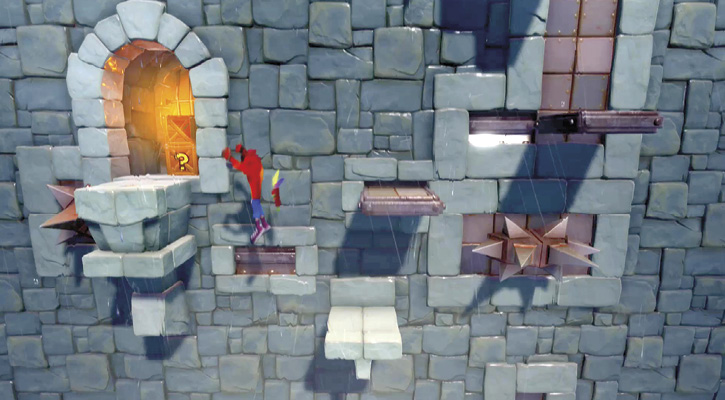
Head left across a series of shelves to find another lab assistant. His test tubes hit the edge of the solid platform, so once you get on the shelves, you’re safe. After knocking him off, jump onto a moving platform. Ride it to the left and jump across onto a bird, onto a platform with a prisoner, then onto a bird that moves left and right. Time this so you land on a moving platform on the other side. Wait until the platform begins moving to the left to jump onto the bird, and you should be able to land on the platform. Now cross a series of shelves to reach a stable platform.
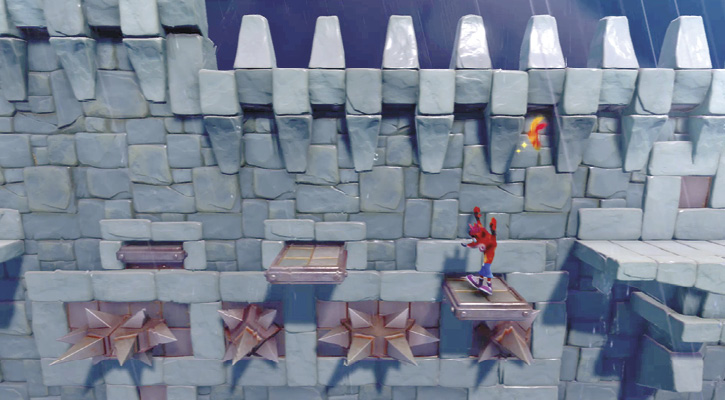
Next come more moving platforms. Watch these for a bit to learn their pattern. Jump on one that approaches you and then goes up and over to the left. As it reaches the end of its leftward movement, make a big jump onto the stable platform to the left. Now jump across a series of three moving birds. Jump onto the first as it begins moving away from you, then hit each bird in turn to reach a stable platform with lots of boxes. Smash them all, collect the Clear Gem, and jump into the platform to complete the level.

 Time Trial
Time Requirements
Sapphire: 7:00:00
Gold: 4:30:00
Platinum: 3:10:00
This level is tough to get through without losing a life. To do it quickly without losing a life is tougher still, and to earn the platinum relic, you need a near-perfect performance. Sapphire isn’t too difficult if you can survive, and gold is achievable once you get the timing down. To get a good time, follow the directions in the walkthrough, with a few exceptions. Only go after time boxes and Aku Aku boxes. If picking up a time box takes you longer than the time it saves you, skip it. In most cases, if you keep moving, you can time the moving platforms correctly. Only pause for elevators and retracting stairs. Get the timing of the shelves down before you jump across them.
There’s a shortcut you can take if you have at least one mask and can survive some spikes. When you’re crossing the long stage to the right after your initial ascent, stand on the last shelf before you reach the second lab assistant, and fall a bit to the right. You’ll most likely hit a spike, but you land on a platform with two time boxes. From here, head downstairs and continue to the end. This can shave off a few seconds and make the difference between gold and platinum.