
Crash Bandicoot N. Sane Trilogy Guide High-Tech Warp Room
Piston It Away
Rewards: Clear Gem 1—destroy all 69 boxes. Clear Gem 2—complete the death route.
It’s fitting that the first level of the High-Tech Warp Room should take place in a factory. For the first Clear Gem, you must reach a certain point without dying to collect all of the boxes on the main level, then get the rest in the death route. For the second Clear Gem, you must complete the death route.
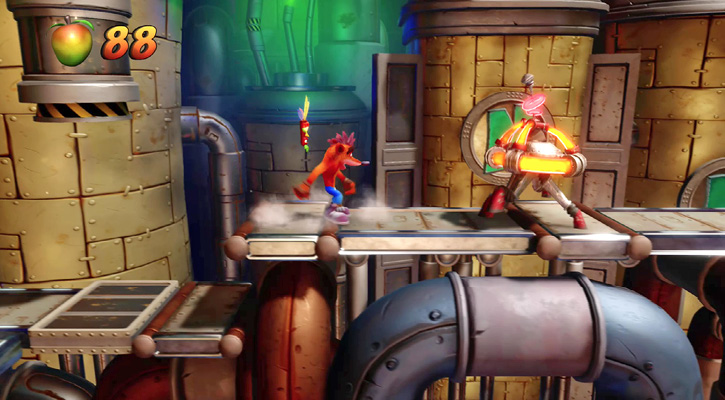
As you enter the factory, smash some boxes and grab a mask. Watch out for the piston that drops—it can squash you. Time your move below it, and jump up onto a platform to meet a new enemy. This robot deals damage if you jump onto it; if you use a spin attack, you hit the glowing pipes around it. Instead, slide into these four-legged robots to defeat them. Wait for the robot on the lower level to walk away so you can drop down, then slide-attack it as well.
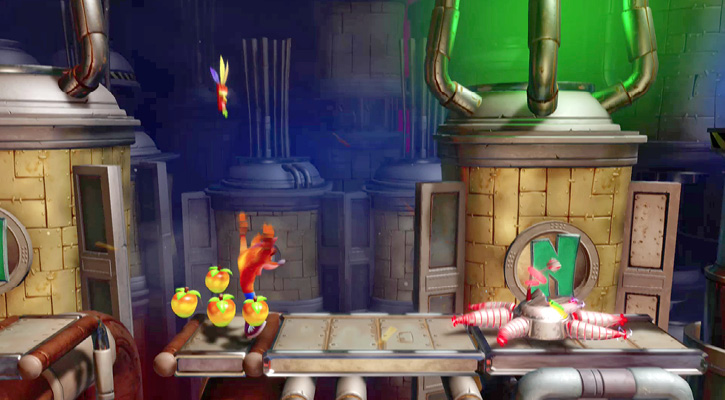
Ride a piston up to a higher walkway, then slide into a third robot. To get past the four pistons, move forward and wait for the next one to rise, then quickly move under it before the previous one drops. Jump across to another walkway and face a new robot. This one looks like a starfish with several arms. Don’t spin or slide-attack this one when its arms are out, or you hit the arms and take damage. Instead, jump on top of it. At the end of the walkway, ride a piston up, then jump across to another piston and walkway, where you face another star robot. Gather some fruit, then jump on arrow boxes to break boxes floating above them. When you’re on the higher arrow box, keep jumping to reach the entire stack above it.
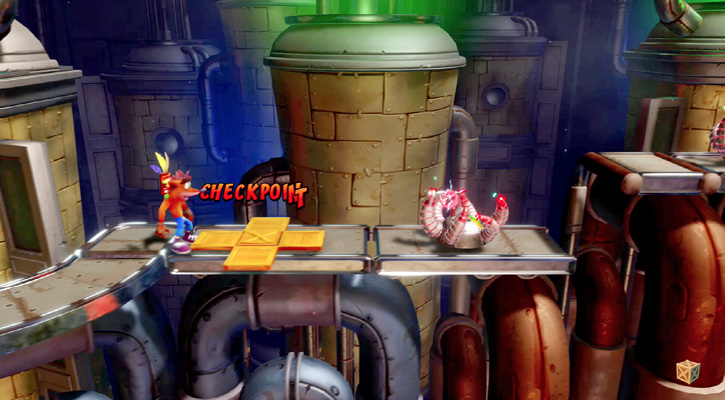
Get past a piston, then slide-attack into a robot. After another piston, follow the walkway around to a checkpoint. You now face the robot with several arms; however, here you see that those arms can fold up and hold an electric charge. Defeat it with a slide attack or spin attack when its arms are folded up. As before, you can jump on it when its arms are down. Drop to another walkway and slide into another one of these robots. You now must jump across a gap with a piston on either side. Wait until the piston near you rises, then jump across to the other side and move before the second piston comes down on you. Slide into the next few robots, then drop down to an area containing boxes and nitro boxes. Break the wooden boxes without blowing yourself up.
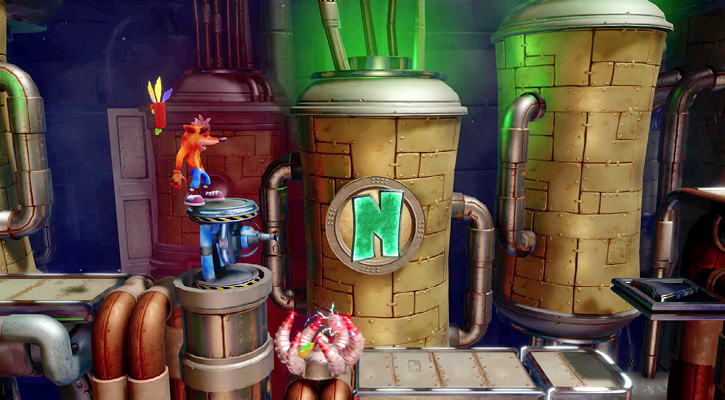
As you continue right, jump over glowing-hot pylons and defeat more robots. Get past a jump with pistons on either side, and continue to a checkpoint and the crystal for this level. Move forward, defeating two robots along the way, then head right again. Wait for the robot to move away from the pylons so you can jump over and then slide-attack. Continue to the right until you come across a blue object that looks like a weapon. To the right is a blue pressure pad. When you step on this, the weapon fires a ball of energy. Hit the ball with a spin attack, or jump away from it so it doesn’t hurt you. When you jump on the pressure pad to reach a higher walkway, jump off quickly to avoid the energy ball. There’s another pressure pad in front of a blue weapon, so jump over the pad to avoid getting hit point-blank with a ball. Continue to the “?” sign, then drop down a shaft to the bonus stage.
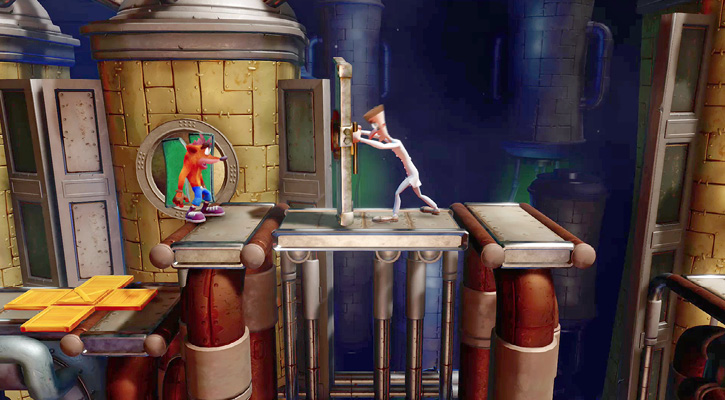
As you jump across a gap to slide into a robot, notice that the left edge is a pressure pad. As you touch it, a ball of energy comes down from an unseen weapon. Move right to avoid it. Jump up onto another weapon. There’s a row of pressure pads in front of it. Make a long jump so you hit only the last one, then rush forward to break the checkpoint and jump up to the next walkway to avoid getting hit by the ball. Watch out for the shield lab assistant here—he pushes the shield forward to hit you and knock you back. Wait for his attack, then rush in and keep hitting him with spin attacks to drive him back until he falls off the walkway.
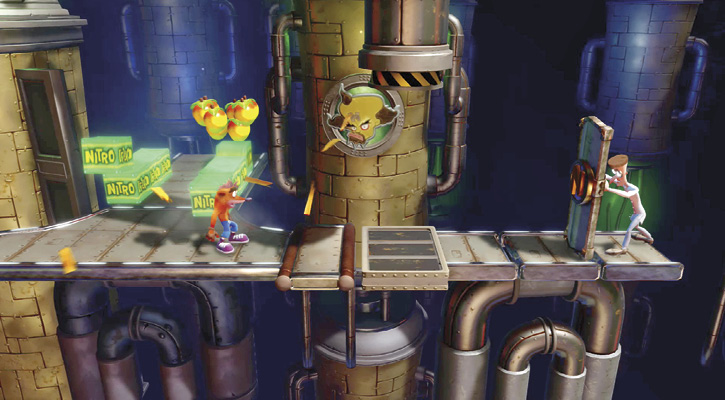
Continue past a piston and a robot; how you attack it depends on its arms. Jump across to another shield lab assistant. He’s near the edge, so wait for the attack, then quickly jump and spin-attack to push him back so you’re not the one sent flying. Keep going to where two rows of nitro boxes are located. There’s an extra life between them. If you haven’t yet died, backtrack to the Skull Platform for more boxes located in the death route. If you’ve already lost a life, continue to the end from this point on. The exist isn’t much farther; you only face robots and a lab assistant. Though you don’t get any Clear Gems, you do have the crystal.
 Time Trial
Time Requirements
Sapphire: 1:57:00
Gold: 1:23:33
Platinum: 1:16:03
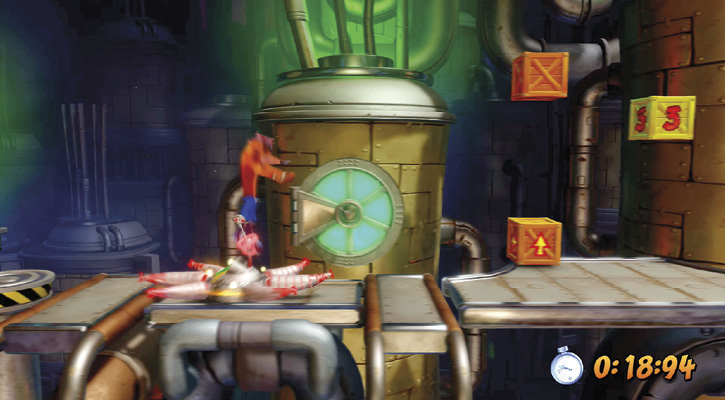
This time trial is tough. You deal with a variety robots and don’t have a lot of time to pause. Jumping over the robots with arms is often easier than thinking about which attack to use in a rush. There are several time boxes, so be sure to get them all. Don’t waste time on the other boxes. By the time you do the time trial, you should be familiar with the level, which makes it easier. Don’t attempt the bonus stage or the death route. Simply rush to the portal to stop the clock.