
Crash Bandicoot N. Sane Trilogy Guide Secret Levels
Future Tense
Rewards: Clear Gem 1—destroy all 145 boxes. Clear Gem 2—complete the death route.
This brand-new level is perhaps the most challenging that Crash has ever faced! While the hazards and enemies are familiar, they come together here in most dastardly ways.
When you begin, turn around and break the large stack of boxes behind you to get started on what you need for this level. Advance forward, waiting for the two plasma gates to flicker off before jumping through. Continue down the platform and jump across the first three conveyor belts, which pull you left, right, and then left again, to reach the next round platform. Break the two boxes here.
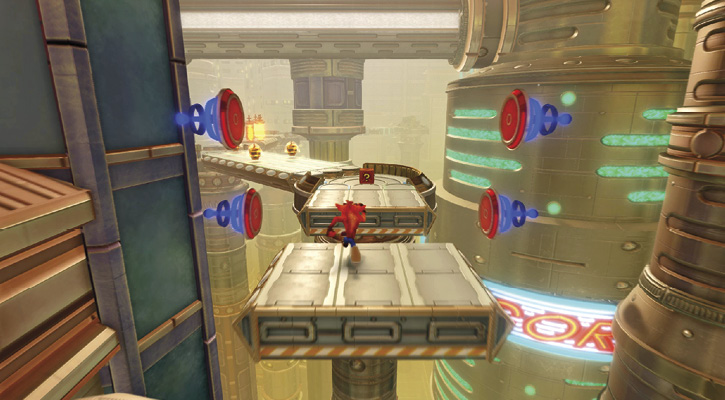
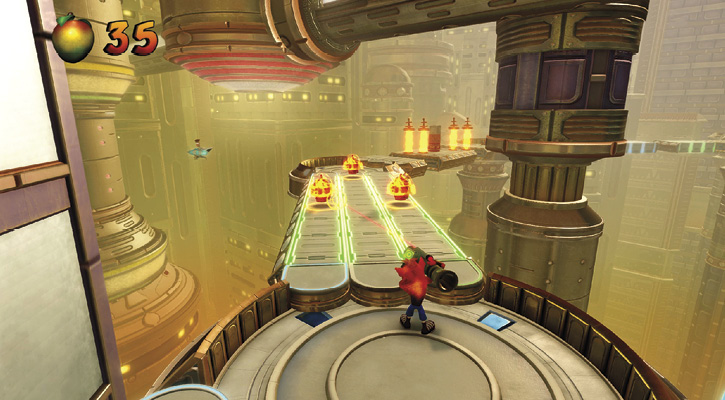
Before jumping on the next conveyor belt, note the pattern of the plasma gates ahead. As soon as the beams switch off, quickly vault to the platform between them and onto the next one, continuing to the “?” box. Ahead, on the conveyor belt, you see three shield robots. Take out your Fruit Bazooka (an indispensable tool on this level) and eliminate them before setting foot on the belt.
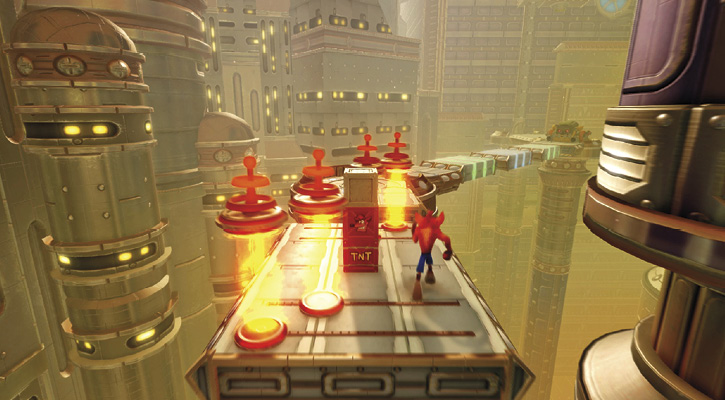
With the coast now clear, ride the long conveyor belt to the next platform. Ahead you see two sets of vertical plasma gates surrounding a stack of three boxes. When the first set begins to move left, jump to the right to pass them, and stop near the boxes where it’s safe. Spin into the stack to claim the “?” box and to trigger the TNT. Jump past the second set of plasma gates before the TNT goes off.
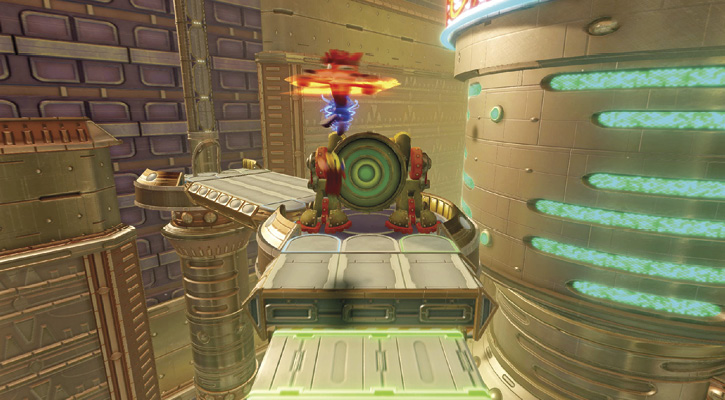
Continue to reach an Aku Aku box and jump across three more conveyor belts, but be ready to dodge the rockets fired by the large robot at the end of them. After it fires three rockets, it exposes a green target. Spin into it to destroy the machine. Follow the platform left to reach a tube, which takes you up.
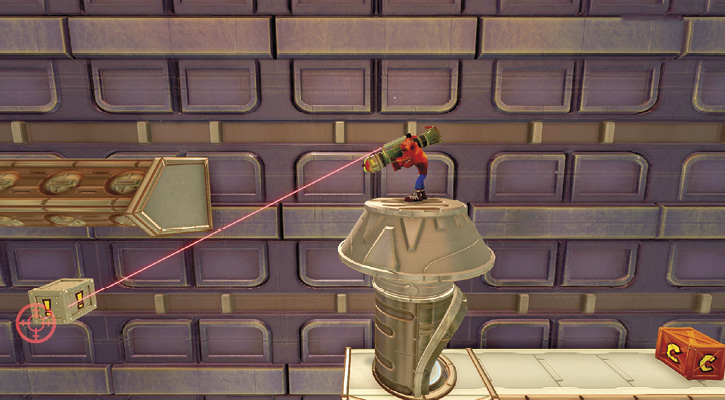
At the top you see four boxes, including a “?” box and a checkpoint. Break them all before turning to your left and double-jumping up on top of the tube. Take out your Fruit Bazooka and fire at the iron “!” box to the left, activating a wire-framed box you would otherwise encounter later.
After shooting the box, Death Tornado-spin up to the platform on the left to find an iron arrow box underneath four Crash boxes. Break them all and head back to the right, to the previous checkpoint.
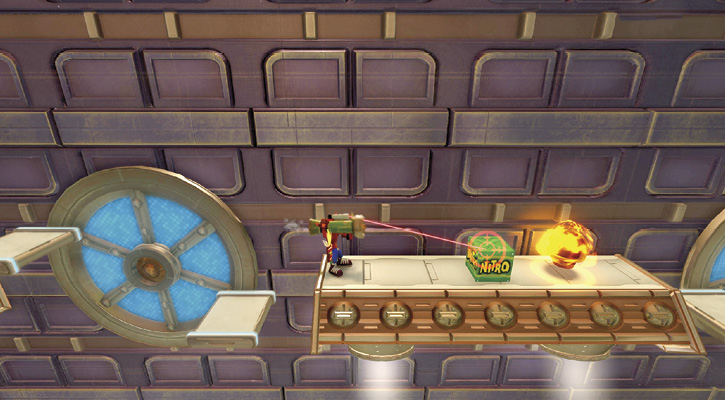
Jump onto the small platform moving counterclockwise and ride it to the next solid platform, timing your jump when the shield robot has floated to the right. Stay just on the left ledge, pull out your bazooka, and take down the robot and the nitro box.
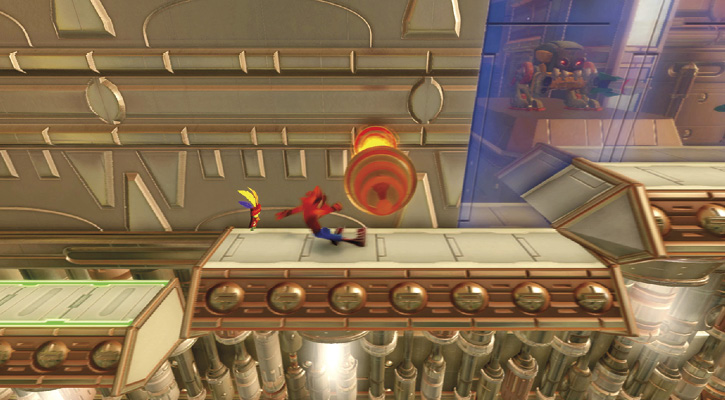
Jump onto another rotating set of small platforms, this time moving clockwise. Ride it up and jump over the plasma gate at the top, then onto the platform to the right, and break two boxes. Ride the tube up. At the top, take out your bazooka again and deal with the two shield robots here. Run along the platform onto the conveyor belt and jump up to the next platform to the right, ready to slide under the plasma gate moving along it.
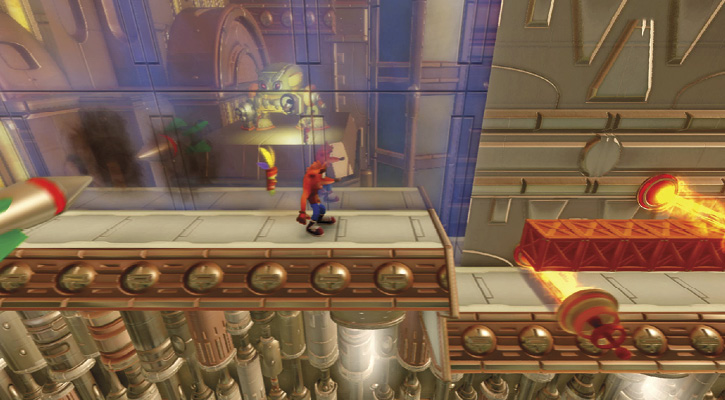
Here you come to your first mirror section. Though you can’t directly turn to look at the robot firing rockets, you can see it in the reflection. Watch the reflection to see the incoming rockets, and dodge them accordingly. Or, if playing on the Nintendo Switch, you can judge when and where the rockets will hit by observing the burn effects on the windows. Before hopping down to the platform, use the Fruit Bazooka to break the four boxes here.
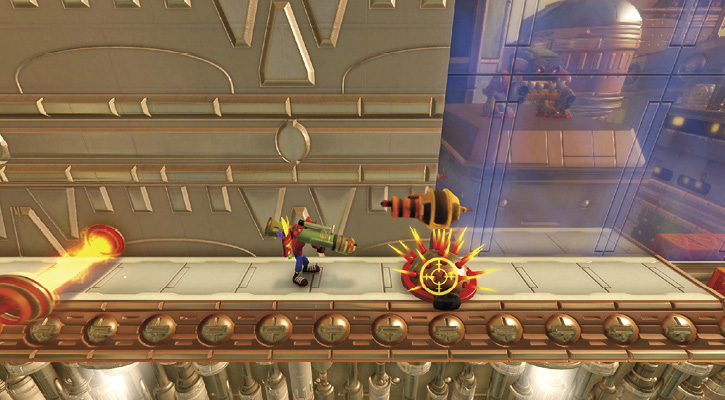
With the boxes out of the way, jump down and be ready to jump over two plasma gates as they roll toward you. Shoot down the shield robot and spin into the spiked shell when the spikes retract. Continue to the next mirror area, where you can once again see a large robot firing at you. Stay to the left of his rockets and shoot the three boxes to the right. When those are clear, Death Tornado-spin your way over to the next platform, avoiding the rockets.
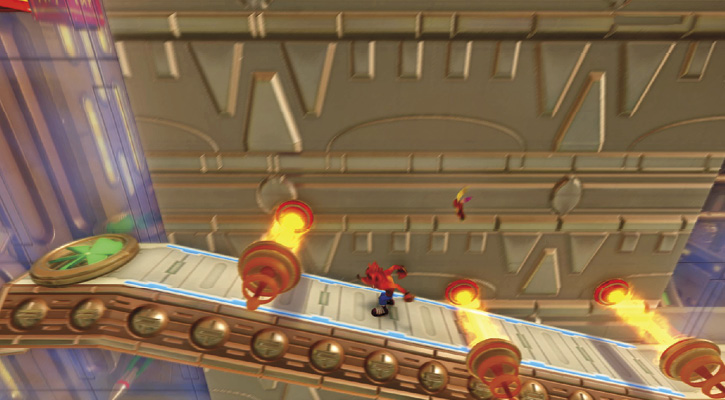
Use the arrow box to reach the platform high and to the left. Follow it as it slopes up to a conveyor belt. Jump over the plasma gates here to reach a green fan.
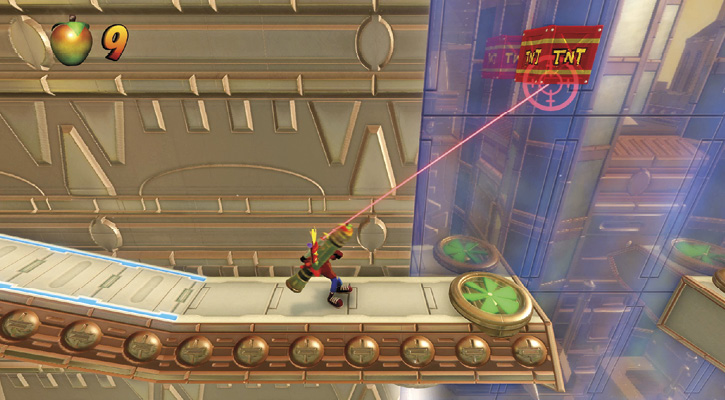
Use the bazooka to take down the TNT box above the fan. Use the fan and spin to reach the Crash box to the left. Use the next fan to Death Tornado-spin over to the left, past another green fan. Break the “?” box and bounce all of the Wumpa fruit out of the bounce box. Take out the TNT box to the upper right with the bazooka.
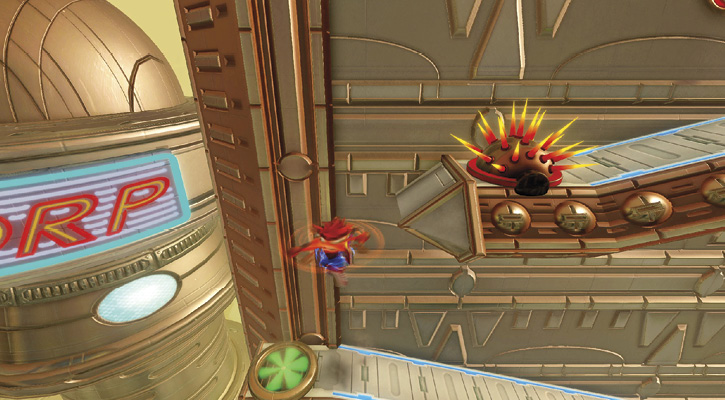
Step onto the conveyor belt to cause a UFO to appear nearby. Back up a bit, then take him down with the bazooka, or jump on his ugly little head. Ride the conveyor belt up, and use the green fan to help you Death Tornado-spin up to the next platform on the left, with a spiked shell. Time your jump so you spin the shell into oblivion when you reach it.
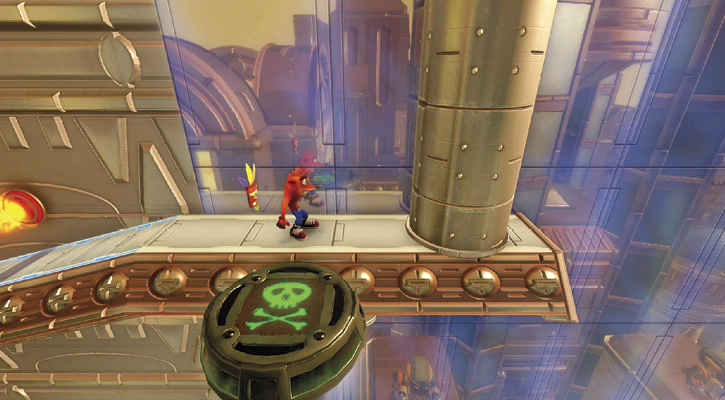
Step onto the conveyor belt, carefully make your way under the first plasma gate, and jump to break the box. Go under the second and jump to break another box before moving under the third plasma gate and stepping off the belt. If you make it this far without dying (a truly commendable accomplishment), you can take the death route Skull Platform here.
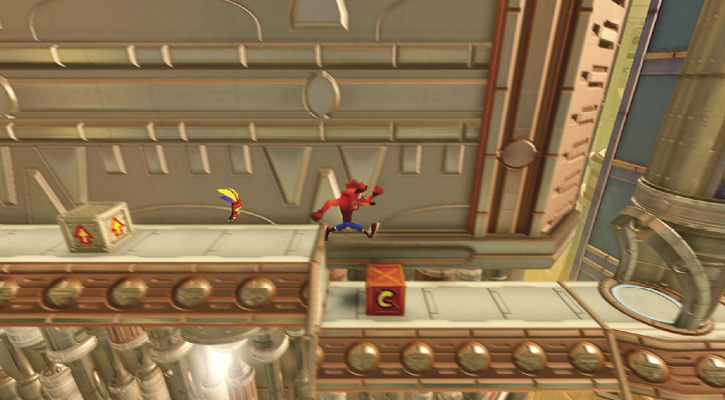
Head back to the left, again making your way carefully past the three plasma gates on the conveyor belt. At the end, drop down and head back to the right. Use the green fans to Death Tornado-spin across to the left, and jump over the three plasma gates there. Drop down, past the arrow box, to break the checkpoint box.
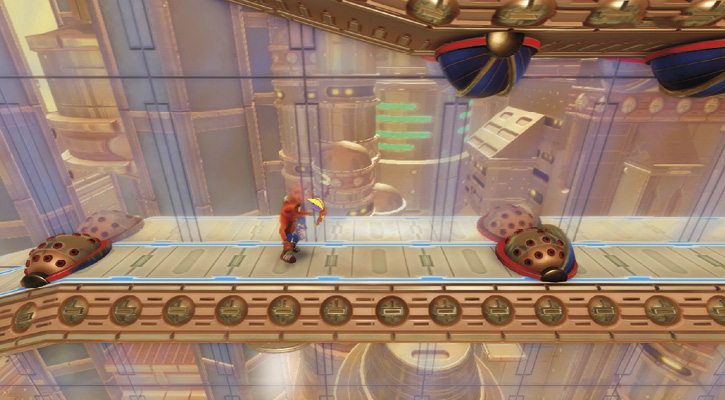
Ride the tube up and break the Aku Aku box. Bounce on the three bounce boxes to break the ones above. Watch out for the spiked shells coming down the conveyor belt toward you, and be ready to jump over them or spin them off. Make your way to the right on the conveyor belt. Here you face several spiked shells on the belt, along with two on the top. Time your jumps and spins to take these out when their spikes retract. While the ones on the conveyor belt keep coming, those on the ceiling don’t, so eliminate them to give yourself some room to jump.
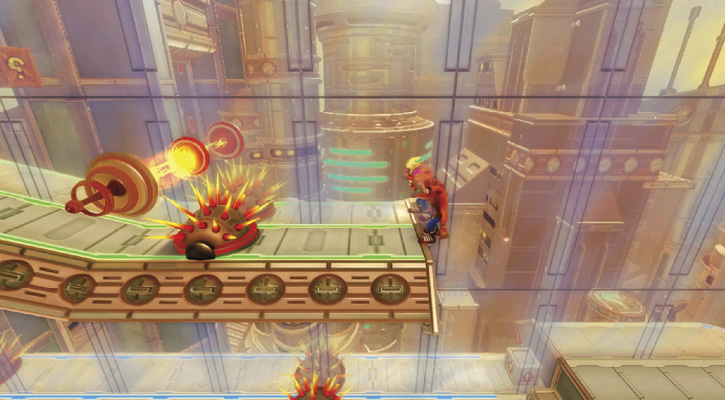
Use the arrow box to reach the upper platform to the left. Time your jump to miss the rolling plasma gate, as well as the spiked shells continually dropping by. Jump past the plasma gate, break the “?” box, and then use the bazooka on the nitro box. While this sounds easy, it’s not. You’re constantly dodging spiked shells and the plasma gate while you move here. Break the next “?” box and make your way past another plasma gate, and the chute dropping spiked shells. Whew! Now you can at least take a breath.
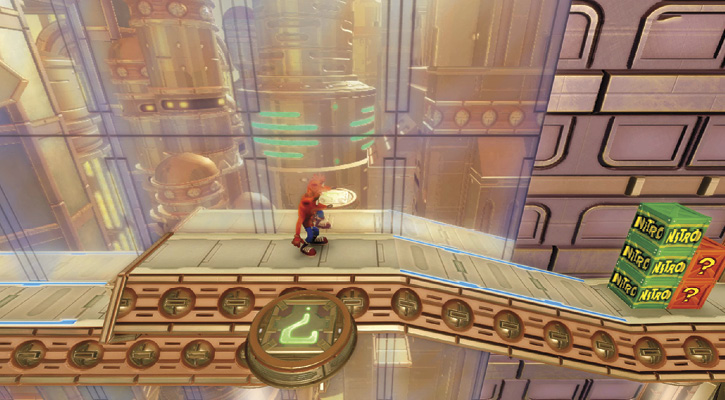
Break the four “?” boxes and make your way back to the right, through the gauntlet of spiked shells and plasma gates again. Drop to the right and take the “?” platform to reach the bonus stage.
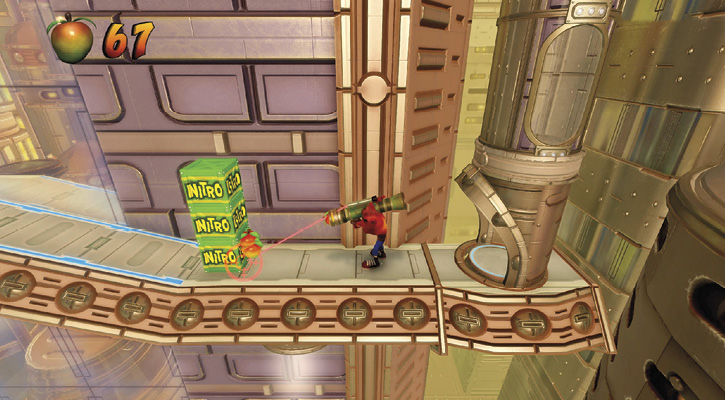
Head right and Death Tornado-spin over the three nitro boxes. Carefully break the two “?” boxes without touching the nitro. Then use the Fruit Bazooka to take out the nitro. Ride the tube up to reach the next checkpoint box.
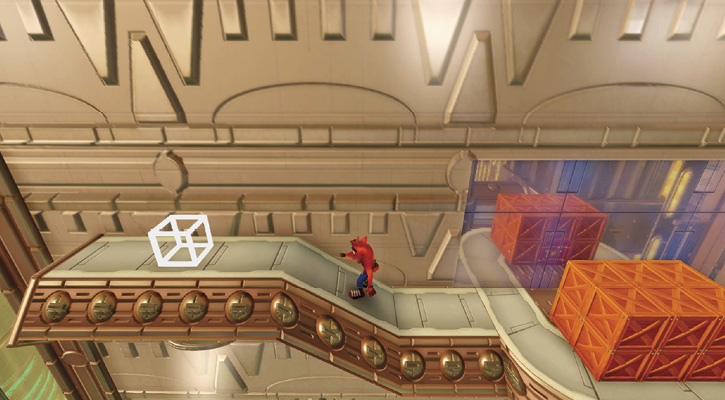
Use the Fruit Bazooka to destroy the shield robot. Belly Flop onto the four reinforced boxes, and fall below them to find a wire-framed box. Follow the path right to find a stack of 12 boxes. Notice in the reflection that the center-bottom box of the stack closest to the mirror is TNT. Carefully break the first four boxes on the left, then make your way around the stack, carefully breaking each one, leaving the TNT for last.
Use the Fruit Bazooka to destroy the nitro box to the right, then follow the conveyor belt to the right, jumping to the two “?” boxes over the next belt to break them, but watch out for the plasma gates. Land on the next platform to the right, spinning into the spiked shell when it’s safe to knock it away. Use the bazooka to take down the UFO, and jump on the “!” box to activate the wire-framed box you passed a few moments ago.
Head left, back to that wire-framed box, which is now an arrow box. Use it to bounce up to the right, eliminating the spiked shell here with a spin attack to hit the box hidden off-screen in a reflection. Move to the edge of that platform so you’re safe from the next spiked shell that drops. In the Nintendo Switch version, there are no reflections and the box is in your view.
Use the bazooka to take out the shield robot to the right before making your way across the red and green rotating platforms. On the other side, jump on the green “!” box to detonate all the remaining nitro boxes on the level. Continue down the conveyor belt, jumping over the three plasma gates.
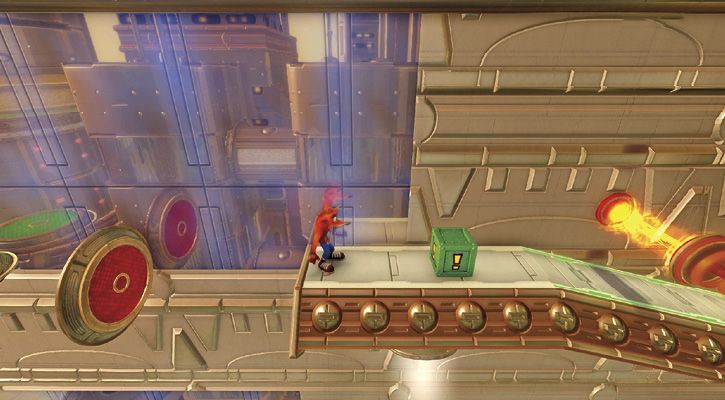
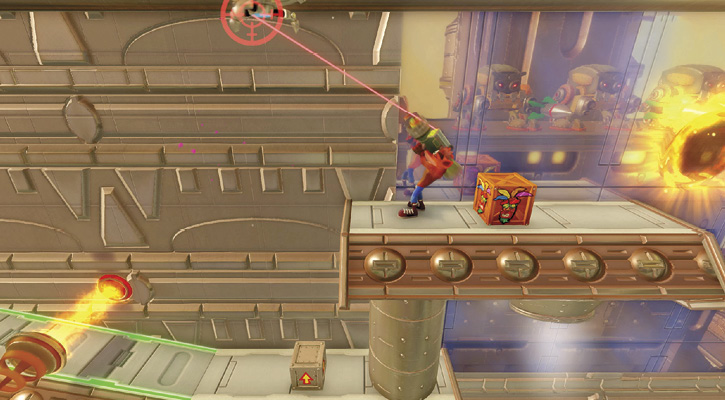
Bounce off the arrow box to reach the platform above and to the right. Use your bazooka to take out the UFO barely visible at the top of the screen before breaking the Aku Aku box.
Get ready to pass three robots firing rockets at you. Use Death Tornado to get over the rockets, and land on the platforms when they’re safe (after the robots fire their fourth rockets). Continue over the gap to the path on the right and ride up the tube.
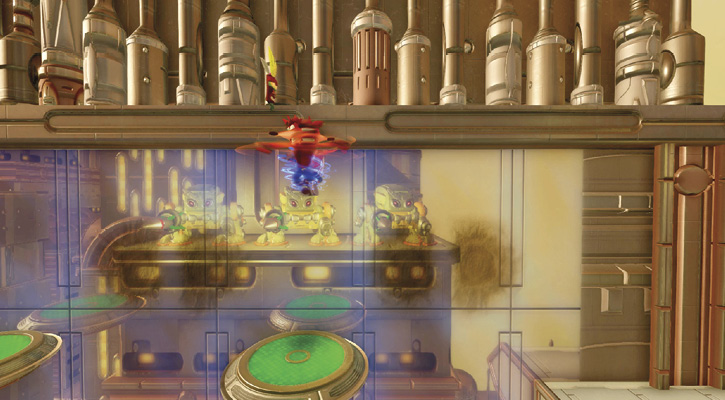
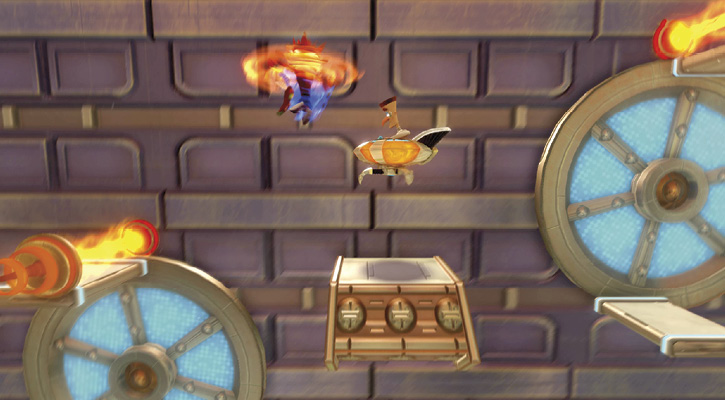
At the top, break the checkpoint box and jump to the next small platform rotating counterclockwise. Just before your platform reaches the plasma gate, jump up and spin onto the head of the UFO driver, landing on the small platform. From there, jump to the next rotating platforms, jumping over the plasma gate on top if need be.
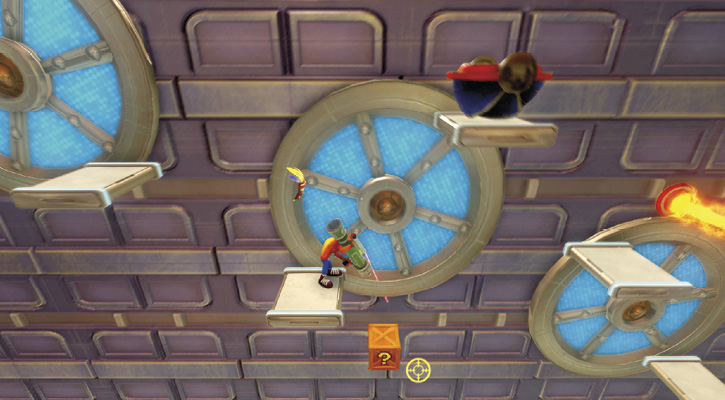
The next jump is tricky. Eliminate one of the spiked shells and ride on their platform. Use the Fruit Bazooka, almost pointed straight down, to take out the box below you.
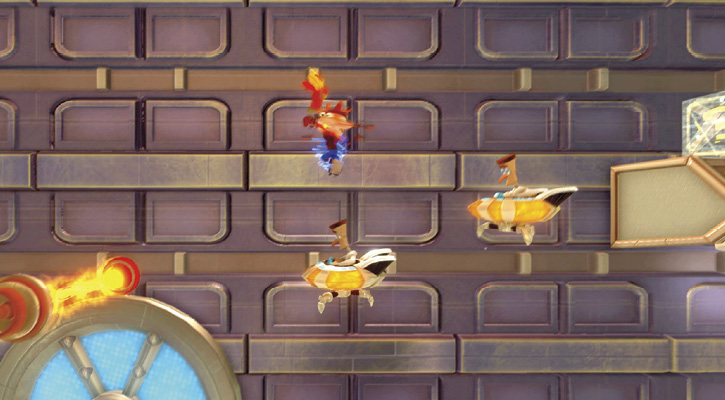
Jump to the next set of platforms. When your platform reaches the top, jump over the plasma gate and Death Tornado-spin onto the heads of both UFOs here, landing on the platform and claiming the Clear Gem before warping out.
 Time Trial
Time Requirements
Sapphire: 02:01:52
Gold: 01:15:43
Platinum: 00:52:17
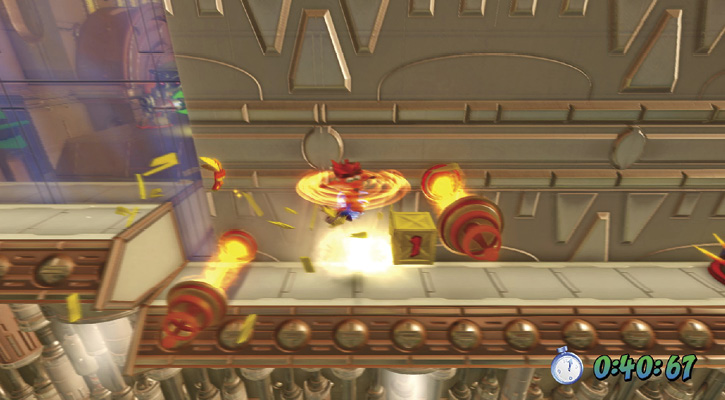
This level is extremely difficult to score a good time in, unless you break all the time boxes in your path and utilize your Death Tornado to bypass most obstacles and platforms. Even then, you’re more than likely looking at a sapphire relic until you successfully grab three Aku Aku Masks to become invincible.
The best time boxes are in the most dangerous positions (near TNT or nitro boxes), so you must be extremely careful when spinning into these. While using the Fruit Bazooka might be tempting to take out these boxes, don’t bother, as it takes too much time. Use precision jumps and spins.
Becoming invincible is imperative for running through the ramp area where the spiked shells are dropping from above and are on the ceilings. When you’re near the end and the three rocket-firing robots are in the reflections, don’t hesitate. Blast through the area, hitting only one of the ramps before jumping to the other side. These two areas are where you can save the most time during this trial.