
Game of Thrones Guide Walkthrough Side Quests
Not So Wild
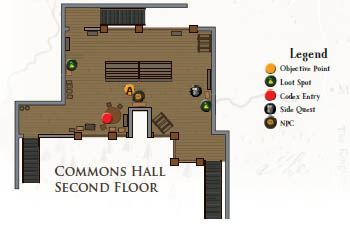
Go To Castle Black And Help Out Qhorin Halfhand.
Objective Point A
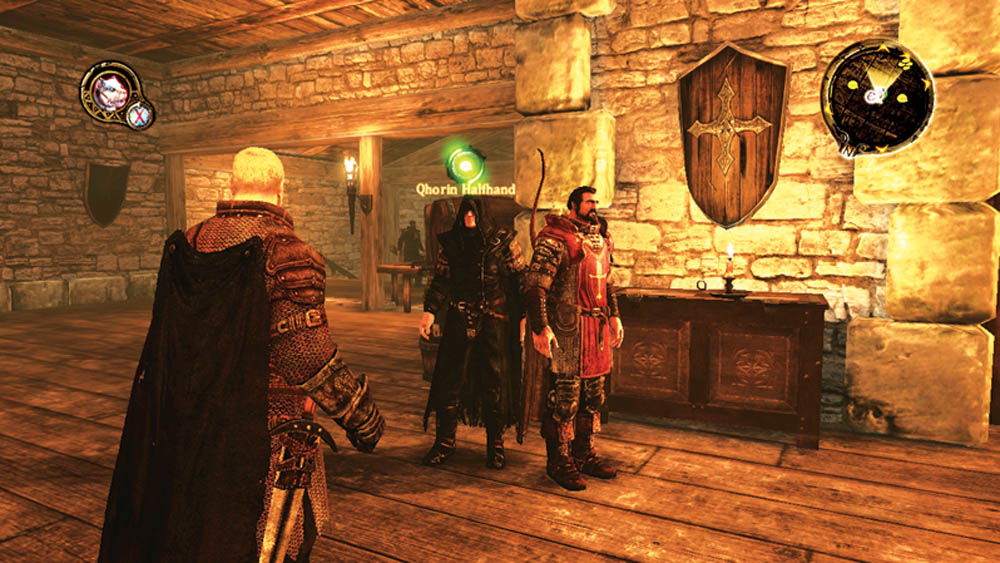
Meet up with Qhorin Halfhand back at the Common Hall in Castle Black if you want to embark on another quest against the wildlings. Stock up on supplies in the hall, and you can also pick up the “Rituals and Litanies” side quest just outside the main door to the hall.
Go To Mole’s Town To Find The Wildlings’ Tracks.
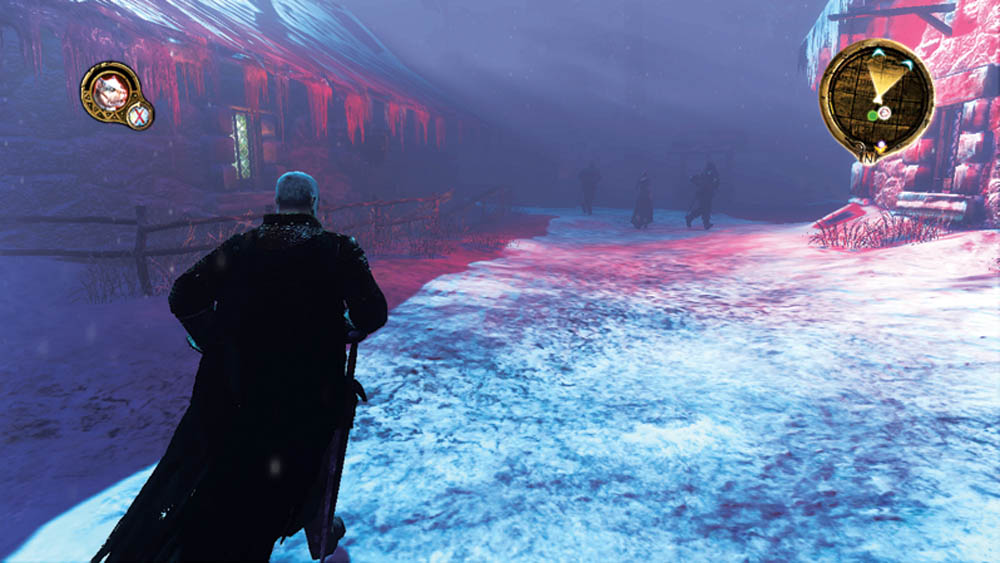
When you arrive at the outskirts of Mole’s Town, you see some wildlings speaking with a suspicious trader. They immediately split up and run for it when they spot you. Dog can follow either trail, but eventually the scents lead to the same path.
Follow The Schemers’ Tracks To Discover What They’re Up To.
Objective Point A
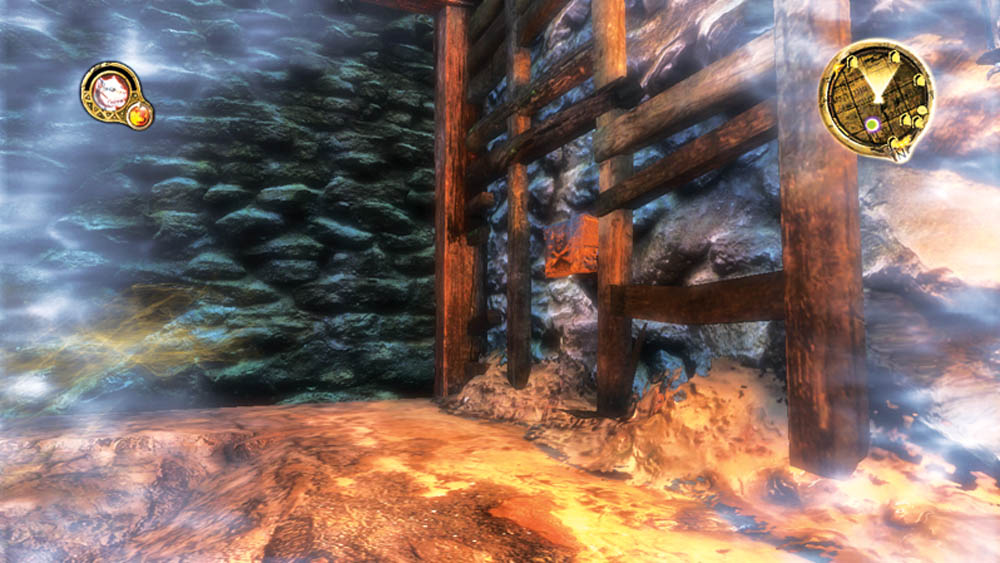
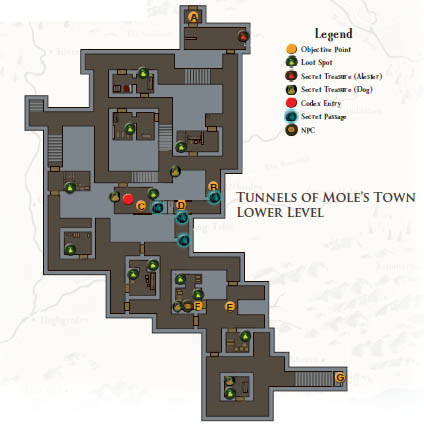
Enter the door that the trader took and switch to Dog to follow his scent. You can track him throughout the tunnels under Mole’s Town; however, he uses some secret passages that may confuse you if you don’t know where to look.
Objective Point B
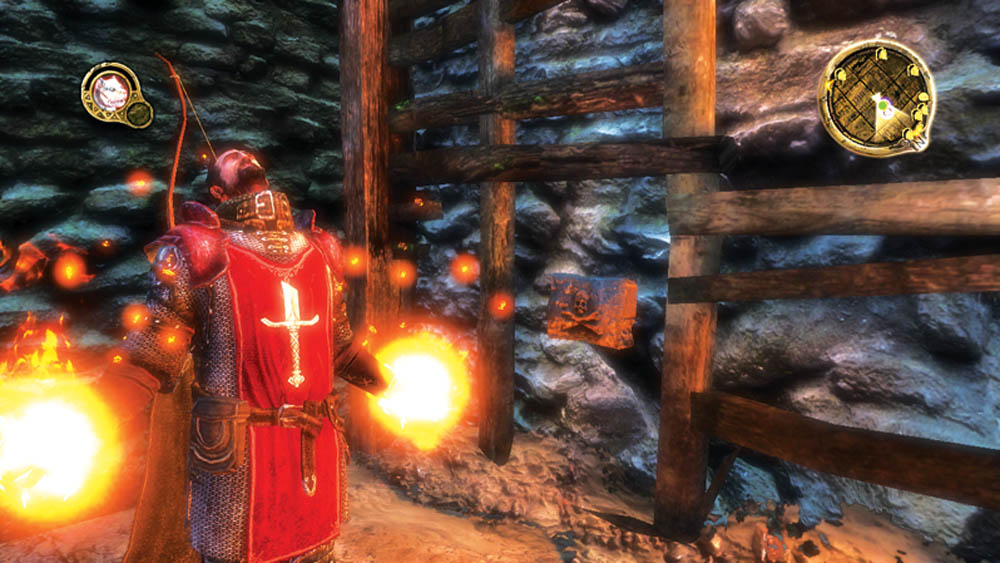
When the scent trail seemingly dead-ends at the first wall, use the Vision of R’hllor to reveal a secret mechanism in the skull plaque on the wall. Open the door and continue following the trader’s scent into the new area.
Objective Point C
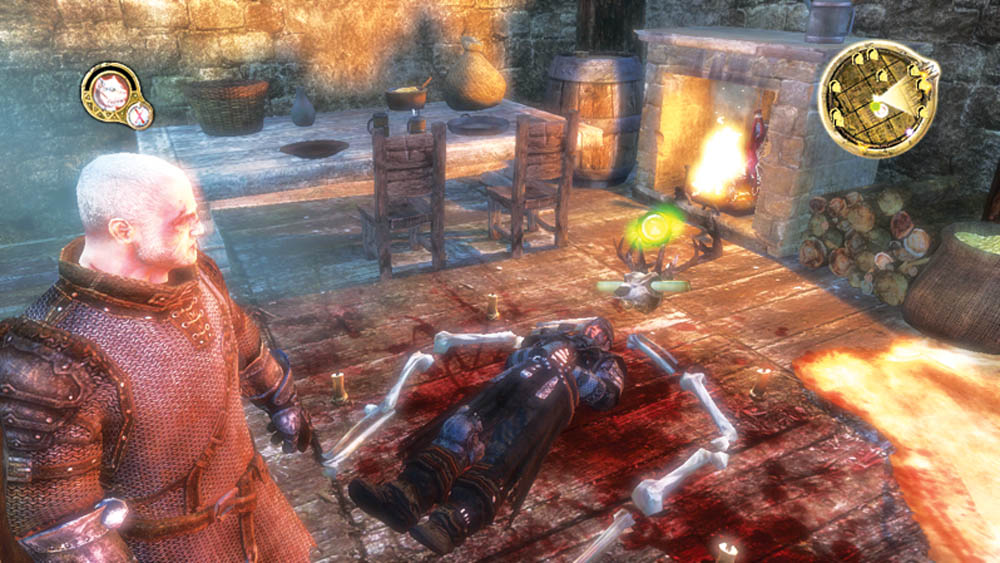
The scent trail leads to another hidden room. Pull the lever and open the sliding door to enter the room. Search the side table for the Key to Mole’s Town Crime Scene. You can now open any of the locked doors in the tunnels.
Objective Point D
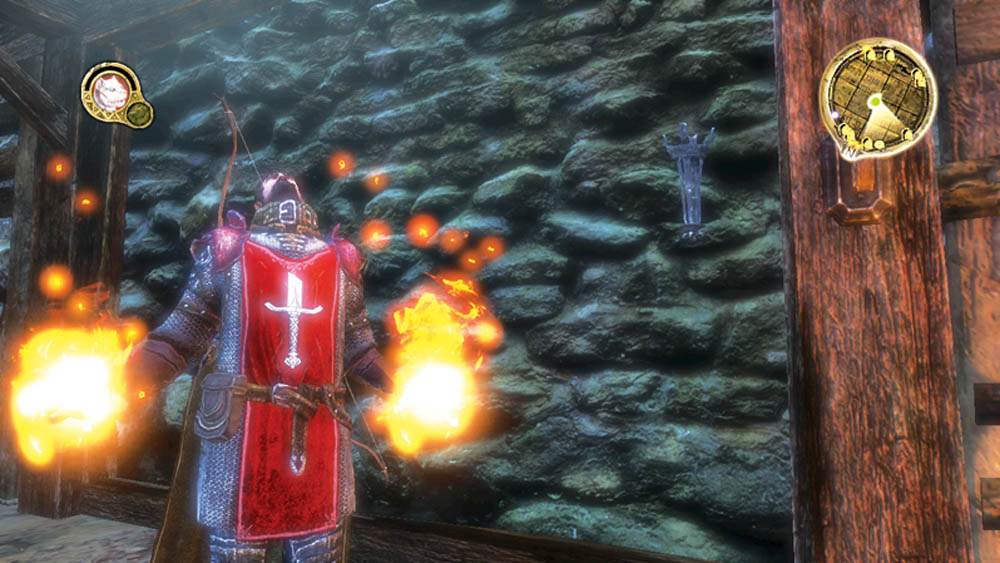
Continue east and look for another secret passage out in the next corridor. This opens up the southeast area of the tunnels, where both the trader and the wildlings fled to when they spotted you.
Objective Point E
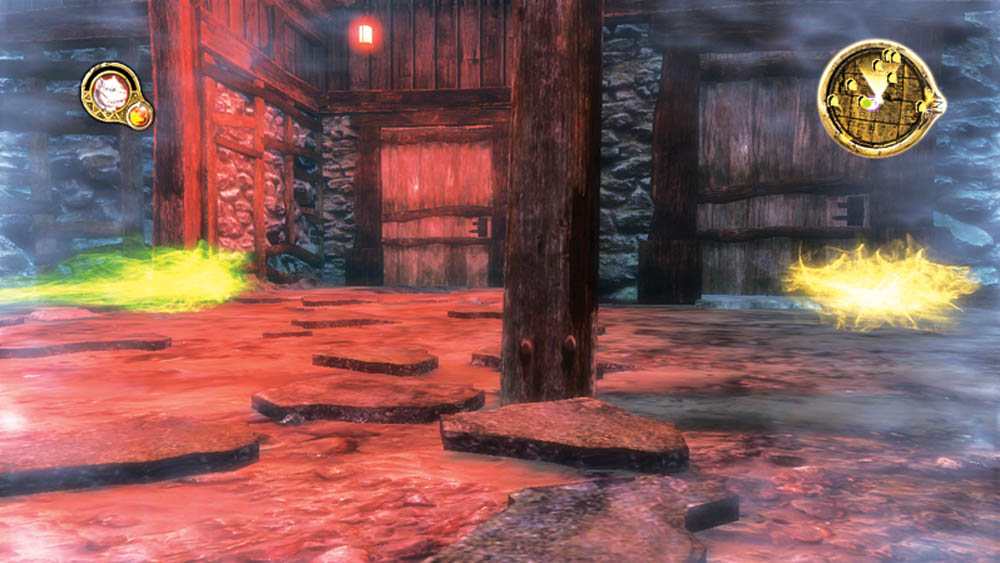
Both scent trails intersect in the chamber with the hanging red lights. Follow the yellow scent directly to the trader’s room a few feet away.
Objective Point F
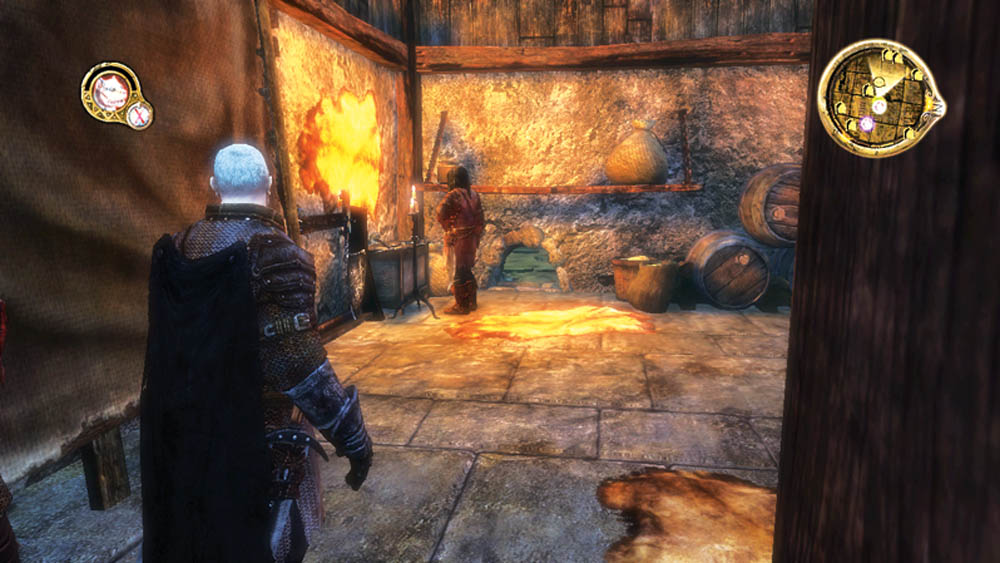
Confront the trader inside his room. His name is Byam, and he claims to be helping out foreigners new to the Gift. With enough pressing, however, he admits to aiding wildlings with supplies and you fear that they may be making a new attempt at scaling the Wall. Byam also tells you that the wildlings are waiting at a campfire in the Gift for a delivery from him. Once you have all the information, you can choose to let him go or kill him for being a traitorous trader.
Objective Point G
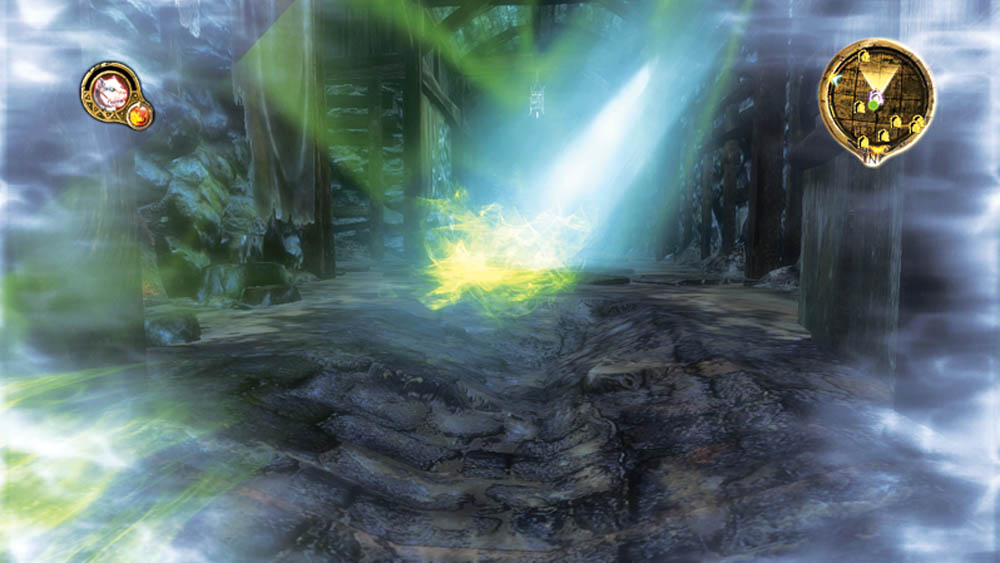
Switch back to Dog outside Byam’s room and follow the other scent that leads to the wildlings. A short way down the tunnel, you reach the trapdoor back up to the Gift.
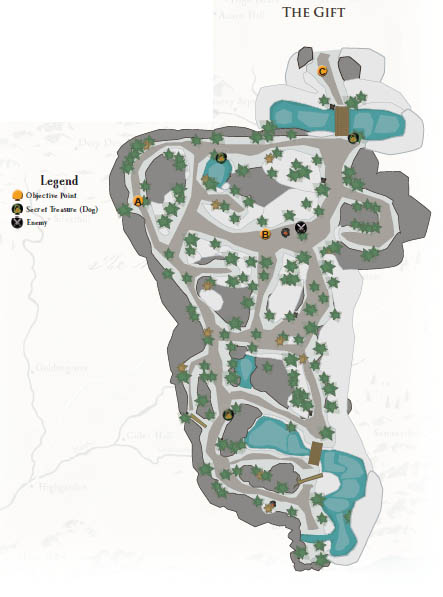
The Wildlings Are Waiting For Byam In The Woods Near Mole’s Town. Go And Find Them There.
Objective Point A
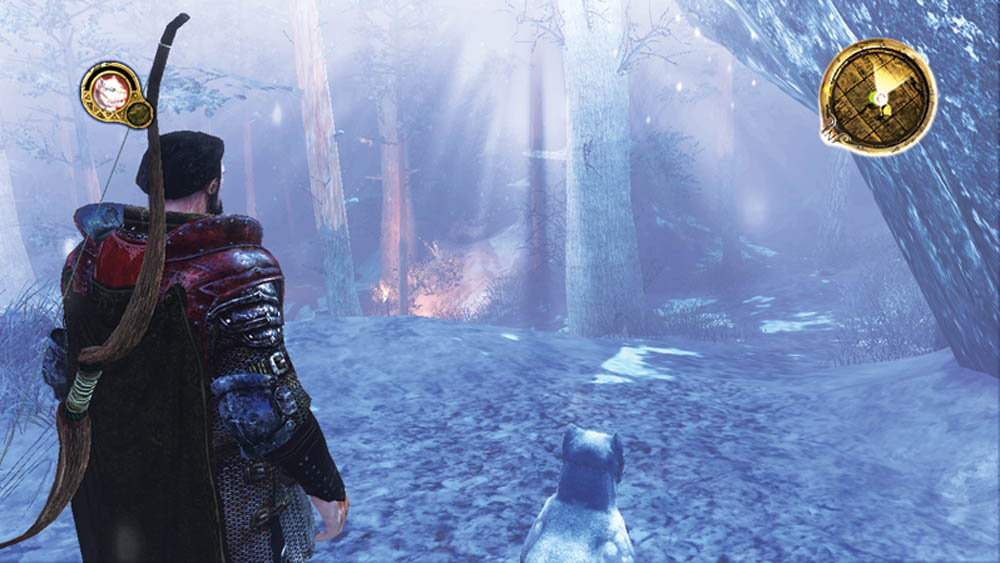
As soon as you enter the Gift, switch to Dog so you can track the wildlings again. Weave through the forest until you spot the campfire in the distance.
Objective Point B
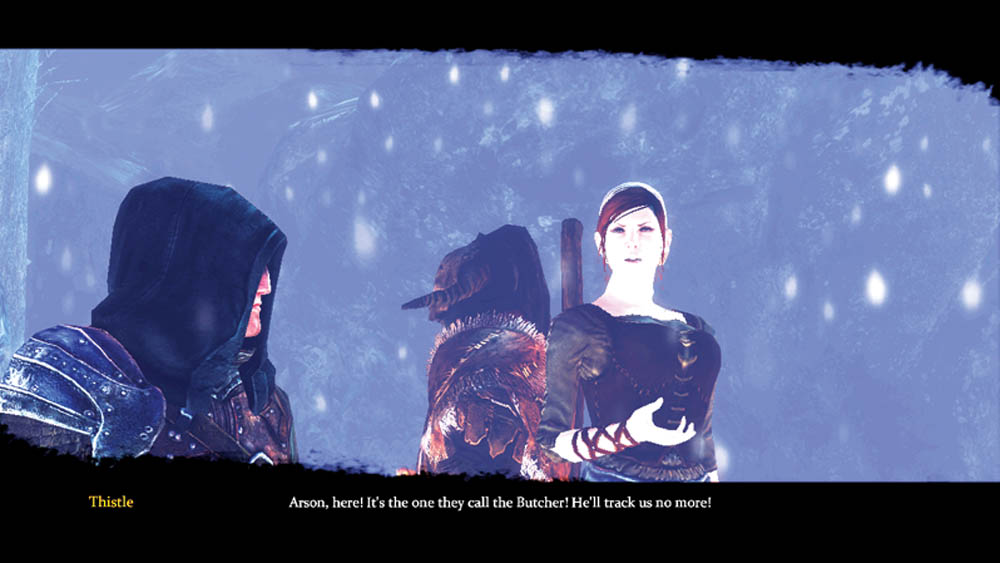
Confront the wildlings at the campfire. Three stay behind so that one, Thistle, can escape and warn their leader that the Night’s Watch is after them.
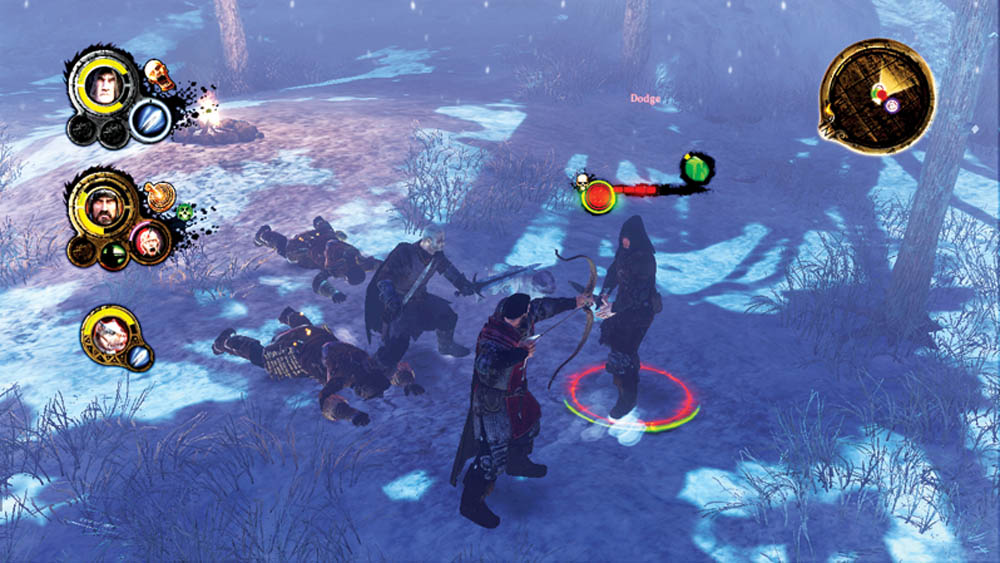
A small battle erupts at the campfire and you have to put down the three wildlings. Between Alester and Mors tag-teaming foes and Dog immobilizing and pestering stragglers, the wildlings have no chance against you.
Pursue The Fleeing Wildling To Follow Her To Her Clan.
Objective Point C
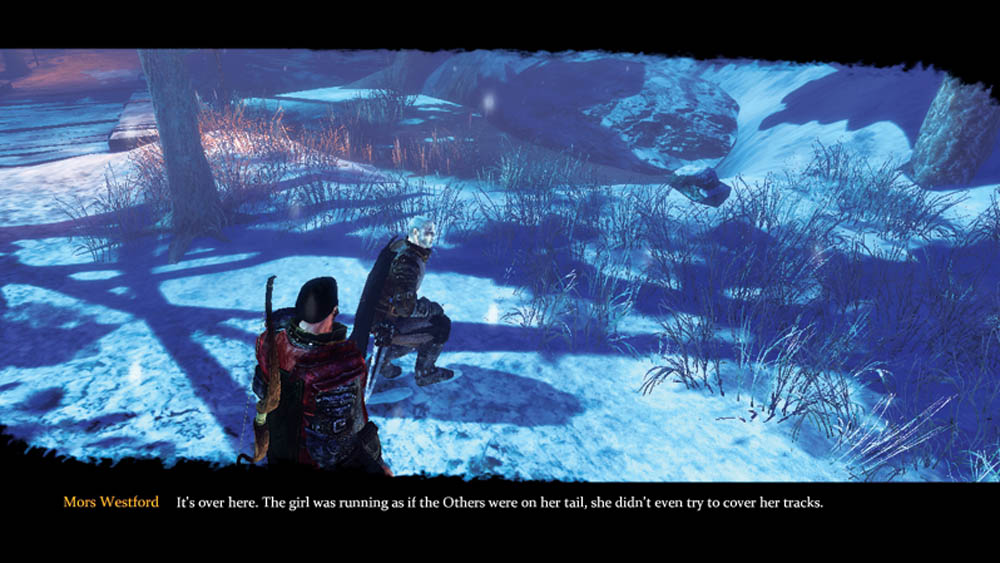
Once Dog has Thistle’s scent, it’s easy to track her through the rest of the Gift. The path eventually leads to the edge of the forest, and Mors can tell by the direction that she’s headed to Icemark.
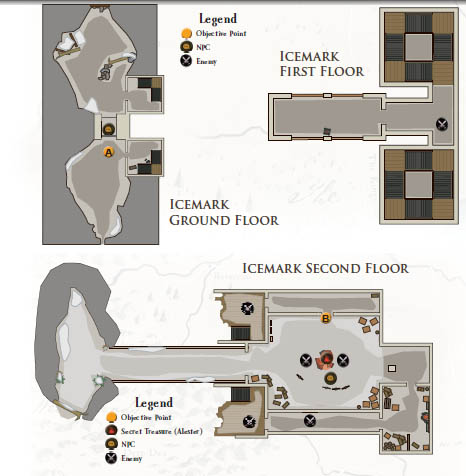
Crush Magnar Sabraque And Destroy His Clan OR Go Up And Speak With Magnar Sabraque.
Objective Point A
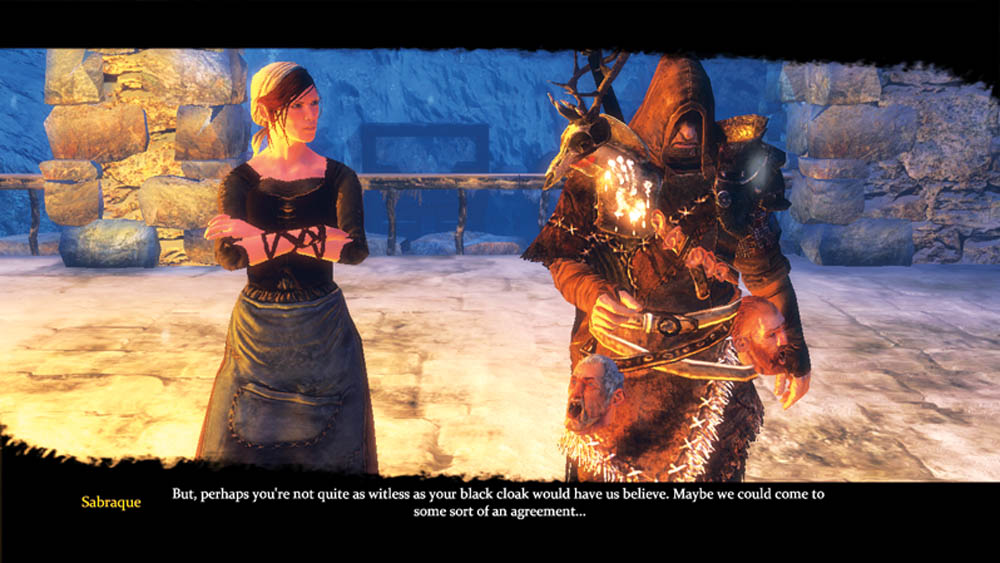
The wildling leader, Sabraque, meets you at the entrance to Icemark. He claims that the wildlings are not in the Gift for plunder but that they are fleeing from the horrors to the north and merely want to keep their families safe. You can either make peace with the wildlings or destroy them.
Objective Point B
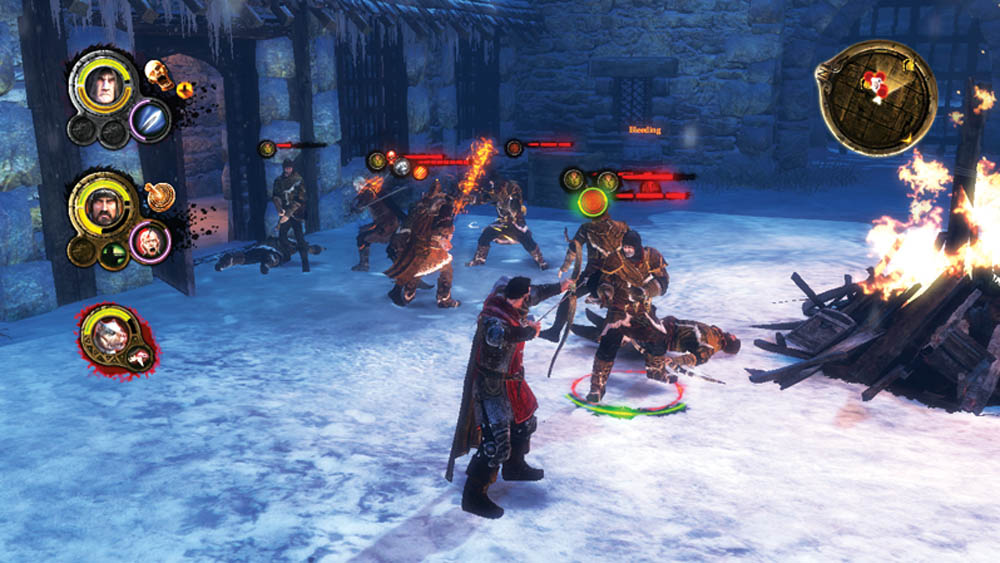
If you choose to destroy them, you must battle your way up through Icemark again. Cut a path through the wildling defenders to reach Sabraque’s group at the bonfire in the main courtyard. It’s a large battle, so conserve your energy and retreat to the inside if enemies begin flanking you. Match your weapon type to armor for maximum damage and kill the less armored foes first. Eventually, you’ll have Sabraque left. Avoid his flaming sword hits as much as possible, and combine Mors’s, Alester’s, and Dog’s abilities to keep him down in the snow for long periods of time until you can finish him off.
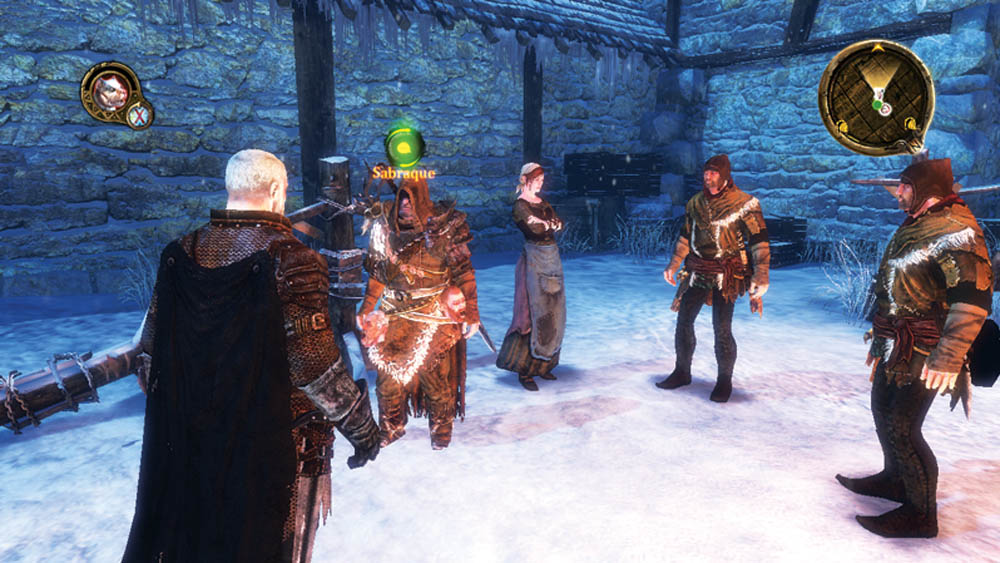
If you choose to make peace with the wildlings, Sabraque will invite you to a council at the bonfire. Accept and make your way up to the courtyard. You can speak with Sabraque about several topics, including the Others, wargs, and living in exile. At the end of the conversation, Sabraque will hand you the Wildling Bracelet, which increases a few of Dog’s abilities.
Return To Castle Black And Report Back To Qhorin Halfhand.
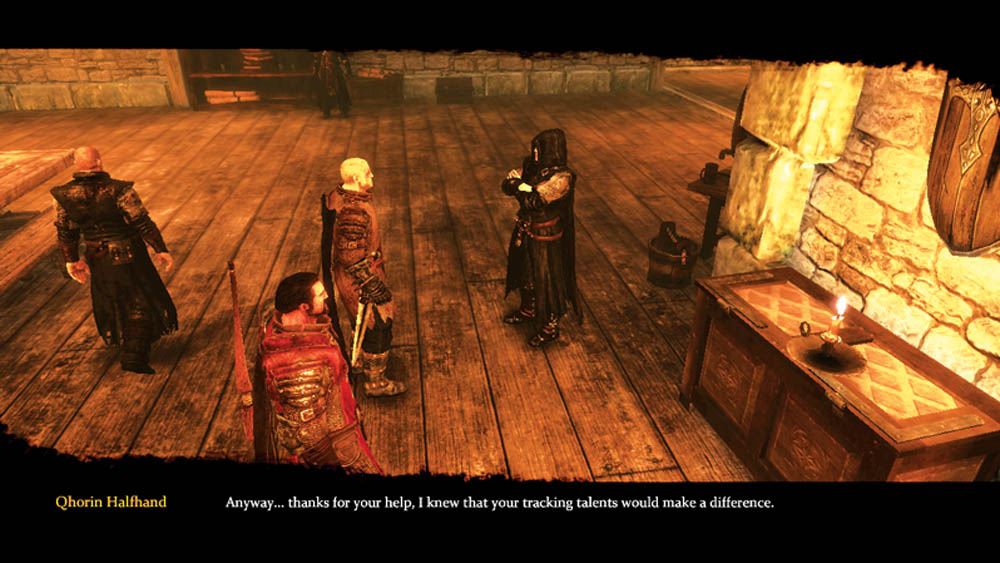
With your mission complete, return to Qhorin Halfhand at Castle Black’s Common Hall. You update him on events and he thanks you for another job well done in service of the Night’s Watch.