Prima Games eGuides
primagames.com Browse Redeem a code Help
Game of Thrones eGuide
Sign in My Guides

Sign in or create an account

We'll email you a link. No password needed, and if you don't have an account yet, the link makes one.

By creating an account or signing in, you agree to our Terms of Service and Privacy Policy.

Have a password?

Had an account on the old eGuides site, or a code from a printed guide? Help and troubleshooting

Sign in with a password

By signing in, you agree to our Terms of Service and Privacy Policy.

Check your email

A sign-in link is on its way. It works once and expires in 15 minutes. Open it and you're in, with an account if you didn't already have one.

Contents

  • Essentials
    • The World of Westeros
      • Adventuring in Westeros
      • Combat Display
      • Combat
      • Options Menu
      • Achievements
      • Thrones and Bones
    • Mors Westford
      • Mors’s Story
      • Attributes
      • Classes
      • Stances
      • Skills
      • Traits
      • Warg Powers
      • Mors in Combat
    • Alester Sarwyck
      • Alester’s Story
      • Attributes
      • Classes
      • Stances
      • Skills
      • Traits
      • R’hllor Powers
      • Alester in Combat
    • Appendix Lists
      • Achievements
      • Companions
      • Equipment
      • Quests
      • Stances
      • Traits
  • Walkthrough
    • Chapter 1: For This Night, and All Nights to Come
      • Chapter 1: For This Night, and All Nights to Come - Castle Black
      • Chapter 1: For This Night, and All Nights to Come - Icemark
    • Chapter 2: For All the Days Gone By
      • Chapter 2: For All the Days Gone By - Riverspring
      • Chapter 2: For All the Days Gone By - Riverspring Godswood
      • Chapter 2: For All the Days Gone By - Riverspring Courtyard
      • Chapter 2: For All the Days Gone By - Riverspring
      • Chapter 2: For All the Days Gone By - Riverspring Castle
    • Chapter 3: Between a Hunter and His Prey
      • Chapter 3: Between a Hunter and His Prey - Icemark
      • Chapter 3: Between a Hunter and His Prey - The Gift
      • Chapter 3: Between a Hunter and His Prey - Castle Black Common Hall
    • Chapter 4: The Lion’s Will
      • Chapter 4: The Lion’s Will - King’s Landing
      • Chapter 4: The Lion’s Will - Sarwyck Manse
      • Chapter 4: The Lion’s Will - King’s Landing
      • Chapter 4: The Lion’s Will - Maegor’s Holdfast Dungeons
      • Chapter 4: The Lion’s Will - Red Keep
    • Chapter 5: Beauty and the Beast
      • Chapter 5: Beauty and the Beast - Castle Black
      • Chapter 5: Beauty and the Beast - Mole’s Town
      • Chapter 5: Beauty and the Beast - Mole’s Town Tunnels
      • Chapter 5: Beauty and the Beast - Mole’s Town
      • Chapter 5: Beauty and the Beast - Castle Black
    • Chapter 6: The Crown’s Dogs
      • Chapter 6: The Crown’s Dogs - Red Keep
      • Chapter 6: The Crown’s Dogs - King’s Landing
      • Chapter 6: The Crown’s Dogs - Hen House
      • Chapter 6: The Crown’s Dogs - Red Keep
    • Chapter 7: Stray Dog
      • Chapter 7: Stray Dog - Common Hall
      • Chapter 7: Stray Dog - Mole’s Town
      • Chapter 7: Stray Dog - Mole’s Town Tunnels
      • Chapter 7: Stray Dog - The Gift
      • Chapter 7: Stray Dog - Westford Cottage
    • Chapter 8: A New Hope
      • Chapter 8: A New Hope - King’s Landing
      • Chapter 8: A New Hope - King’s Landing Sewers
      • Chapter 8: A New Hope - King’s Landing
      • Chapter 8: A New Hope - City Watch Tower
      • Chapter 8: A New Hope - King’s Landing
      • Chapter 8: A New Hope - King’s Landing Sewers
      • Chapter 8: A New Hope - King’s Landing
      • Chapter 8: Legacy - Riverspring
      • Chapter 8: Legacy - Riverspring Castle
      • Chapter 8: Legacy - Riverspring Tunnels
      • Chapter 8: Legacy - Castlewood
    • Chapter 9: Promise
      • Chapter 9: Promise - Westford Cottage
      • Chapter 9: Promise - A Camp in the Woods
      • Chapter 9: Promise - Castlewood
      • Chapter 9: Promise - Castlewood Dungeon
    • Chapter 10: Crossroads
      • Chapter 10: Crossroads - Castlewood
      • Chapter 10: Crossroads - Castlewood Dungeon
      • Chapter 10: Crossroads - Castlewood Basement
      • Chapter 10: Crossroads - Castlewood
    • Chapter 11: Breaking Point
      • Chapter 11: Breaking Point - Riverspring
      • Chapter 11: Breaking Point - Riverspring Courtyard
      • Chapter 11: Breaking Point - Riverspring Castle
    • Chapter 12: Fight Fire with Fire
      • Chapter 12: Fight Fire with Fire - Riverspring Tunnels
      • Chapter 12: Fight Fire with Fire - Riverspring Castle
    • Chapter 13: Bound
      • Chapter 13: Bound - Riverspring
      • Chapter 13: Bound - Castlewood
      • Chapter 13: Bound - Riverspring Courtyard
    • Chapter 14: Light and Shadow
      • Chapter 14: Light and Shadow - King’s Landing
      • Chapter 14: Light and Shadow - King’s Landing Sewers
      • Chapter 14: Light and Shadow - Maegor’s Holdfast
      • Chapter 14: Light and Shadow - Red Keep
    • Chapter 15: Old Scar
      • Chapter 15: Old Scar - Westford Cottage
    • Final Chapter: Ice and Fire
      • Final Chapter: Ice and Fire - Red Keep
    • Epilogues
      • Alester’s Epilogue 1: “I will offer him to the queen in return for Riverspring.”
      • Alester’s Epilogue 2: “This child will live, in memory of Mors.”
      • Mors’s Epilogue 1: “I will care for him, for Jeyne’s sake...”
      • Mors’s Epilogue 2: “I will live and die at my post...at the Wall.”
    • Side Quests
      • The Faith of Our Ancestors
      • Their Watch Is Ending
      • Treasure Hunt
      • Silence in the Ranks
      • The Black Bloodhound
      • New Blood
      • Self-Made Girl
      • Blood on the Sand
      • Rings and Chains
      • Avenge Riverspring
      • The Maggot in the Apple
      • Safer Streets
      • Not So Wild
      • Rituals and Litanies

Game of Thrones Guide › Walkthrough › Chapter 9: Promise

Chapter 9: Promise - Castlewood Dungeon

Castlewood Dungeon
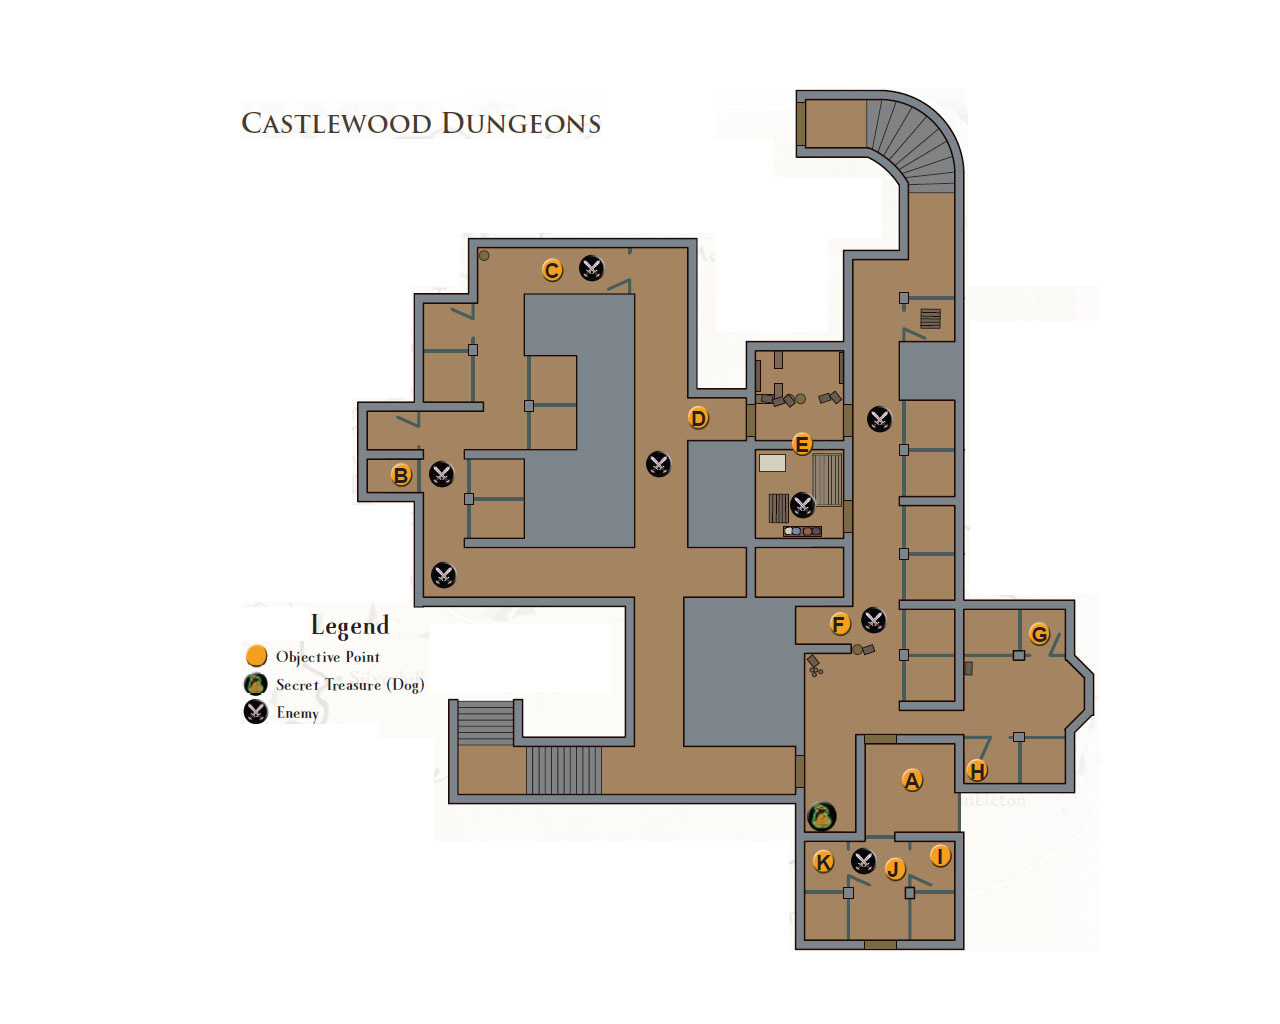
Click here for interactive maps

Objective Point A
View Map

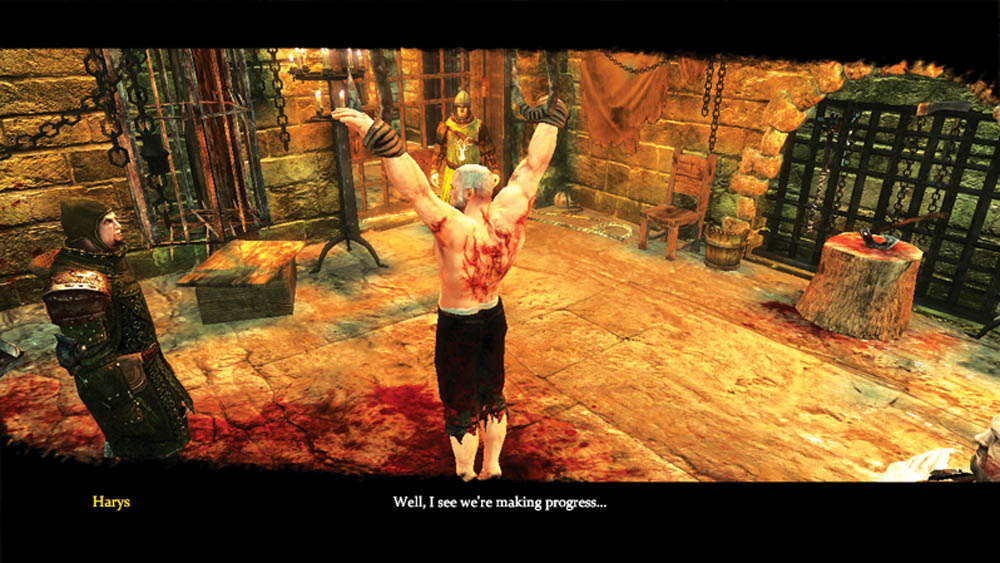
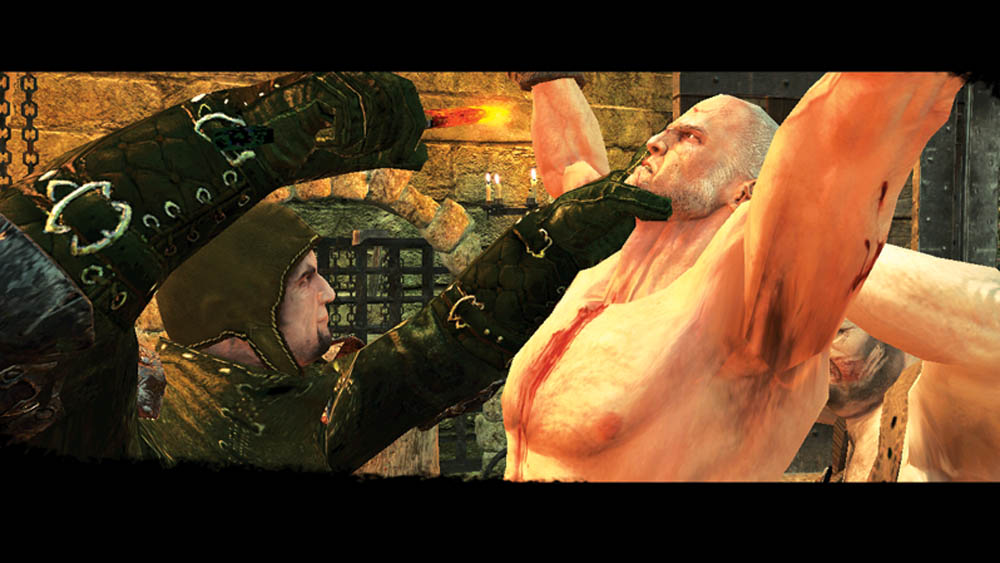
When you regain consciousness, you’re in the dungeons. Two torturers have bloodied and bruised your body. On day one, the torturers will ask you a series of simple questions. If you tell the truth, you will be left relatively unharmed. If you defy them, they will badly injure you (see sidebar for permanent injuries). If you try to lie to them and fail, they will badly injure you. If you refuse to answer at first, but then tell the truth on the second set of day one questions, they will lightly injure you but leave no permanent marks.

Permanent Injuries

If you don’t cooperate with the torturers, they will badly injure you and leave permanent marks. You receive a broken nose (permanent change) the first time they badly injure you. You receive scars on your torso the second time the torturers badly injure you. You receive burns on your back the third time they badly injure you. If you survive the torturing, these marks permanently disfigure you for the rest of the adventure.
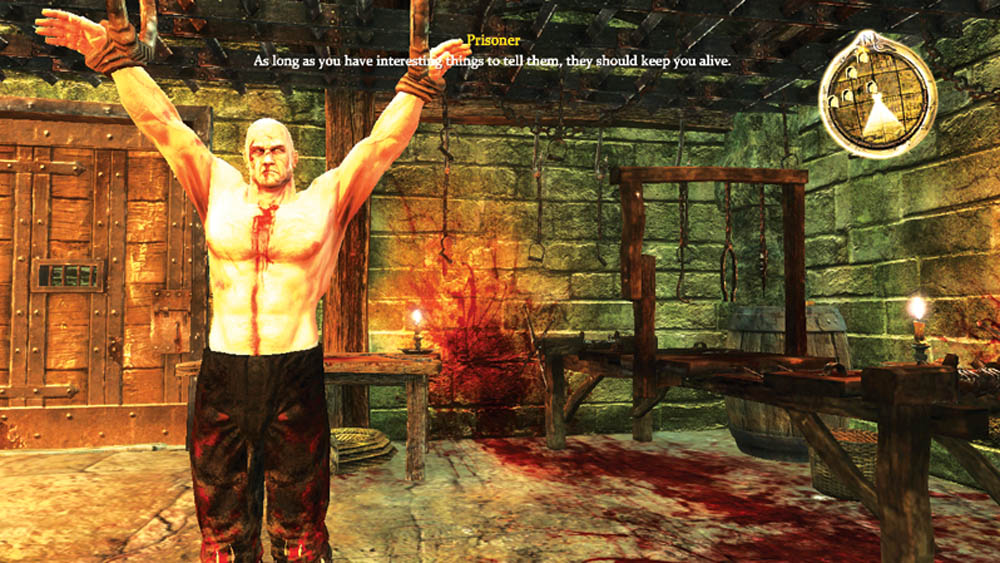
The pain keeps you from contacting Dog, but you can communicate with the prisoner in the cell next to you. He tells you to keep stringing the torturers on with interesting tidbits so they keep you alive.
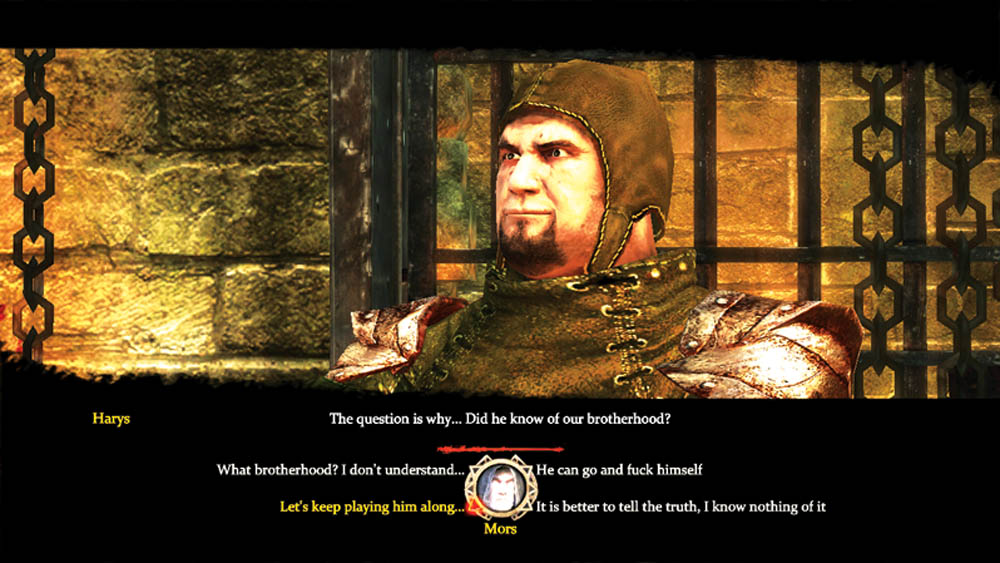
On day two, the torturers return, and if you tell the truth, they don’t harm you. If you defy them, they badly injure you. If you lie successfully to the torturers, they lightly injure you but leave no marks. If you fail in your lies to the torturers, they badly injure you. After they leave, the prisoner says he will try and find a way to free himself and then you.
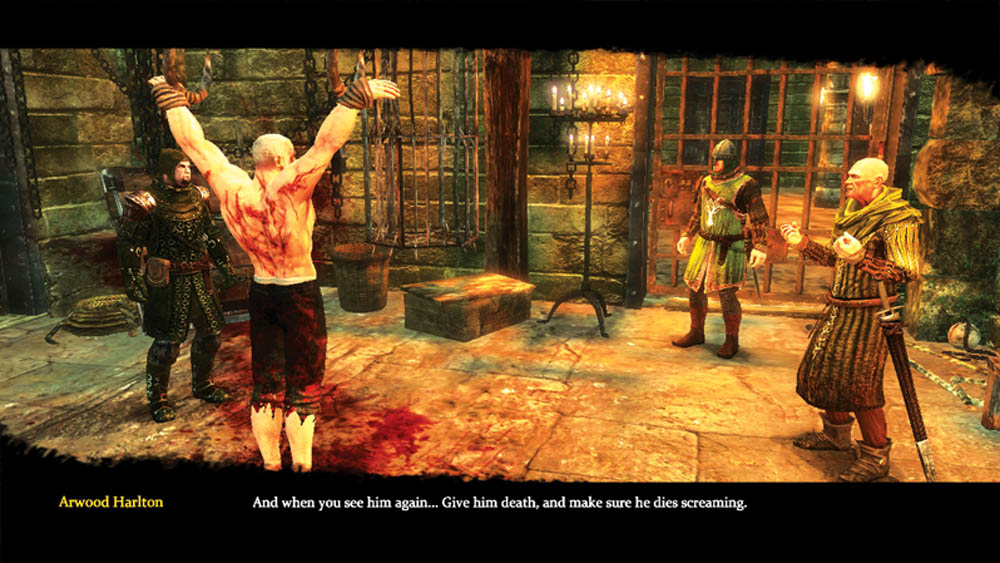
On day three, Harlton arrives to question you. If you tell him the truth (and if you told the torturers the truth on day two), they execute you after receiving the information. If you defy him, the torturers badly injure you. If you lie successfully, you go unpunished, but if you get caught in your lies, they badly injure you.
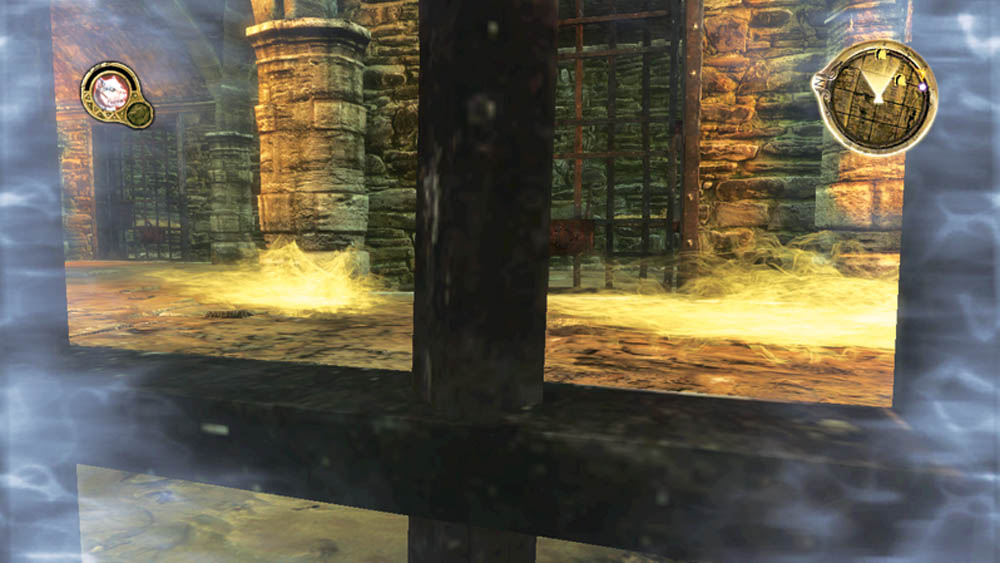
So long as you don’t tell the truth too much, you will survive another day. You know they will eventually kill you, so you have to play the one trick you have left: Dog. Link with your faithful canine and guide him to your location.

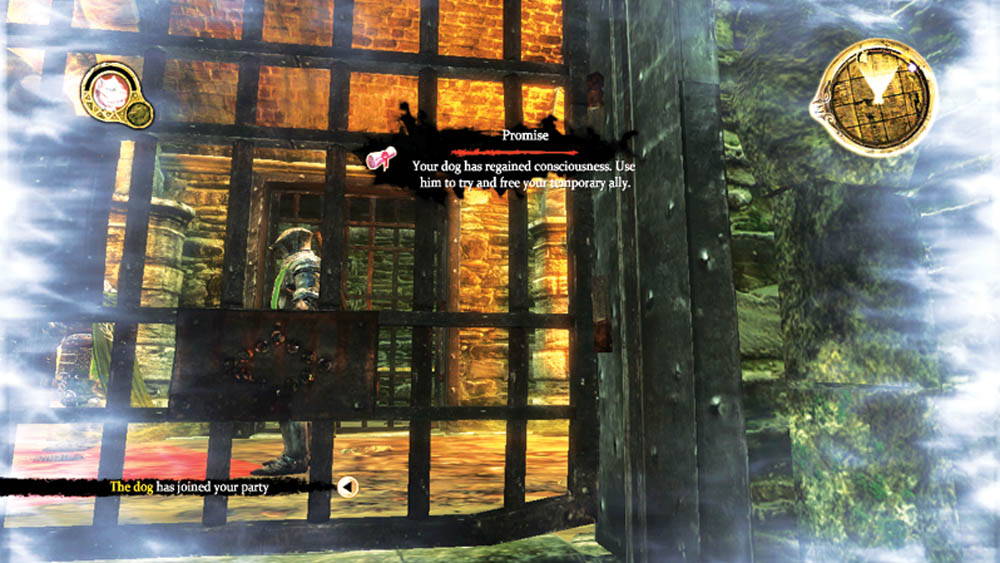
Your Dog Has Regained Consciousness. Use Him To Try And Free Your Temporary Ally

Objective Point B
View Map

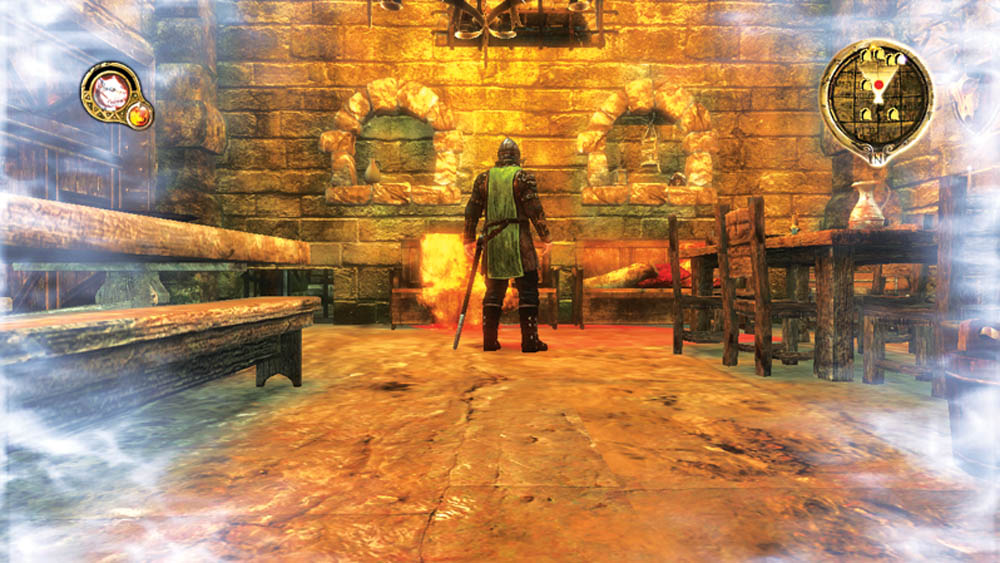
Dog awakes in a cell just as two guards pass by out front. Wait for the guards to disappear around the corner before figuring a way out of your cell.
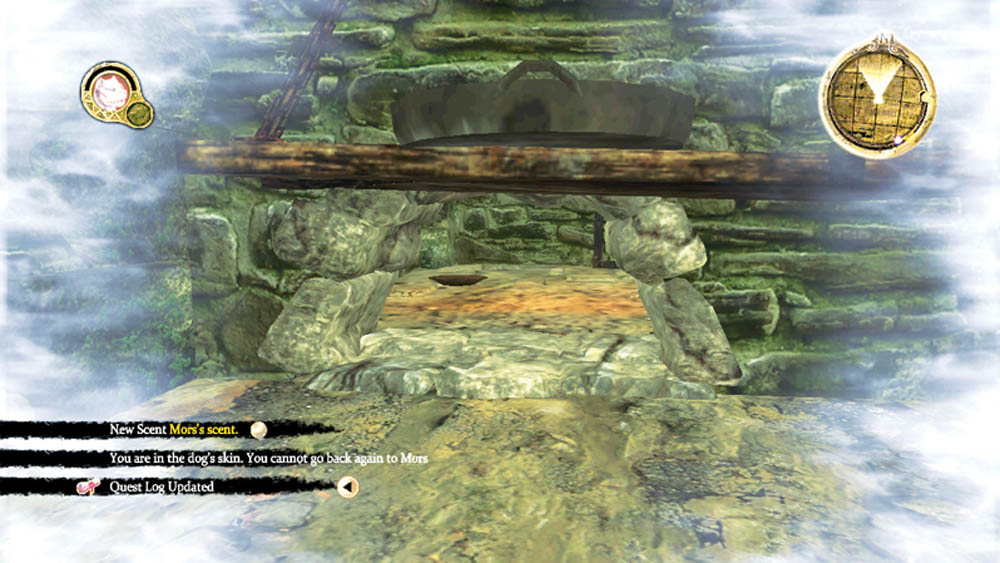
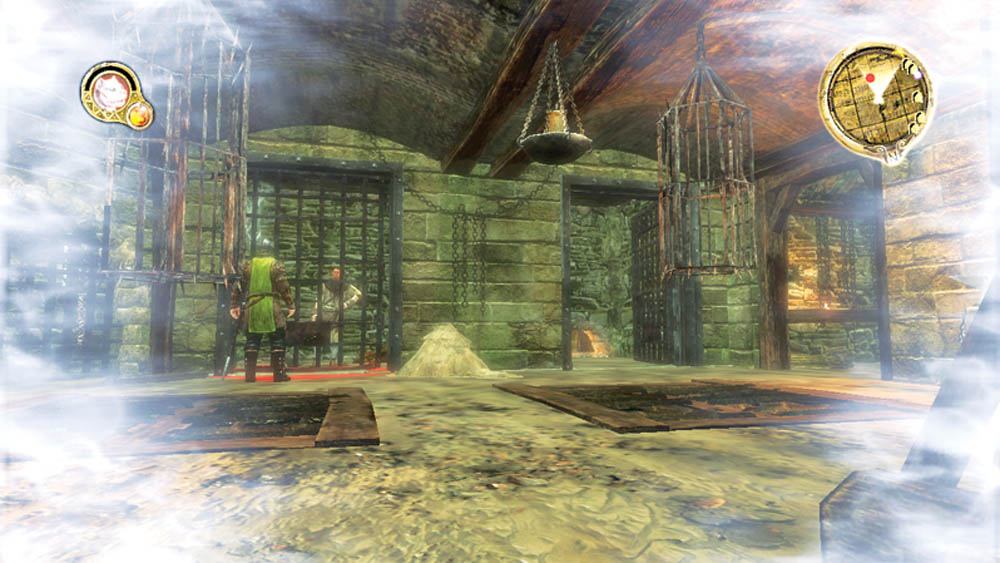
Look for a small hole in the side wall. You can slip through this hole into the adjacent cell, which is open. Follow the guards who just passed by, but don’t get close enough for them to spot you.

Objective Point C
View Map

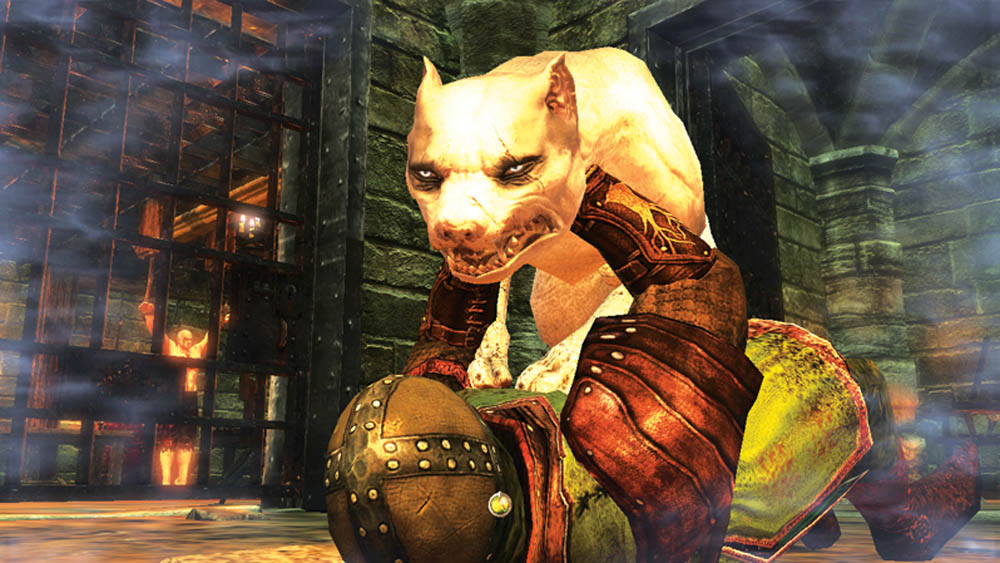
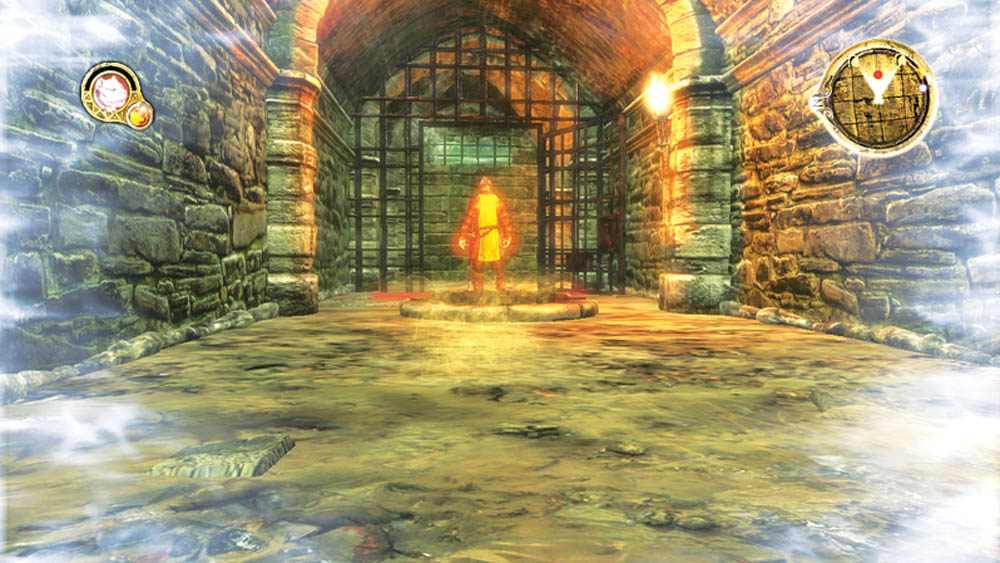
Wait until the guards pass the lone guard standing in the passage. Slowly creep in and sneak attack the guard from behind. One good throat rip will do him in.

Objective Point D
View Map

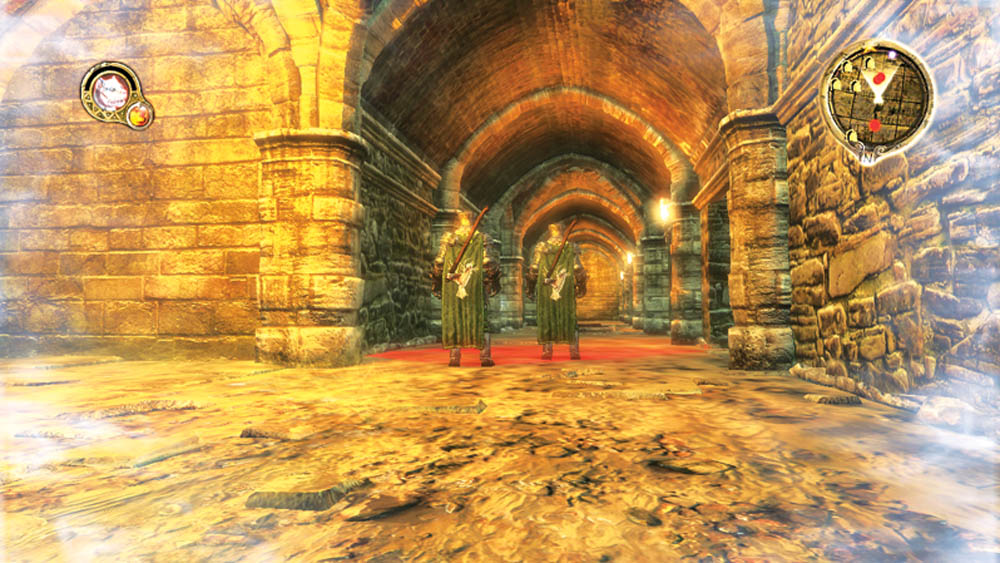
At the next intersection, two guards talk to each other with their backs to you. Quickly slip behind the guards and take the corridor to the left.

Objective Point E
View Map

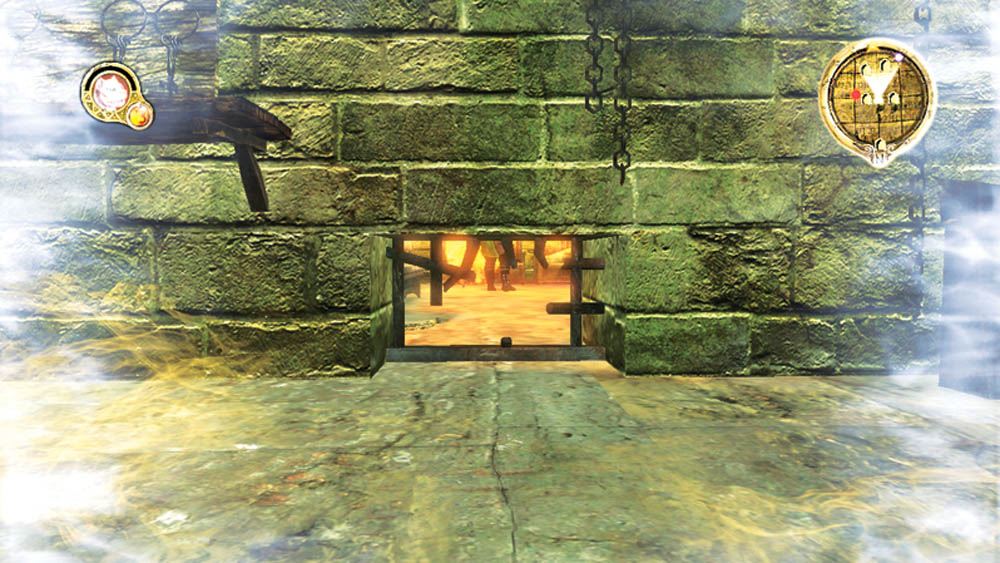
Before you meet up with the next set of guards, duck through the hole in the wall to your right. This brings you into a side room with a guard standing with his back to you. Assassinate the guard before he knows what hit him.

Objective Point F
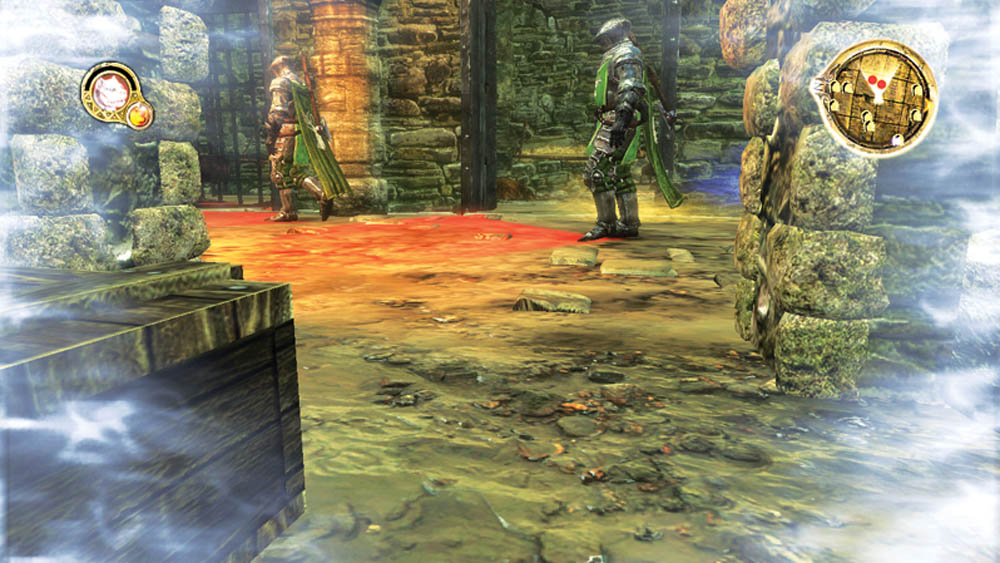
Dodge the guards on patrol in the next corridor section. The best place to hide is an open cell; they won’t detour to check the cells if you hide in the back shadows.

Objective Point G
View Map

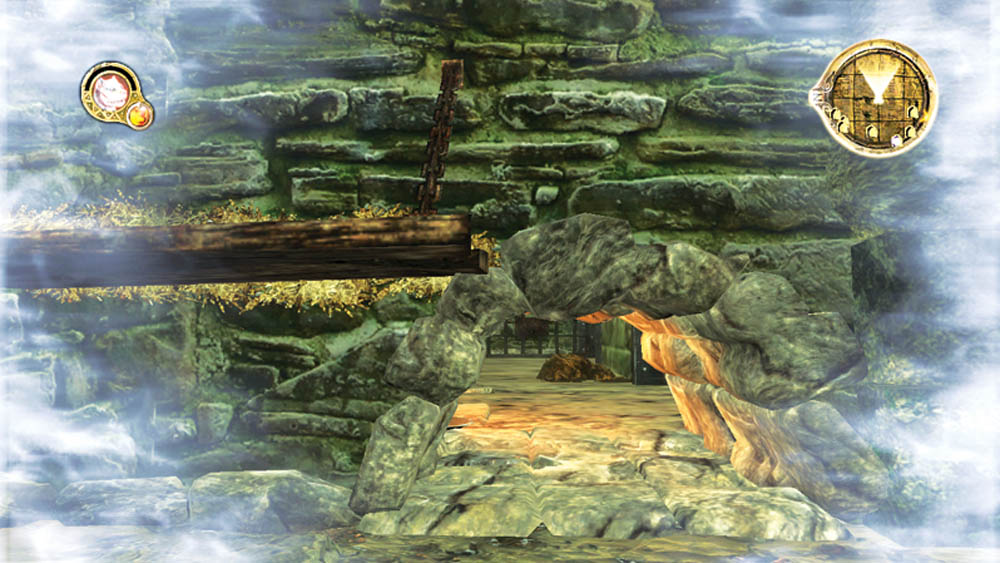
Crawl through another hole and then watch the guards in the next cell area. When they stop to talk with a prisoner, run across the open chamber and into the vacant cell to the right of the guards.

Objective Point H
View Map

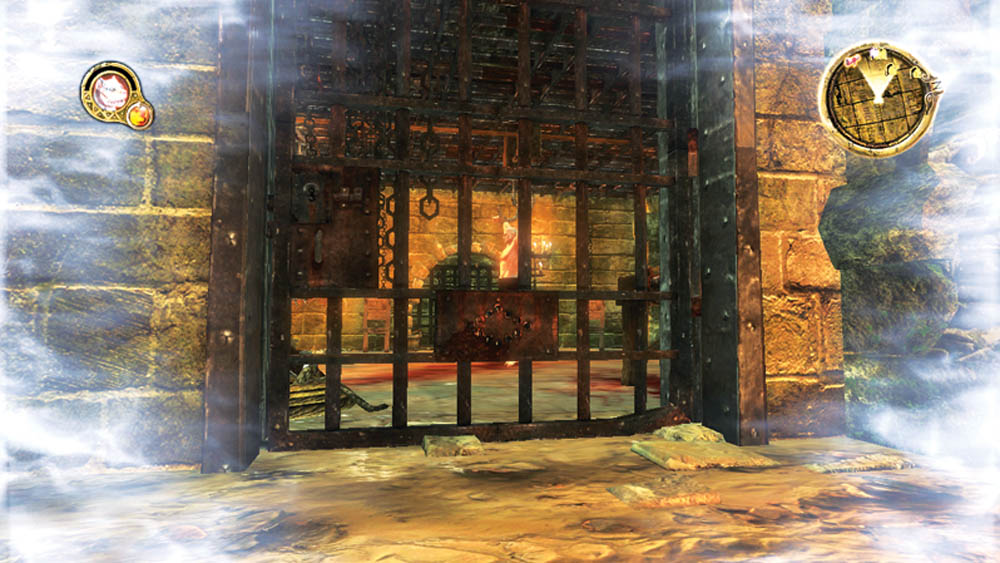
You are now adjacent to Mors’s cell. You can’t free him directly; you have to free the other prisoner first.

Objective Point I
View Map

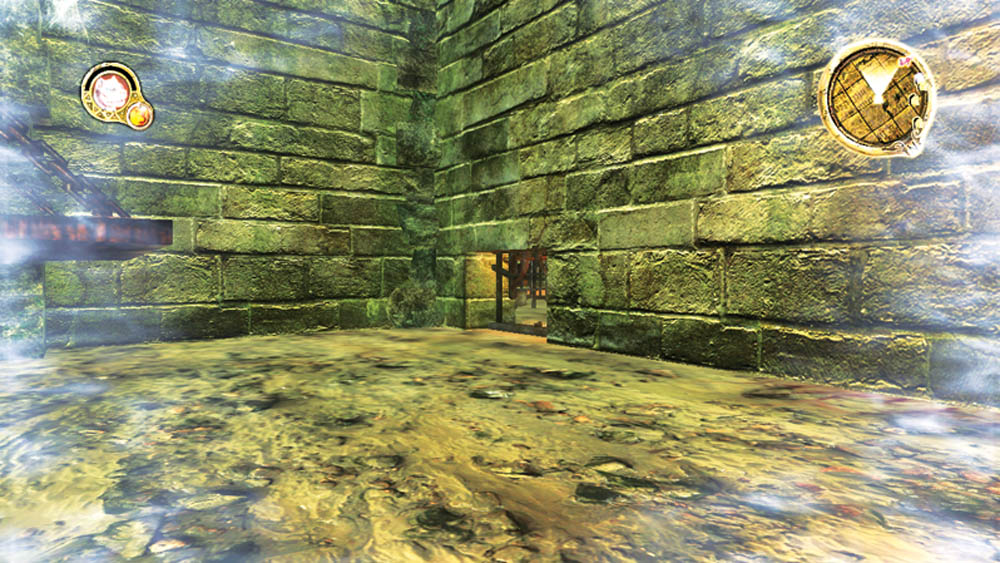
Cut through one last hole in the wall next to Mors’s cell. You are now next to the other prisoner’s cell.

Objective Point J
View Map

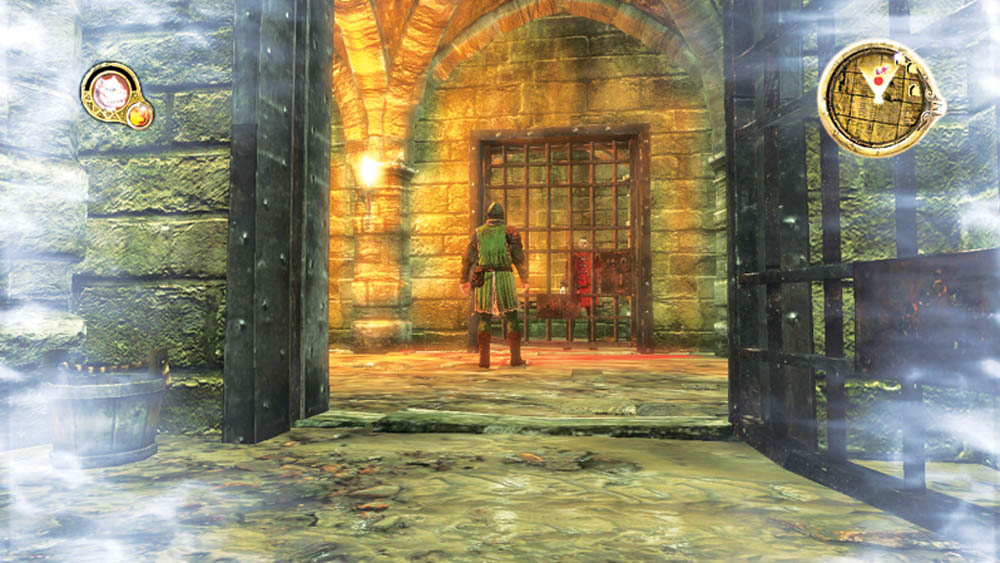
When you emerge from the hole, you appear behind the guard watching over the other prisoner. Run up behind him and go for the throat!

Objective Point K
View Map

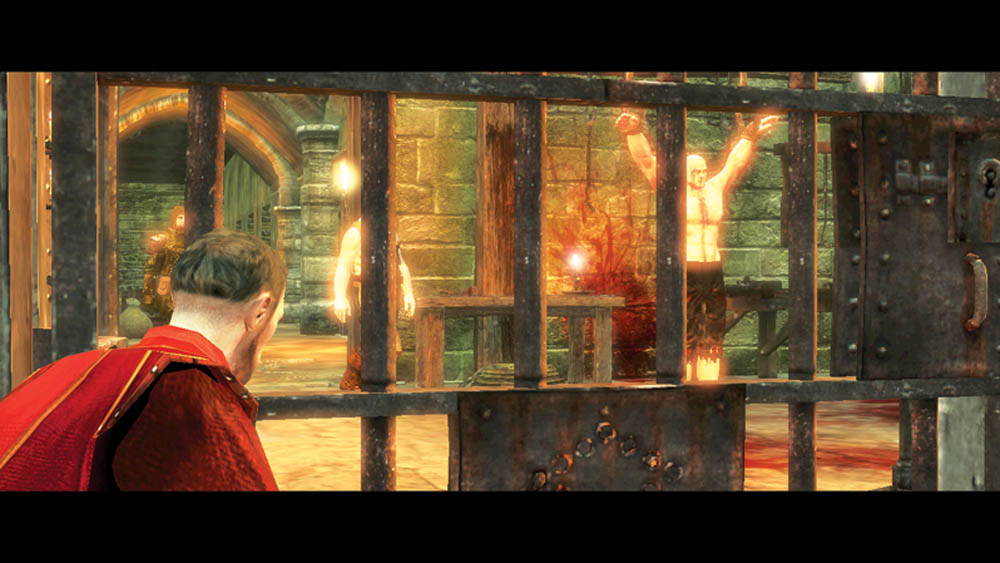
You’ve slipped through the guards as fast as you can, and now you’ve given the other prisoner the means to free himself. The downed guard falls next to the prisoner, and he uses the guard’s keys to open his cell. Even as the prisoner approaches Mors’s cell, you see the torturers have a very unpleasant surprise for your master, and he’ll never be the same again.

Keep reading with a free account

The first 3 sections of Game of Thrones are open to everyone. An account opens the rest of it, and every other guide in the archive. It's free, and there's nothing to buy.

Bought guides on the old Prima Games site? Your account and every guide you own moved here, so there's nothing to buy again. Sign in.

Create a free account Or browse our free guides

PreviousChapter 9: Promise - Castlewood NextChapter 10: Crossroads - Castlewood