
Game of Thrones Guide Walkthrough Chapter 2: For All the Days Gone By
Chapter 2: For All the Days Gone By - Riverspring
Riverspring
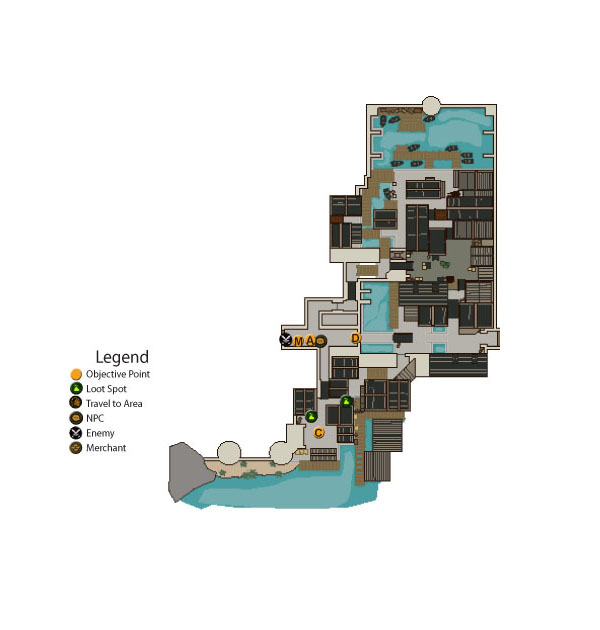
Walk The Streets Of Riverspring And Try To Ease The Situation
Objective Point A
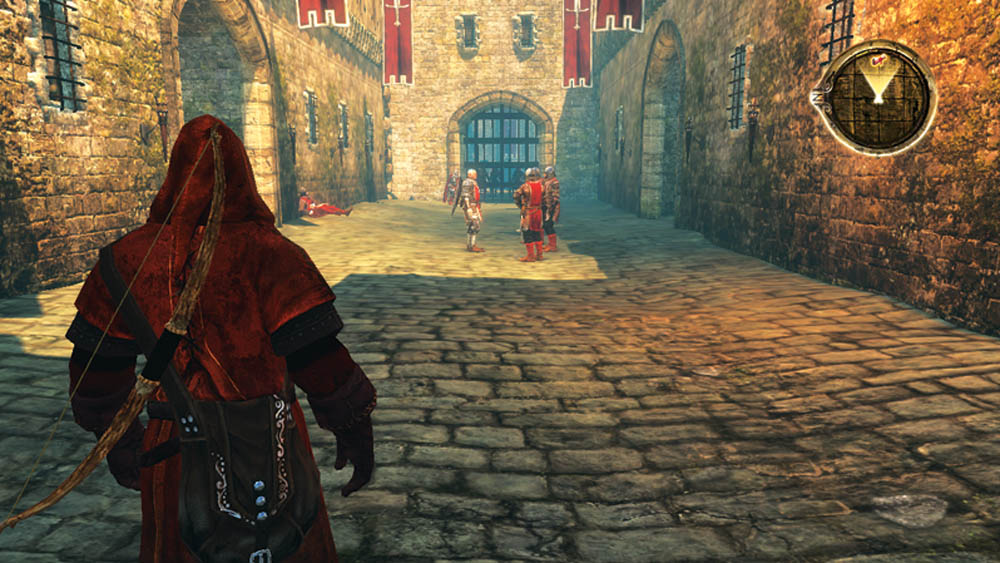
You need to talk with Ryman Sarwyck first. He’s just outside the castle gate at the first intersection. You tell him you want to accompany his patrol as they investigate the riots. Throughout the city, you’ll have opportunities to choose arms or diplomacy to quiet the conflicts. By the end of the riots, the people, nobles, and city guard will respond to your actions and voice their opinions of you as a potential ruler.
Objective Point B
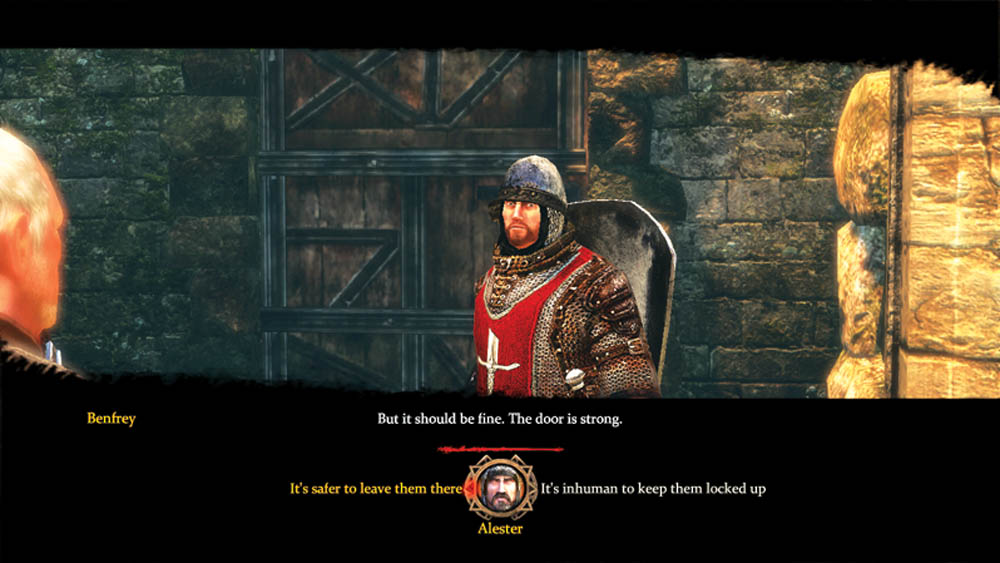
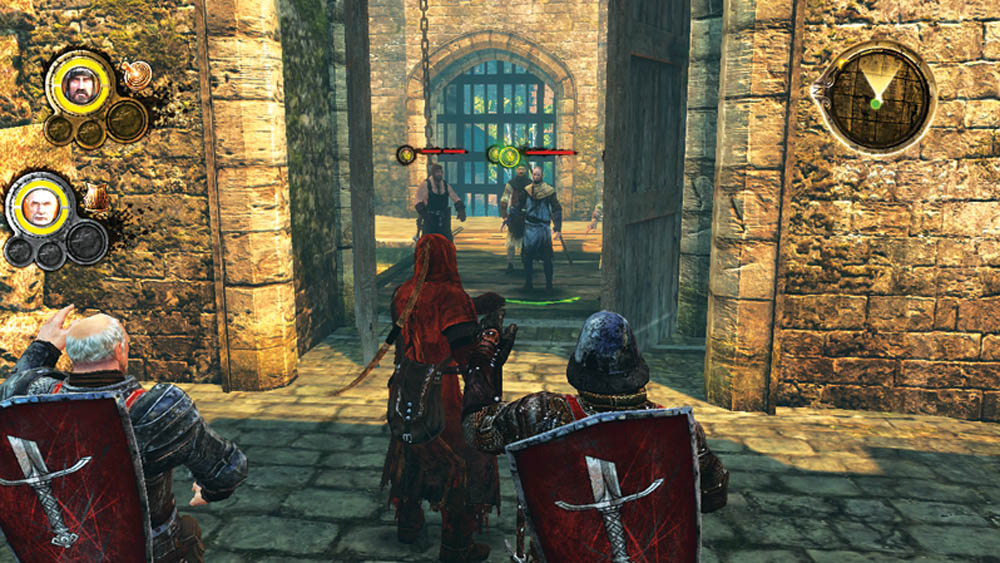
Before you go through the gate into the main streets, you should deal with two closer encounters. To the north, seek out Benfrey, a city guard who has townsfolk barricaded behind a door. He tells you that the mob is ready for violence, and you’re given two dialogue choices: “It’s safer to leave them there” or “It’s inhuman to keep them locked up.” If you choose the first choice, the mob remains contained and harmless. If you go with the second choice to open the door, the mob pours out. They won’t listen to reason, and you have a big battle on your hands. It’s nothing you and Ryman can’t handle, and if you want a little extra experience, cut them down; however, keep in mind that it will affect how the people think of you when the rioting ends.
Objective Point C
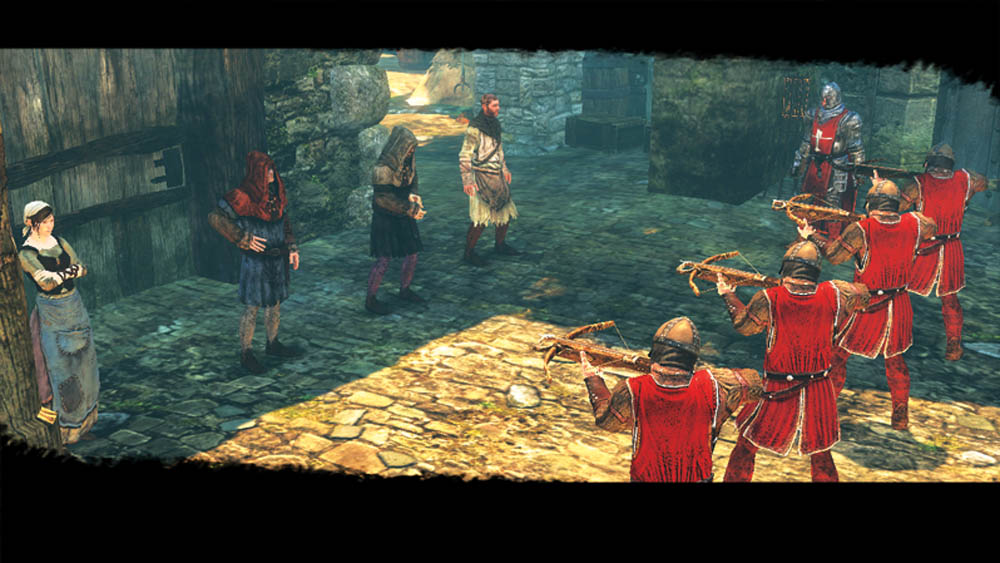
Next, take care of the encounter south of the main gate. The city guards have rounded up four suspects who they believe should be executed for crimes during the rioting. You intervene before the executions start, and you can question each villager and guard pair to determine the real story in each case.
Speak with Alyn first. He’s accused of killing a man in the port during the riots. Alyn knew that the guard was killed with an axe, but he claims to not have been there. You can deduce that he must be guilty, as he would not know how the guard died if he was not present. Sentence him to the dungeons or have him executed.
Next, question Little Leo. He was seen standing over the body of a dead guard. When you interrogate the guard further, you learn that there was dried blood on Little Leo’s knife. There would be fresh blood on the knife if he had just committed murder, so the best course is to free him.
Third in line is Brusco. He’s a known criminal in the port and has been arrested before for misdeeds. This time it appears as if he wasn’t involved in the rioting, but the guards have brought him in under that pretext to deal with his criminal activities. You have a choice: execute him for his past sins, throw him in the dungeons to avoid more unruliness in the future, or let him go free.
Finally, question Mellara. The guard accuses her of burning down his house during the riot; however, when you get to the bottom of the story, the guard raped Mellara’s sister in the confusion. You should have the guard arrested and let the woman go.
Objective Point D
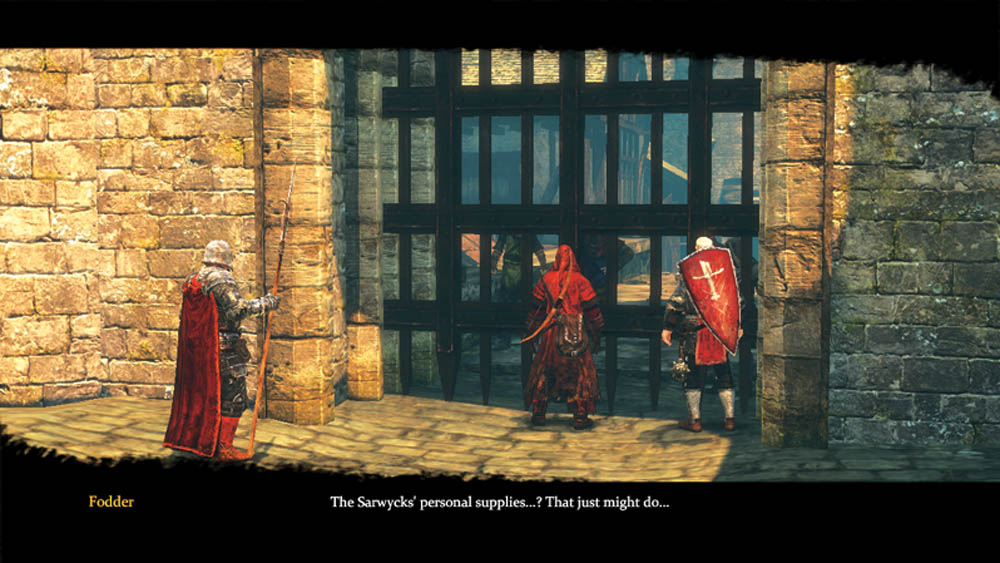
Travel to the main gate. The rioters surround the gate on the far side and complain about starvation in the streets. You can tax the nobles to pay for more food (making the nobles unhappy), threaten them with force (making the townsfolk unhappy), or distribute the castle’s extra food (making the townsfolk happy).
No matter what you choose, the mob will disburse and you can continue deeper into the city.
Encounters are marked on your Riverspring map. Word balloons are optional encounters; those marked with a scroll are mandatory to progress the story line.
Objective Point E
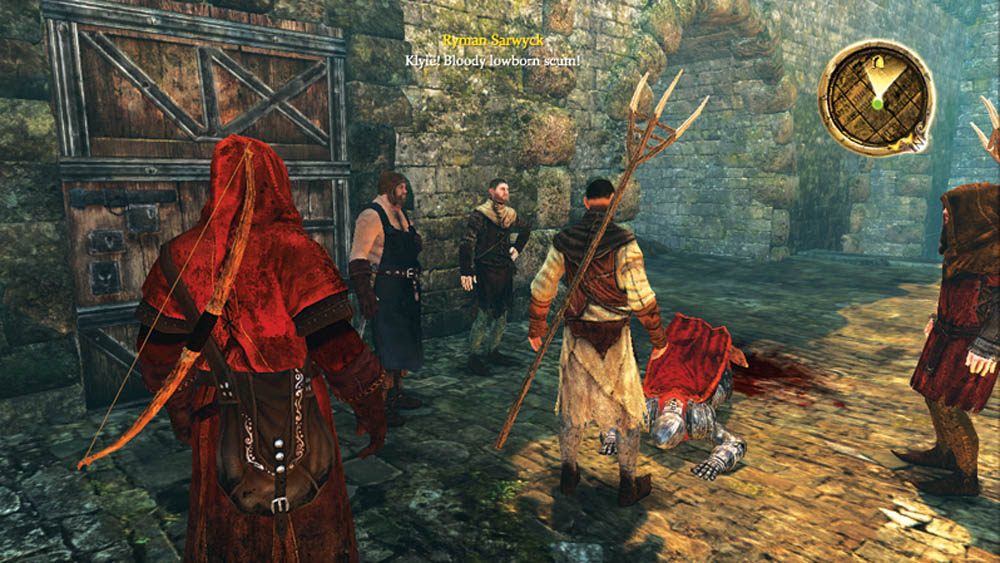
To the right as you exit the bridge after the main gate, a group of armed townsfolk are attacking a city guard. As soon as you approach, they turn and attack you. Have Ryman use Taunt to draw their attention while you swiftly cut down a couple of them and make it a more even fight. With minimal weapons and armor, they shouldn’t prove too difficult.
Objective Point F
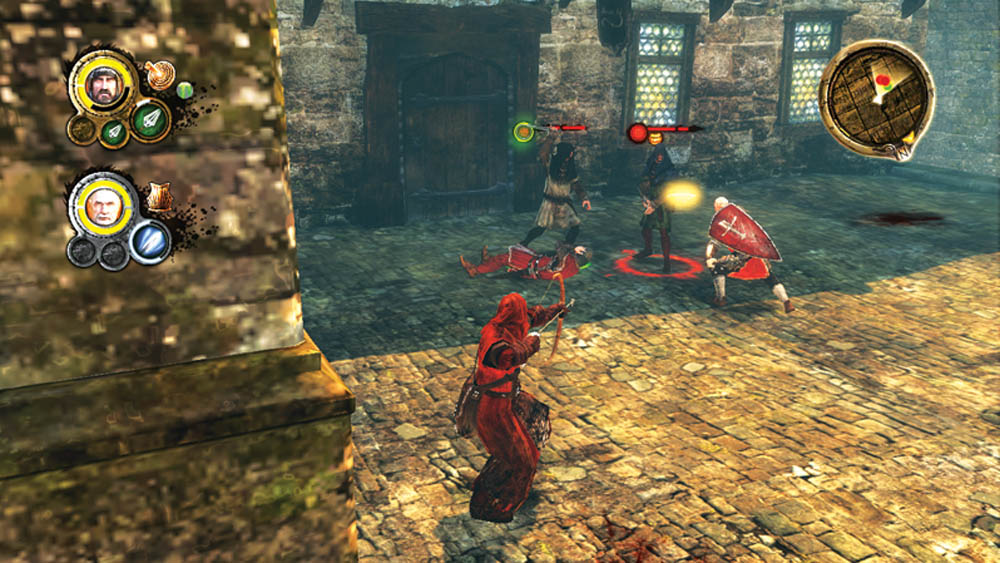
In the next courtyard, more rioters attack the city guard. Go with a similar attack pattern: Ryman takes on the largest group with Taunt and Daze Strike, while you pick off any stragglers with your better abilities. Since these battles are relatively small and short, don’t worry so much about conserving energy—take down your targets quickly so they can’t gang up on you.
When you drop the final enemy, you’ll be given a choice to show mercy or not to their leader, Big Bludgeon. If you show mercy, your approval with the townsfolk will increase.
Objective Point G
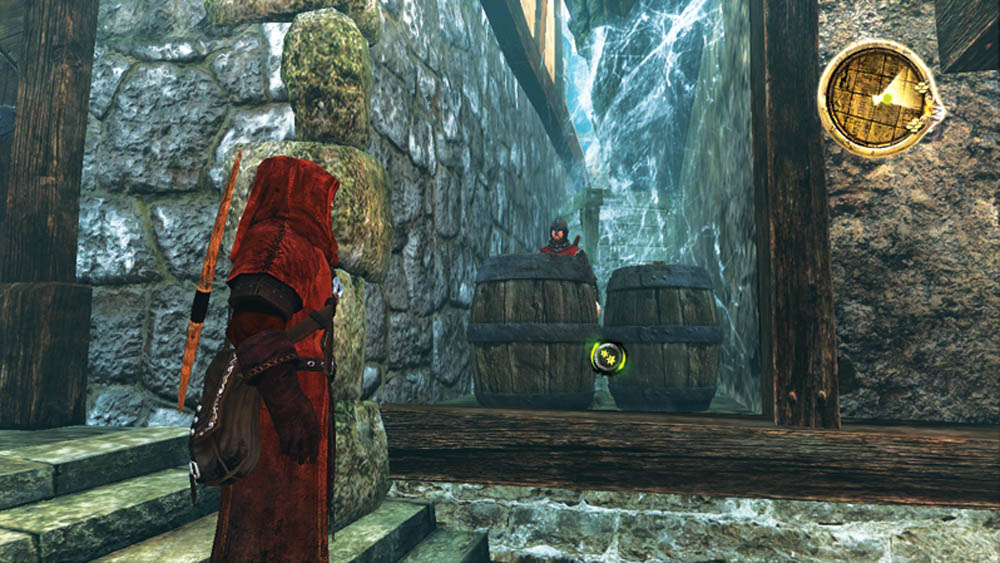
As you approach the market square, a city guard named Hother hides in an alcove to the left of the stairs. He explains that there is a huge mob in the market square below, and the guards with their crossbows would be no match for charging pitchforks, so they were forced into hiding. You order the guards to the rooftops with a threat of force if needed.
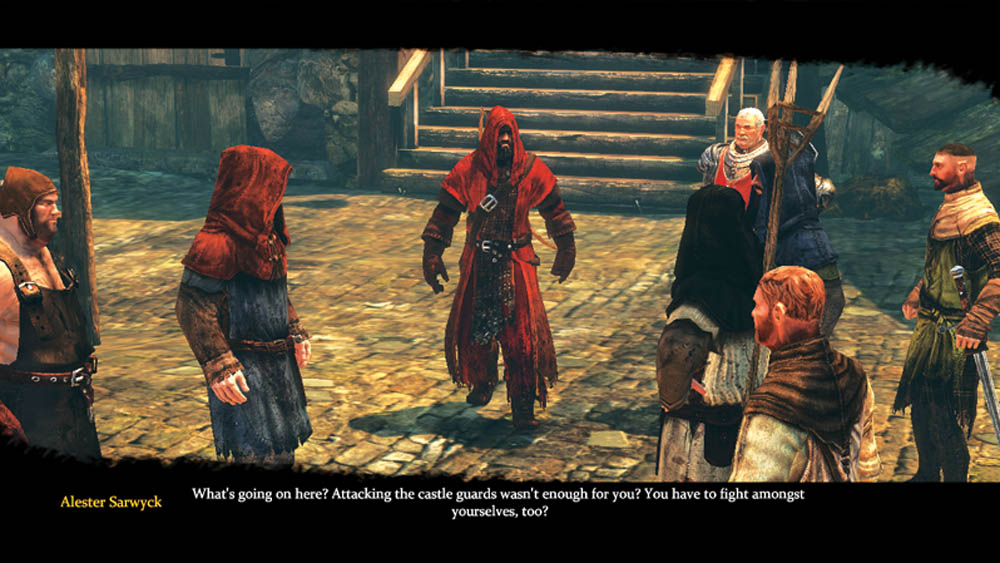
Two sides argue in the market square whether to riot or not. You step into the middle of the heated discussion and have three choices: intimidate them with the crossbowmen, suppress them with your melee weapons, or offer them food. If you want to avoid combat, offering food is your best option. You can give them the food from the castle, and then the townsfolk will ask you to swear by the Seven Gods on it. This brings up a dialogue choice: “They are not my gods,” “I swear by R’hllor,” or “Well, if that’s what he wants to hear...” If you choose either of the latter choices, you will avoid combat and disburse the mob. If you choose the first option, the mob attacks.
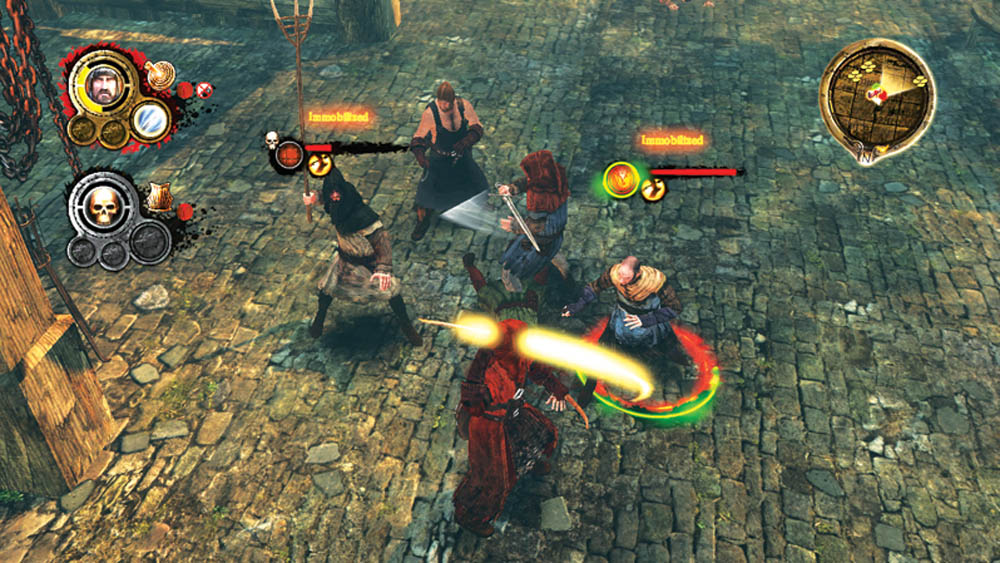
Prepare for a potentially deadly situation if you incite combat. Per standard procedure, Ryman should engage the largest group, but he won’t last long without serious help. Prioritize wounded enemies to take them quicker and remove their attacks from the equation. If Ryman is failing, take control and immediately activate Quick Fix for a health boost. Rely on your stuns, knockdowns, and immobilize effects to even the odds. After a long fight, collect any loot from the bodies. Before you leave the market square, check out all the merchants’ wares. If you have enough coin, you might want a weapon or armor upgrade. Later, you’ll likely want to return to stock up on flasks and potion supplies for the difficult journey ahead.
Objective Point H
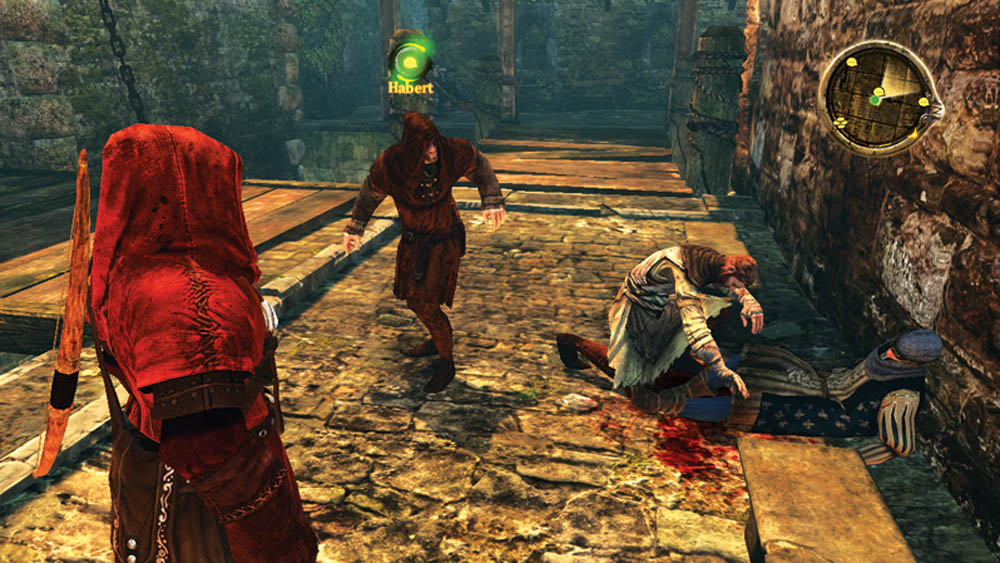
You witness a mugging in progress here. Speak with the thug Habert and you can pacify the situation with your faith and understanding.
Objective Point I
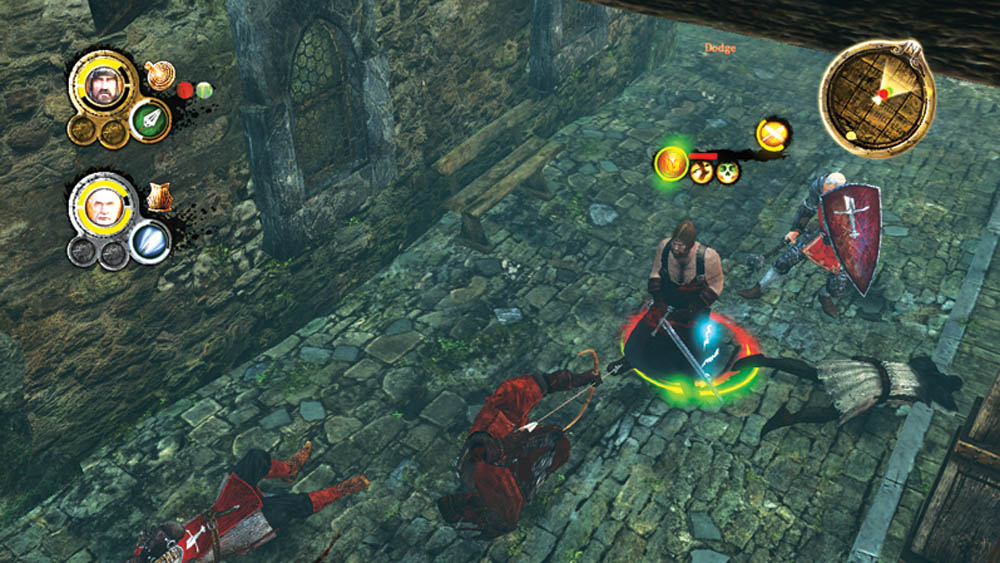
Continue west to the next encounter. More rioters have attacked the city guard, and only one is left. Intervene to save the guard and take down the rioters. After the battle, search the bodies for loot, including a Rapier, which should be an upgrade to your existing one-handed weapon.
Objective Point J
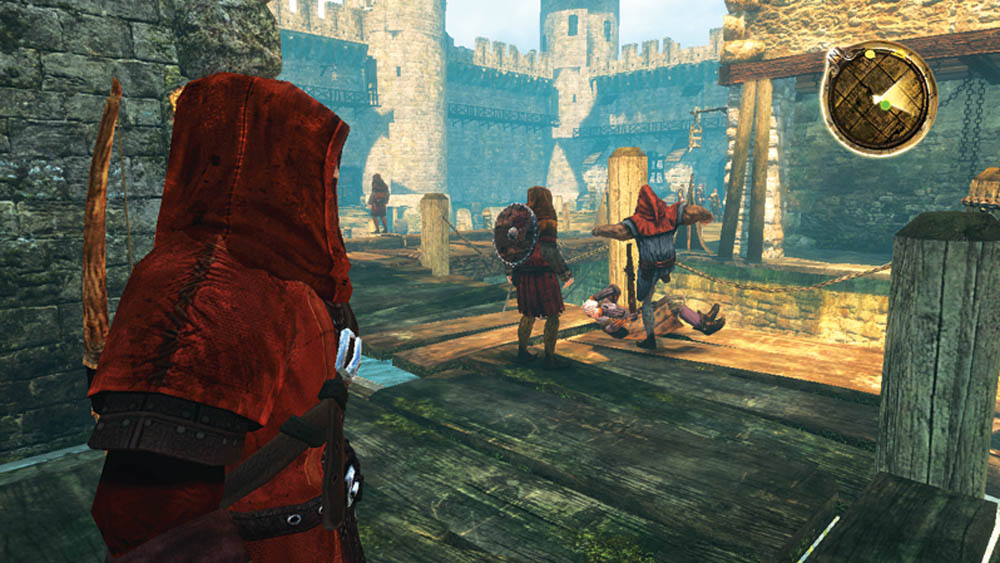
Head to the docks where more violence is occurring. It’s a smaller battle, though these thugs are a little better armed. After the fight, you can choose to show mercy on the leader and improve your standings with the townsfolk.
Objective Point K
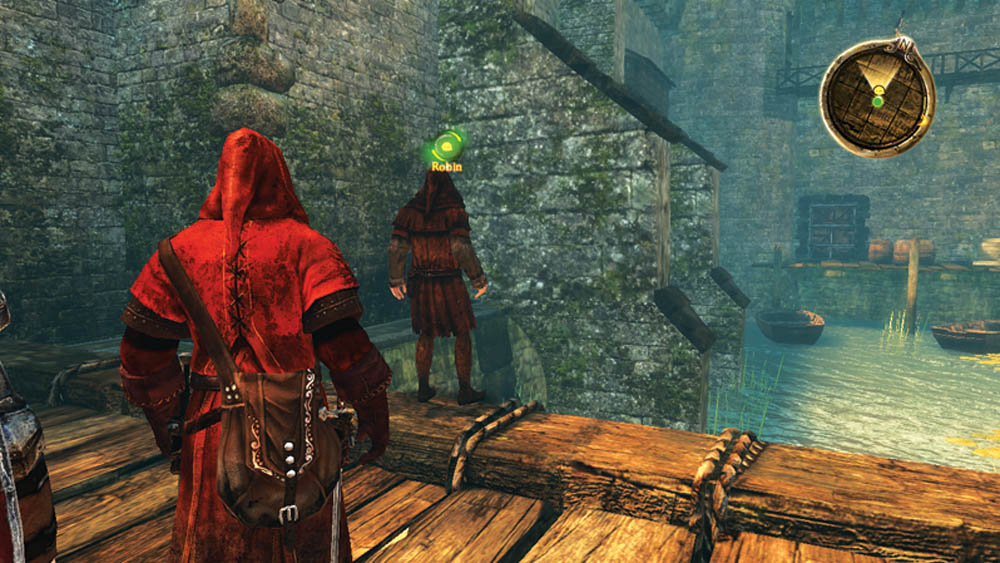
You meet up with a man here who has lost his family in the rioting. He’s contemplating suicide. If you talk to him about R’hllor, you give him hope. He decides not to jump and considers religion as an answer to his despair. He also becomes a red priest merchant in Riverspring Godswood after the chapter 4.
Objective Point L
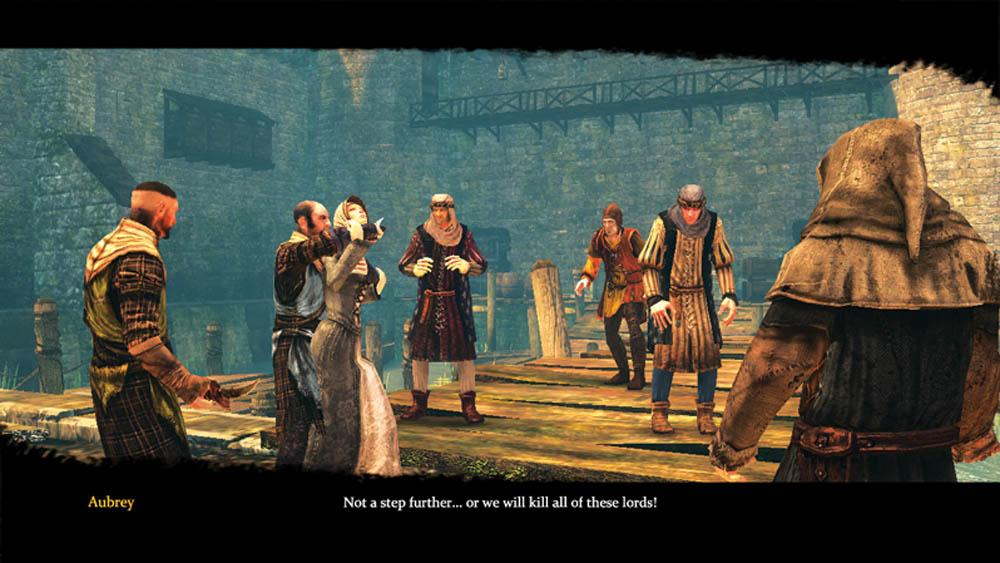
Head east along the docks. A group of rioters threatens the nobles who attended your father’s funeral. You can either try to calm them down or outright attack them. If you negotiate, you can let them take the nobles’ jewels or ask Ryman to give them his coin pouch. Both will bribe the rioters to release the prisoners; otherwise, you have another large-scale battle on your hands.
Objective Point M
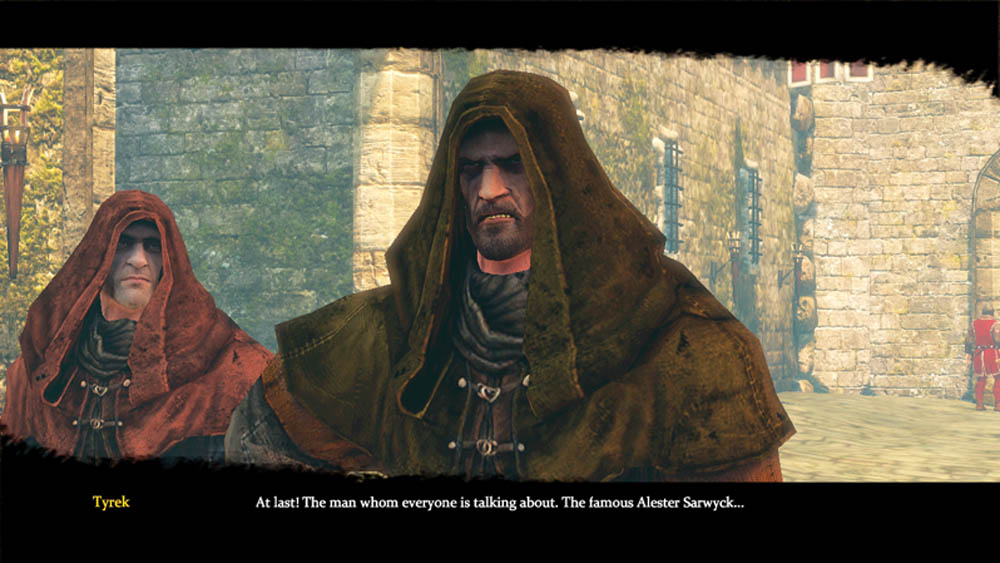
Return to the castle gates. Tyrek wishes to speak with you about his revolt. You know from your past dealings with the man that he’s dead set on leading the townsfolk against the current order. No matter your words of wisdom, violence is inevitable.
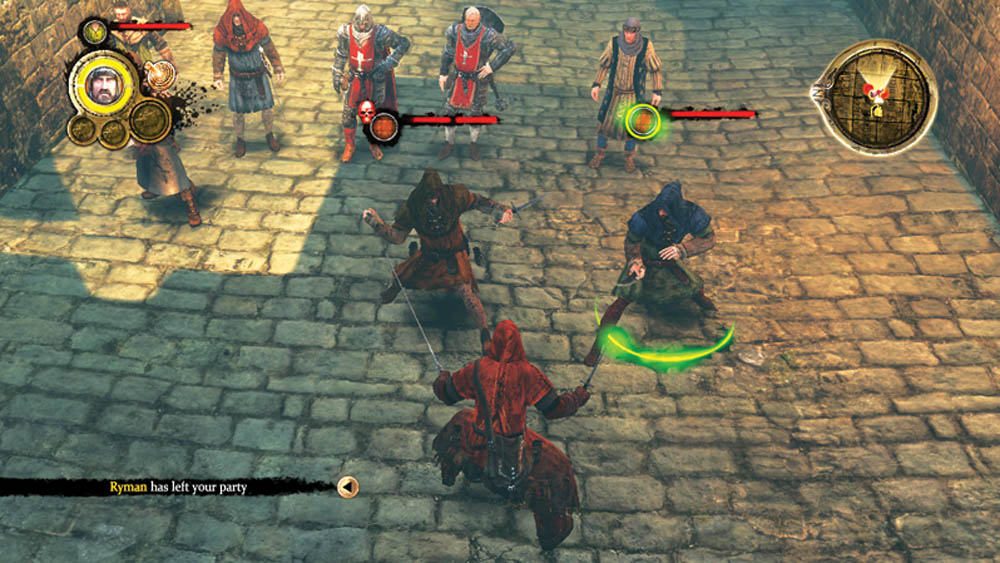
To prove your honor, you order Ryman to stand aside and you battle Tyrek and his lackeys yourself. Stun or immobilize as often as possible to reduce incoming attacks, and switch to cutting weapons to maximize your damage against their light armor. One has no armor, so target him first and bring him down quickly. Switch to the other lackey and drop him before they can team up on you too badly. Leave Tyrek for last and throw your best abilities at him. You may need to execute a Recovery move in the middle to regain energy for your more potent abilities, which is fine so long as you don’t have multiple foes slashing away at you.
With some superior tactics, you’ll triumph and bring Tyrek to his knees. You can kill him or let him live in your dungeons and serve as an example of your mercy. Finally, the riot is quelled and you can return to the castle to speak with Harwyn about your brother.