
Game of Thrones Guide Walkthrough Chapter 13: Bound
Chapter 13: Bound - Castlewood
Castlewood
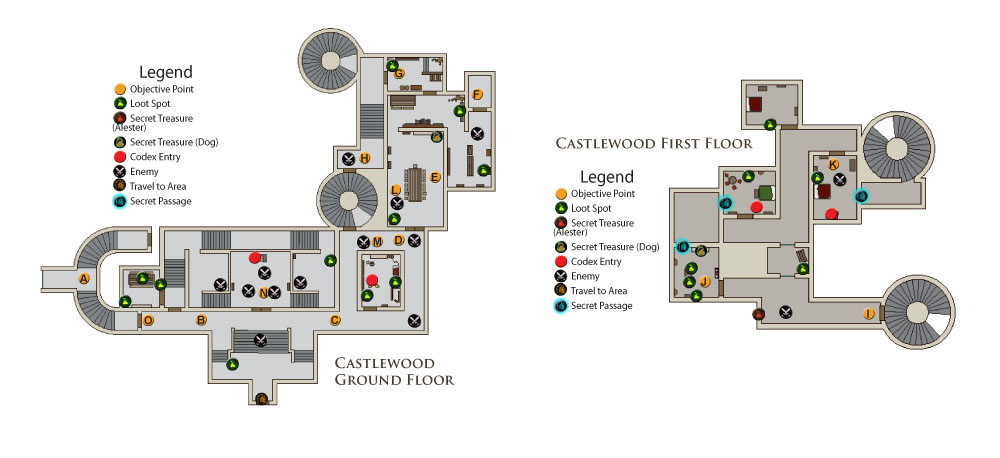
Jeyne Is Being Held Somewhere In The Castle. Find Her And Free Her.
Objective Point A
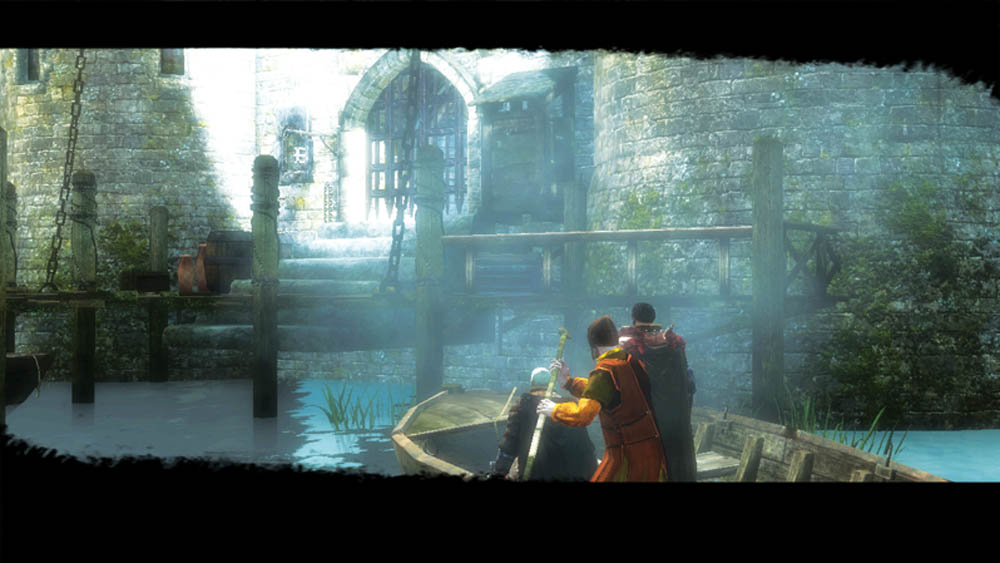
Victor drops you off at the unguarded side entrance and you infiltrate the castle unseen. Climb the steps and meet up with Dog on the next landing. Since Mors’s dog just came from sitting next to Jeyne, he can trace a scent trail back to her.
Objective Point B
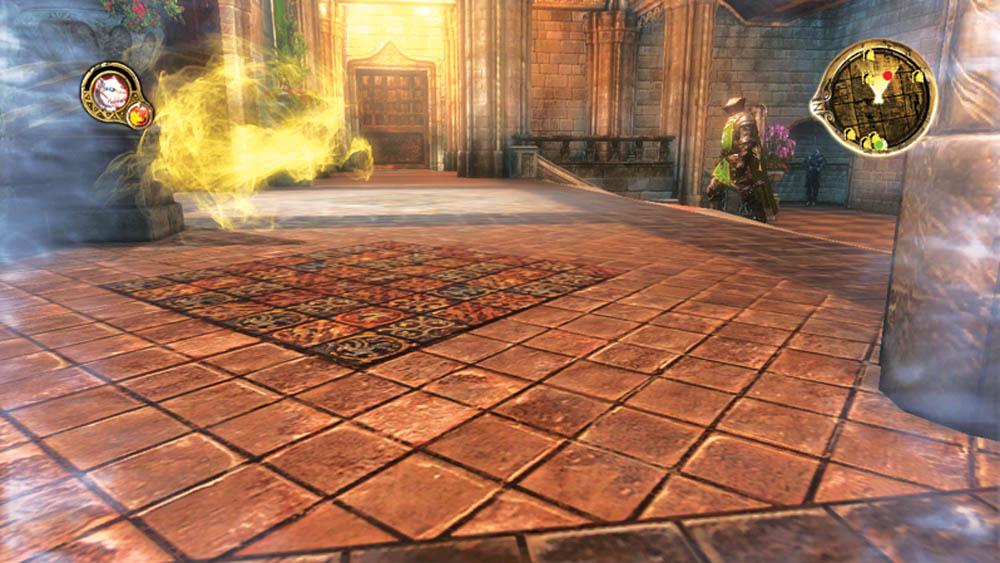
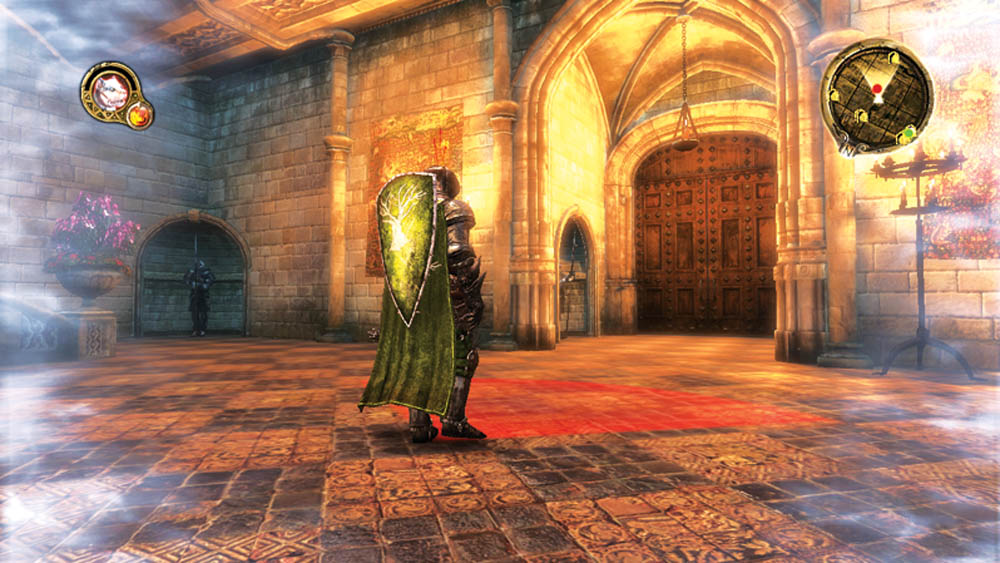
When you reach the entrance foyer, wait in the shadows and watch the lone guard pace back and forth from the main door to the throne room. Time a canine sneak attack for when the guard marches toward the main door and has his back to you. Rip out his throat before anyone else has a chance to notice, revert back to Mors, and then take the entire party across the foyer and through the door on the opposite side.
Objective Point C
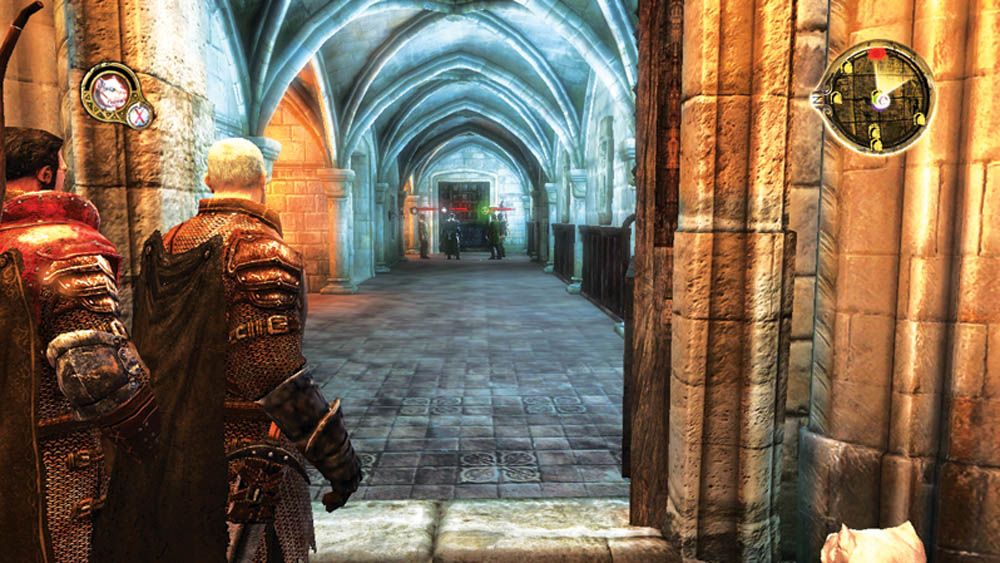
You’ll see a large group of guards at the end of the next hallway. You don’t have to fight them! The scent trail turns left and into the side hallways. Wait for the guard in that hallway to continue his patrol to the opposite corner, where he talks with another guard for a few seconds; then the second guard joins the large enemy group that you first saw.
Objective Point D
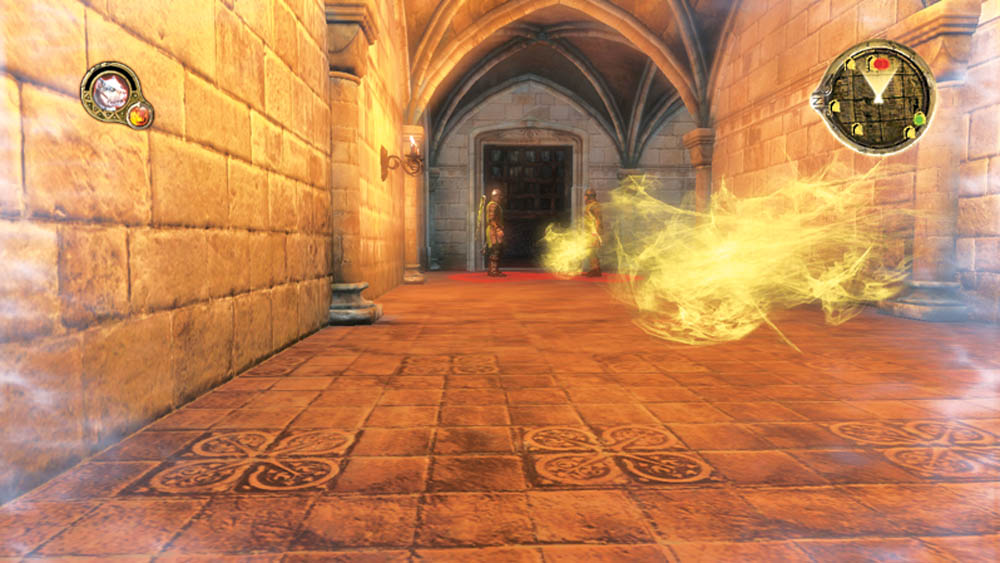
The lone guard is far away enough from the large enemy group that Dog can assassinate him without alerting the other nearby enemies. Quickly run the whole party down the side hallway, past the dead guard, and through the next door.
Objective Point E
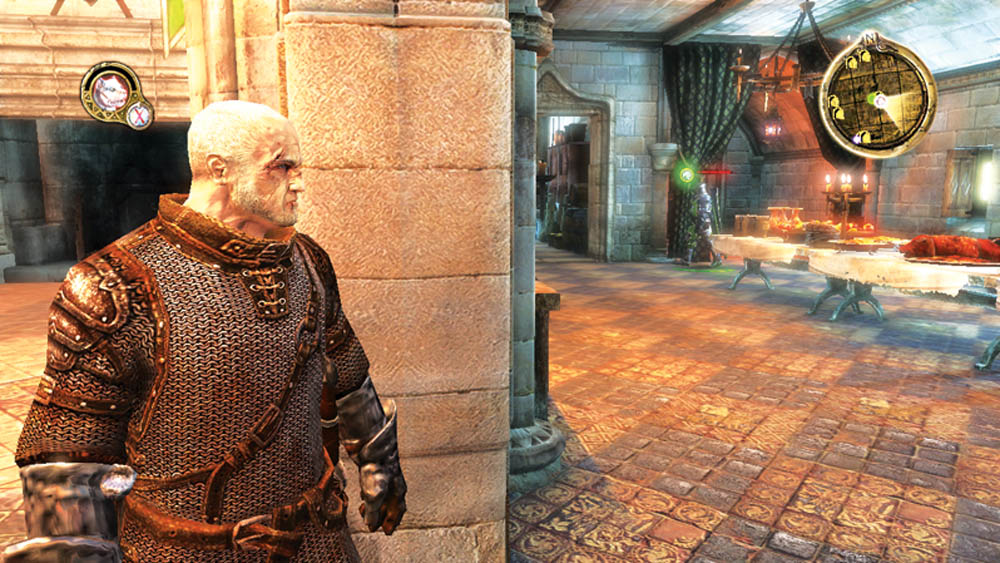
You are now in the dining hall. Watch for the patrolling guard on the hall’s far side; when he disappears into the storeroom to the north, creep up to the doorway separating the main dining room from a side dining room.
Objective Point F
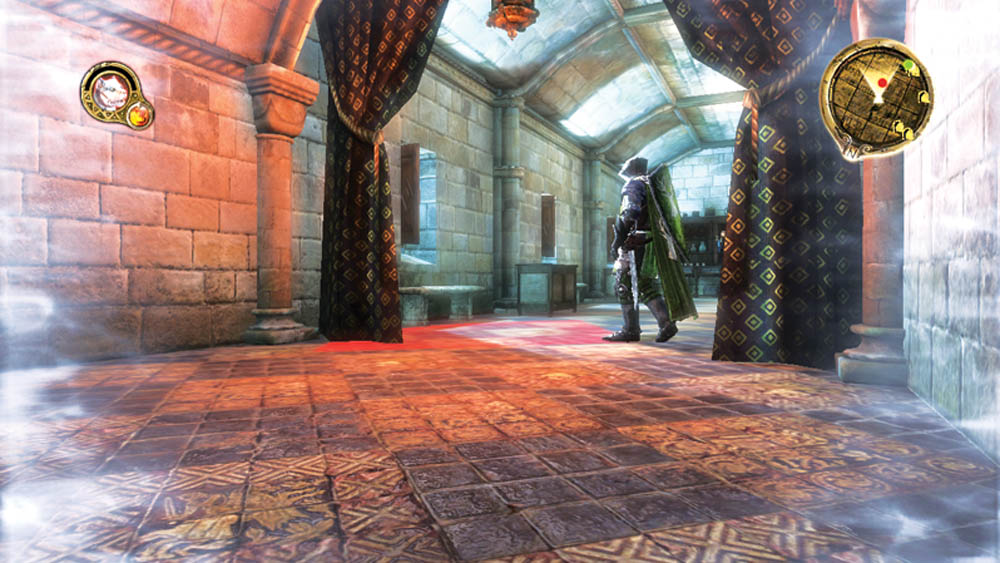
Switch to Dog and scamper into the side alcove in the northeast corner of the second dining area. The guard will walk past the opening of this alcove and present his back to you as he loops back on his route. Strike when the guard is most vulnerable and make sure your teeth are faster than his sword.
Objective Point G
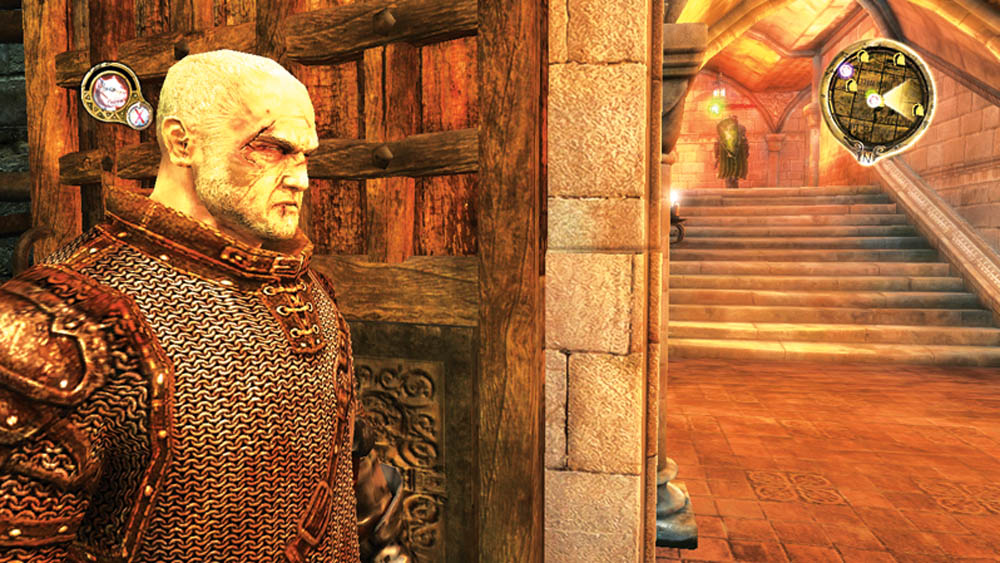
Snatch the Key to Castlewood Cellar off the dead guard and continue into the storeroom. Pass through the next room and open the door leading into the stairway that leads to the main stairwell. Wait in the doorway until the guard mounts the steps and stands in front of the door on the landing.
Objective Point H
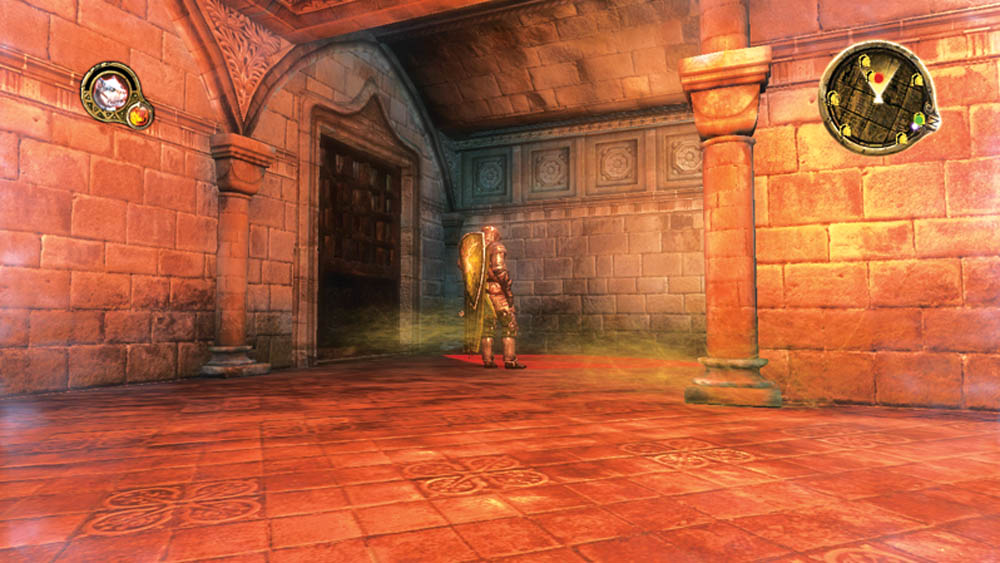
Sneak up on him with Dog and eliminate him without raising the alarm. Open the door into the stairwell and take the stairs to the first floor.
Objective Point I
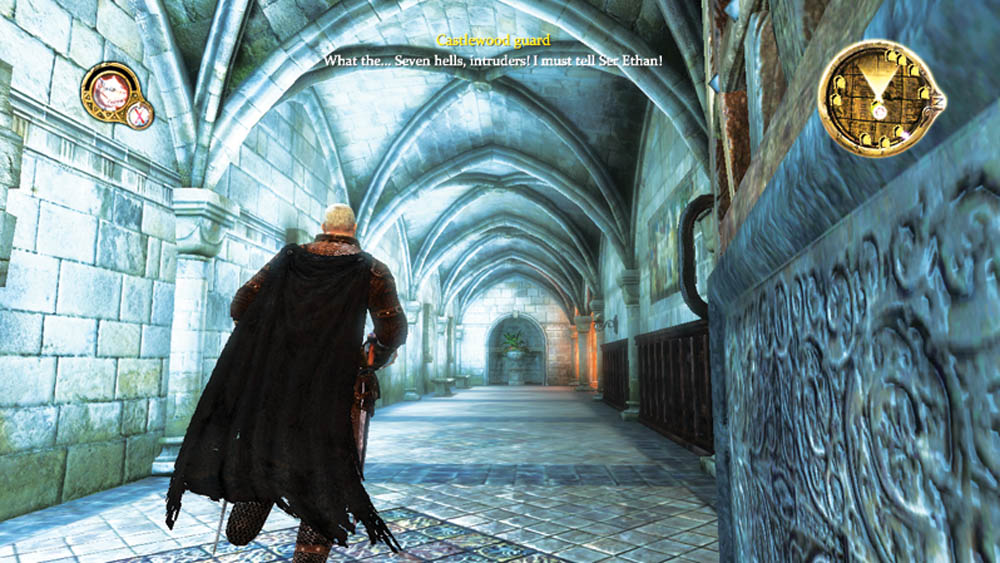
Unfortunately, despite your stealth, when you open the door onto the first floor, one of the guards spots you from down the long hallway, runs to alert the others, and locks a gate behind him. You can still try to kill him with Dog since the door has a hole.
Objective Point J
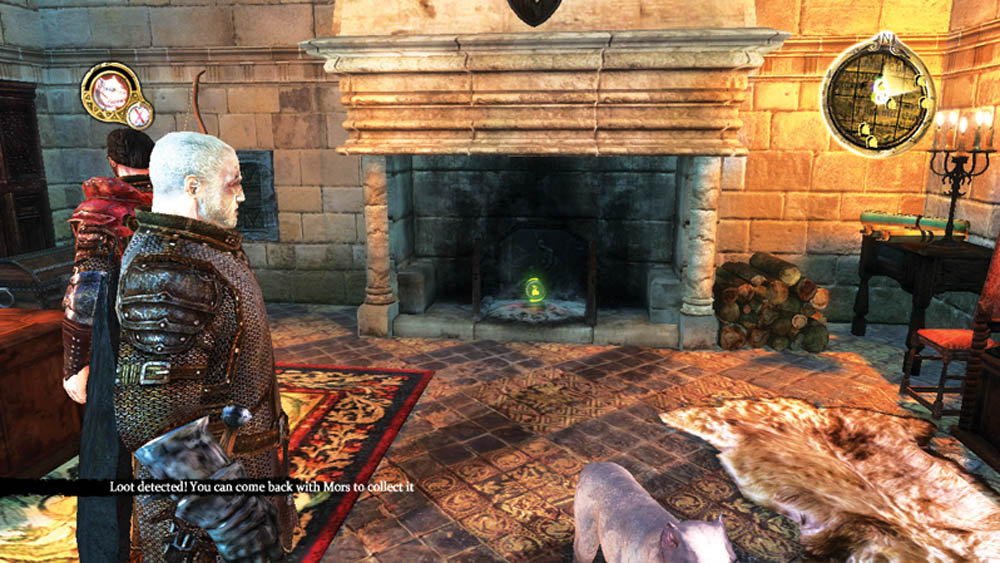
You can’t get through the locked gate yet, but you can enter Harlton’s nearby office. Search the room for various items of interest in plain view: a Missive from Beyond the Narrow Sea Codex entry, the Stormbreaker two-handed sword, and a letter from Raynald Sarwyck addressing his concerns about the Brotherhood’s troublesome course of action. The item you need, however, is hidden. Switch to Dog and have him sniff out the blue treasure scent that leads to the fireplace. Revert to Mors and grab Harlton’s Bunch of Keys from the fireplace ashes. You can also go past this gate with a secret passage in Harlton’s office. Use the Sight of R’hllor next to the fireplace to find it.
Objective Point K
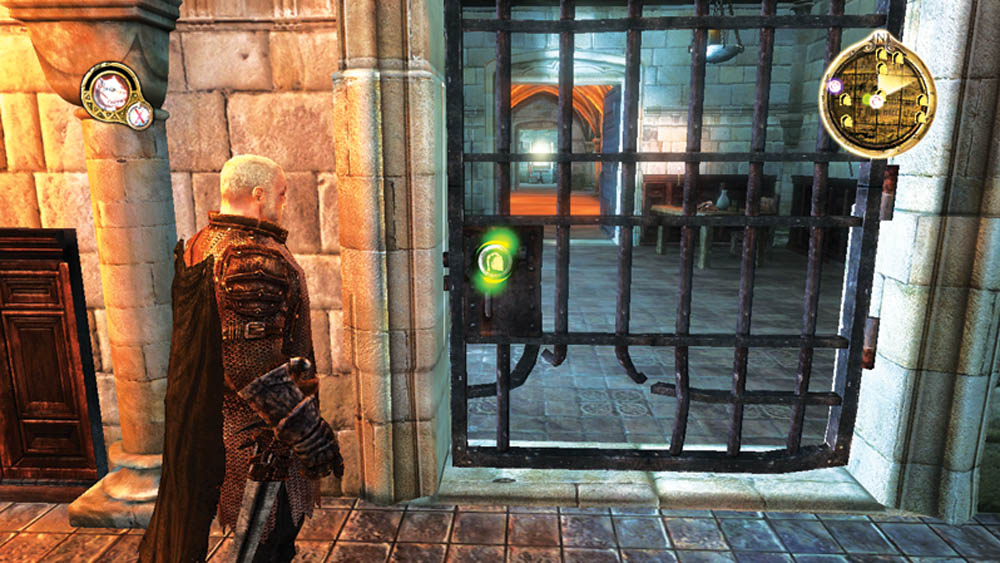
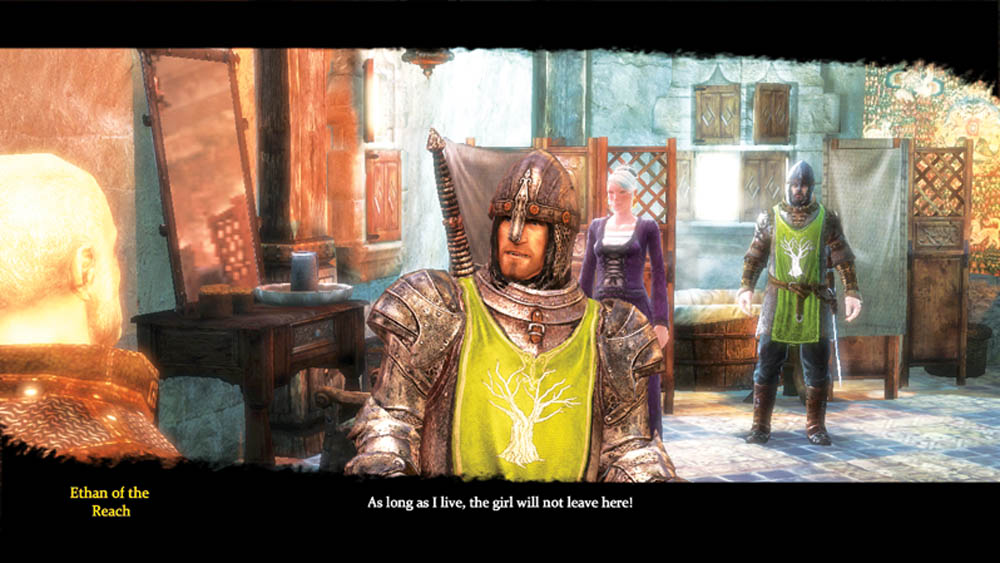
Open the locked gate with Harlton’s keys and race down the corridor when you hear Jeyne’s cries. Turn the corner and burst through the door to confront Jeyne’s aggressors. Harlton’s man Ethan holds Jeyne hostage and won’t release her.
You Must Defeat Ethan Of The Reach And His Men To Free Jeyne.
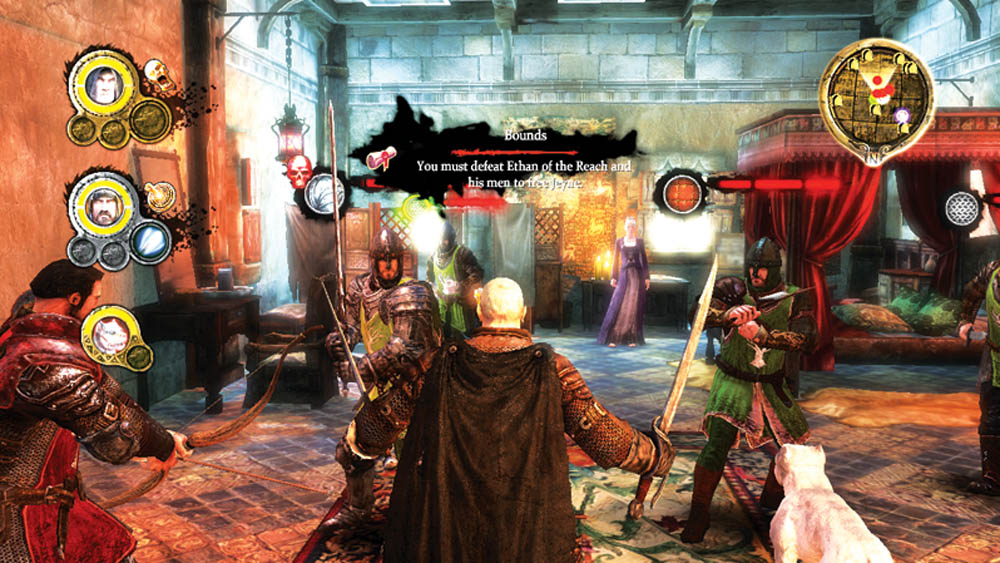
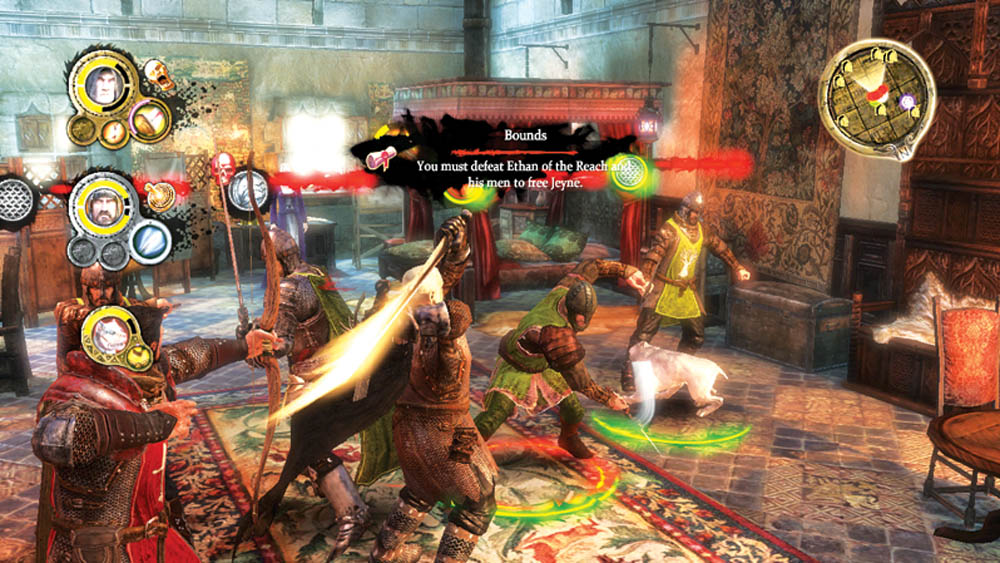
The battle against Ethan and his men occurs in a small bedchamber. You don’t have much room to maneuver, and the close confines can work against you or for you, depending on your tactics. The guards have the numbers, so they have the immediate advantage of landing many attacks from which you can’t escape. However, because of the tight quarters, your area-of-effect attacks and stuns will affect almost everyone at once. Alternate potent abilities between Mors and Alester to keep the enemies from gaining offensive momentum, and send Dog to immobilize the most problematic target (likely Ethan).
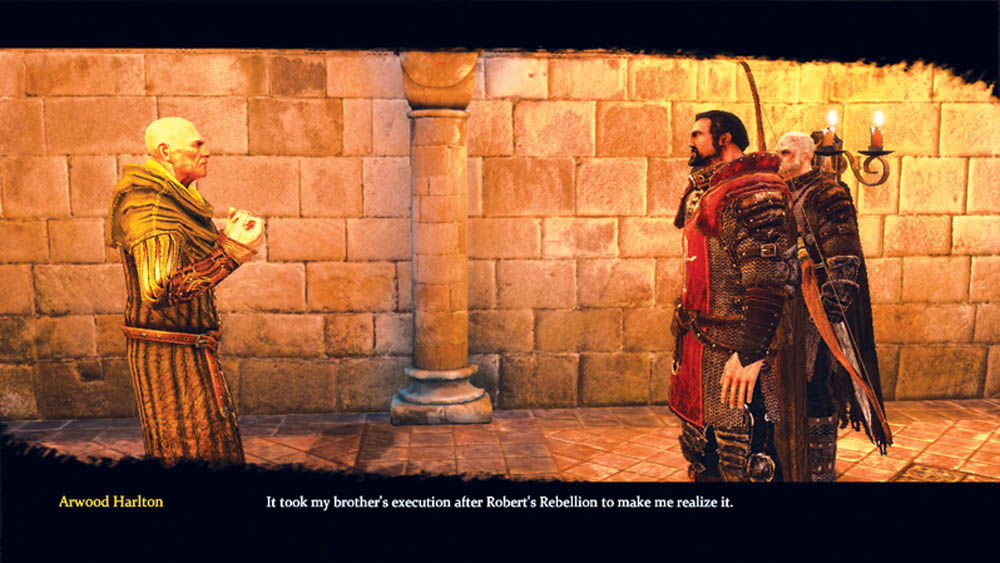
After you defeat Ethan and his men, you attempt to escort Jeyne quickly out of the castle. She’s going to give birth any minute, so time is running out. Alas, time is also not on your side—at the very moment you decide to leave, Lord Harlton and a small army check on the disturbances and meet you in the hallway. There’s no convincing the madman of his errors, so you’re forced to retreat back to the room with Harlton’s guards banging on the door and out for blood.
Find A Way To Flee Quickly.
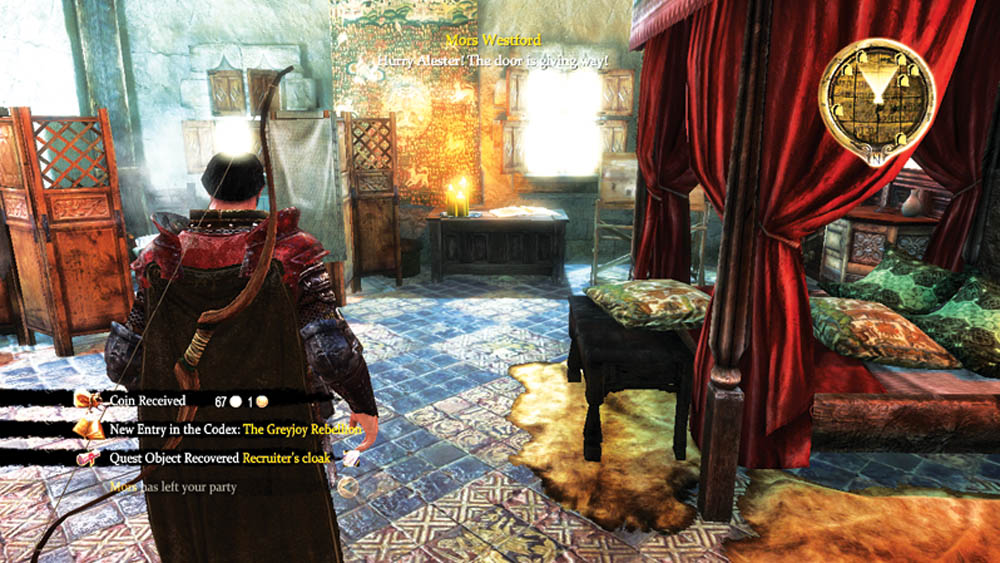
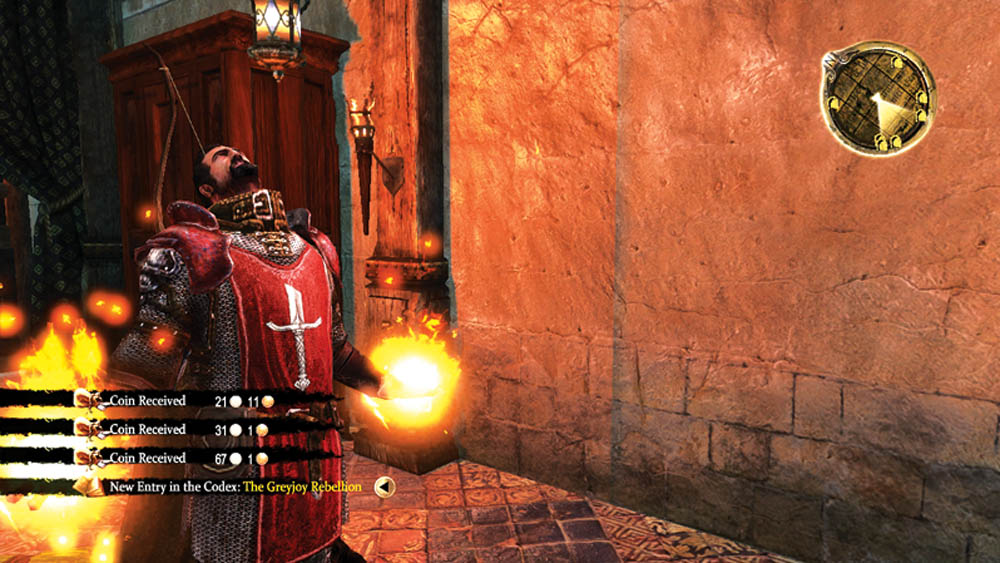
With Mors holding the door, Alester should search the room. You need to find a secret passage leading out of the room, so use Vision of R’hllor near a shimmering in the air next to the torch on the empty wall. A panel will slide up and reveal a small area connecting the bedchamber to the main stairwell. Take the stairs back down to the ground floor and prepare to battle your way out of the castle.
Fight Your Way Through Harlton’s Army To Flee Castlewood.
Objective Point L
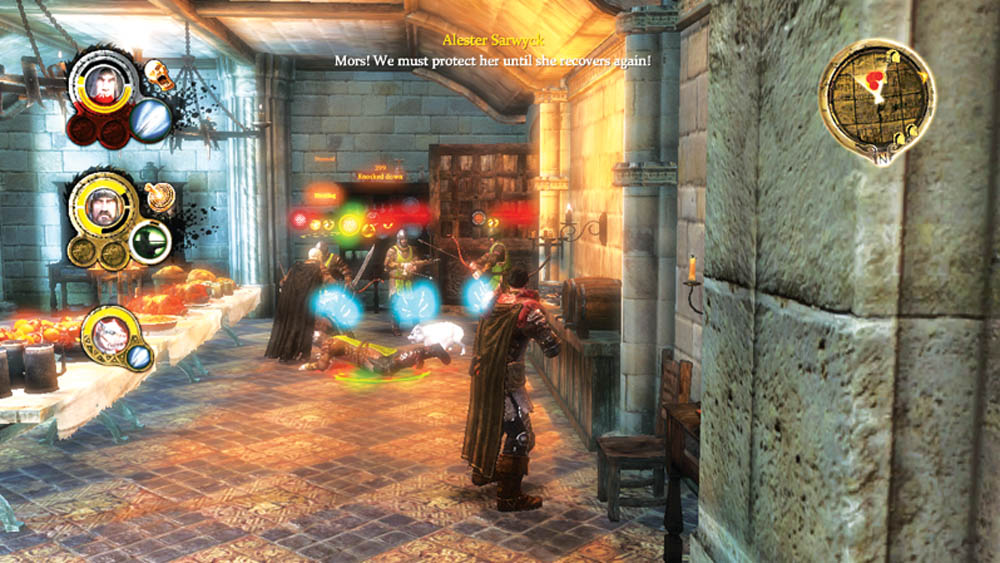
As you move through the empty rooms and hallways that you cleared when you came up to save Jeyne, labor pains cause Jeyne to collapse. The baby is coming any minute. Jeyne needs a breather, so it’s up to the two of you and Dog to protect her as an enemy patrol finds you. Rely on your standard tactics with Mors, Dog, and Alester. A few well-timed stuns and knockdowns, along with dealing a healthy amount of damage to your enemies, should take care of the threat.
Objective Point M
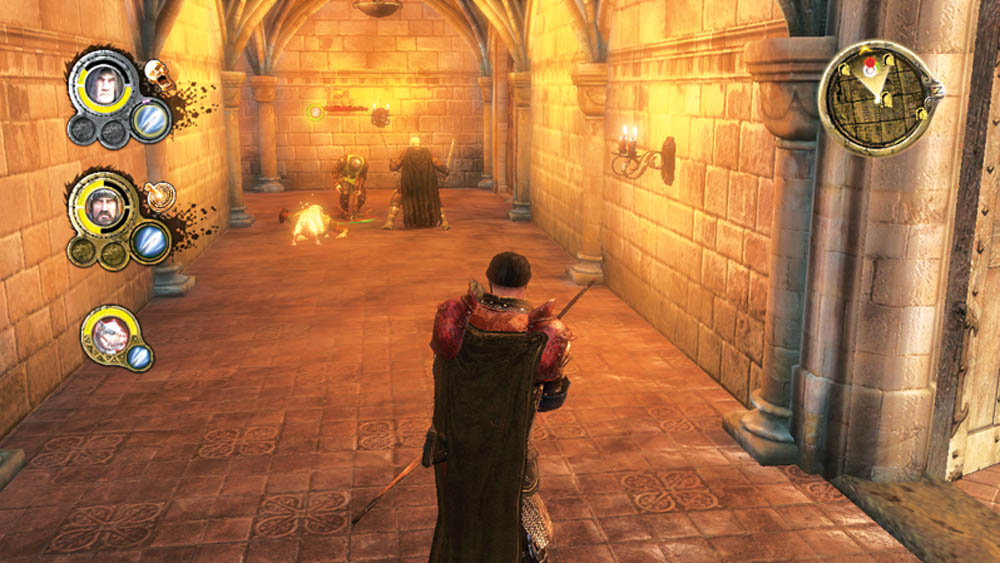
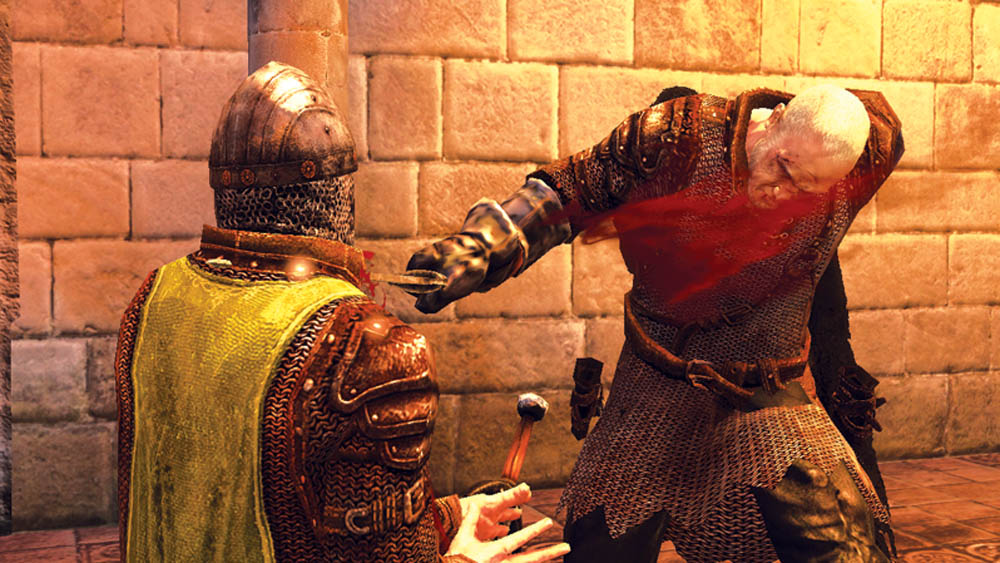
Open the dining room doors to spot two enemy patrols: one straight ahead and one down the hall to your right. Concentrate on a single patrol and eliminate them before moving on to the second one. If the second patrol closes too quickly, send Dog to immobilize one of the enemies and slow the group down. A few major attacks and critical blows later, both enemy patrols will fall.
Objective Point N
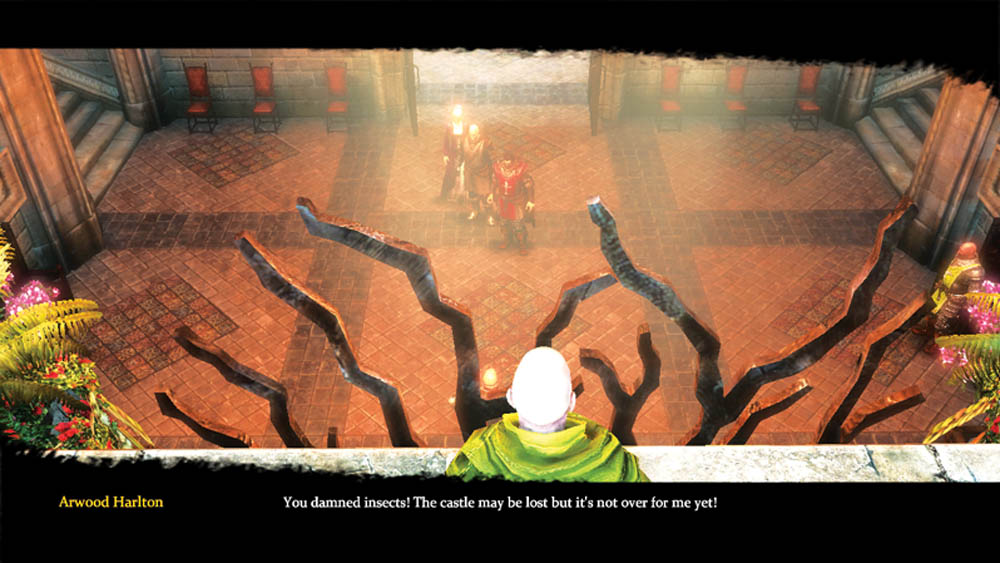
Harlton and his men surround you and force your party into the throne room. He plans to force Jeyne to submit to his will and orders Desmond Hardyng and his men to kill everyone but the woman.
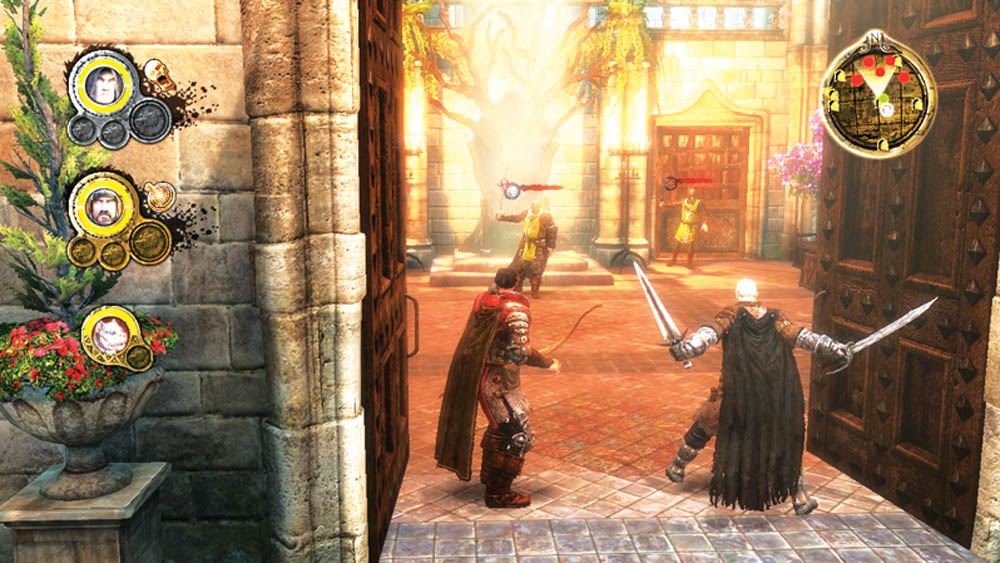
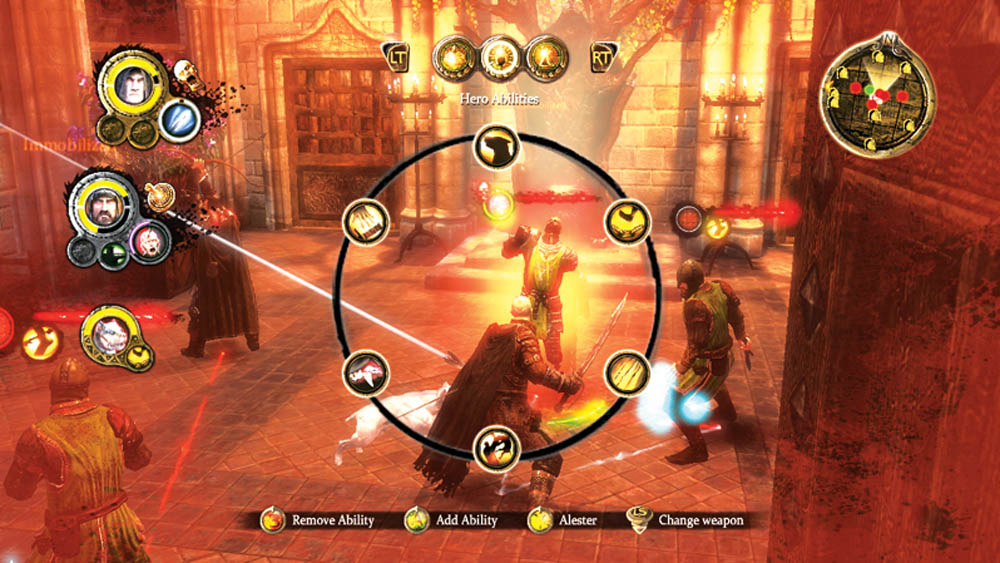
You begin in a bad position in the throne room: Desmond and other melee brawlers surround you on the ground floor, while archers fire away at you from the balconies flanking the main chamber. Order Dog to immobilize one of the archers to cut down on incoming attacks, while Mors and Alester pair up on one foe after the other. Cut down the lesser-armored foes first.
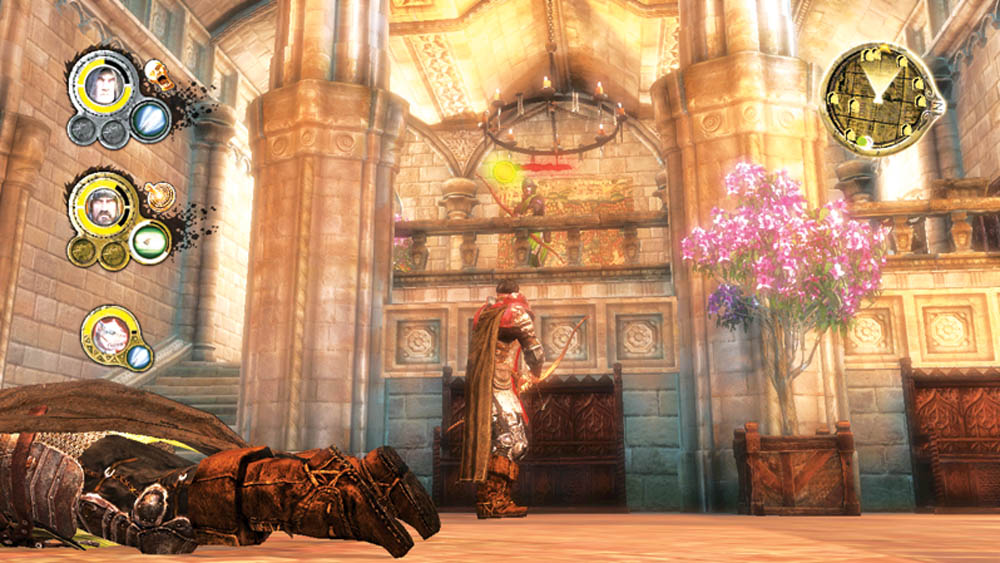
If you have a ranged weapon, fire back at the archers with a powerful attack or two. Eliminating the archers gives you more time to deal with Desmond and his crew.
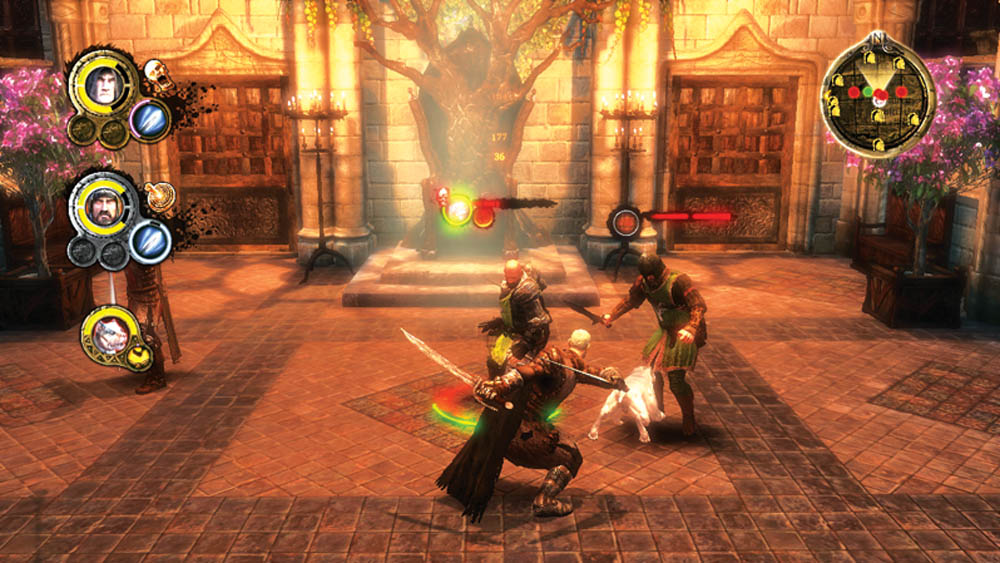
Keep up the damage on Desmond and interrupt when he winds up for a big attack. As the other enemies die, you can add more party members to overwhelm him.
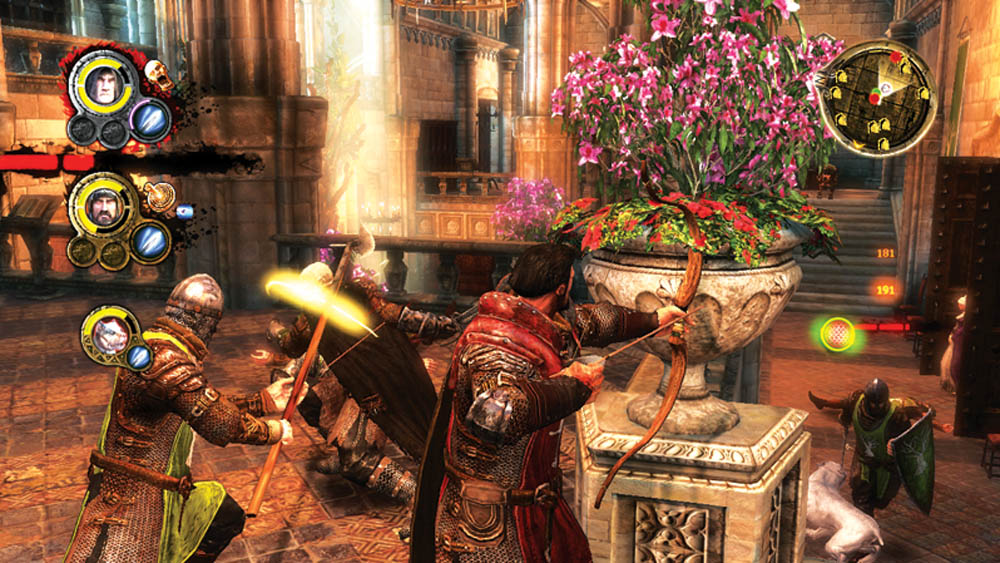
Even after you slay Desmond, it’s not over. Harlton sends his final enemies after you in a second wave. If you’re low on health, retreat to a balcony for extra cover. Kill the archer on that side and focus on each enemy who comes up the stairs. When only the opposite side archer remains, race over and finish the job.
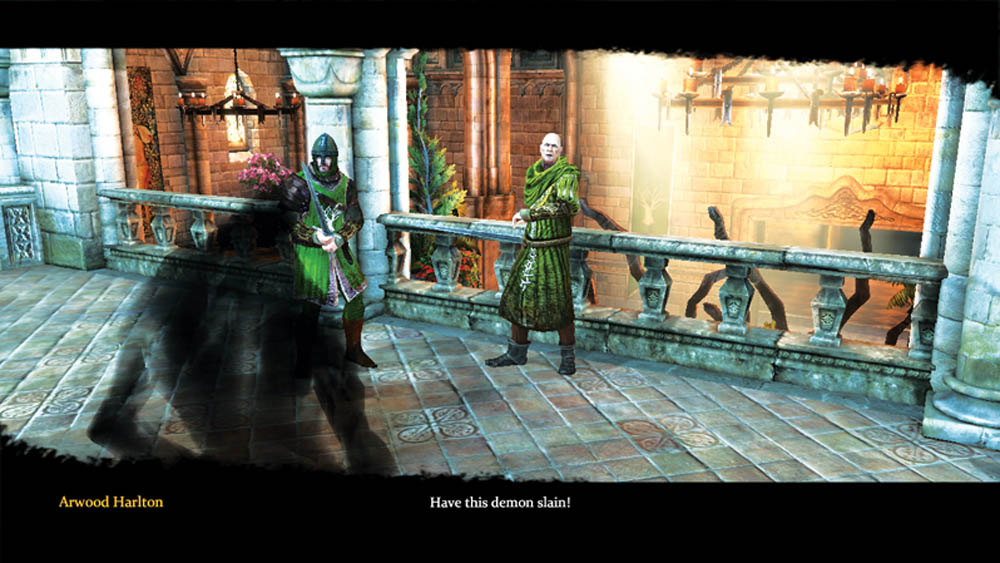
You defeat Harlton and his men. The Lord of Castlewood stares around, unbelieving, at the carnage you’ve left in his throne room. Then it gets worse. A shadow passes through the wall behind Harlton. It slays his men and then moves in to kill Harlton. You quickly escape the throne room as Harlton’s screams echo off the stone walls.
Objective Point O
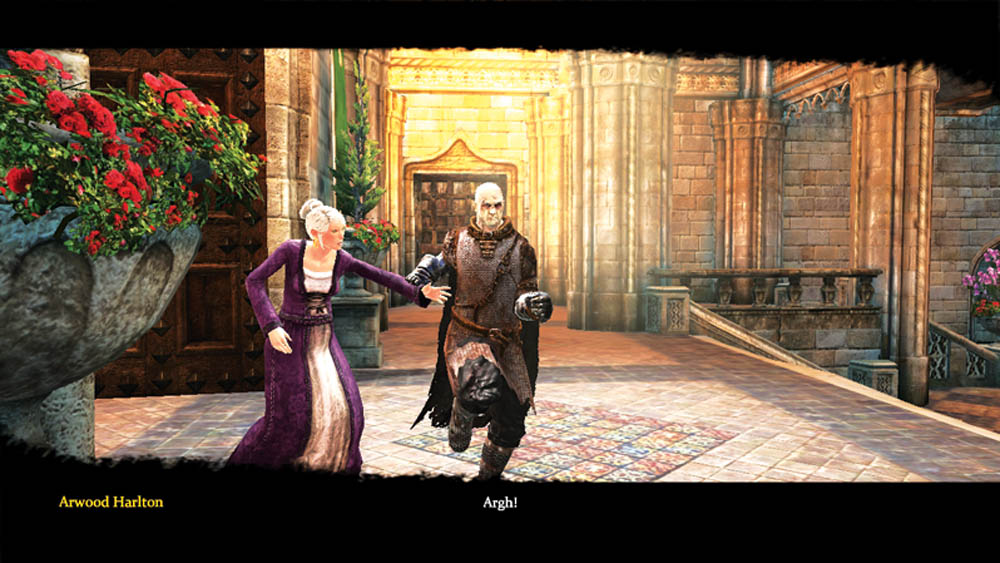
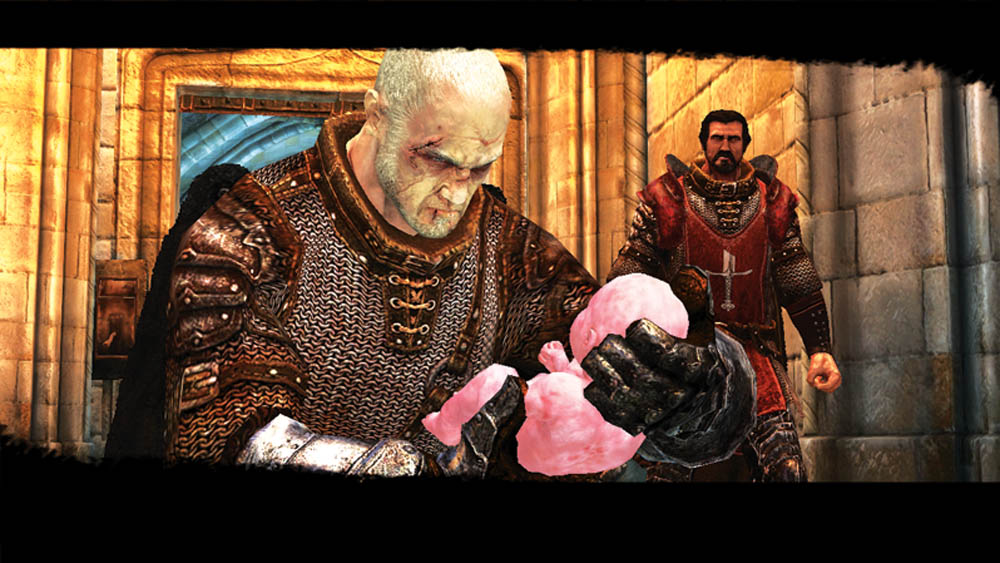
You try to get Jeyne out, but in the end, she falls to the floor in the foyer and delivers the baby. Soon after, Valarr’s army breaches the castle. With time running out, Mors hands the baby off to Alester, who races ahead to Victor. Mors half drags Jeyne toward the exit...when Valarr enters the foyer.
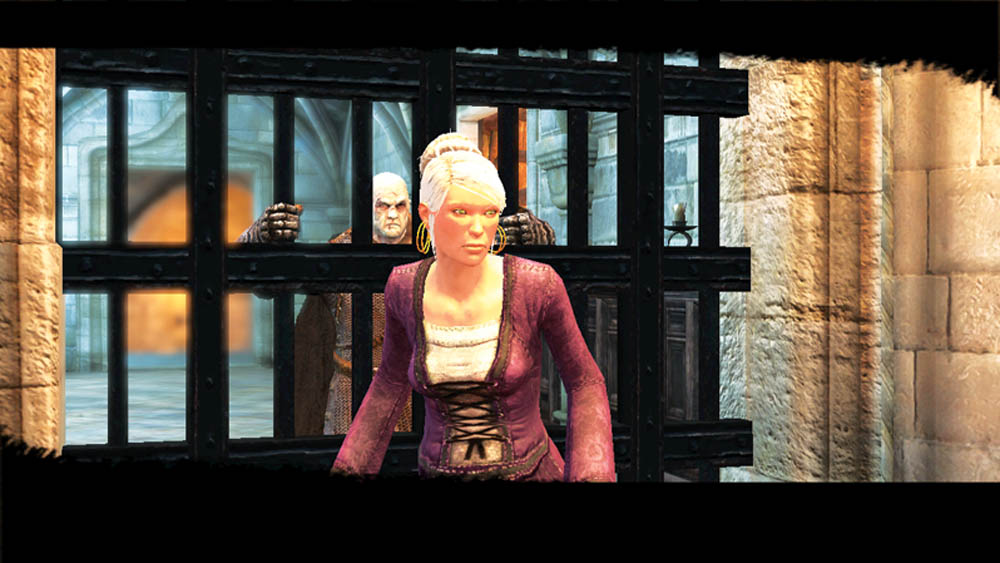
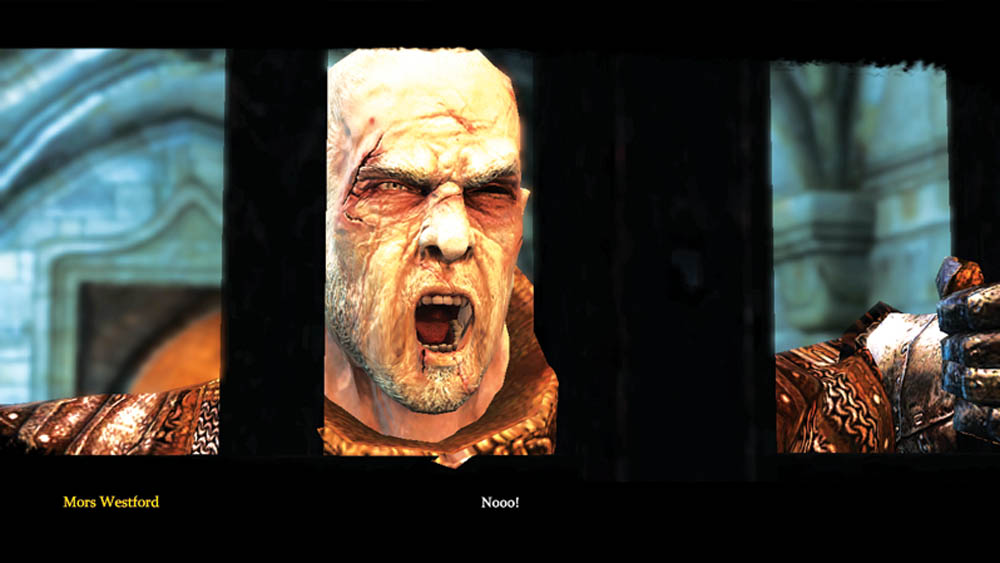
Valarr doesn’t know Jeyne has delivered her baby. Realizing she won’t make it and happy that her son will be safe if Valarr thinks he’s killed mother and son, Jeyne valiantly pushes Mors down the corridor and seals it shut with a portcullis. Looking back through the portcullis, helpless, Mors watches as Valarr slays Jeyne. He then flees the castle to escape Valarr, and the three men and a baby row back to Riverspring.