Prima Games eGuides
primagames.com Browse Redeem a code Help
Game of Thrones eGuide
Sign in My Guides

Sign in or create an account

We'll email you a link. No password needed, and if you don't have an account yet, the link makes one.

By creating an account or signing in, you agree to our Terms of Service and Privacy Policy.

Have a password?

Had an account on the old eGuides site, or a code from a printed guide? Help and troubleshooting

Sign in with a password

By signing in, you agree to our Terms of Service and Privacy Policy.

Check your email

A sign-in link is on its way. It works once and expires in 15 minutes. Open it and you're in, with an account if you didn't already have one.

Contents

  • Essentials
    • The World of Westeros
      • Adventuring in Westeros
      • Combat Display
      • Combat
      • Options Menu
      • Achievements
      • Thrones and Bones
    • Mors Westford
      • Mors’s Story
      • Attributes
      • Classes
      • Stances
      • Skills
      • Traits
      • Warg Powers
      • Mors in Combat
    • Alester Sarwyck
      • Alester’s Story
      • Attributes
      • Classes
      • Stances
      • Skills
      • Traits
      • R’hllor Powers
      • Alester in Combat
    • Appendix Lists
      • Achievements
      • Companions
      • Equipment
      • Quests
      • Stances
      • Traits
  • Walkthrough
    • Chapter 1: For This Night, and All Nights to Come
      • Chapter 1: For This Night, and All Nights to Come - Castle Black
      • Chapter 1: For This Night, and All Nights to Come - Icemark
    • Chapter 2: For All the Days Gone By
      • Chapter 2: For All the Days Gone By - Riverspring
      • Chapter 2: For All the Days Gone By - Riverspring Godswood
      • Chapter 2: For All the Days Gone By - Riverspring Courtyard
      • Chapter 2: For All the Days Gone By - Riverspring
      • Chapter 2: For All the Days Gone By - Riverspring Castle
    • Chapter 3: Between a Hunter and His Prey
      • Chapter 3: Between a Hunter and His Prey - Icemark
      • Chapter 3: Between a Hunter and His Prey - The Gift
      • Chapter 3: Between a Hunter and His Prey - Castle Black Common Hall
    • Chapter 4: The Lion’s Will
      • Chapter 4: The Lion’s Will - King’s Landing
      • Chapter 4: The Lion’s Will - Sarwyck Manse
      • Chapter 4: The Lion’s Will - King’s Landing
      • Chapter 4: The Lion’s Will - Maegor’s Holdfast Dungeons
      • Chapter 4: The Lion’s Will - Red Keep
    • Chapter 5: Beauty and the Beast
      • Chapter 5: Beauty and the Beast - Castle Black
      • Chapter 5: Beauty and the Beast - Mole’s Town
      • Chapter 5: Beauty and the Beast - Mole’s Town Tunnels
      • Chapter 5: Beauty and the Beast - Mole’s Town
      • Chapter 5: Beauty and the Beast - Castle Black
    • Chapter 6: The Crown’s Dogs
      • Chapter 6: The Crown’s Dogs - Red Keep
      • Chapter 6: The Crown’s Dogs - King’s Landing
      • Chapter 6: The Crown’s Dogs - Hen House
      • Chapter 6: The Crown’s Dogs - Red Keep
    • Chapter 7: Stray Dog
      • Chapter 7: Stray Dog - Common Hall
      • Chapter 7: Stray Dog - Mole’s Town
      • Chapter 7: Stray Dog - Mole’s Town Tunnels
      • Chapter 7: Stray Dog - The Gift
      • Chapter 7: Stray Dog - Westford Cottage
    • Chapter 8: A New Hope
      • Chapter 8: A New Hope - King’s Landing
      • Chapter 8: A New Hope - King’s Landing Sewers
      • Chapter 8: A New Hope - King’s Landing
      • Chapter 8: A New Hope - City Watch Tower
      • Chapter 8: A New Hope - King’s Landing
      • Chapter 8: A New Hope - King’s Landing Sewers
      • Chapter 8: A New Hope - King’s Landing
      • Chapter 8: Legacy - Riverspring
      • Chapter 8: Legacy - Riverspring Castle
      • Chapter 8: Legacy - Riverspring Tunnels
      • Chapter 8: Legacy - Castlewood
    • Chapter 9: Promise
      • Chapter 9: Promise - Westford Cottage
      • Chapter 9: Promise - A Camp in the Woods
      • Chapter 9: Promise - Castlewood
      • Chapter 9: Promise - Castlewood Dungeon
    • Chapter 10: Crossroads
      • Chapter 10: Crossroads - Castlewood
      • Chapter 10: Crossroads - Castlewood Dungeon
      • Chapter 10: Crossroads - Castlewood Basement
      • Chapter 10: Crossroads - Castlewood
    • Chapter 11: Breaking Point
      • Chapter 11: Breaking Point - Riverspring
      • Chapter 11: Breaking Point - Riverspring Courtyard
      • Chapter 11: Breaking Point - Riverspring Castle
    • Chapter 12: Fight Fire with Fire
      • Chapter 12: Fight Fire with Fire - Riverspring Tunnels
      • Chapter 12: Fight Fire with Fire - Riverspring Castle
    • Chapter 13: Bound
      • Chapter 13: Bound - Riverspring
      • Chapter 13: Bound - Castlewood
      • Chapter 13: Bound - Riverspring Courtyard
    • Chapter 14: Light and Shadow
      • Chapter 14: Light and Shadow - King’s Landing
      • Chapter 14: Light and Shadow - King’s Landing Sewers
      • Chapter 14: Light and Shadow - Maegor’s Holdfast
      • Chapter 14: Light and Shadow - Red Keep
    • Chapter 15: Old Scar
      • Chapter 15: Old Scar - Westford Cottage
    • Final Chapter: Ice and Fire
      • Final Chapter: Ice and Fire - Red Keep
    • Epilogues
      • Alester’s Epilogue 1: “I will offer him to the queen in return for Riverspring.”
      • Alester’s Epilogue 2: “This child will live, in memory of Mors.”
      • Mors’s Epilogue 1: “I will care for him, for Jeyne’s sake...”
      • Mors’s Epilogue 2: “I will live and die at my post...at the Wall.”
    • Side Quests
      • The Faith of Our Ancestors
      • Their Watch Is Ending
      • Treasure Hunt
      • Silence in the Ranks
      • The Black Bloodhound
      • New Blood
      • Self-Made Girl
      • Blood on the Sand
      • Rings and Chains
      • Avenge Riverspring
      • The Maggot in the Apple
      • Safer Streets
      • Not So Wild
      • Rituals and Litanies

Game of Thrones Guide › Walkthrough › Chapter 10: Crossroads

Chapter 10: Crossroads - Castlewood

Castlewood
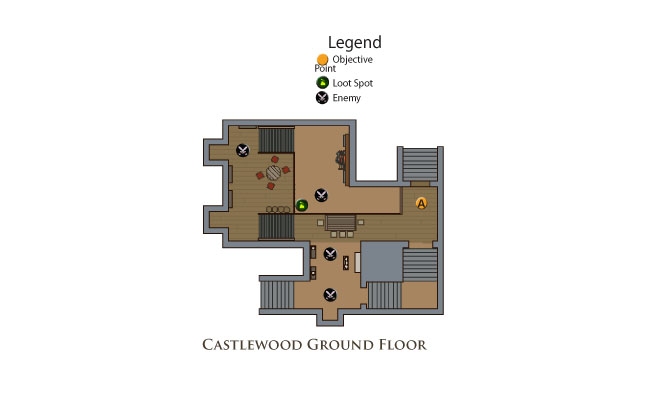
Click here for interactive maps

Objective Point A
View Map

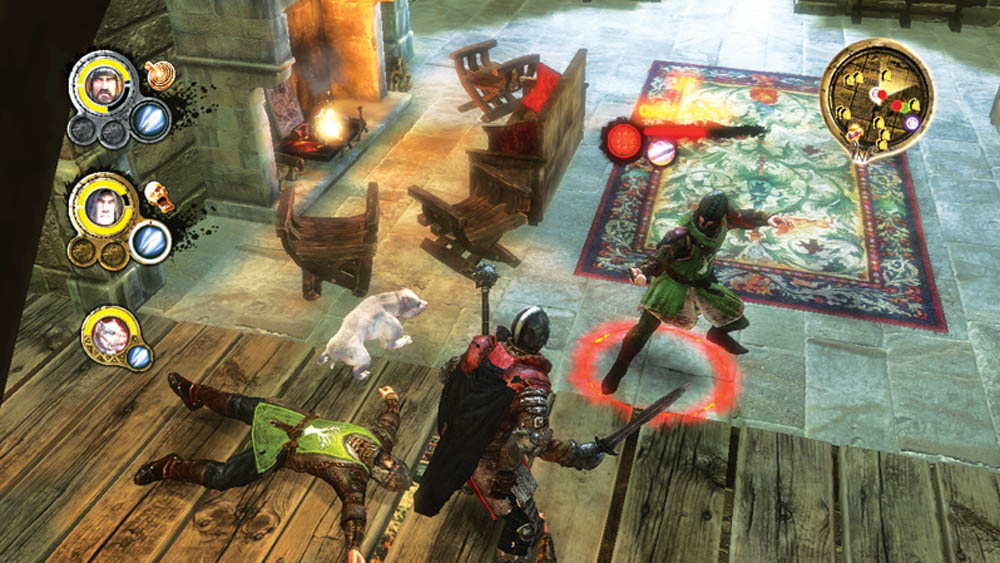
Take the stairs up to the ground floor. Follow Jeyne’s scent trail, which leads through a series of guard encounters. Pull each enemy group toward you with a ranged attack, or challenge them without running too far past them. You don’t want to alert any other enemy groups to your position; it’s better to kill all the enemies in their immediate area.
Click here for interactive maps

Objective Point A
View Map

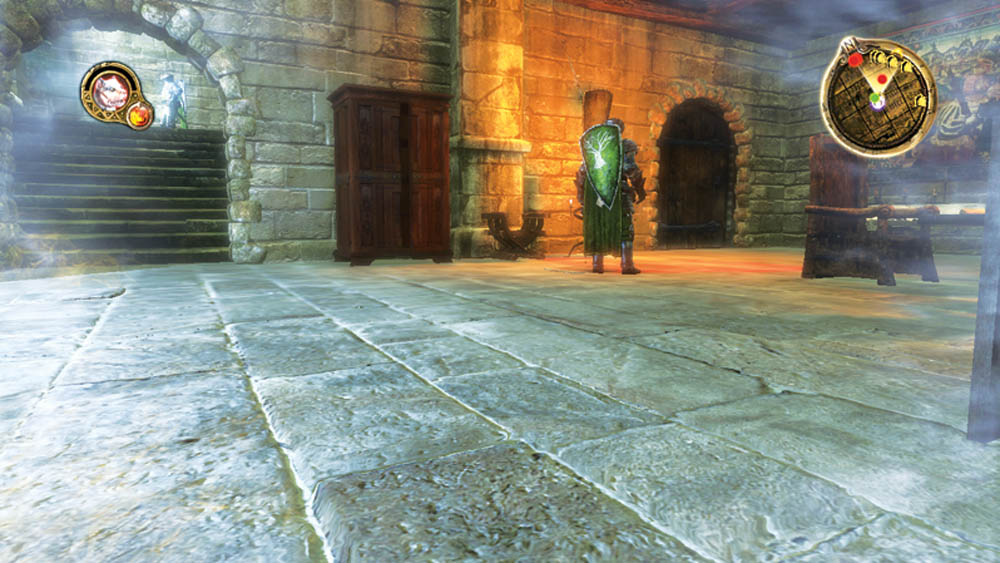
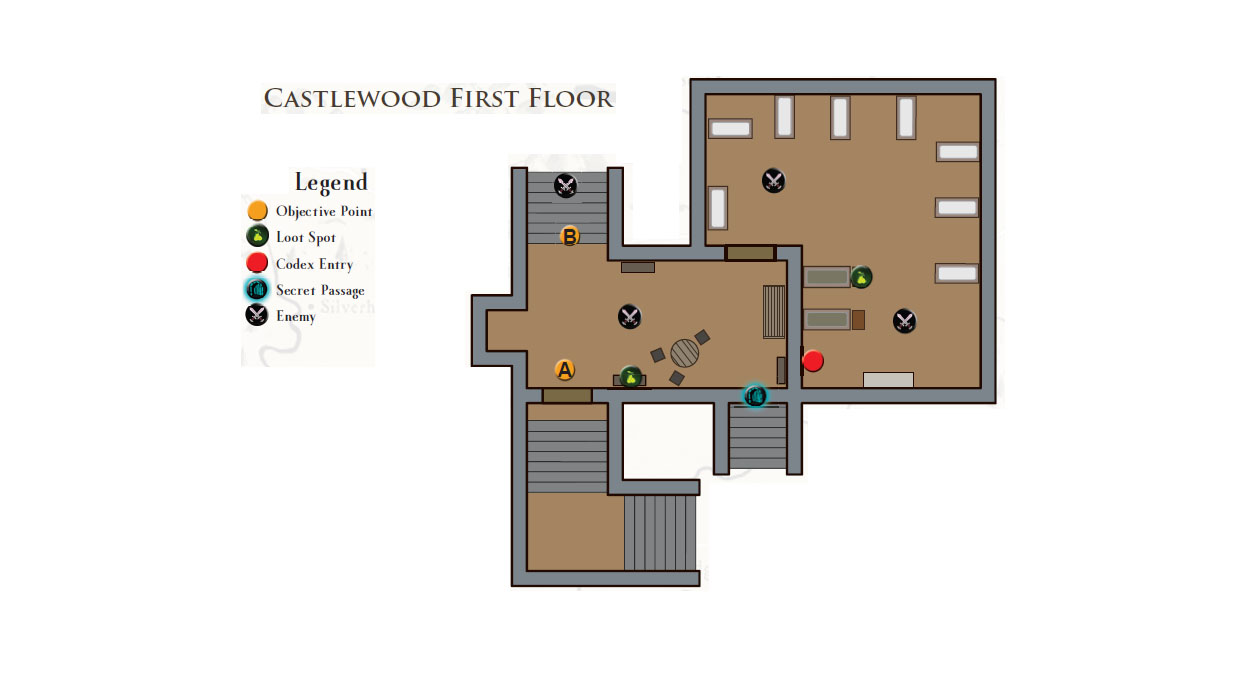
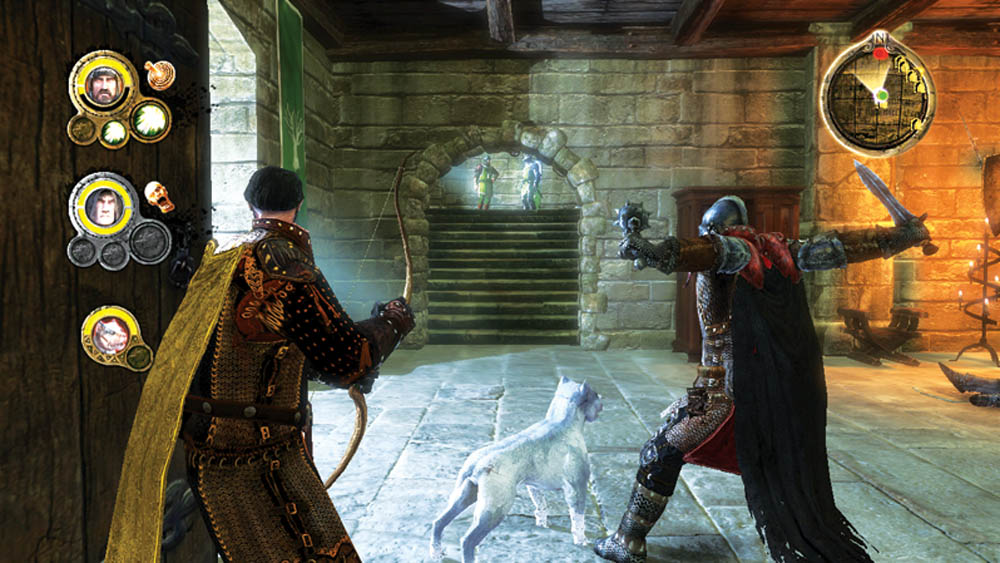
Continue up the stairs to the first floor. Quietly sneak into the first room and let Dog sneak attack the first guard from behind. Once you rip out his throat, you can concentrate Mors’s and Alester’s attacks on the guards near the stairs.

Objective Point B
View Map

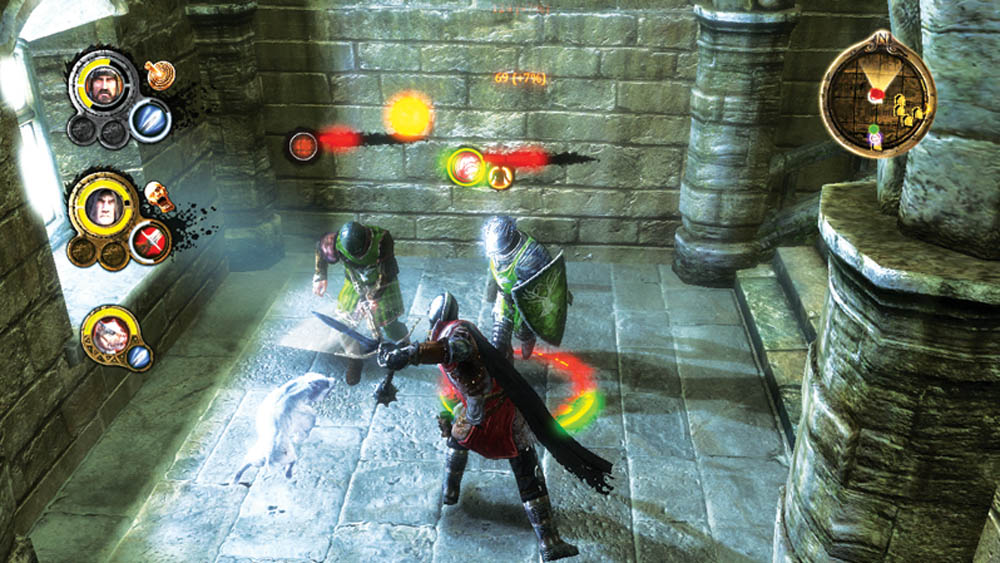
Snipe the guards on the stairs with a ranged attack and then set Alester and Mors on one opponent while Dog distracts the other. They won’t stand a chance against your superior tactics and skills.

Click here for interactive maps

Objective Point A
View Map

As you enter the second floor, there are two enemy groups close together. Attack the group on the right even as you send Dog to distract the group across the room.
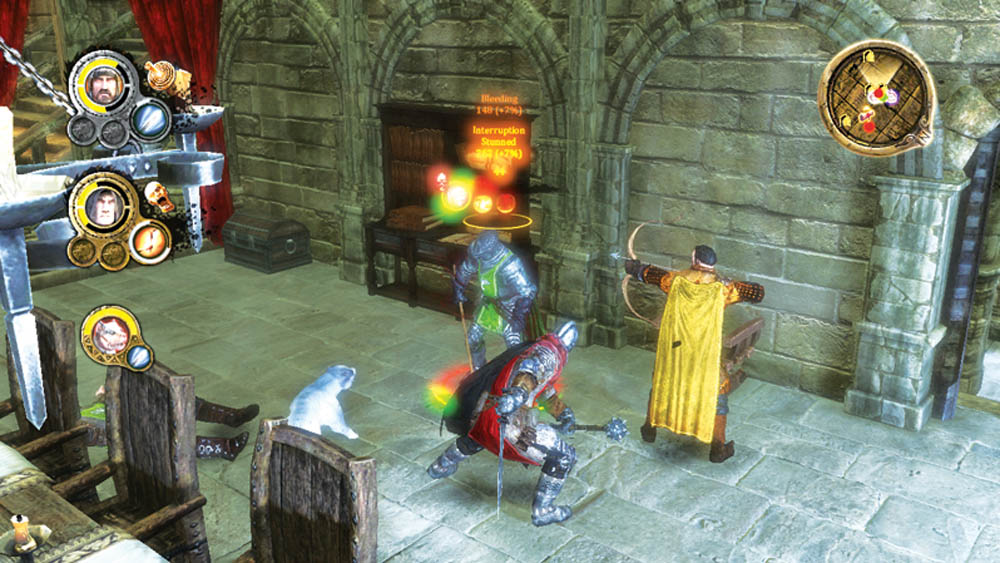
Use your more damaging attacks on the first group to kill them quickly so that the two groups don’t have time to gang up on you. At the end of the battle, retrieve the Key to Castlewood’s High Tower from one of the dead guards.
Click here for interactive maps

Objective Point A
View Map

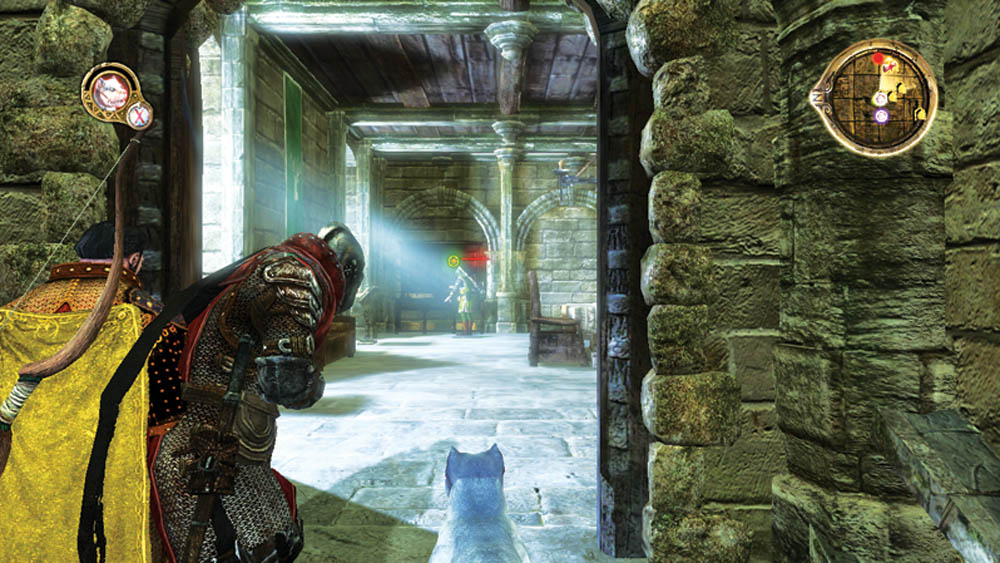
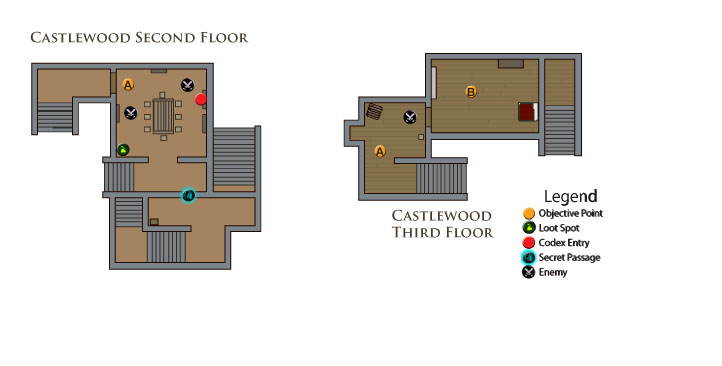
Attack the two guards on the third-floor landing. You can catch them by surprise with a free attack or two, which should weaken them so they fall quickly. If you put up a decent fight, immobilize one with Dog while you gang up on the other one; then have all three take down the final guard.

Objective Point B
View Map

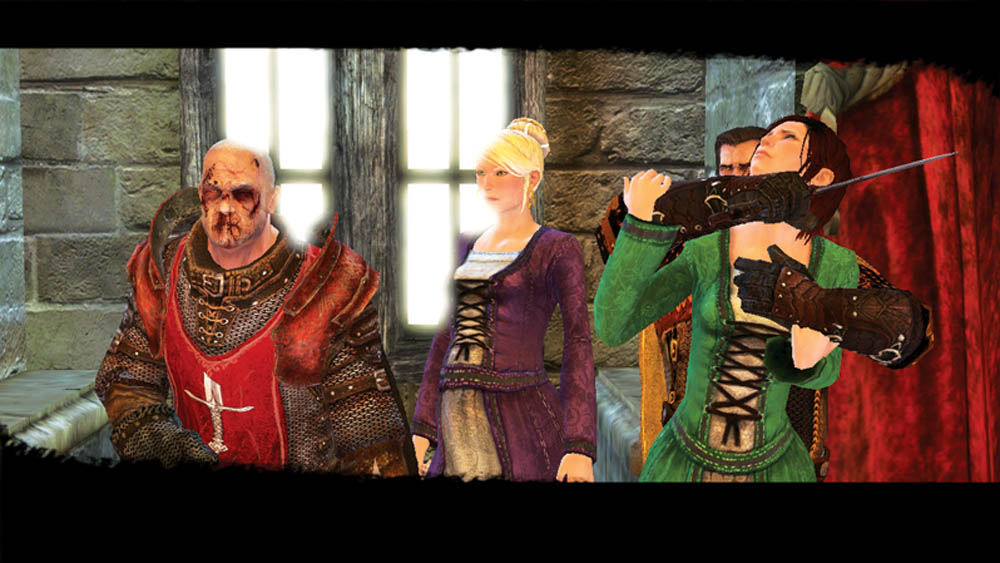
You burst into the tower room to find Marianne confronting Jeyne. She escaped your bonds from earlier and now she threatens Jeyne. You grab Marianne, but before you can make your escape, Lord Harlton arrives with too many men to overcome. You’re trapped!
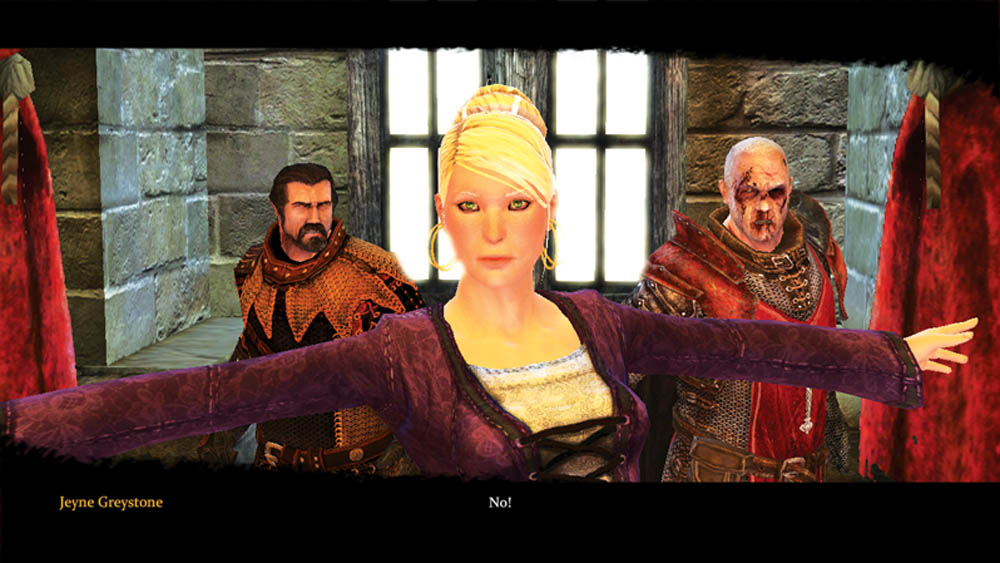
You can choose to release Marianne or slit her throat. Either way, Lord Harlton won’t let you go. He’s prepared to kill you when Jeyne steps in the way and acts as a human shield. Harlton won’t risk hurting Jeyne and the child, so he orders his men to hold. In that moment of hesitation, Alester and Mors dive out the tower window and make a daring escape.

Tip

You gain the story trait “Ladykiller” if you kill Marianne. The trait gives you a +2% bonus to critical damage.

Keep reading with a free account

The first 3 sections of Game of Thrones are open to everyone. An account opens the rest of it, and every other guide in the archive. It's free, and there's nothing to buy.

Bought guides on the old Prima Games site? Your account and every guide you own moved here, so there's nothing to buy again. Sign in.

Create a free account Or browse our free guides

PreviousChapter 10: Crossroads - Castlewood Basement NextChapter 11: Breaking Point - Riverspring