
Game of Thrones Guide Essentials Mors Westford
Classes
Mors can choose from three classes: Landed Knight, Hedge Knight, and Magnar. There are benefits for each profession. If you like using a one-handed weapon and shield, choose Landed Knight; if you like wielding a two-handed weapon, choose Hedge Knight; and if you enjoy fighting with a weapon in each hand, choose Magnar.
Landed Knight
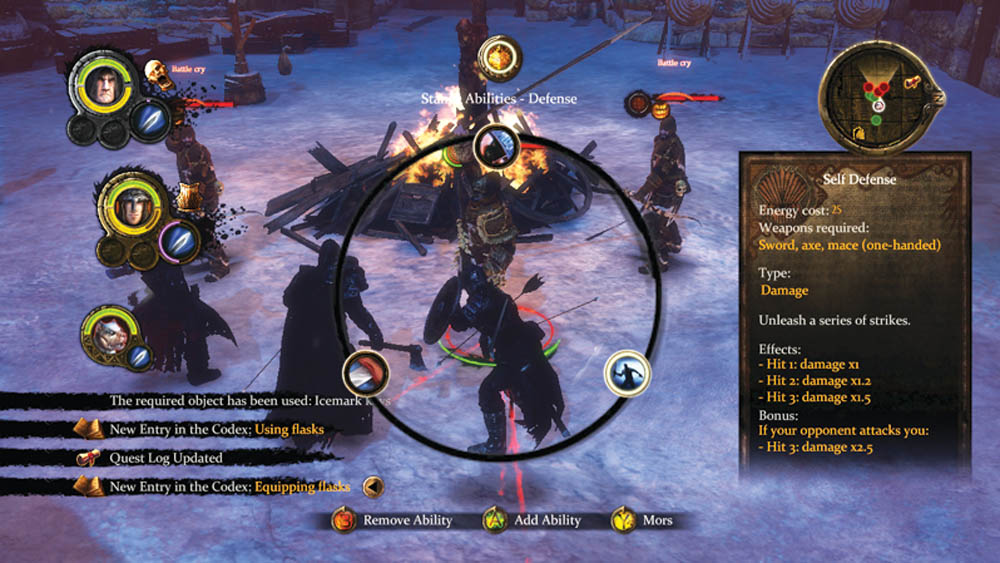
A Landed Knight values defense over attack, and thus his initial stance keys around defense, and the ability to wear heavy armor makes him difficult to kill. You can tweak many aspects of your class, though you won’t be able to use two-handed weapons or dual-wield without serious penalties.
The Defense stance starts off with the Self-Defense ability, which allows you to retaliate with three consecutive strikes for increasing damage. As a bonus, if your opponent attacks during this time, you deal even more damage on your final strike. With your second stance point, you must choose between offense and defense (left side of the tree) or commit to defense for both yourself and your allies (right side of the tree).
On the left side of the skill tree, you must take Daze Strike next. This interrupt is useful for disrupting your opponent’s actions and dealing light damage. With your third point, your choice splits again on the left side: You can take either Fighting Spirit, a passive ability that increases damage for all your allies, or Massive Strike, which smashes any close opponents and knocks down any foe who had previously been immobilized.
Under Fighting Spirit, the Stalwart Defender ability increases your dodge and critical hit chance when fighting three or more enemies. Under Daze Strike, Massive Strike smashes any close opponents and knocks down any foe who had previously been immobilized. Once you have all your other abilities on the left side, you can choose Shield Strike. Your top offensive ability does a little bit of everything, as it upends a foe with a violent shield blow (damage), disrupts your opponent’s action (interrupt), knocks your foe to the ground if he has no shield, and stuns him for a short duration regardless.
Over on the right side, you must purchase Taunt after Self-Defense. For a moderate duration, Taunt forces all nearby opponents to attack you and leaves your allies free to counterattack or recover. You then have a choice: Resistance, which temporarily increases damage resistance for a short duration, or Tactician, which significantly increases damage for you and your party if surrounded by three or more opponents.
Under Resistance, you can take two more abilities: Physical Strength, which increases your resistance to stun and knockdown effects, and Clenched Teeth, which improves Health recovery for each critical hit you receive. Under Tactician, there is only one ability: Flawless Armor. While recovering, your damage resistance increases and gives you a chance to catch your breath.
Once you take all the abilities on the right side, you can choose Quick Fix. It allows you to “patch up your armor” in combat, which translates into a small heal. If you can’t stock up on healing flasks, this is a very valuable ability. If you have the money to buy your flasks, it’s probably best to pick up some of the offensive abilities first and add this later (as well as some of the other passive abilities on this side of the tree).
Hedge Knight
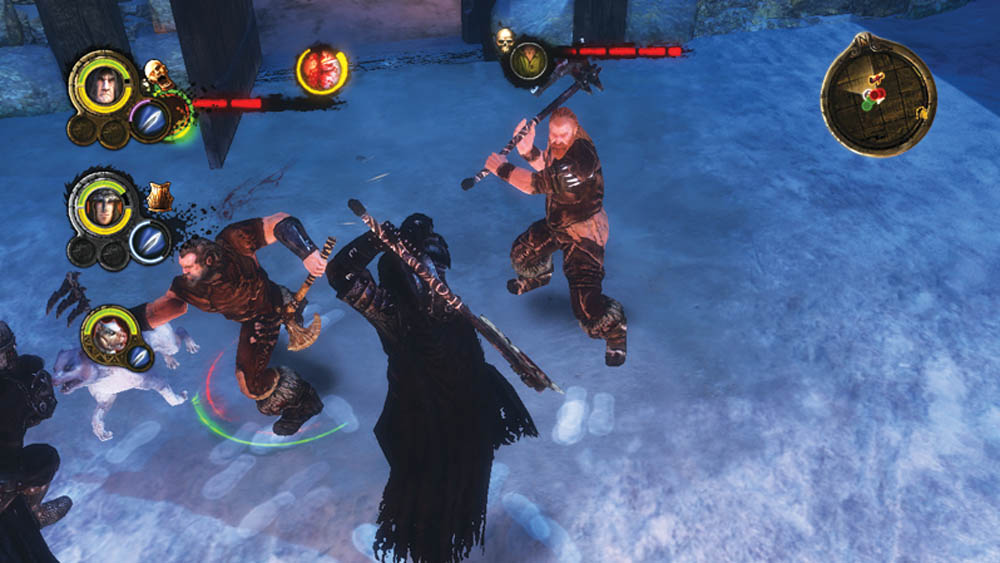
The Hedge Knight wields a two-handed weapon with power and impunity. You are slower in battle, but when you land blows, they tend to put enemies down. You can tweak many aspects of your class, though you can’t use a sword/shield combination or dual-wield without serious penalties.
The Domination stance begins with Devastation, which performs a massive strike against all opponents in front of you. From there, you can choose the left part of the tree or the right. If you go left, you gain some attacks and damage-increasing abilities. If you go right, you gain more attacks, stun and knockdown effects, and some defensive abilities to keep you in the battle longer.
Pierce is the first ability on the skill tree’s left side. It deals light damage but causes your opponent to bleed (even longer against foes with medium armor). Next, you must choose The Sight of Blood, which increases damage and attack speed with each of your kills.
If you continue down the chain under The Sight of Blood, you gain Add Injury to Injury (minor attack that becomes a moderate attack if your opponent is Bleeding) and Massacre (a wild swing that strikes all enemies in front of you). If you branch out from The Sight of Blood to the left, you can pick up Butcher (extra damage to stunned or knocked down enemies) and Born to Fight (significantly increases your critical hits).
On the tree’s right side, Earthquaker is your first ability. The area interrupt shakes the ground and stuns all nearby opponents for a short duration. If you continue down the chain from Earthquaker, you gain Headbutt (damage and short stun effect), Upheaval (knock your opponent to the ground with a violent blow), and Death from Above (minor attack that becomes a major attack if your opponent is knocked down).
If you branch off to the right of Earthquaker, you first gain Hard Head, an ability that makes you more resistant to stun effects. Under Hard Head, you can gain Unflinching (chance to resist knockdown effects) and Ferocity (increases your stun and knockdown durations).
Generally, you’ll want to choose some of the attacks from the tree’s left side first, though Earthquaker is a great interrupt against multiple opponents. Born to Fight is a great ability, but you have to go deep into the tree to get it, while some of the abilities on the right side are situational, revolving around stun and knockdown, so it really depends on how you want to set up your character.
Magnar
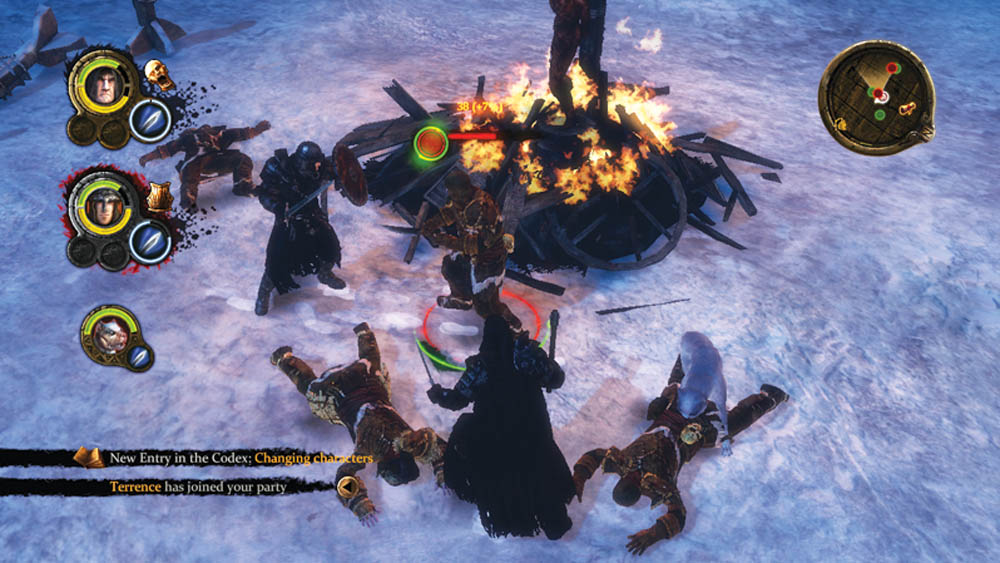
A Magnar is a scary, offensive juggernaut with a weapon in each hand. He might not have the power of the Hedge Knight’s two-handed weapon, but the Magnar’s combo-reliant abilities can deal just as much damage over time in a fight. You can tweak many aspects of your class, though you won’t be able to use a sword/shield combination or two-handed weapons without serious penalties.
The Frenzy stance starts off with Slash, a standard attack that causes your opponent to bleed. Since many abilities trigger off Bleeding, it’s a fine attack to kick off combat. You can then choose the skill tree’s left side (more offensive abilities) or right side (general effects).
On the left side, Vicious Hit is your first ability, an attack that deals significantly more damage and stuns if your opponent is Bleeding. Under Vicious Hit, you can pick up Warrior’s Aura (increases critical hit chance every time you interrupt an opponent) and Cutthroat (a brutal attack if your opponent doesn’t dodge it).
If you branch left from Vicious Hit, you can gain Rage (attack all enemies in front of you) and Flurry of Blows (three attacks that increase in damage and interrupt). Once you have all abilities on the left side, you can train Victorious Assault, a merciless attack on an opponent who has been knocked down.
On the right side, Revenge is your first ability. When you receive a critical hit, your next attack will inflict Bleeding on your foe. Under Revenge, you can pick up Bloody Frenzy (increased damage and attack speed for the whole party) and Fury (significant boost to your damage and attack speed, but you lose control of your character if your health drops below 50 percent). In order to counterattack the Berserk penalty on Fury, you must learn all the abilities on the right side and then take the final ability, Self-Control.
If you branch to the right of Revenge, you can gain Tough Nut (increases damage resistance with each critical hit received), Tireless (energy cost decreases as your health drops), and Trance (energy recovery improves when you have less than 50 percent health).
Both sides of the Magnar tree have intriguing possibilities. If you want to take the sure route, spend more points early on in the tree’s left side and stock up on extra attacks. If you want to roll the dice, you may deal more damage on the tree’s right side with Blood Frenzy and Fury, but you may lose more than control—your life!—when you go Berserk. If you plan to Fury a lot, spend all your points on the right side first so you can unlock Self-Control to nullify Fury’s potentially severe penalty.
Comparing Mors’s Classes
| Name | Combat Preference | Weapons | Armor | Main Stance | Secondary Stances |
|---|---|---|---|---|---|
| Landed Knight | One-Handed Weapon/Shield | Swords, Maces, Short Blades | Heavy | Defense | Elite Knight, Domination, Frenzy |
| Hedge Knight | Two-Handed Weapon | Swords, Maces, Polearms | Heavy | Domination | Elite Warrior, Defense, Dexterity |
| Magnar | Dual-Wielding | Axes, Hammers, Short Blades | Medium | Frenzy | Berserker, Domination, Intensity |