Prima Games eGuides
primagames.com Browse Redeem a code Help
Game of Thrones eGuide
Sign in My Guides

Sign in or create an account

We'll email you a link. No password needed, and if you don't have an account yet, the link makes one.

By creating an account or signing in, you agree to our Terms of Service and Privacy Policy.

Have a password?

Had an account on the old eGuides site, or a code from a printed guide? Help and troubleshooting

Sign in with a password

By signing in, you agree to our Terms of Service and Privacy Policy.

Check your email

A sign-in link is on its way. It works once and expires in 15 minutes. Open it and you're in, with an account if you didn't already have one.

Contents

  • Essentials
    • The World of Westeros
      • Adventuring in Westeros
      • Combat Display
      • Combat
      • Options Menu
      • Achievements
      • Thrones and Bones
    • Mors Westford
      • Mors’s Story
      • Attributes
      • Classes
      • Stances
      • Skills
      • Traits
      • Warg Powers
      • Mors in Combat
    • Alester Sarwyck
      • Alester’s Story
      • Attributes
      • Classes
      • Stances
      • Skills
      • Traits
      • R’hllor Powers
      • Alester in Combat
    • Appendix Lists
      • Achievements
      • Companions
      • Equipment
      • Quests
      • Stances
      • Traits
  • Walkthrough
    • Chapter 1: For This Night, and All Nights to Come
      • Chapter 1: For This Night, and All Nights to Come - Castle Black
      • Chapter 1: For This Night, and All Nights to Come - Icemark
    • Chapter 2: For All the Days Gone By
      • Chapter 2: For All the Days Gone By - Riverspring
      • Chapter 2: For All the Days Gone By - Riverspring Godswood
      • Chapter 2: For All the Days Gone By - Riverspring Courtyard
      • Chapter 2: For All the Days Gone By - Riverspring
      • Chapter 2: For All the Days Gone By - Riverspring Castle
    • Chapter 3: Between a Hunter and His Prey
      • Chapter 3: Between a Hunter and His Prey - Icemark
      • Chapter 3: Between a Hunter and His Prey - The Gift
      • Chapter 3: Between a Hunter and His Prey - Castle Black Common Hall
    • Chapter 4: The Lion’s Will
      • Chapter 4: The Lion’s Will - King’s Landing
      • Chapter 4: The Lion’s Will - Sarwyck Manse
      • Chapter 4: The Lion’s Will - King’s Landing
      • Chapter 4: The Lion’s Will - Maegor’s Holdfast Dungeons
      • Chapter 4: The Lion’s Will - Red Keep
    • Chapter 5: Beauty and the Beast
      • Chapter 5: Beauty and the Beast - Castle Black
      • Chapter 5: Beauty and the Beast - Mole’s Town
      • Chapter 5: Beauty and the Beast - Mole’s Town Tunnels
      • Chapter 5: Beauty and the Beast - Mole’s Town
      • Chapter 5: Beauty and the Beast - Castle Black
    • Chapter 6: The Crown’s Dogs
      • Chapter 6: The Crown’s Dogs - Red Keep
      • Chapter 6: The Crown’s Dogs - King’s Landing
      • Chapter 6: The Crown’s Dogs - Hen House
      • Chapter 6: The Crown’s Dogs - Red Keep
    • Chapter 7: Stray Dog
      • Chapter 7: Stray Dog - Common Hall
      • Chapter 7: Stray Dog - Mole’s Town
      • Chapter 7: Stray Dog - Mole’s Town Tunnels
      • Chapter 7: Stray Dog - The Gift
      • Chapter 7: Stray Dog - Westford Cottage
    • Chapter 8: A New Hope
      • Chapter 8: A New Hope - King’s Landing
      • Chapter 8: A New Hope - King’s Landing Sewers
      • Chapter 8: A New Hope - King’s Landing
      • Chapter 8: A New Hope - City Watch Tower
      • Chapter 8: A New Hope - King’s Landing
      • Chapter 8: A New Hope - King’s Landing Sewers
      • Chapter 8: A New Hope - King’s Landing
      • Chapter 8: Legacy - Riverspring
      • Chapter 8: Legacy - Riverspring Castle
      • Chapter 8: Legacy - Riverspring Tunnels
      • Chapter 8: Legacy - Castlewood
    • Chapter 9: Promise
      • Chapter 9: Promise - Westford Cottage
      • Chapter 9: Promise - A Camp in the Woods
      • Chapter 9: Promise - Castlewood
      • Chapter 9: Promise - Castlewood Dungeon
    • Chapter 10: Crossroads
      • Chapter 10: Crossroads - Castlewood
      • Chapter 10: Crossroads - Castlewood Dungeon
      • Chapter 10: Crossroads - Castlewood Basement
      • Chapter 10: Crossroads - Castlewood
    • Chapter 11: Breaking Point
      • Chapter 11: Breaking Point - Riverspring
      • Chapter 11: Breaking Point - Riverspring Courtyard
      • Chapter 11: Breaking Point - Riverspring Castle
    • Chapter 12: Fight Fire with Fire
      • Chapter 12: Fight Fire with Fire - Riverspring Tunnels
      • Chapter 12: Fight Fire with Fire - Riverspring Castle
    • Chapter 13: Bound
      • Chapter 13: Bound - Riverspring
      • Chapter 13: Bound - Castlewood
      • Chapter 13: Bound - Riverspring Courtyard
    • Chapter 14: Light and Shadow
      • Chapter 14: Light and Shadow - King’s Landing
      • Chapter 14: Light and Shadow - King’s Landing Sewers
      • Chapter 14: Light and Shadow - Maegor’s Holdfast
      • Chapter 14: Light and Shadow - Red Keep
    • Chapter 15: Old Scar
      • Chapter 15: Old Scar - Westford Cottage
    • Final Chapter: Ice and Fire
      • Final Chapter: Ice and Fire - Red Keep
    • Epilogues
      • Alester’s Epilogue 1: “I will offer him to the queen in return for Riverspring.”
      • Alester’s Epilogue 2: “This child will live, in memory of Mors.”
      • Mors’s Epilogue 1: “I will care for him, for Jeyne’s sake...”
      • Mors’s Epilogue 2: “I will live and die at my post...at the Wall.”
    • Side Quests
      • The Faith of Our Ancestors
      • Their Watch Is Ending
      • Treasure Hunt
      • Silence in the Ranks
      • The Black Bloodhound
      • New Blood
      • Self-Made Girl
      • Blood on the Sand
      • Rings and Chains
      • Avenge Riverspring
      • The Maggot in the Apple
      • Safer Streets
      • Not So Wild
      • Rituals and Litanies

Game of Thrones Guide › Walkthrough › Chapter 7: Stray Dog

Chapter 7: Stray Dog - Mole’s Town Tunnels

Mole’s Town Tunnels
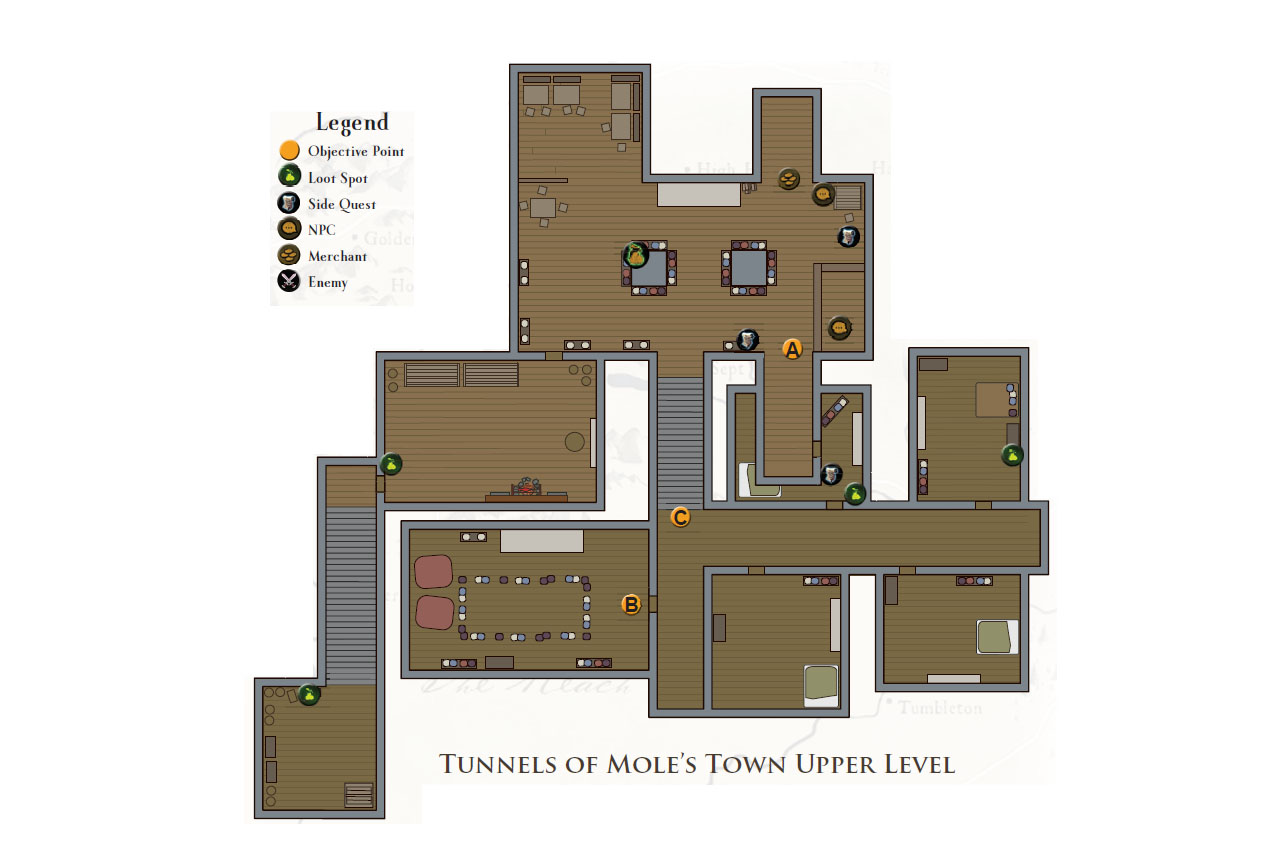
Click here for interactive maps

Interrogate The Corrupt Brothers Currently Enjoying Their Newfound Fortune At The Whorehouse In Mole’s Town

Objective Point A
View Map

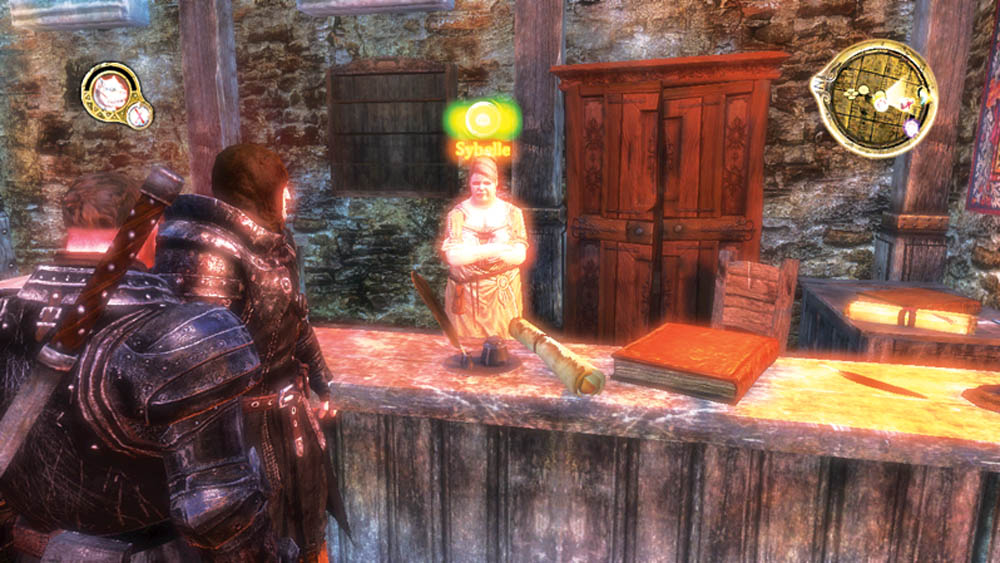
You’re back in Mole’s Town, so speak with Sybelle behind the desk at the entrance. After some conversation, she tells you where the corrupt brothers are and hands you the Key to the Master Bedroom, which opens the locked door downstairs.

Tip

If you speak with Willow next to the main door, she will provide a lead on a man who you can recruit for your “New Blood” side quest.

Objective Point B
View Map

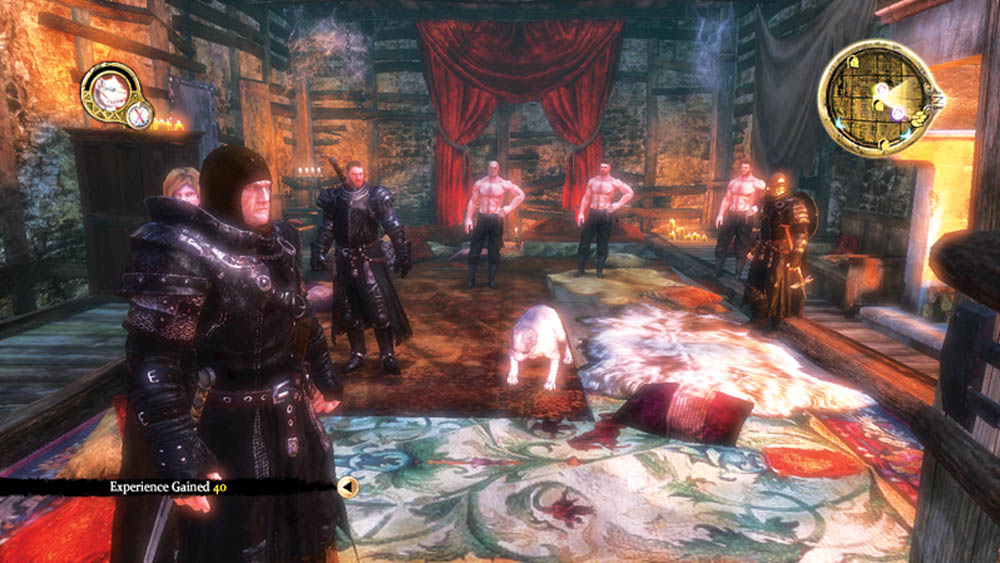
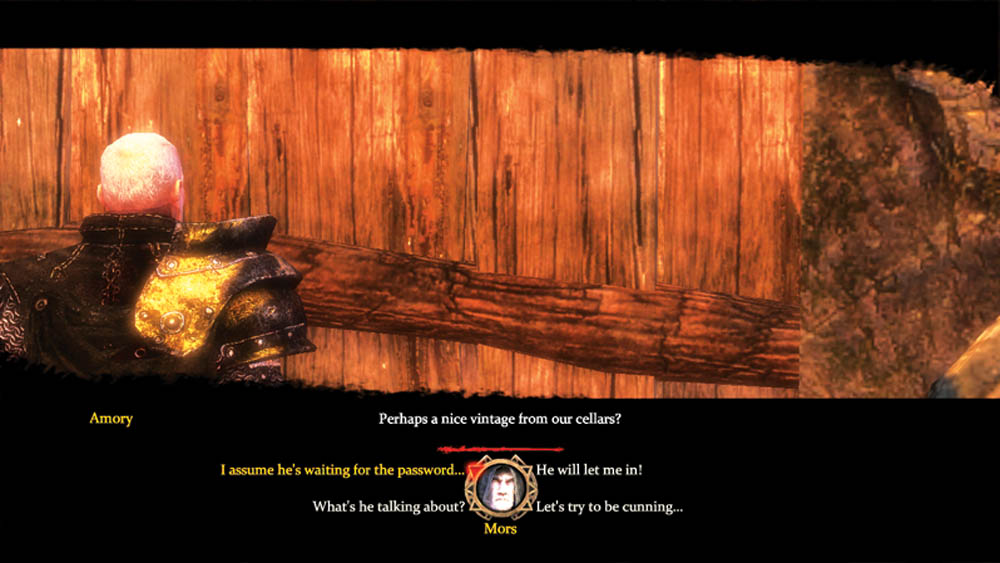
Head downstairs and open the door into the master bedroom. You have a choice here: attack the corrupt brothers or show them mercy. If you choose “I need to find out where the impostor is hiding,” they will give you information in exchange for their lives, and you learn the password to open the smugglers’ door in the tunnel below. You send the corrupt brothers back to Castle Black to await punishment from Mormont. You now know the impostor’s name is Yohn, and you will have to navigate the tunnels beneath Mole’s Town to follow Yohn’s trail and catch him in the Gift.

Tip

For extra experience, you can choose to put the corrupt brothers to the sword when you confront them in the master bedroom.

Objective Point C
View Map

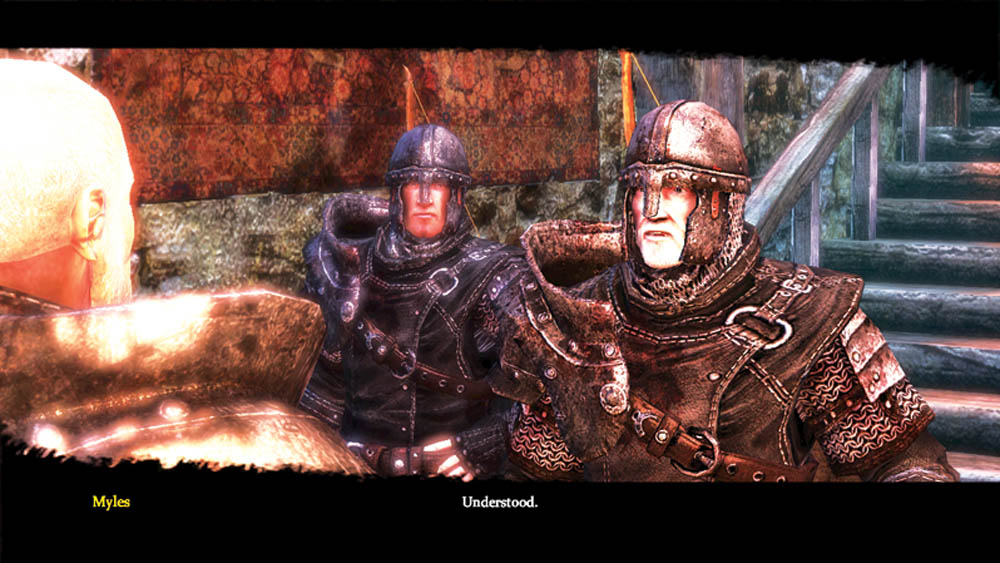
Out in the hallway, you meet up with two more of the Night’s Watch, Myles and Wat. They were sent by Mormont to help you on your mission against the impostor Yohn. You, Patrek, and Dog will do the heavy fighting; Myles and Wat are assigned to protect Jeyne during the last part of your vengeance venture.

Note

Though Myles and Wat join your party, you cannot control them directly.

Objective Point D
View Map

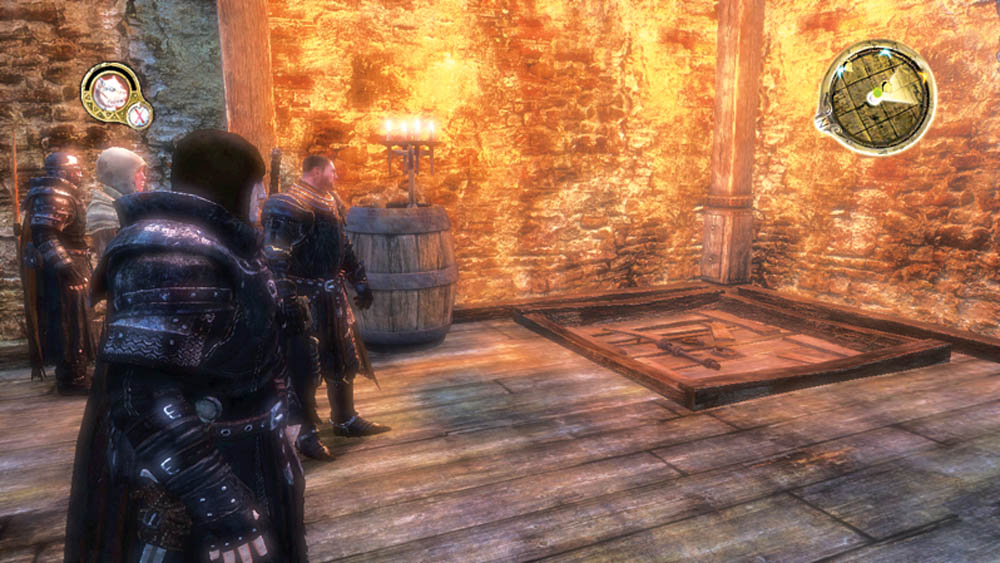
Return back upstairs and find the stairs behind the kitchen. They lead down to the trapdoor that grants access to the tunnels beneath Mole’s Town. When you’re ready, enter the tunnels and prepare for some heavy fighting in tight confines.

Cross Through The Smugglers’ Tunnels Under Mole’s Town To Return To Yohn’s Camp
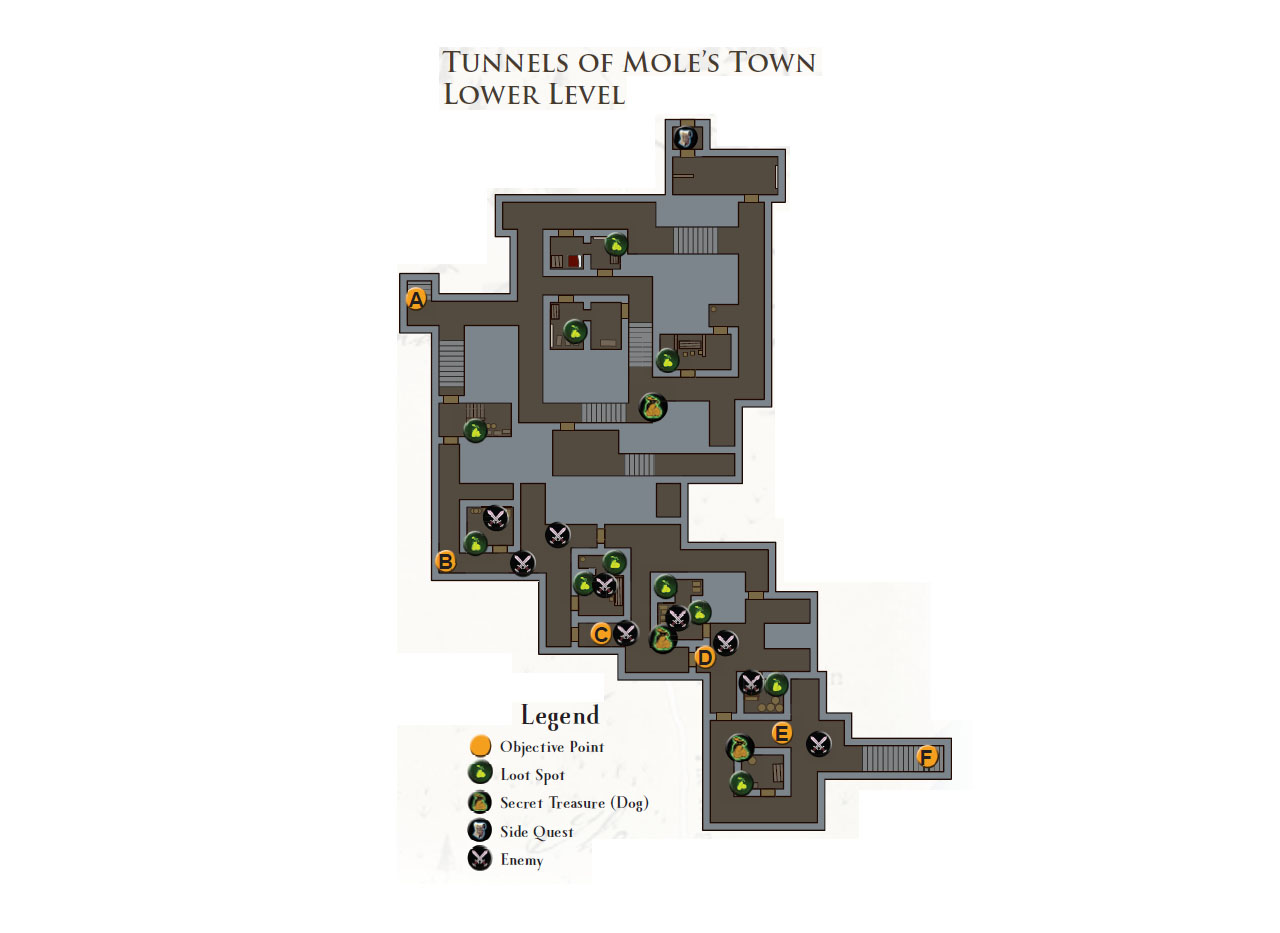
Click here for interactive maps

Objective Point A
View Map

Descend to the lower level and give the proper password (“The feast will begin soon”) at the smugglers’ door. If you want, you can kick the door in and knock out the smuggler behind it.

Objective Point B
View Map

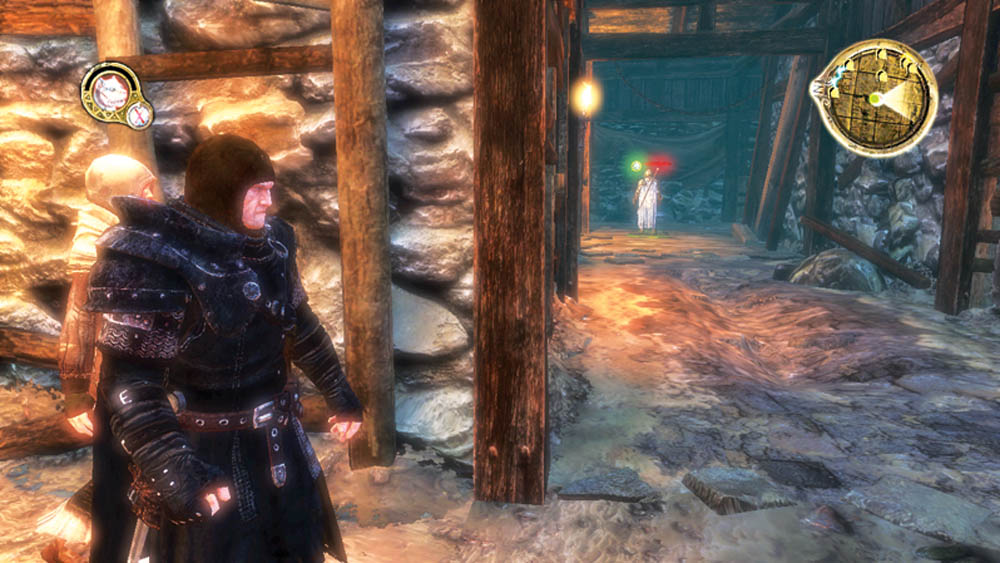
Continue south until you reach the first of Yohn’s men guarding the tunnels beyond the password door. At this point, if you see a lone guard, you should send Dog in on a sneak attack to keep the guard from sounding the alarm. With bigger groups, it’s impossible for Dog to sneak up on them, so you’ll have to charge in and battle it out.
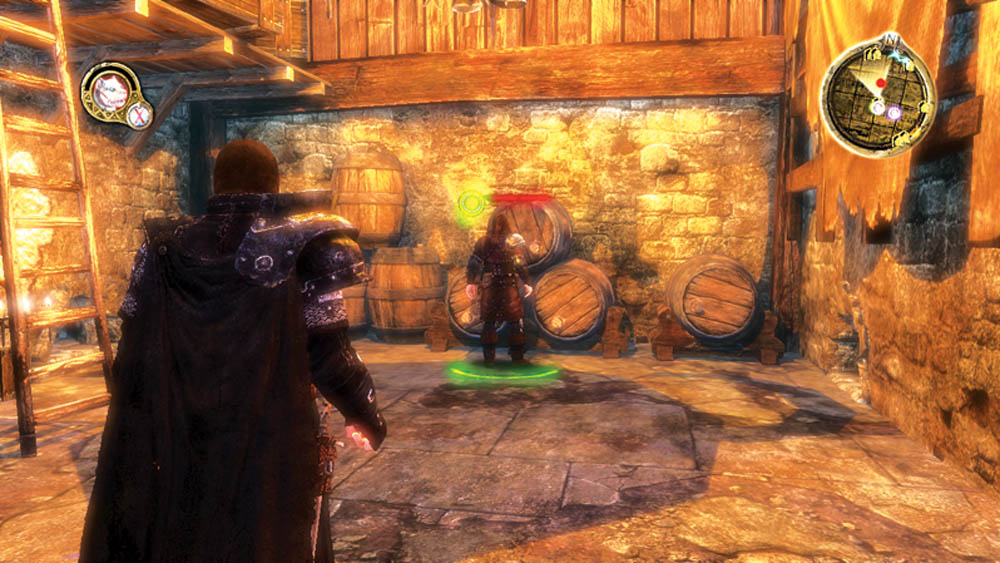
There’s a closed door on the left wall that leads to a storage room. It’s possible to eliminate the guard in the hallway, open the door, and sneak attack the second guard in the storage room. If you can’t surprise him, you still have him trapped in the storage room where it’s easy to gang up on him.

Objective Point C
View Map

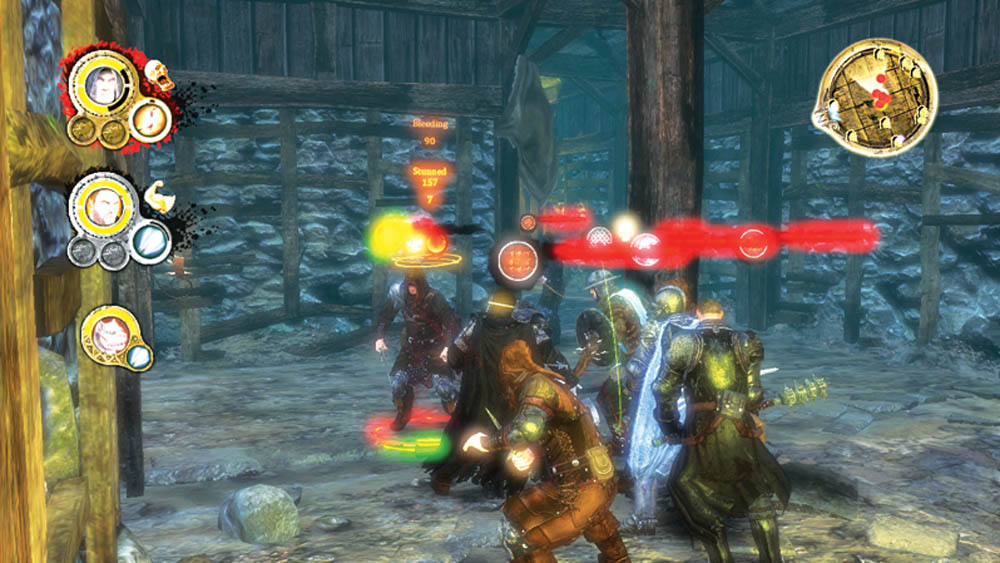
Continue east and look for the first large enemy group past the next door. If you have ranged weapons, unload on the enemies before they can advance. If not, use your stuns and knockdowns to keep enemies from piling on you. Use Dog to immobilize or interrupt enemies that try to team up on Mors. You may have to quaff a healing potion in this battle if it starts to go against you.

Objective Point D
View Map

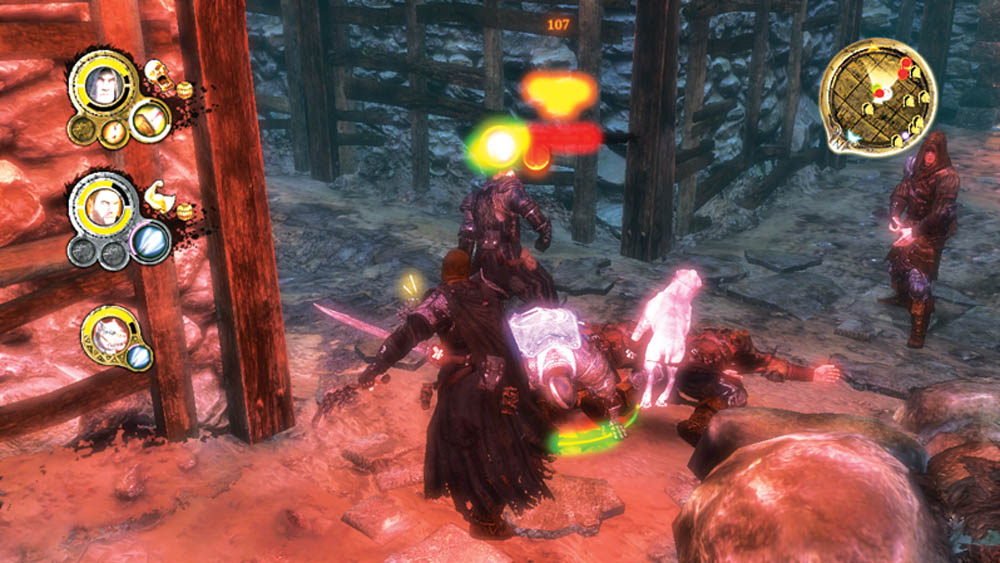
To the east lies a second large enemy group. Rely on similar tactics to the last fight. There are several small side rooms along this tunnel. Beware of enemies lurking inside those rooms, and duck into any of the rooms for cover if you need some extra defense or a few extra seconds to regain energy or sip a healing potion.

Tip

The Baratheon Guard Shield lies discarded in the small storeroom in the northwest section of this area.

Objective Point E
View Map

One last battle stands in your way of the tunnel exit. As with the two previous fights, maximize your stuns, knockdowns, and extra-damage abilities on key targets. You have a little more room to maneuver in this battle, especially near the exit stairs.

Objective Point F
View Map

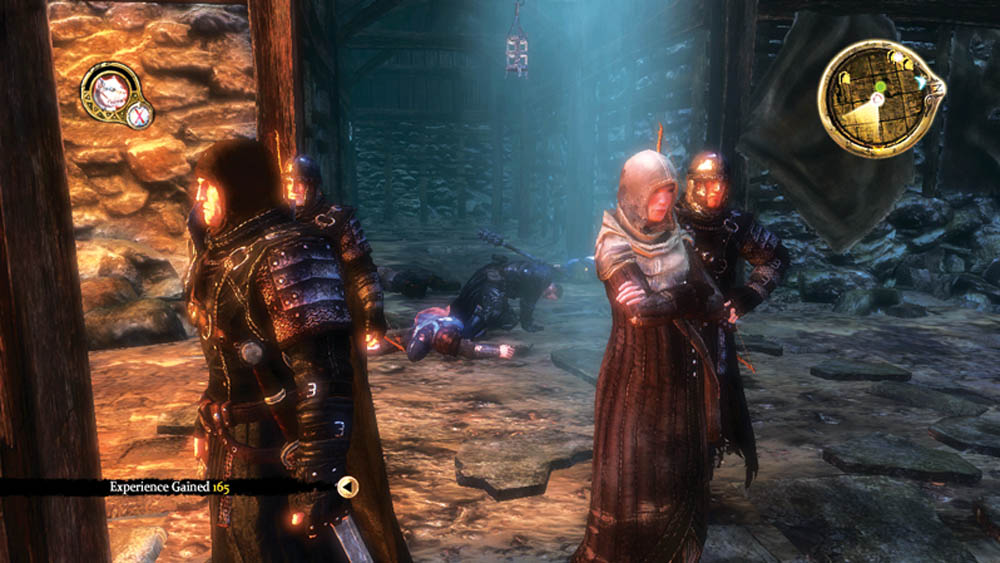
After you’ve scoured the bodies for loot, find the stairs leading up to the trapdoor. Open the trapdoor out into the Gift and continue your hunt for Yohn.

Keep reading with a free account

The first 3 sections of Game of Thrones are open to everyone. An account opens the rest of it, and every other guide in the archive. It's free, and there's nothing to buy.

Bought guides on the old Prima Games site? Your account and every guide you own moved here, so there's nothing to buy again. Sign in.

Create a free account Or browse our free guides

PreviousChapter 7: Stray Dog - Mole’s Town NextChapter 7: Stray Dog - The Gift