
Game of Thrones Guide Essentials The World of Westeros
Combat
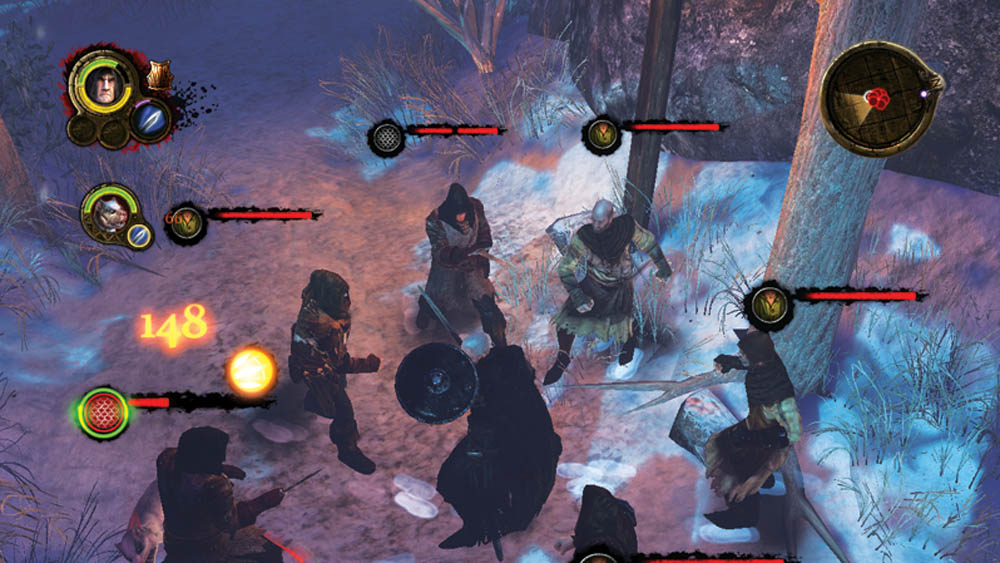
Whether you’re chasing deserters through the Icemark or exploring the streets of King’s Landing, enemies confront you at seemingly every turn. You’ll first practice your combat moves in Castle Black, and you will perfect your favorite maneuvers and stance ability combos as you adventure along. In most fights, you’ll want to stick with the following standard combat progression.
Precombat Preparation
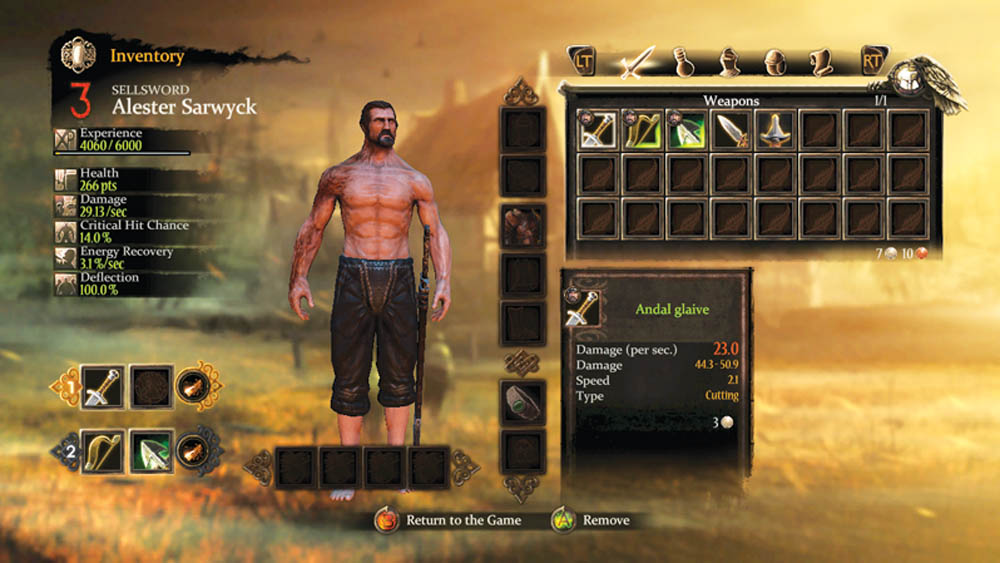
You have two weapon slots with two spots each. Depending on your preferred stance, make sure your equipment is properly set before each battle. For example, if you’re a Hedge Knight, you want to equip a two-handed weapon, while a Landed Knight would need a one-handed weapon and a shield. You can use other weapon configurations, though it’s not advisable; if you don’t have the proper configuration, you won’t have access to your stance abilities, which will cripple your combat options.
You do have flexibility, though, with two weapon slots. You can set the first slot for your stance ability and set the second slot for ranged attacks or a really powerful weapon that doesn’t fit with your main abilities. Switch back and forth as necessary.
When selecting weapons and spending your skill points, think about armor types. Cutting weapons (swords, axes) do more damage against light armor, perforating weapons (polearms, daggers) match up best against medium armor, and blunt weapons (maces, war hammers) land more damage against heavy armor. If you know the relative strength of enemies in the area, you can choose weapons to match their estimated armor. If you’re not sure, choose the best DPS (damage per second) weapon for your first weapon slot, then add a ranged weapon to your second slot to hit enemies from long range or stock up on a blunting weapon to better smash down tougher enemies with heavy armor.
Slow It Down
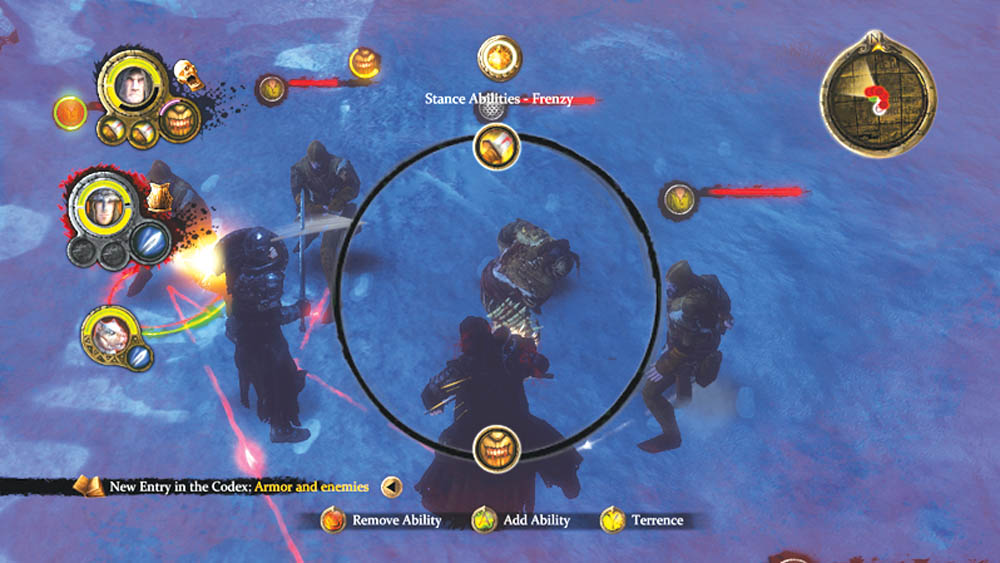
As soon as you enter combat, you should engage Active Pause. This slow-motion setting serves double duty: It gives you time to survey the entire battlefield to plan your tactics and allows you to select your stance abilities effectively without having to rush in the heat of real-time battle. Normally, you will target the nearest enemy, or possibly the leader in a big group battle. Don’t forget that you can easily change your targeting: A green circle equals the selected target; a red circle equals the target being attacked. You may also want to alter which foe you go after. For example, if you’re a Landed Knight, consider engaging the strongest foe so you can defend better with your shield. A Sellsword may want to jump from one target to the next and cut down wounded enemies so they don’t linger on the battlefield. You might also shift your targeting to an enemy whose armor your weapon matches up better against.
Control Your Main Character
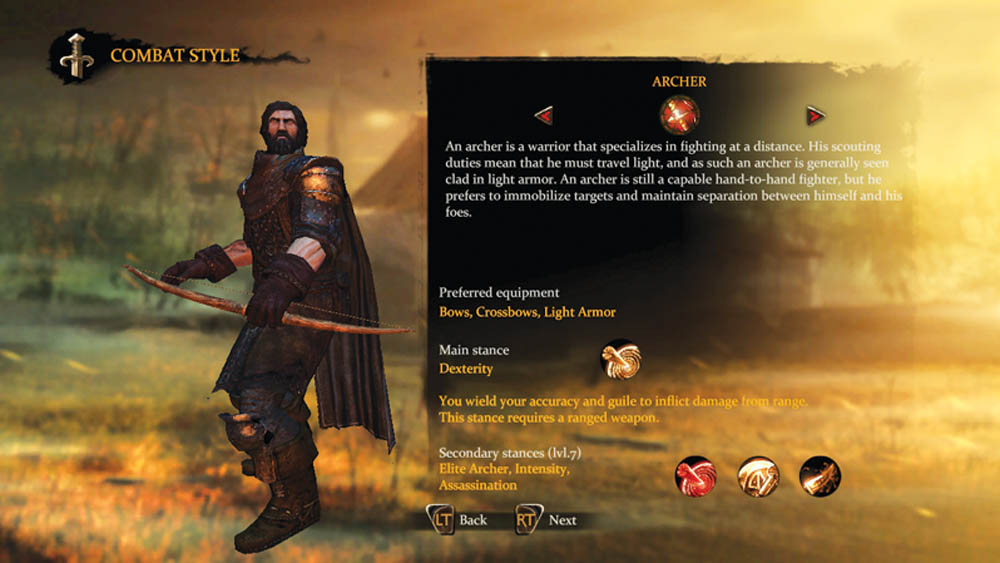
Glance often at your current character’s combat display. The green bar represents your health; the yellow bar shows your energy. Below those, the Action Queue orders your next three actions so you can plan out a few moves into the combat.
Maximize your character’s stance abilities for each combat. Match effects against vulnerable enemies as often as possible. For example, if a foe has a Bleeding effect on it, strike with an ability that increases damage to Bleeding foes. If an enemy begins a complex action (displayed in a circle to the right of their action bar), choose an interrupt ability to disrupt the attack. Generally, stacking three abilities in the Action Queue will drain all your energy (or come close to expending it all), but that’s okay if you can remove a powerful enemy from the fight. You also regenerate energy during combat; swing several normal attacks while you gain back energy and then queue up another big ability.
Activate Secondary Character Abilities
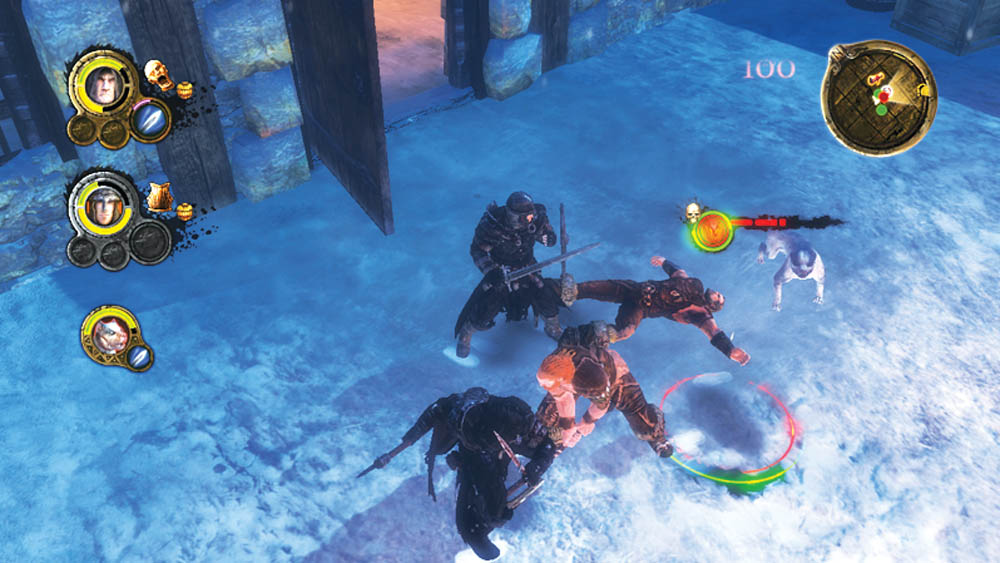
In a group, after you’ve queued up your main character’s three abilities, remember to rotate through your other characters. As you did with your main character, target enemies with your most appropriate stance abilities and coordinate your attacks on the enemy. When playing Mors, don’t forget about his dog’s abilities. The Hound can be a fearsome addition to the assault, especially if you have it immobilize an opponent while Mors deals with another aggressor.
Flasks Before Failing
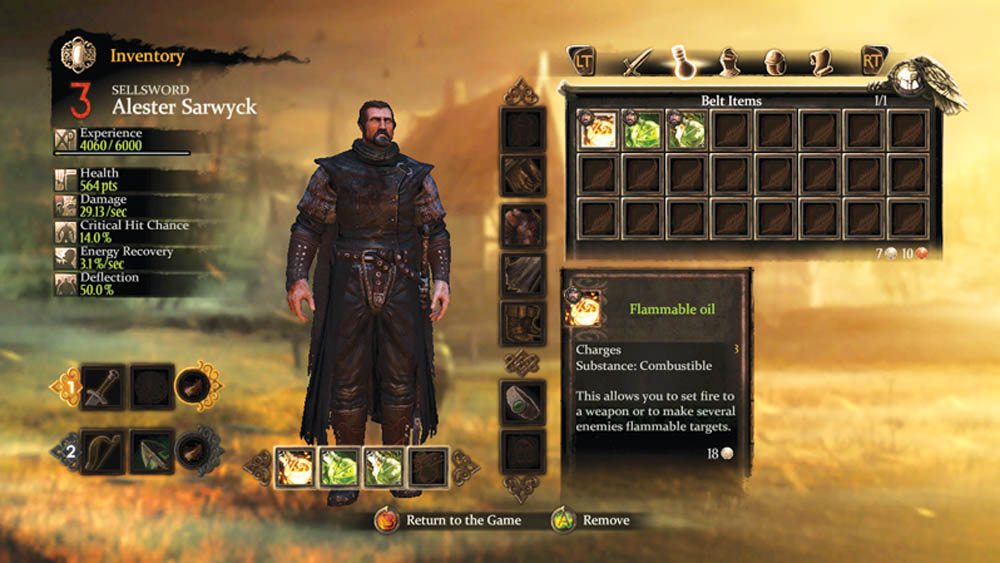
You have four slots on your belt for flasks. Fill these with different substances at alchemist shops—they give you special combat abilities such as healing or temporary invulnerability. Once you equip a flask, it appears on the Flash Ability Wheel, and you can add a flask action to your queue during Active Pause just as you would one of your stance abilities.
Attacking Your Enemies
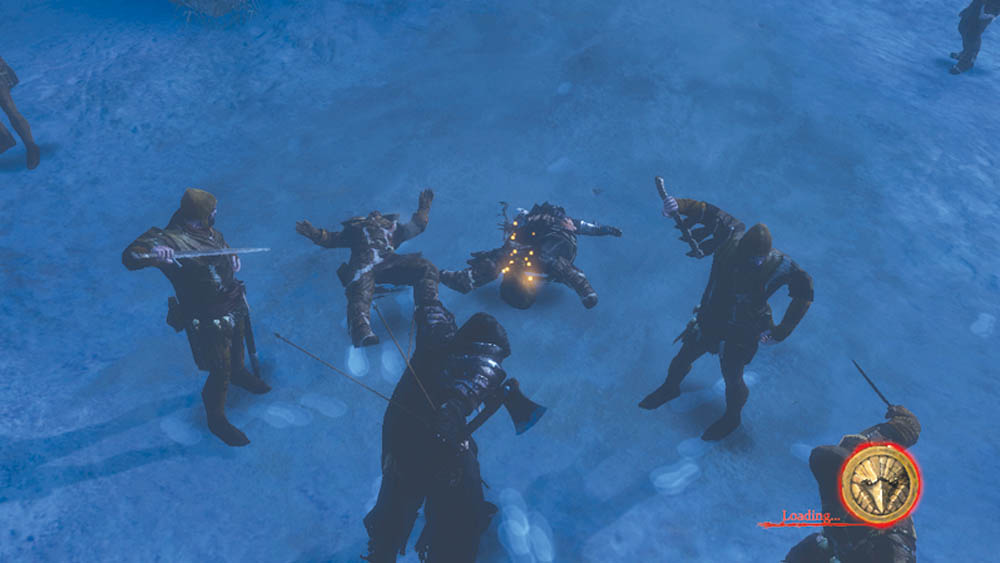
Now all that’s left is to take down your enemies. Combat can go quickly if you wish to battle in real-time, or you can watch it all unfold in slow motion through Active Pause. To put together the best plan of attack for each battle, factor in your strengths and the enemies weaknesses, and analyze the terrain and how it will affect movement. It won’t be long before enemies fall to your blades like wheat during harvest.
Enemies and Armor
Using the right weapon in combat can mean the difference between delivering a blade clean through your adversary’s stomach or receiving a spiked mace to your face. Your enemy’s armor displays on the left side of the health bar, and if they’re an elite opponent, you’ll see a skull above the armor. If you see a red skull above your enemy’s armor circle, look out! Red means boss enemies—the toughest foes in the game.