Far Cry Primal Guide Takkar's Journey Main Missions Roshani of the Izila
Izila Homeland
Izila Homeland

Prerequisite: Complete Mask of Krati and buy Mammoth Rider skill
Main Objective: Enter Izila Homeland, find Batari, and kill her
Difficulty: Very Hard
Special: Purchase the Mammoth Rider skill before attempting.
Overview
Fast Travel to Fire Screamer Fort and find a Mammoth. The entrance to Izila Homeland is just southwest from the camp. This final Izila mission is split into four objectives. Free the Wenja captives from the three locations—the training grounds, Izila Village, and Altar of Suxli— and then kill Batari.
Getting In
Ride the Mammoth south to the main gate and charge into it. Keep the charge attack going as you ram through the Izila fighters, only stopping when you do not see any more. Find the locked up Wenja on the left side of the path, dismount, and free him to learn of more hostages. If the Mammoth hasn’t wandered off, get back on and use it to ram through more Izila to the south.


Free Wenja from the Training Grounds

Objective: Free the Wenja in the training grounds
Enemies: Izila Elite Slingers, Izila Elite Spearmen, Izila Elite Warriors, Izila Archers, Izila Hunters
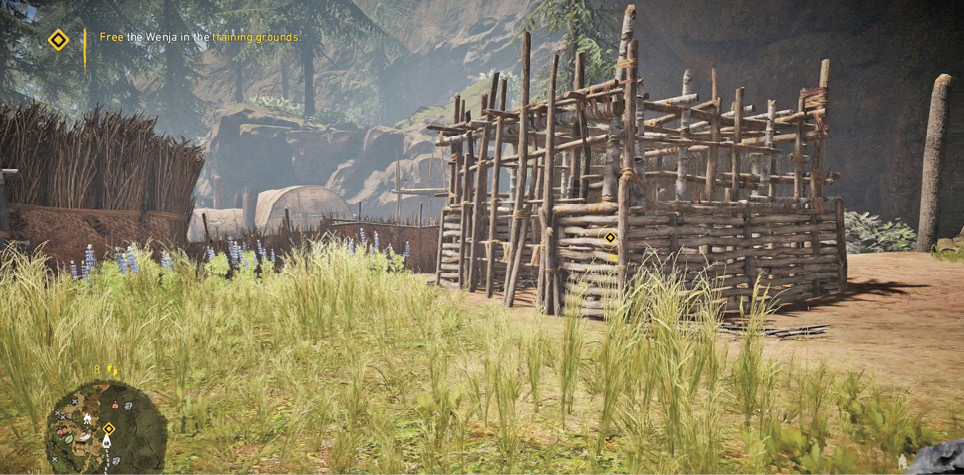
There are two Wenja prisoners being held in small cages toward the middle of the camp. It is wise to leave them be until the enemy has been taken of. They risk being killed if freed too early. An alarm is located in front of the big hut on the south side and another is found next to the dividing fence. If going for the stealth approach, take these out early on from long range. Pick off the northern Slinger right away. Then, pull the other Izila away for easy takedowns. If you do not care about stealth though, there is a Mammoth just south of the camp. Clear out the training grounds by trampling the foes; make the two alarms a priority. Once it is safe to do so, release the two Wenja and then travel northeast toward the central village.

Free Wenja from the Izila Village
Objective: Free the Wenja in Izila village
Enemies: Izila Elite Slingers, Izila Elite Spearmen, Izila Elite Warriors, Izila Elite Archers, Izila Archers, Izila Warriors
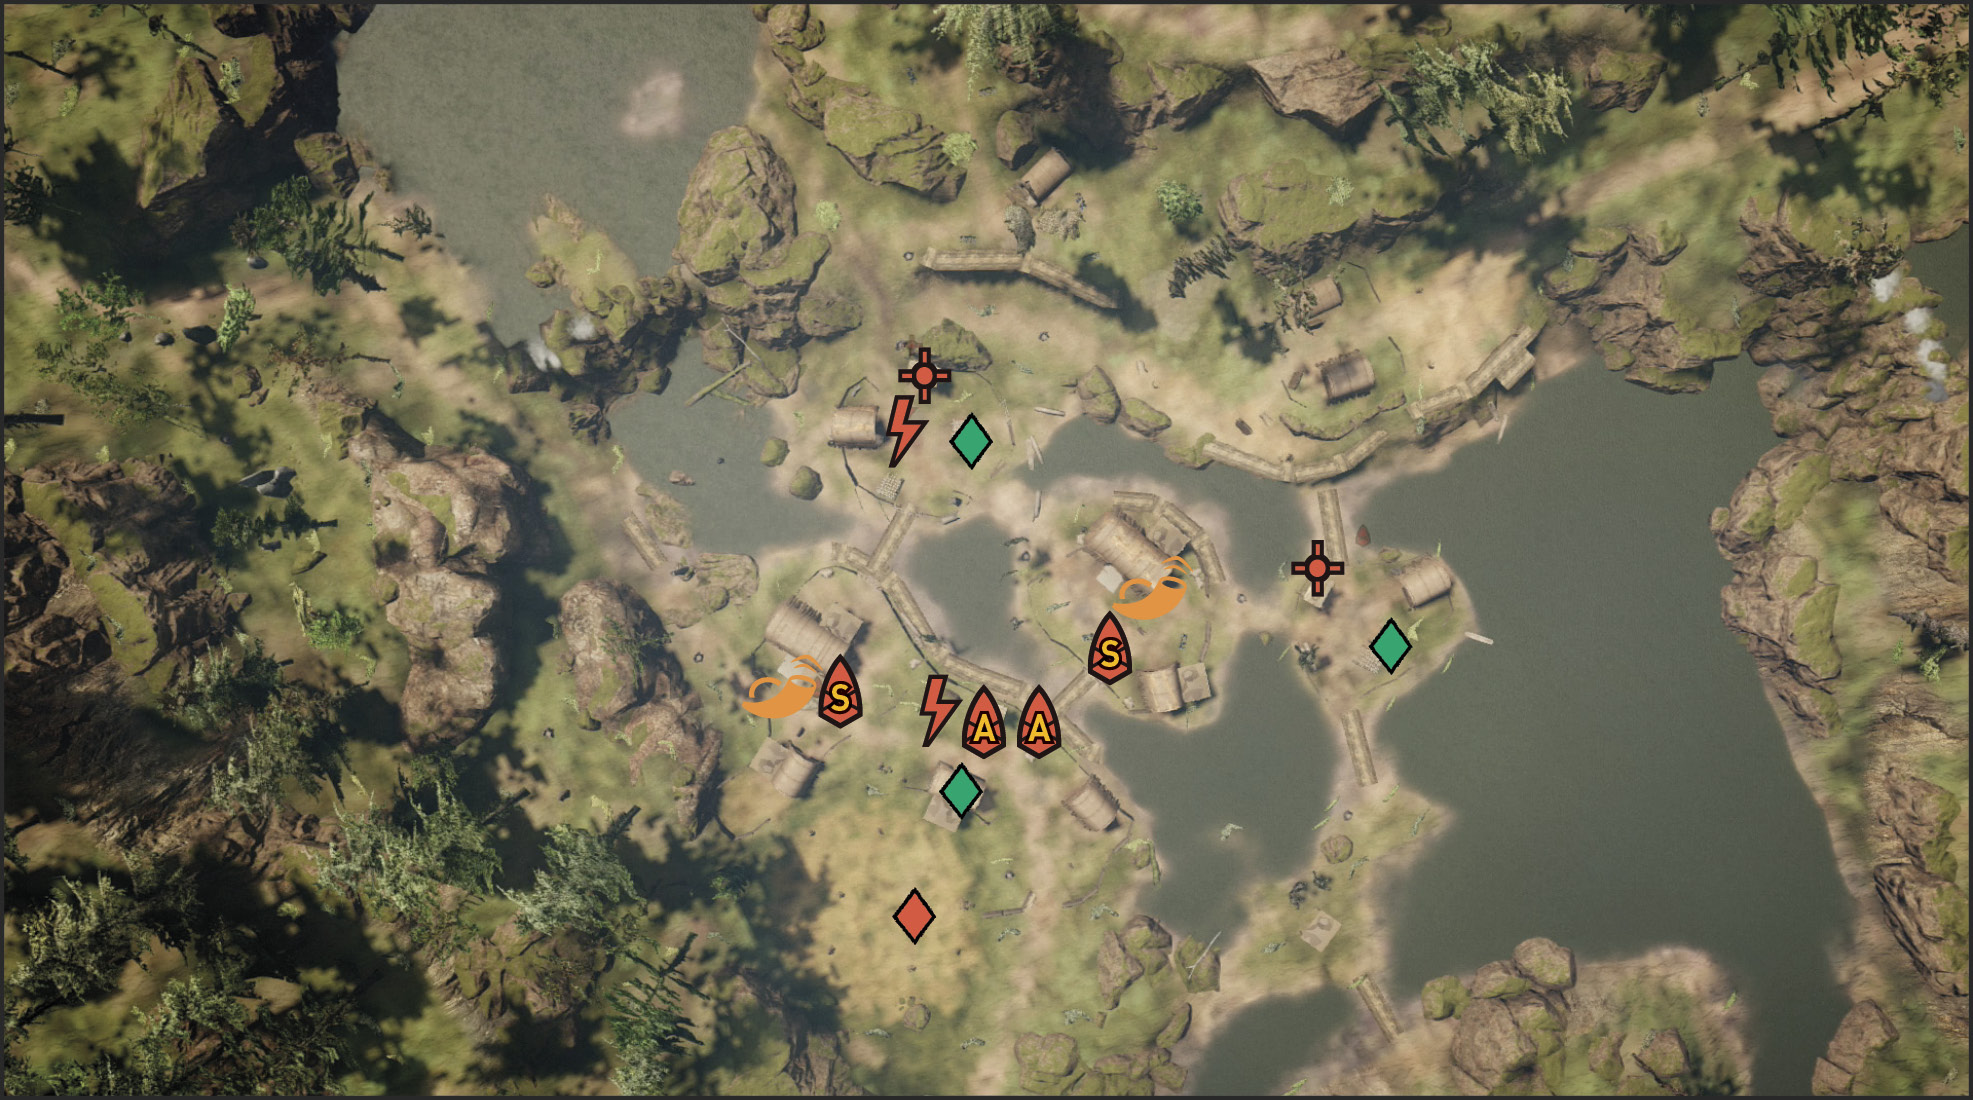
Walkways connect a series of islands to the mainland, with three watchtowers looking over the area. Each one overlooks a prison cell that holds a Wenja prisoner. Send your Owl up to tag the enemies and the two alarms. Slingers man two of the towers, while several non-Elite Izila patrol the grounds. The village is wide open, making long-range combat an option—just be ready for them to become alerted.

If taking a combat approach, kill the watchtower sentries quickly with your bow and then recruit some help from your animal friends. The Owl can help out by dropping bombs on the Izila. Bring in a strong beast to distract the enemy while you get in quick takedowns. The village is very flammable, so be careful releasing the Wenja when danger still exists; the Izila love their fire weapons. With the three Izila village prisoners free, move east to the third location.


Free Wenja from the Altar of Suxli

Objective: Free the Wenja at the altar of Suxli
Enemies: Izila Elite Hunters, Izila Elite Warriors, Izila Elite Slingers, Izila Archers, Izila Spearmen, Izila Warriors
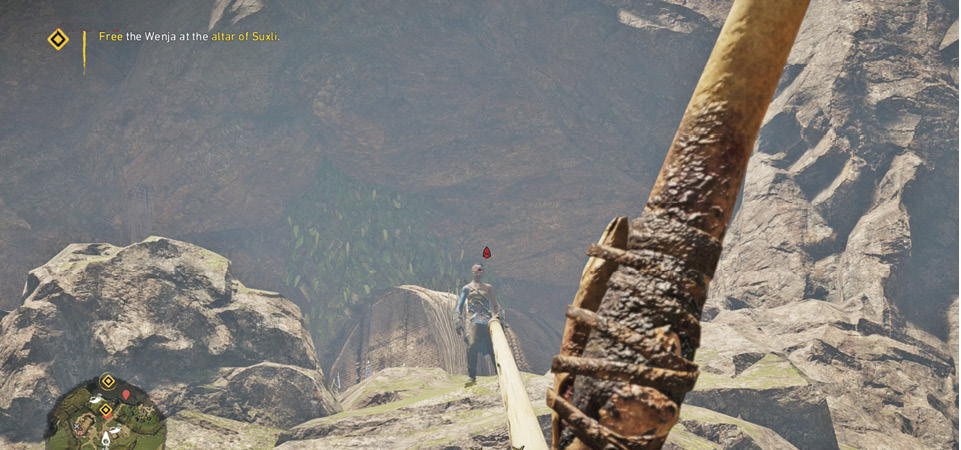
The Altar of Suxli is the grisly location where Wenja are sacrificed to Suxli. Two prisoners are held here. The lower area has two huts, an alarm, and one captive. The upper includes the altar, a third hut, another alarm, and the second captive in a cell on the back wall. Scout the place from the safety of the bushes. A Slinger climbs onto the roof of the main hut, so watch out for him. He is an easy target for your Owl. Archers start out on the upper ledge, while more soldiers roam the ground below.

Since the site is against the cliff, your options are fairly limited. Lure enemies out from the middle with stone throws and take them down out of sight. Use your long bow to pick off the upper enemies from the west. Focus on destroying the alarms early. Once the Izila have been taken care of, free the two captives before heading south to meet up with the Wenja.

Reach Batari
Objective: Find a way inside Batari’s temple
Enemies: Izila Archers, Izila Spearmen
Approach Batari’s temple to find out the bridge has been pulled back, leaving you no access. Fortunately, the freed Wenja are there to help. Talk to them and then cut the obelisk support ropes. At this point, the Wenja push the big standing stones down so you can get across. At the same time though, the Izila on the other side of the ravine start shooting arrows at them.

Hold them off by stepping to the front and taking them out with your own weaponry. If too many Wenja die, you fail. Berserk Bombs are great for confusing your foes, but they are also valuable against Batari, so only use them if you can spare them. Setting fires by igniting your arrows can deny the Izila a certain spot, but the flames eventually go out. With the four beams pushed away, the obelisk falls into place. Hop onto the bridge as you don the Mask of Krati. Run up the path and into the tunnel before Batari’s temple. Nobody attacks while you wear the mask, so save your ammo. You can find supplies before and inside the tunnel, so take time to restock. Call your strongest beast and open the gate at the end of the passageway to find your target.

Kill Batari

Objective: Kill Batari
Enemies: Izila Archers, Izila Spearmen, Izila Elite Spearmen, Izila Elite Warriors, Izila Scourges, Izila Chieftains, Batari

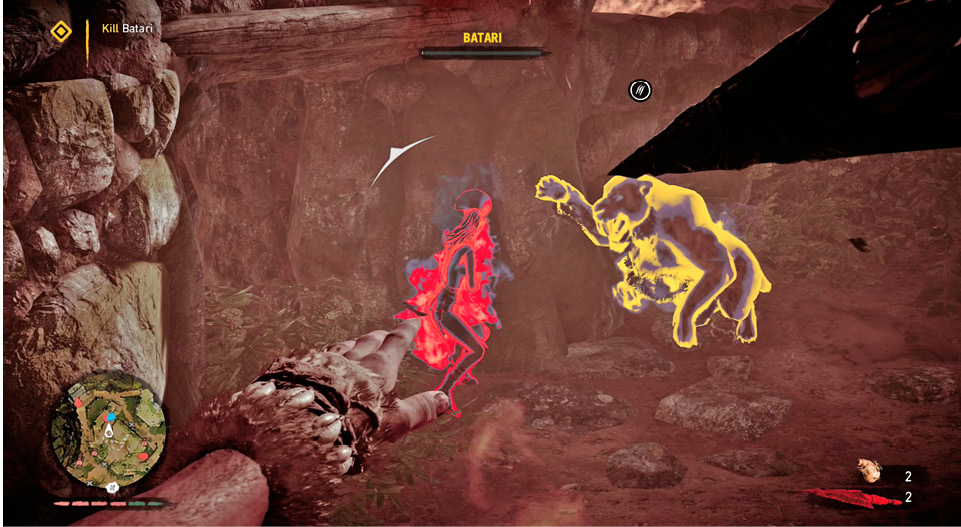
Batari stands on her own inaccessible platform on one end of the arena with a great view of the center, which is the best place to attack from. Take cover behind small stone walls and rock platforms. Stay on the move when possible to avoid taking too much damage from her fire arrows. She calls in reinforcements periodically, entering around the perimeter—most often the southeast corner. Sacks are found throughout the temple, so take advantage when you are low on weapons. A Cave Lion is locked up in a cage on the left, but you are free to call in any of your beasts.

Batari has a powerful bow equipped with fire arrows, making the Fire Resistance skill and Fireproof foods invaluable in the fight. Periodically, she moves behind the rocks and summons a wave of Izila soldiers, increasing in difficulty as you progress. She is strong against fire, poison, and bee stings, so the bombs should be saved for the reinforcements.

As soon as you are in range, whip a few spears at her head to get things started. Keep in mind that while she fights from her stage, you are not getting your weapons back. The four fire bowls can be destroyed with fire arrows or thrown clubs, eliminating much of her cover and exposing her to attack. Continue to throw spears and shoot arrows at Batari, taking cover to avoid her fire damage.

When Batari summons reinforcements, she hides behind cover and returns only after so many are dead or a certain time has elapsed. Concentrate on reducing these numbers during this time, sending your beast after them immediately. There are three waves of reinforcements that progressively get harder. Watch out as there are Chieftains and Scourges that occupy each of the waves. If you can get the jump on a wave of reinforcements, lob bombs as they enter. The southeast corner is your best bet.
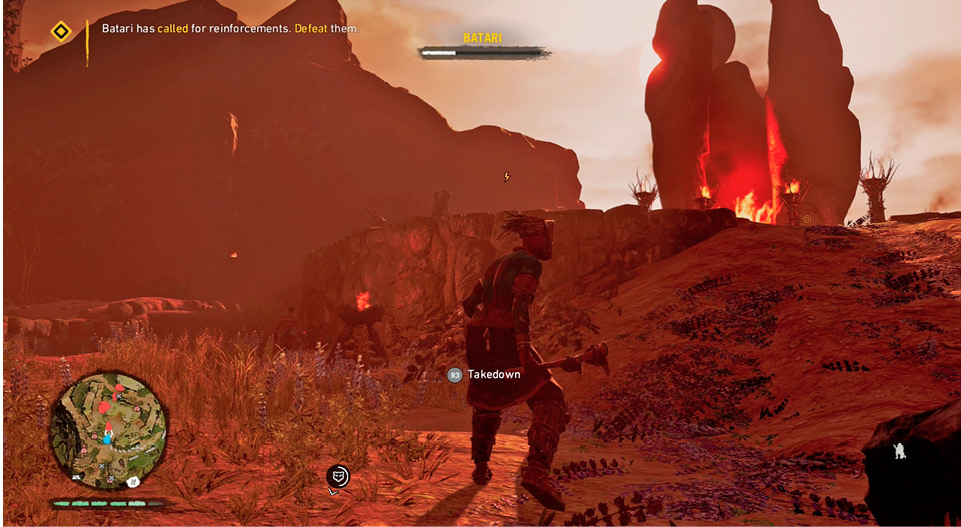
Use the platforms as cover when fleeing from the reinforcements. Send a strong beast, such as the Cave Bear, their way. It can handle them while you attack Batari, as long as you keep it healed up. Whenever possible, save your projectiles against the Warriors. Take them down with your club behind the rock walls.
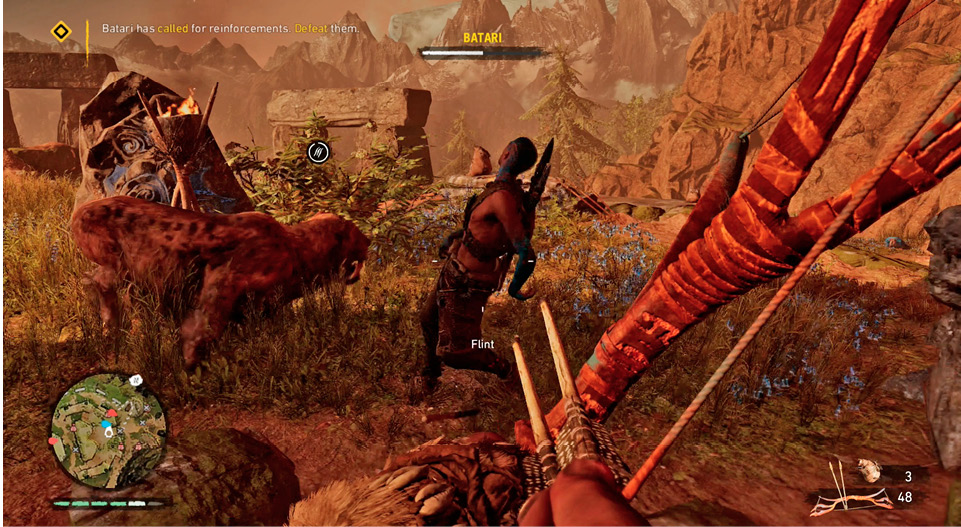
When Batari gets low on health, she moves down the left ramp. Set your beast on her or try for a Death from Above Takedown. It doesn’t take much at this point to finish her off.