
Far Cry Primal Guide Secondary Quests Beast Master Hunts
Bloodtusk Mammoth
Difficulty: Hard
Awards: High XP
Special: Bloodtusk Mammoth Skull
This area is in the snow, so having upgraded cold gear helps your hunt! If you don’t have upgraded cold gear, be sure to stock up on Animal Fat as you want to be holding a lit weapon when you are not combating the Mammoth. You can also stay warm using fire pits and by visiting the edges of the Hot Springs pools.
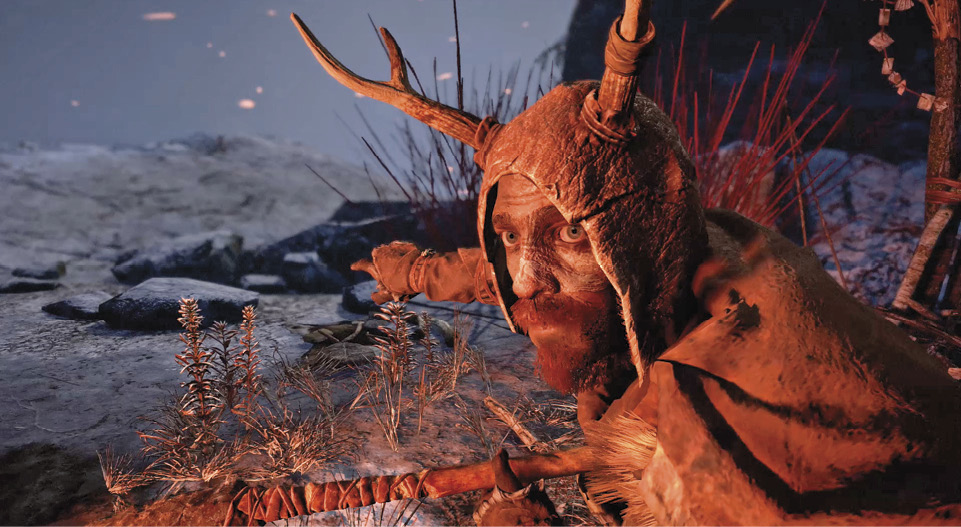
Once you’re in the area for the hunt, speak to the hunter crouched down by the fire. He tells you of the Bloodtusk Mammoth that is wreaking havoc on the Wenja.
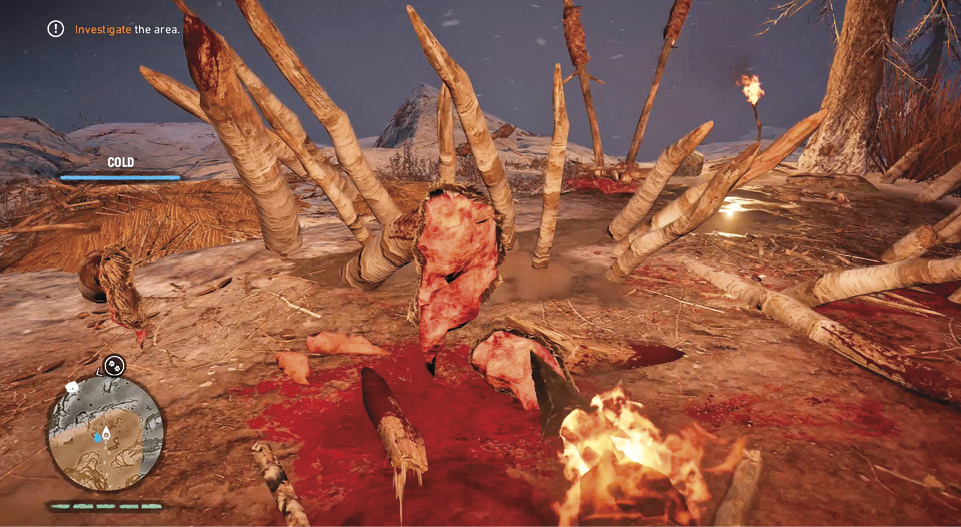
After speaking with the Wenja hunter, head north and grapple down the cliffs. This will lead you to your first clue, a piece of meat and skin from the Mammoth on some wooden spikes.
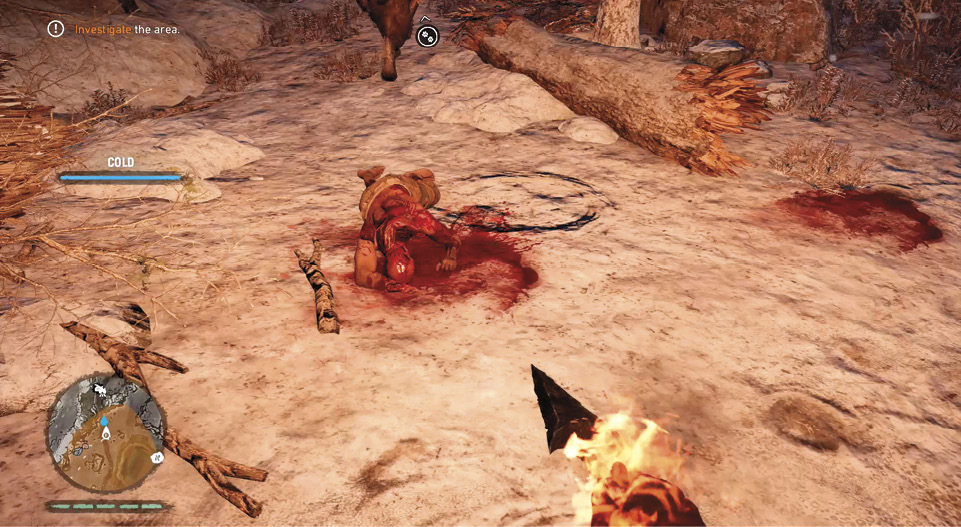
Continue north either following the footprints with your Hunter Vision, or using the grapple points to quickly descend to the next clue. Hunter Vision can also highlight Resources and Traps. You find a dead Wenja that was crushed by the foot of the Bloodtusk Mammoth.
After examining the dead Wenja, three different places to fight the Mammoth are marked on your map. You can choose any of them to start with as the Mammoth always spawns at whichever you choose first. As you fight the Mammoth it retreats when damaged and takes you to each of the areas.
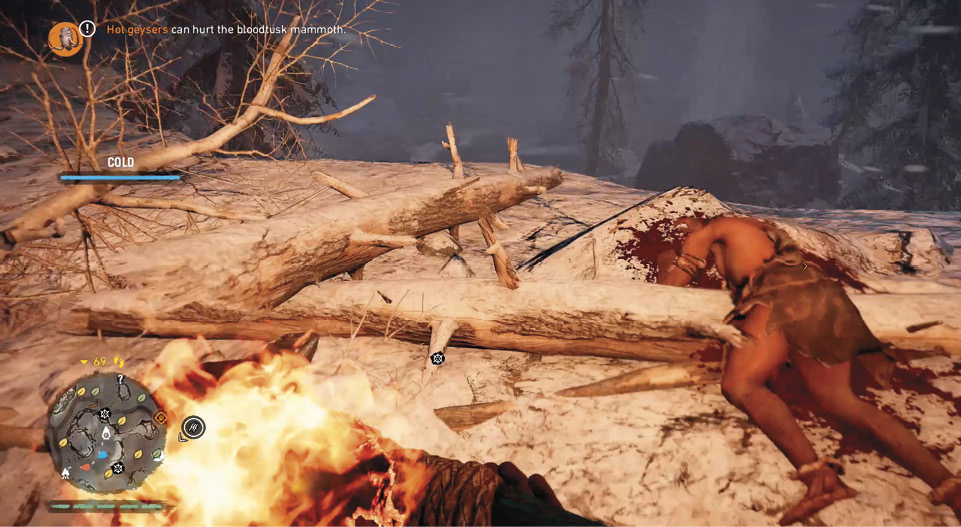
To the west you have the Hot Springs. The clue leading into the hot springs area is another dead Wenja on top of a few logs.
There are plenty of traps in the hot springs that can deal heavy damage to the Mammoth. The geysers deal a great amount of damage if you can situate the Mammoth on top of one while it erupts. Snare traps located on the spring can help make this happen.
Focus on drawing the Mammoth into your traps, using your bow to kill off any Udam or smaller animals in the area, preventing them from accidentally triggering your traps.
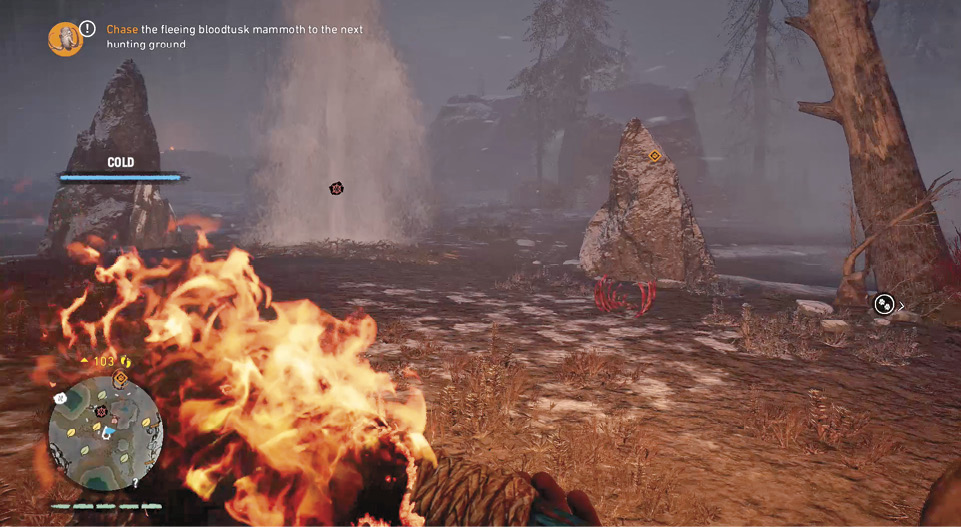
After the Mammoth retreats, you can pick either of the remaining areas for the next part of the fight. You can also damage the Mammoth while chasing it from each battlefield.
To the north is the Glacier Valley. On your way there a group of trampled elk is your clue before entering the area
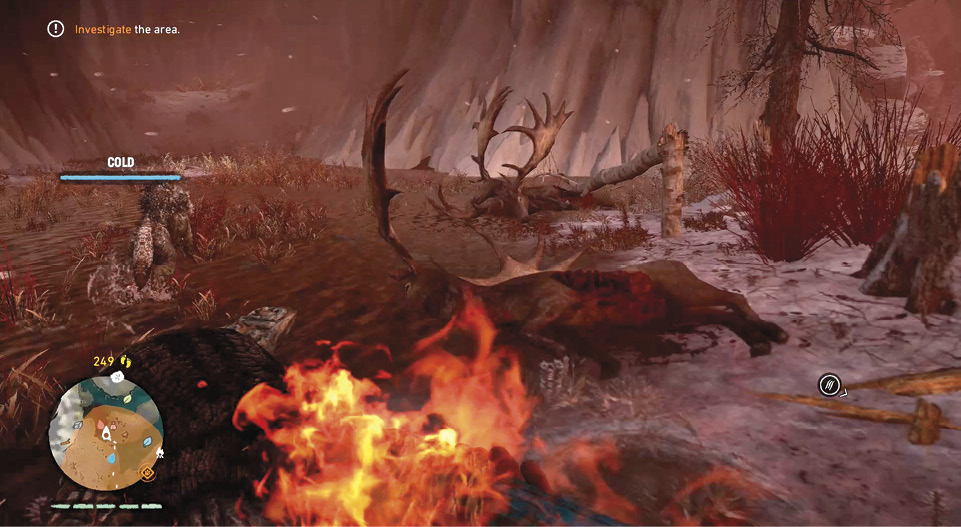
As you near the end of the cavern leading into the Glacier Valley, a large, blood-covered icicle protrudes from the ground. Examine it before entering the valley.
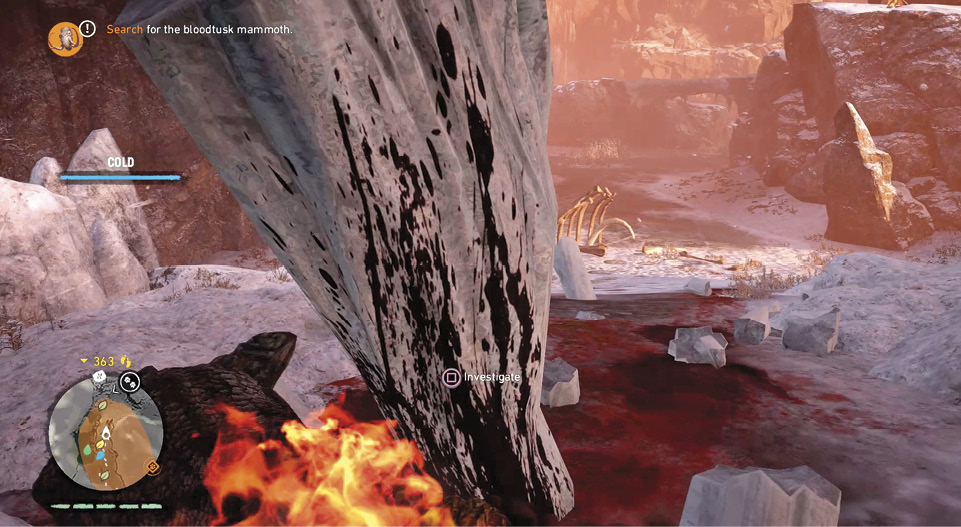
Use snare traps to hold the Mammoth in place before using your bow to shoot down the icicles that hang overhead to deal heavy amounts of damage. Icicles that can be shot down are highlighted when you use Hunter Vision. The high ground in this area is not safe as the Mammoth can easily take down bridges and grappling points by ramming into them.
The remaining area to the east is the Mammoth Graveyard. The graveyard has Udam warriors scattered throughout it. Kill the warriors before you set the traps and begin attacking the Mammoth. This prevents them from triggering your traps.
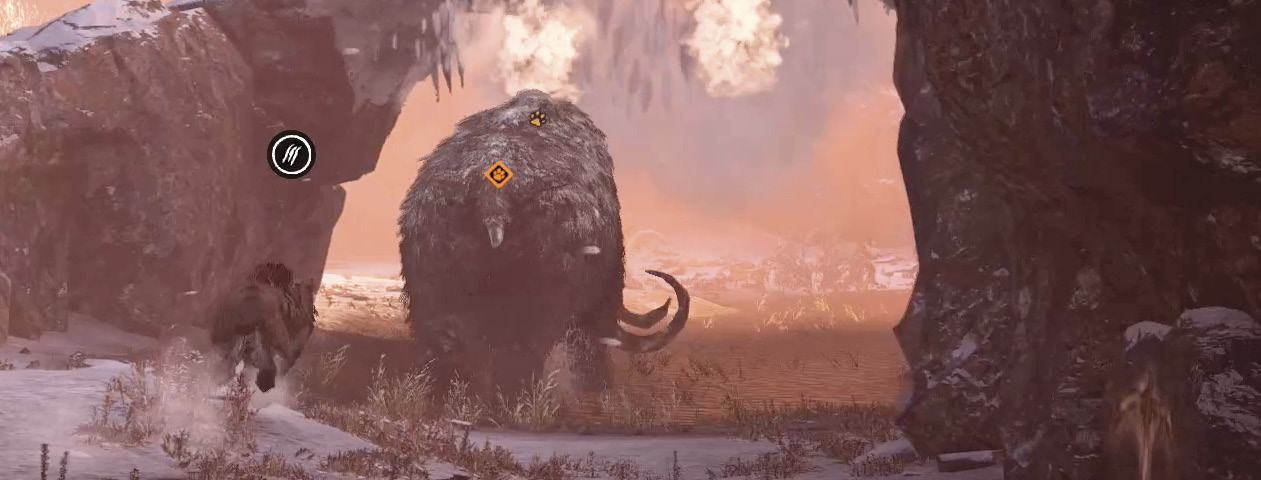
The Mammoth can easily be lead into the spike traps in this area as they are generally located between two objects, allowing you to funnel the Mammoth in for a direct hit on your trap.
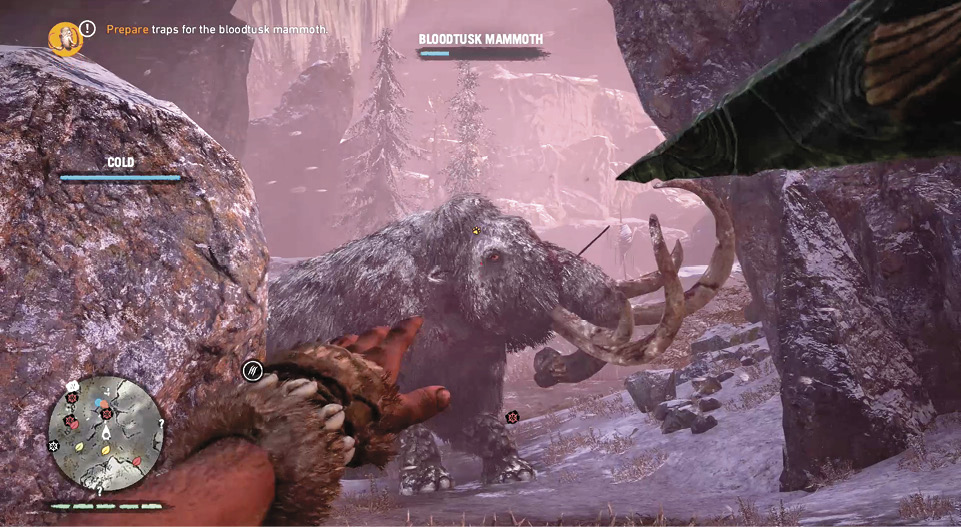
Once you have downed the Mammoth, you must kill it and return its spirit to Oros. This kill is much like taming the other Great Beasts, you must get in close to the downed animal and press and hold the action button to kill the Mammoth.
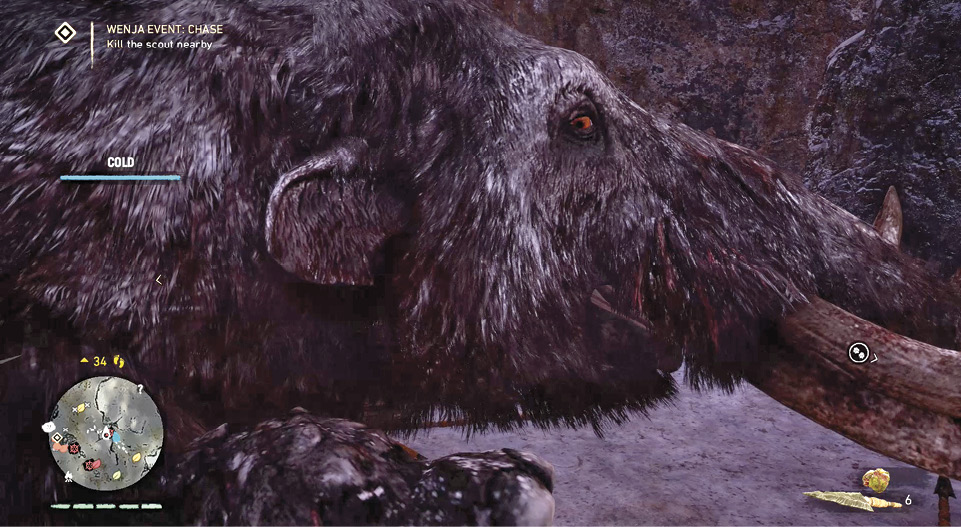
If you wait too long before reaching the Mammoth and activating the kill, it gets back up with a small amount of health.
After killing the Mammoth be sure to collect the Bloodtusk Mammoth Skull from its corpse before leaving the area.