Far Cry Primal Guide Secondary Quests Beast Master Hunts
Bloodfang Sabretooth
Difficulty: Hard
Awards: High XP
Special: Tame the Bloodfang Sabretooth
You can begin the hunt during the day, climbing to the top of the waterfall near your cave. Once at the top of the waterfall you are notified that a Beast Master Hunt is nearby.
Use your grappling claw to pull yourself even higher until you finally reach an entrance to a cave that you are tasked to explore.
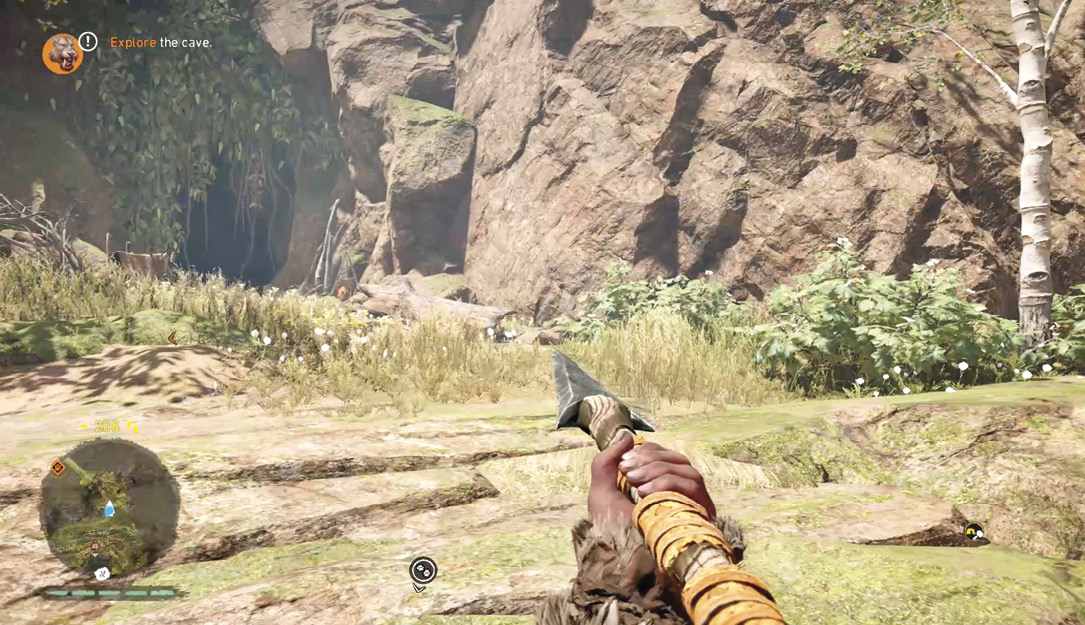
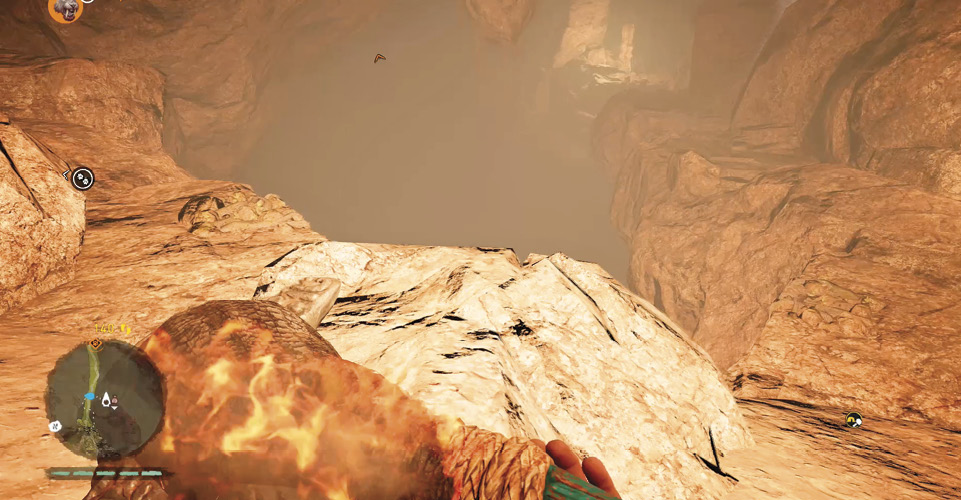
Once inside the cave, stay along the walls to the right; you come to a small ledge overlooking a large drop. Prepare yourself to jump a few small gaps in the upcoming ledge.
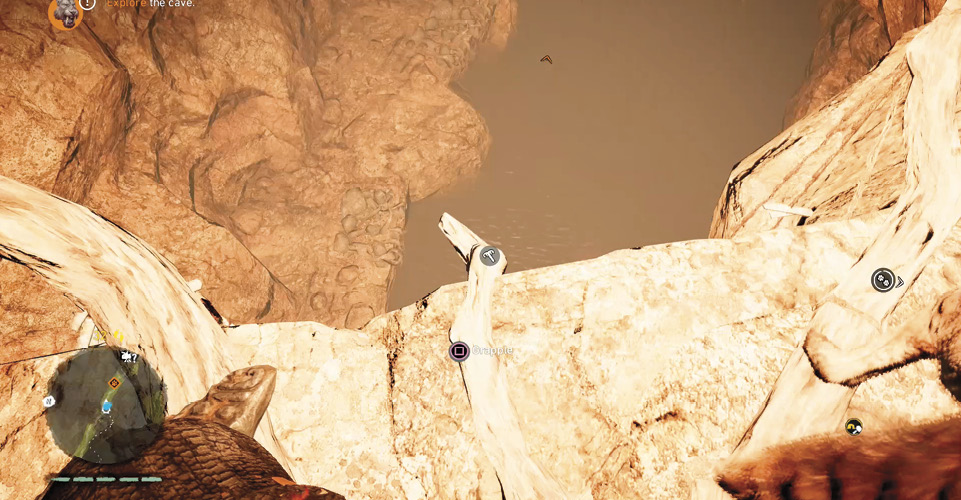
Continue through the cave using the grappling point you come across to safely lower yourself to the side of a little bit of water.
Once you are on the rocks beside the water, you need to jump or swim across to the small landing, and then begin to climb the long vines upward.
Before you can reach the top of the vines, a short cut scene activates and the Bloodfang Sabretooth pulls away his Wenja victim.
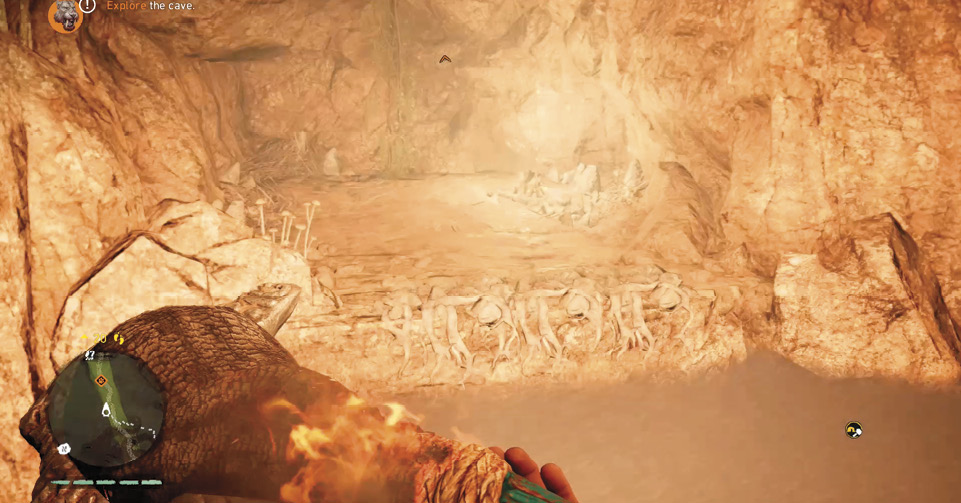
After the cut scene, follow the blood trail out of the cave. With your Hunter Vision active, footprints begin to appear alongside the blood trail, eventually leading you to the first clue in the hunt—the Wenja that you saw get taken away in the cut scene.
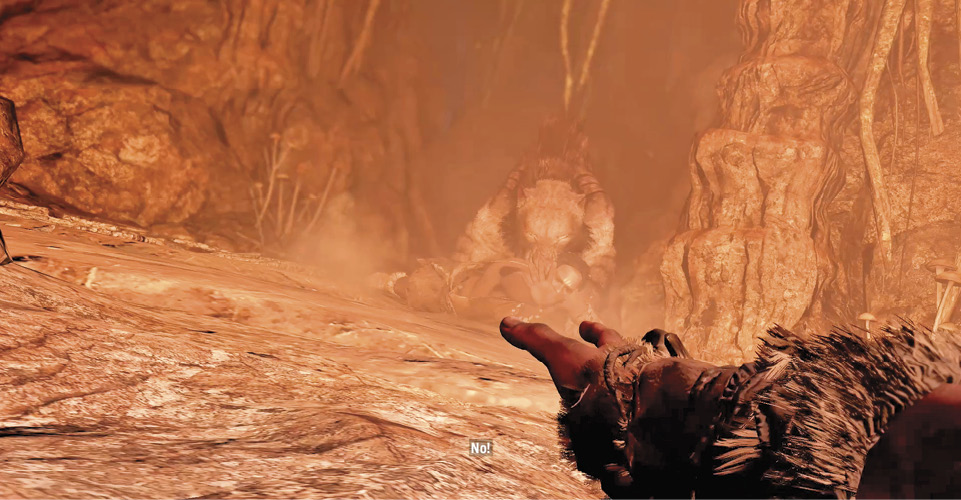
Continue following the trail down the mountain, eventually having to use a grappling point. Just after you have lowered yourself from the grappling point you find another clue in the center of the path, a broken Udam Mask.
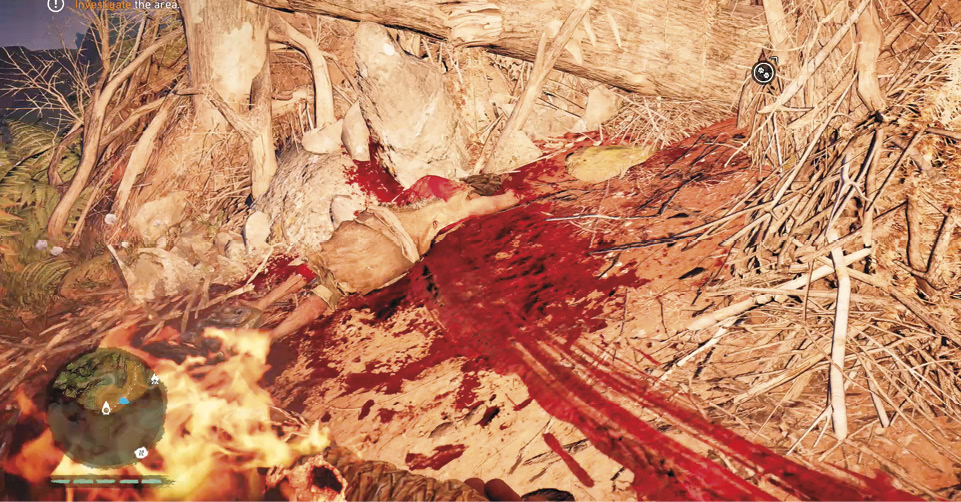
Slide down the hill as you follow the tracks south, eventually sliding into a pit of bones and bodies. Inside this small pit is a third clue, a dead Udam, killed by the Sabretooth.
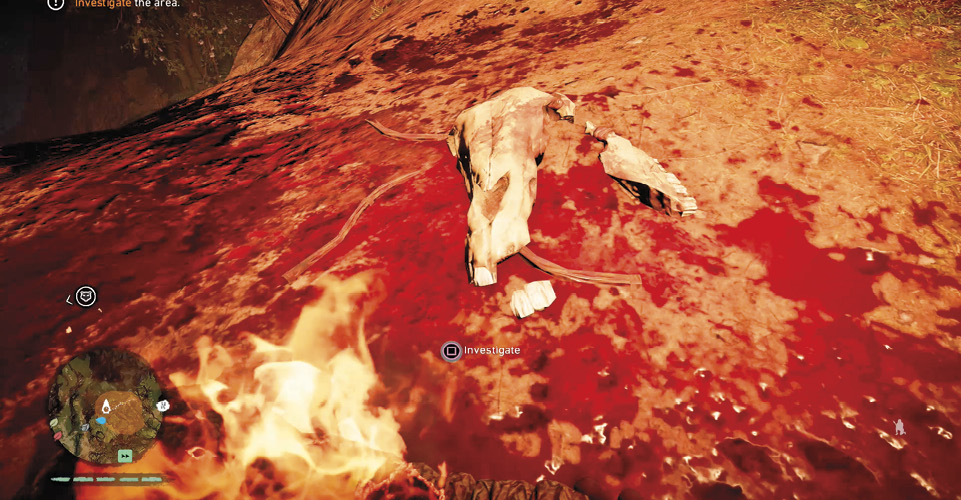
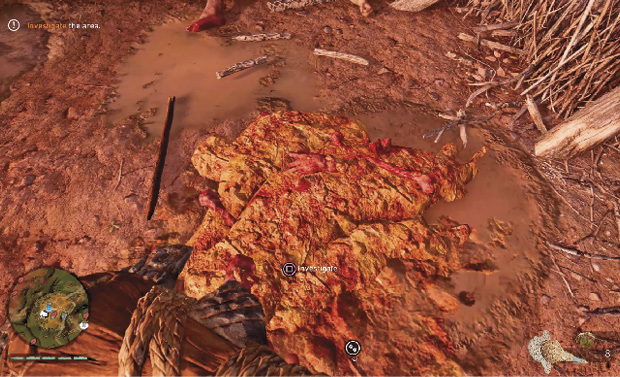
The tracks then lead you to a small camp, which may be guarded by a few Udam. Some of them may even surround the next clue. Eliminate the Udam if needed, and then examine the pile of blood and guts.
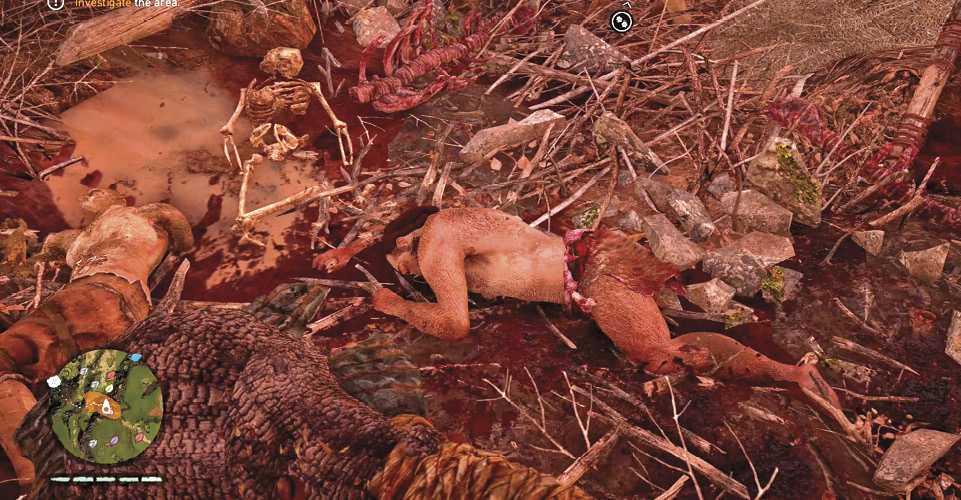
|
My favorite beast is obviously the Sabretooth Tiger. I’m a cat person. — Vincent Pontbriand, Senior Producer |
After examining the clue, you have two sets of tracks to follow, each leading to a different location to fight the Bloodfang Sabretooth.
Head toward the western objective; this takes you to some ruins. This area has more trap locations which deal a great amount of damage to the Sabretooth without your dwindling down your weapons supply.
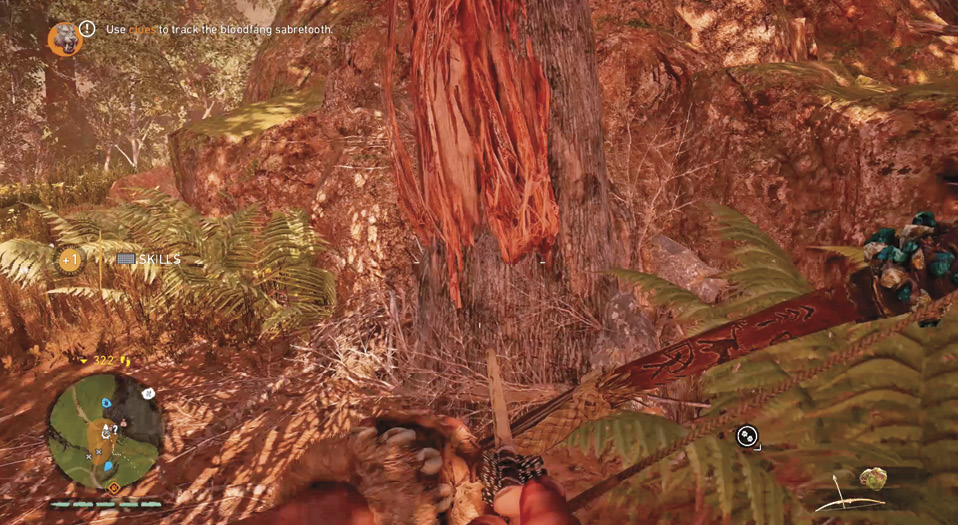
As you follow the path to the west, you come across another clue, a tree trunk that the Sabretooth has used to sharpen its claws.
Continue along the path which eventually leads you to your next clue, a spear that has been thrown into a large tree trunk. The Wenja that were at this camp weren’t ready for the threat of the Bloodfang Sabretooth.
There are no more clues now, work your way to the objective marker. If it is daytime, a Wenja hunter is there waiting for you.
Use the daylight to set up traps. They are marked by a stone with white markings, as well as by a small white trap icon on your mini-map. The icon changes to red when you have placed a trap in that location.
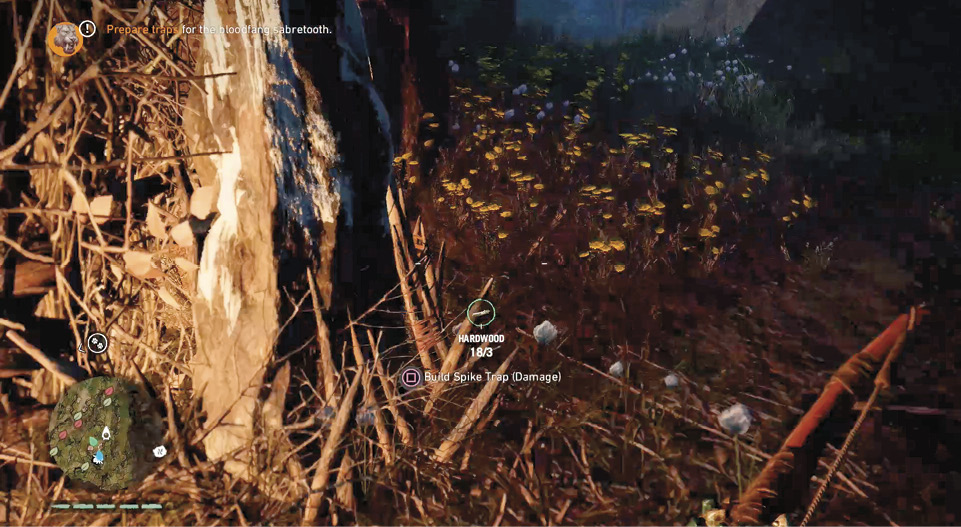
If you speak with the Wenja hunter, an objective marker is placed on the bed nearby. Use the bed to sleep until nightfall.
Please note that if you arrive at night and speak with the injured hunter, the Sabretooth spawns right away and begins attacking you, significantly shortening the amount of time you have to set up traps. Time your arrival accordingly.
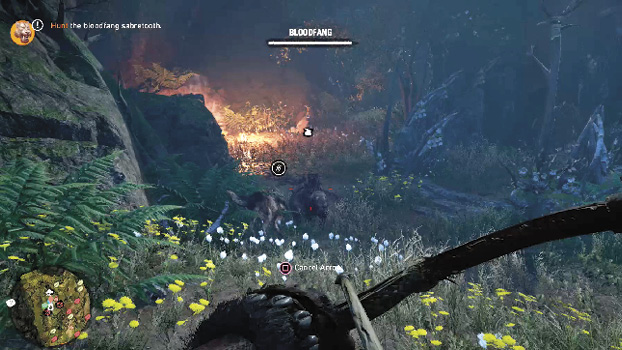
You have a small amount of time to prepare traps once you wake up if you haven’t already placed them. When Bloodfang Spawns, the angry Sabretooth is marked with an objective marker.
If you have a beast with you, they begin to attack Bloodfang. Use that opportunity to get as many headshots on the Sabretooth as you can. Run toward your traps, forcing Bloodfang to trigger them. The traps briefly stun Bloodfang, which allows you to get some headshots with your spears, dealing massive amounts of damage. While you run to the other trap, have your Two Handed Club equipped. The club is capable of stunning Bloodfang if he gets too close.
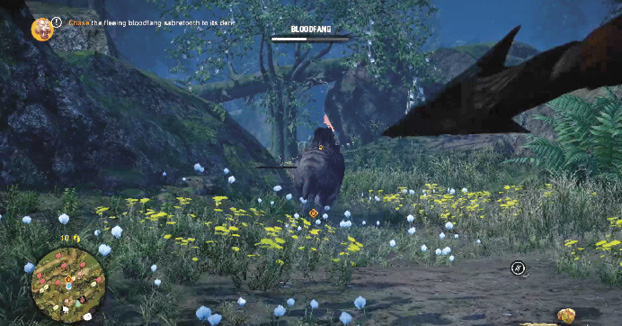
Once his health hits 50% he begins to run for his cave. You can still damage Bloodfang while he runs. A fast beast companion, like a Cave Lion or Wolf, can catch up and deal small amounts of damage to Bloodfang as he retreats to his cave.
Choosing the south objective results in a very similar experience. Follow the path south to the objective marker, keeping an eye out for the next clue. A Wenja trap has damaged the Tiger with a blood trail leading to the forest.
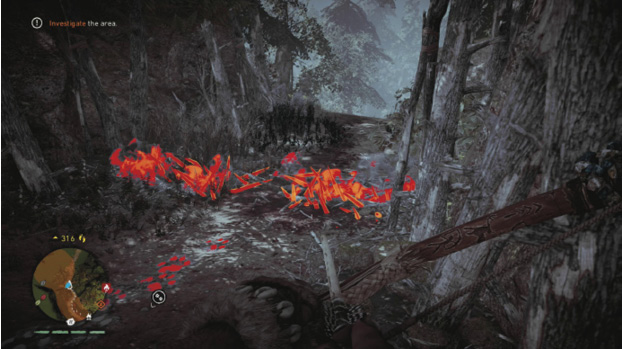
Follow the trail into a camp and talk to the Wenja hunter. Build as many Spike Traps as you can around the site to better the odds of hurting the Sabretooth.
|
Sabretooth riding is the best. — Jean-Sébastien Decant, Narrative Director |
Sleep until dawn and deal with the beast as described for the west objective. Three Wenja hunters help with the hunt. As its health reaches 50%, it flees to the den.
Use your Hunter Vision to follow the trail. Try to run as straight as possible; this allows you to close some distance on Bloodfang as he retreats.
The entrance to his den is along the ledge that runs at the base of the cliff behind the water. The den itself, after you arrive from the entrance tunnel, is roughly ring-shaped with some changes in level.
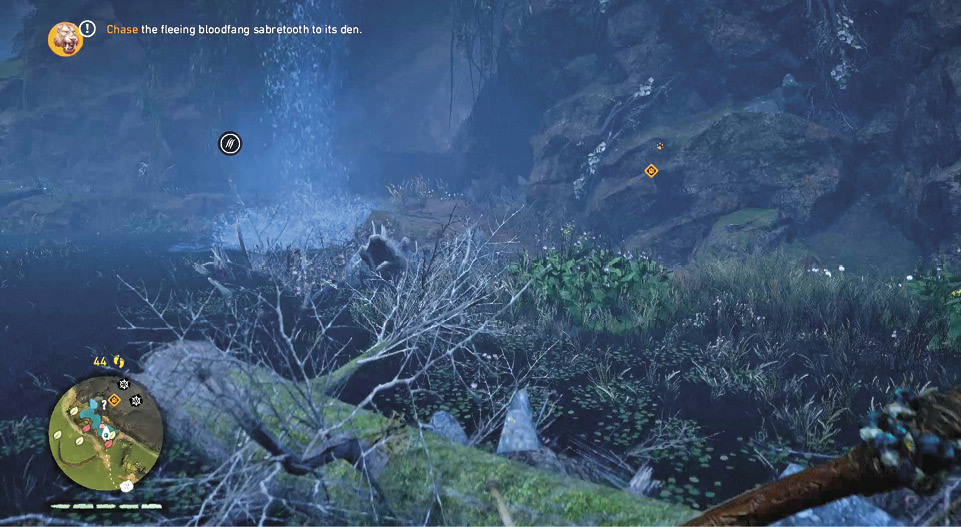
There are two available traps in Bloodfang’s den, locate them and quickly set them up.
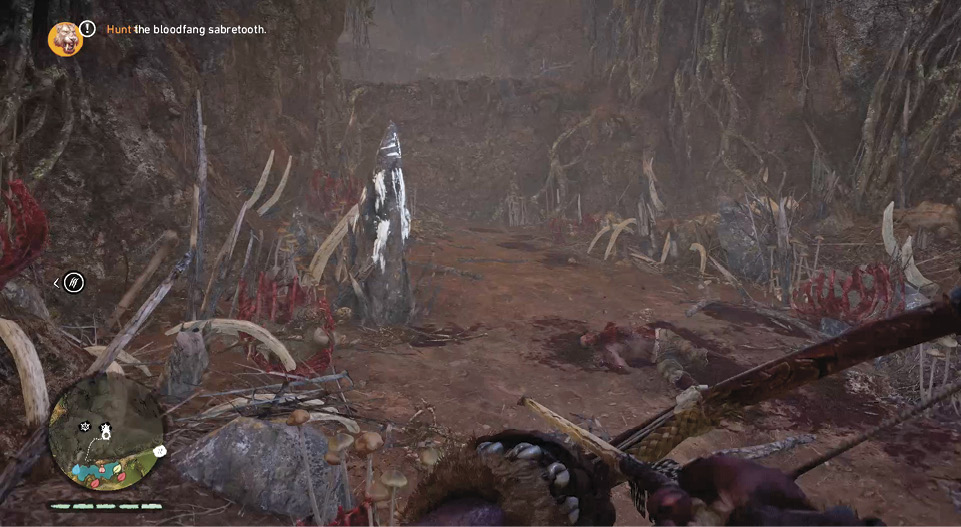
Using the same tactics as before, force Bloodfang to chase you through the traps, then throw spears at his head to deal critical amounts of damage.
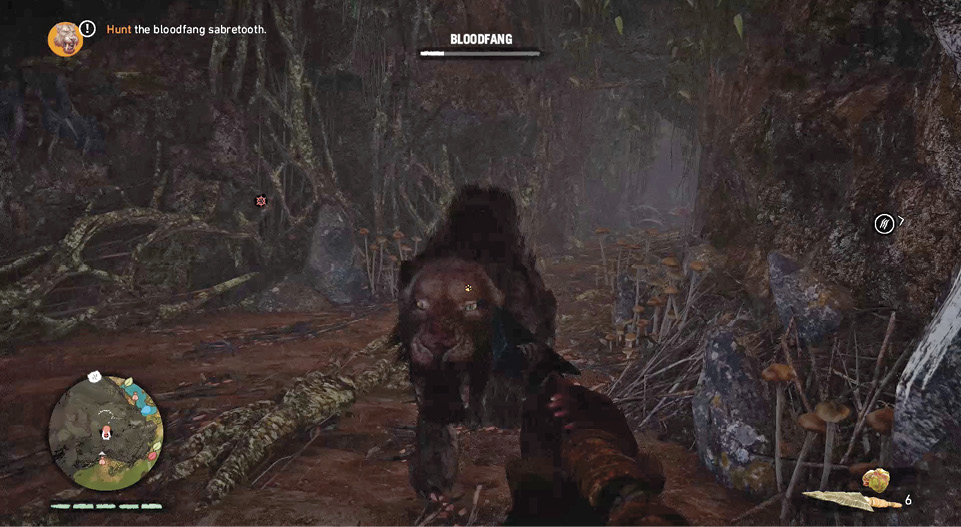
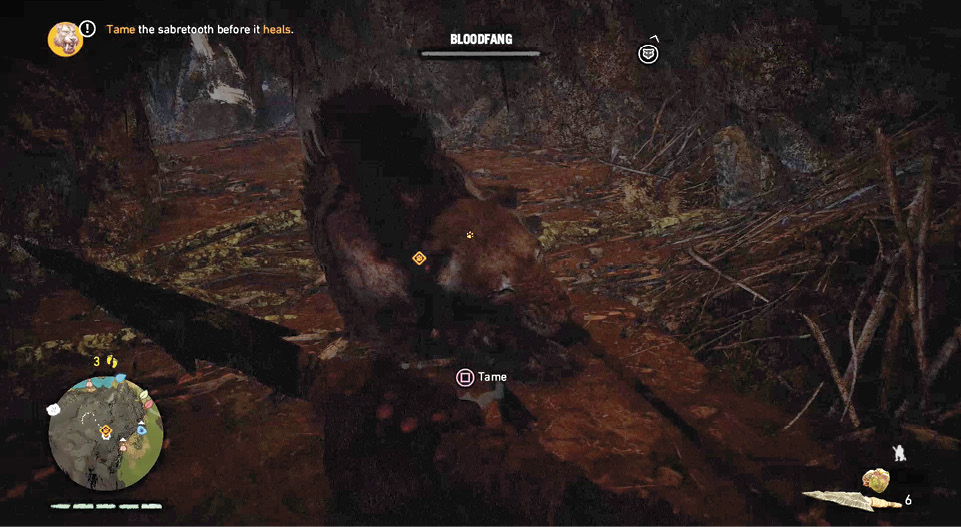
Once you have brought his health bar to nothing, the option to tame him appears. When you have tamed Bloodfang he joins you as your beast companion, allowing you to call for him whenever you’d like!