Far Cry Primal Guide Secondary Quests Help Wenja: Tribal Clashes
Tribal Clash: Destroy
Destroy: One
Location: Cut Mamaf Cave
Difficulty: Hard
Special: 1 Skill Point
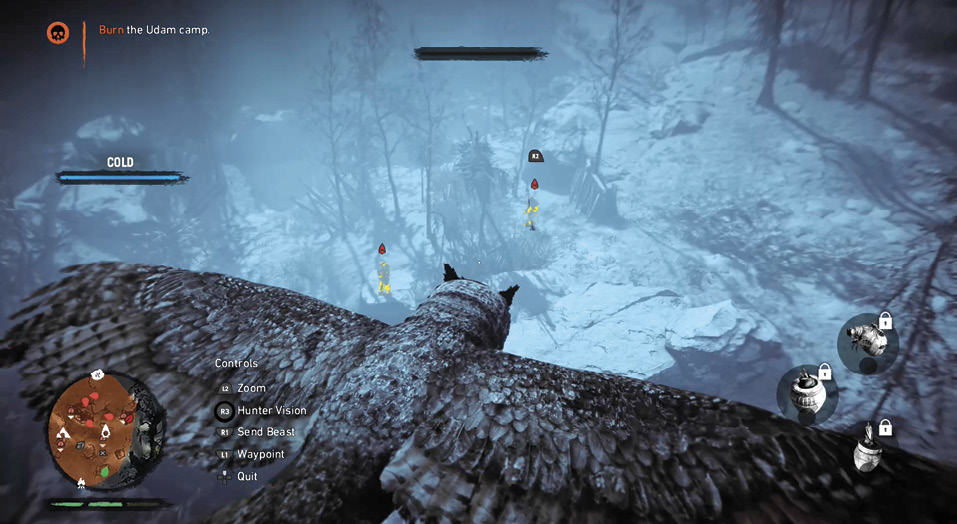
Have your beast at your side as you approach this camp from the south. Call in your Owl to get a good look at the position of the lookouts, as well as the position of the Scarecrows as these are your main objective when you begin to destroy this base.
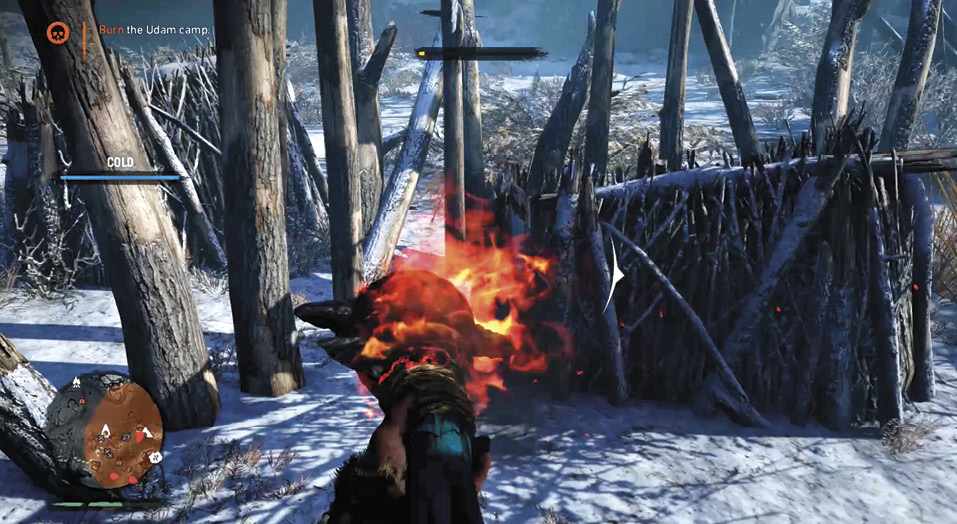
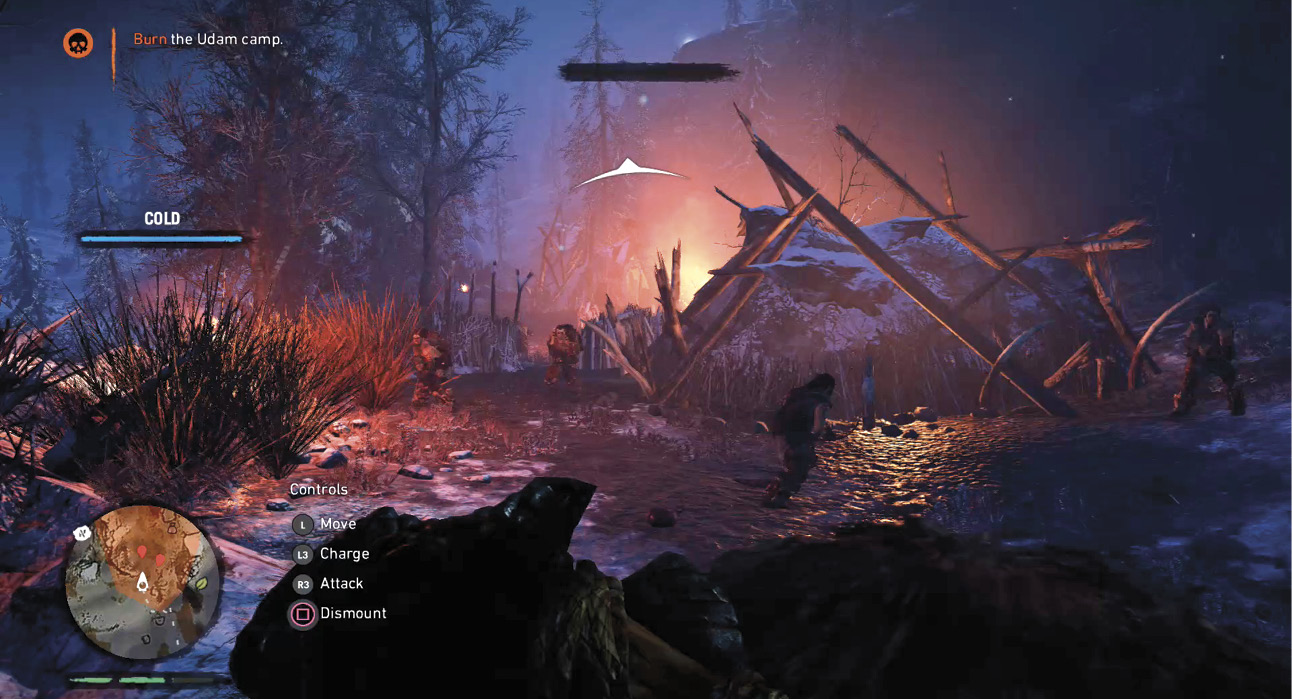
Start by picking off the Archers on the upper level with lit arrows, this causes them to catch fire, thus lighting any objects they touch ablaze. Send your beast in to attack the enemies near the campfire. Light your club and circle around the camp, lighting the large spike walls, smaller wooden walls, and Udam Scarecrows. As the meter fills, reinforcements begin to swarm in from the east and west side of the camp.
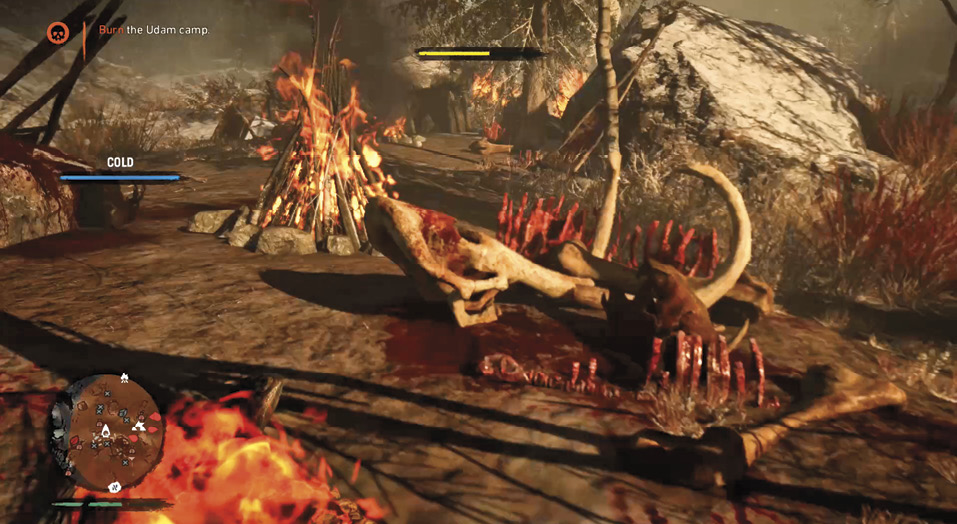
Since you’ve already destroyed most items on the outside of the camp, move inside and take out the meat transporters and the small shelters they have built. This quickly finishes off the destruction meter.
When the meter has filled all the way, your objective changes from burning the Udam camp to simply fleeing the area. This is a much easier task than attempting to take on the waves of reinforcements that are about to fill the camp.
Destroy: Two
Location: Dead Tree Camp
Difficulty: Medium
Special: 1 Skill Point
Stock up on Animal Fat and get ready to wreak some havoc from the top of a Mammoth. Mammoths are located right next to the quest giver, hop on top of one and pull your bow out. Follow the path up into the camp and charge!
Your Mammoth destroys smaller wooden objects and the Udam enemies below. All you need to do is light some of your arrows on fire and shoot for the tents and the tall Udam Scarecrows (which can also be destroyed by melee or Mammoth).
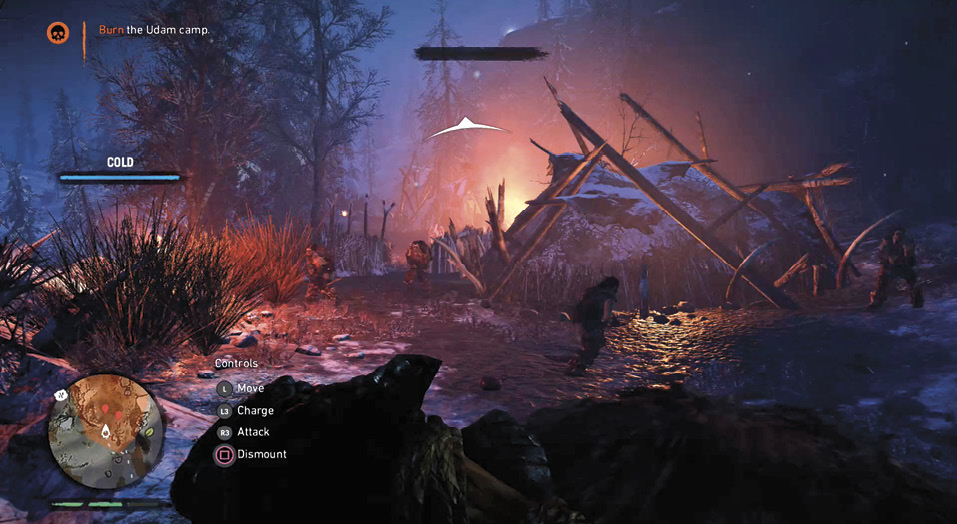
The Scarecrows are facing out toward the cliff, near the entrance and exit to the camp. If you think you’ve got everything, but the meter is full, check the large rock near the campfire in the center of the camp. A handful of meat transports are leaning up against it.
Continue circling around the camp until you’ve stomped and burned the place to the ground.
Destroy: Three
Location: Cave of Sun Walkers
Difficulty: Medium
Special: 1 Skill Point
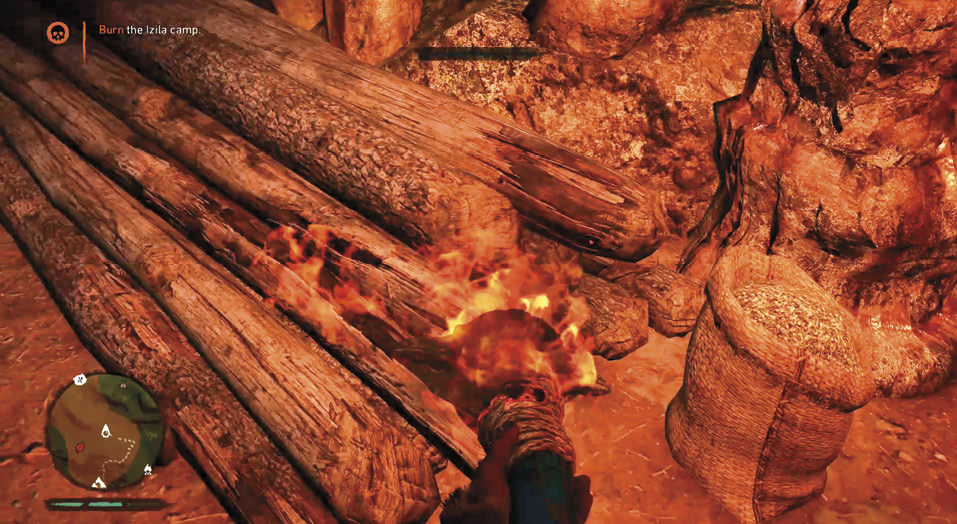
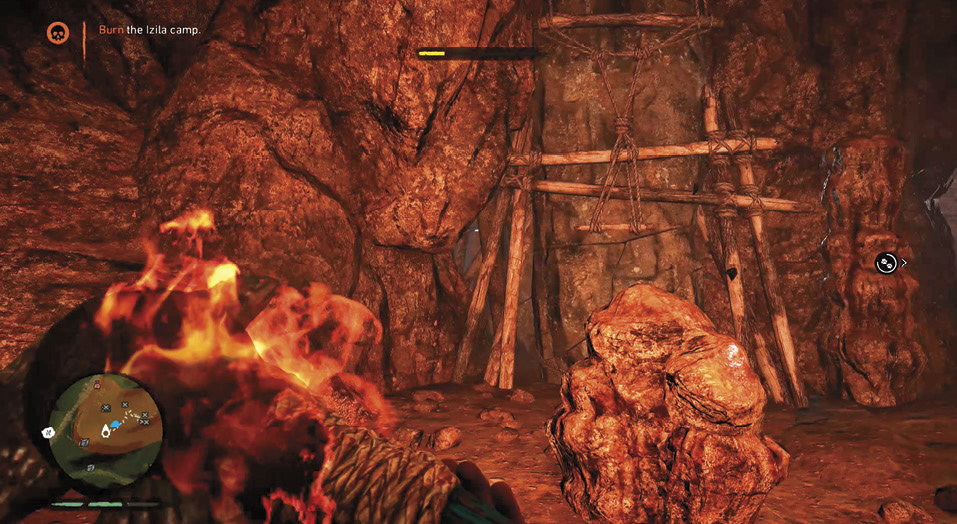
Once inside the cave, immediately begin lighting the bundles of wood on fire; this helps raise the destruction meter quickly. Stay moving once you are inside the cave. Use your Two Handed Club to not only light everything inside on fire, but to quickly dispatch enemies that inhabit this cramped cave.
Moving slowly and staying crouched allows you to sneak up on groups of enemies. When this happens use your bow to make short work of them.
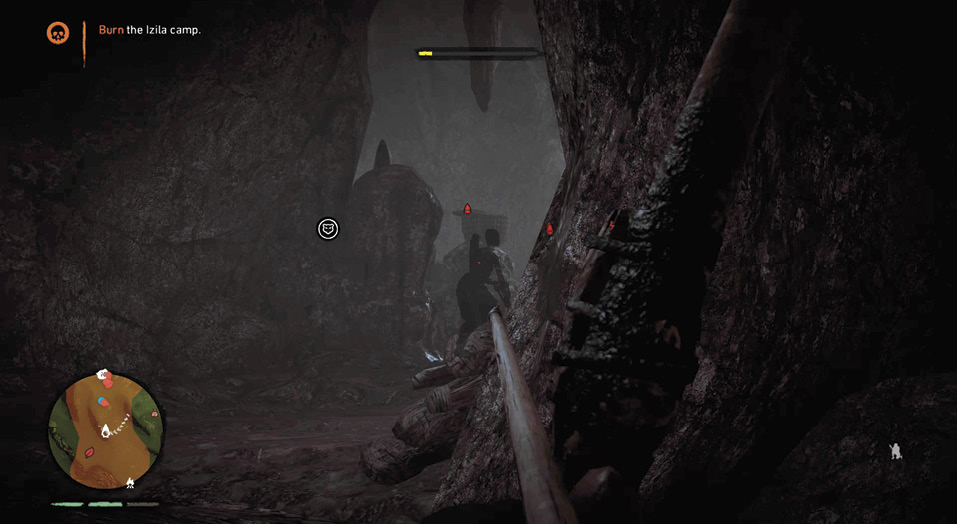
It’s good to bring your beast into the cave with you, this prevents any enemies from sneaking up behind you while you move around the cave. Look for the megaliths and smaller huts inside the cave as you circle around; these help your destruction meter fill rapidly.
When your meter is full, an Elite Izila Spearman and Elite Warrior spawn, they are easily taken down by thrown spears. You can choose to just ignore them and flee the cave to complete the mission. Besides XP awarded for the kills, there is no bonus for killing all the enemies.
Destroy: Four
Location: Pur Tanhin Rocks
Difficulty: Hard
Special: 1 Skill Point
After accepting the mission, use the grappling point on the cliff to the west of the objective area, then use the vines to pull yourself up into the area for the mission.
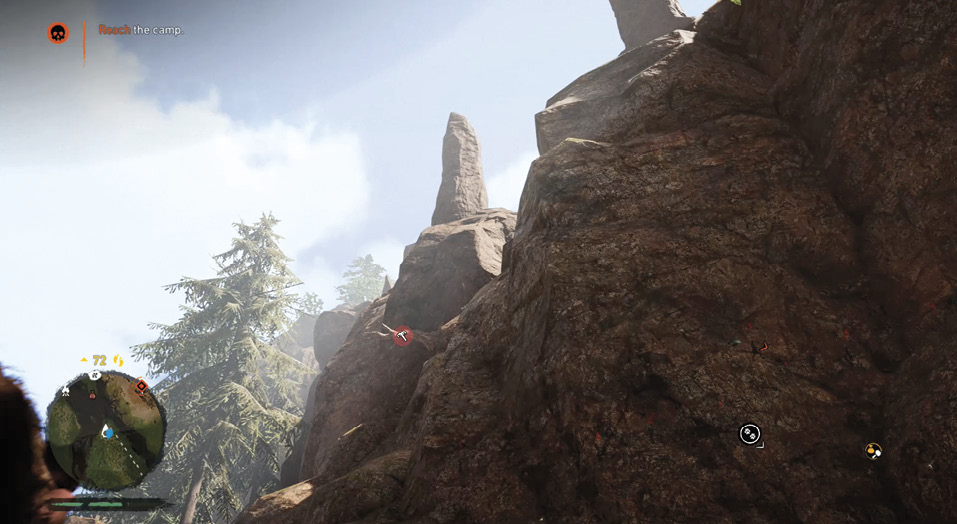
Continue working your way up to the high ground in the north side of the camp, killing the Warrior near the fire if you wish to remain undetected.
Once up on the high ground, turn back down toward the camp and begin shooting lit arrows down into it. Call in your beast to distract the Izila while you aim for the big Megaliths (large stones supported by wood) and the wooden cat walks. The destruction meter quickly fills as more things catch fire.
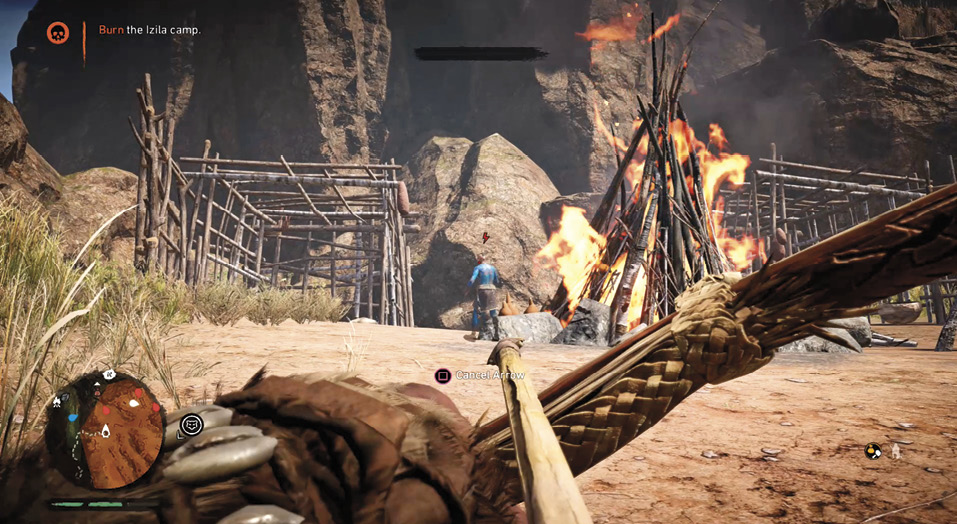
Once you’ve killed off a few enemies, drop down into the camp and light your club on fire, using it to light the stacks of wood, cages, huts, and any remaining objects you can find. This prevents you from running out of arrows and Animal Fat.
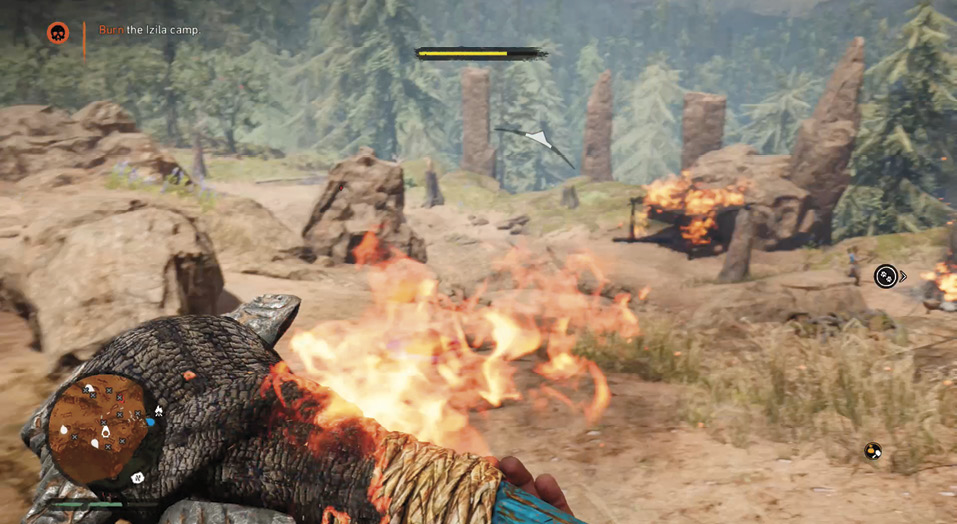
Stay constantly moving to prevent yourself from being overrun by any enemies. Killing them is not the goal; you’re just there to burn the place to the ground!
When you’ve filled the meter, use the grappling point that you initially used to enter as an escape, allowing you to bypass fighting the remaining enemies.
Destroy: Five
Location: Yagi Canyons
Difficulty: Medium
Special: 1 Skill Point
Enter the cave and immediately begin lighting the Udam Scarecrows and small bundles of wood on fire.
Take the path to the east, using your Hunter Vision to spot enemies before they spot you. Use your beast to kill enemies while you focus on lighting things on fire. The most common item in this cave is the meat transporting sleds.
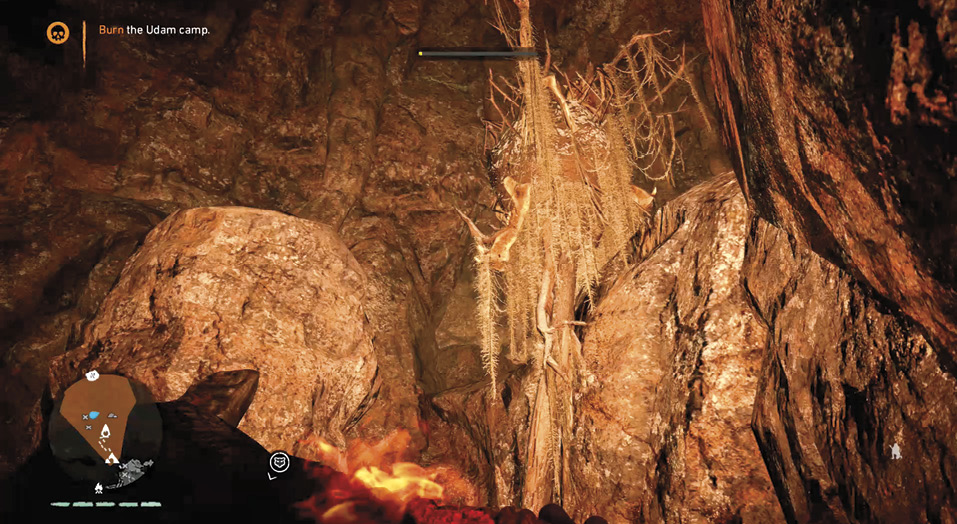
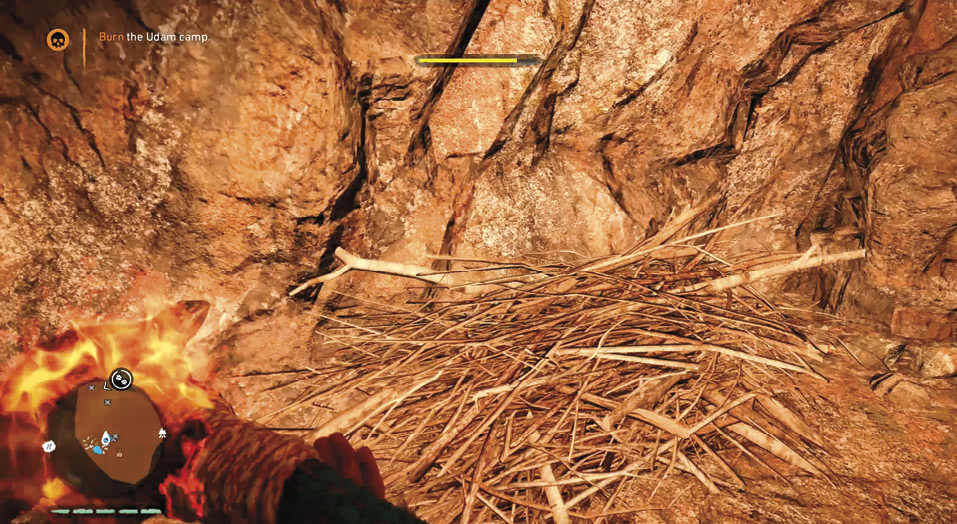
The sleds are lined up on all the walls of the cave. Continue to locate them and burn them as you move in a circle around the large cave. Don’t forget to destroy the bundles of wood. You need every little bit of wood in this cave to burn to fill your destruction meter.
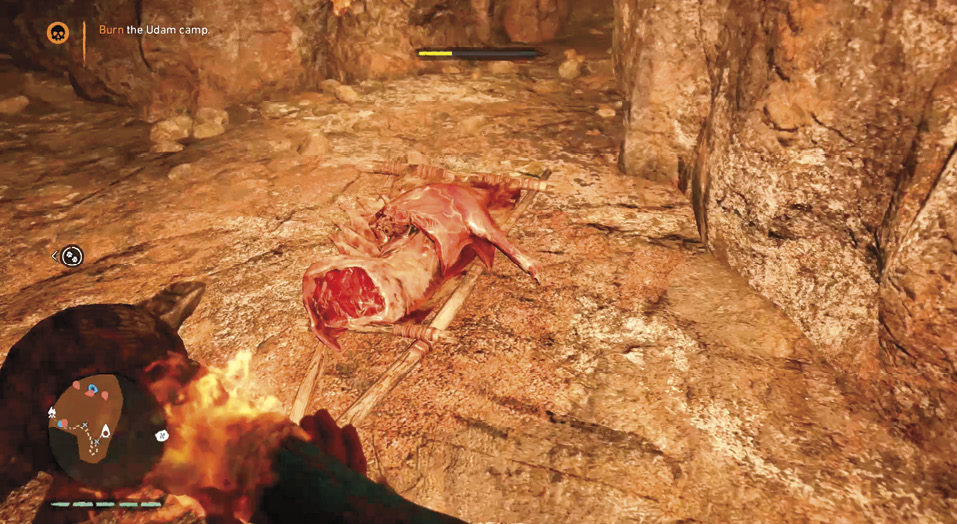
If you’ve taken care to burn and destroy everything in your path as you circled around the cave, you should have your meter filled by the time you reach the exit.
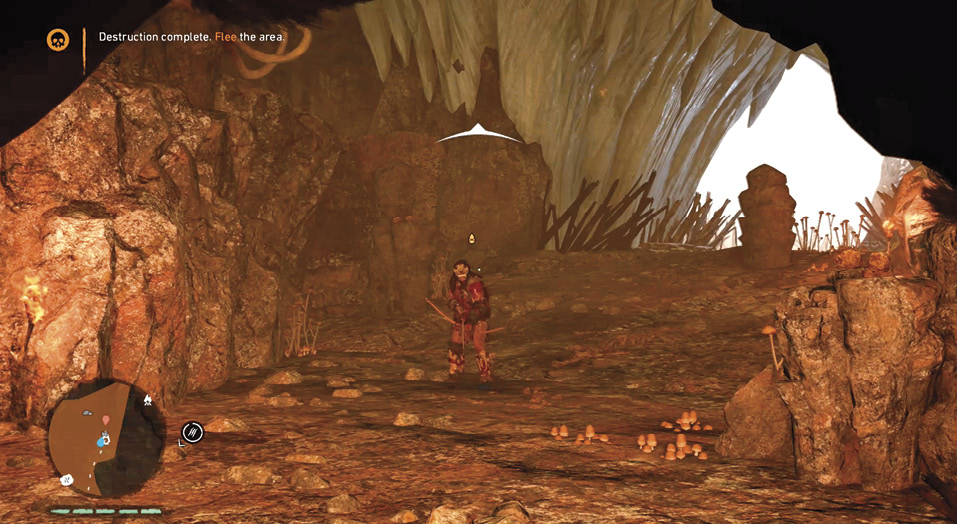
An Elite Archer waits for you at the exit as you try to leave. Kill him or move past him and exit the area to complete the mission.
Destroy: Six
Location: Chanting Cave
Difficulty: Hard
Special: 1 Skill Point
A few Izila guard the path into this cave. Kill them with your bow, then slowly work your way into the cave system.
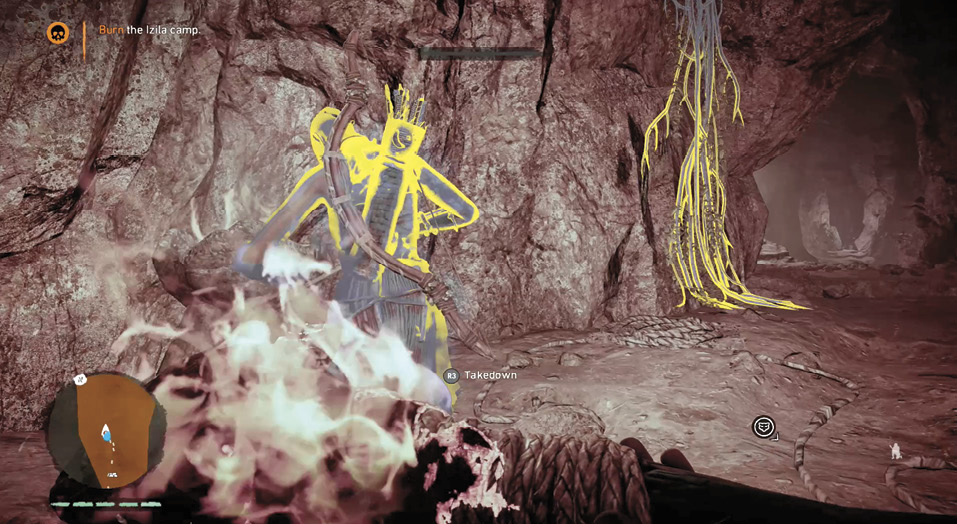
The destructible objects are all located in an open area with a handful of Izila patrolling around. Use takedowns on close enemies and call your beast in on the enemies that are located at the opposite end of the cave.
Bundles of wood are your primary target here, with the majority of them being in the north end of the cave near a waterfall.
Make sure to destroy every piece of wood you can as you work through the Izila. If you’ve hit all the pieces of wood, you won’t even need to burn the final stacks of wood in the north end.
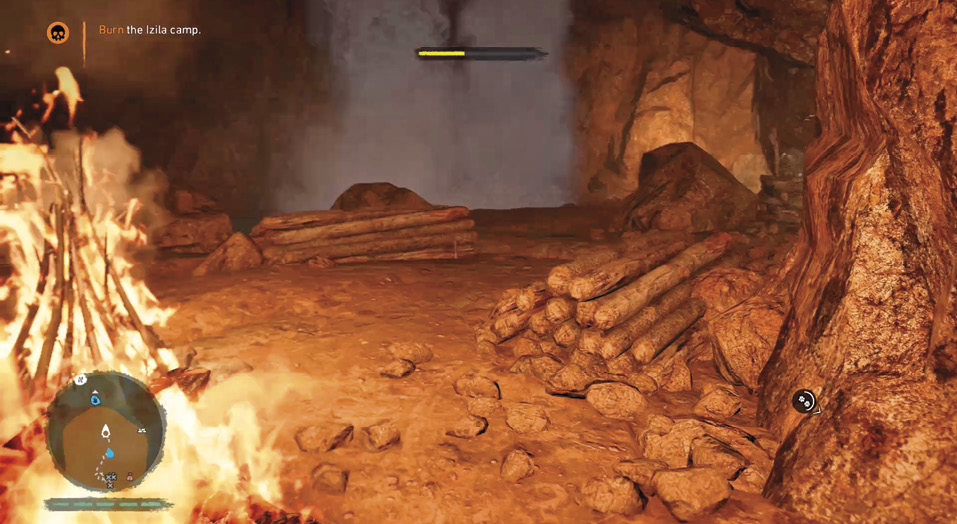
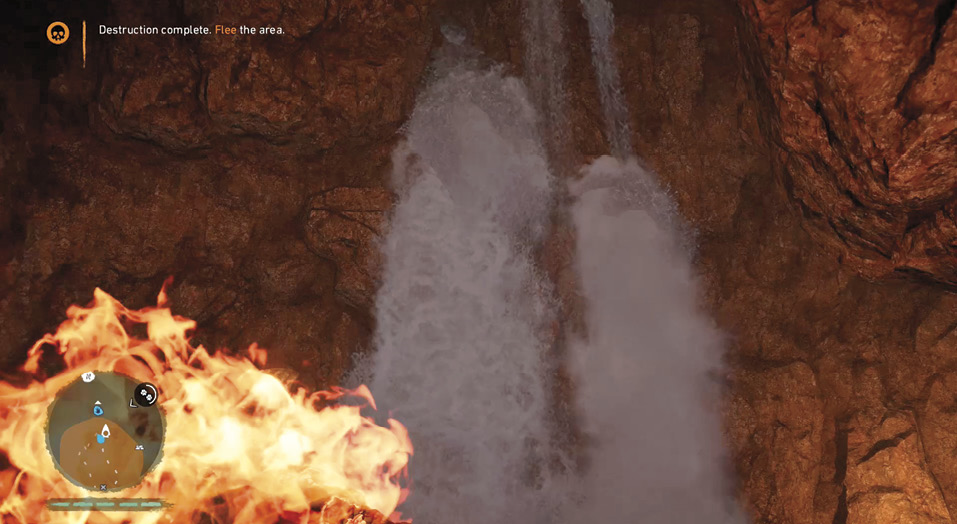
When the bar fills, jump into the water near the waterfall in the north side of the cave. This counts as clearing the area and completes the quest.