
Hyrule Warriors Legends Guide Legend Mode
Wind Waker: Watchers of the Triforce
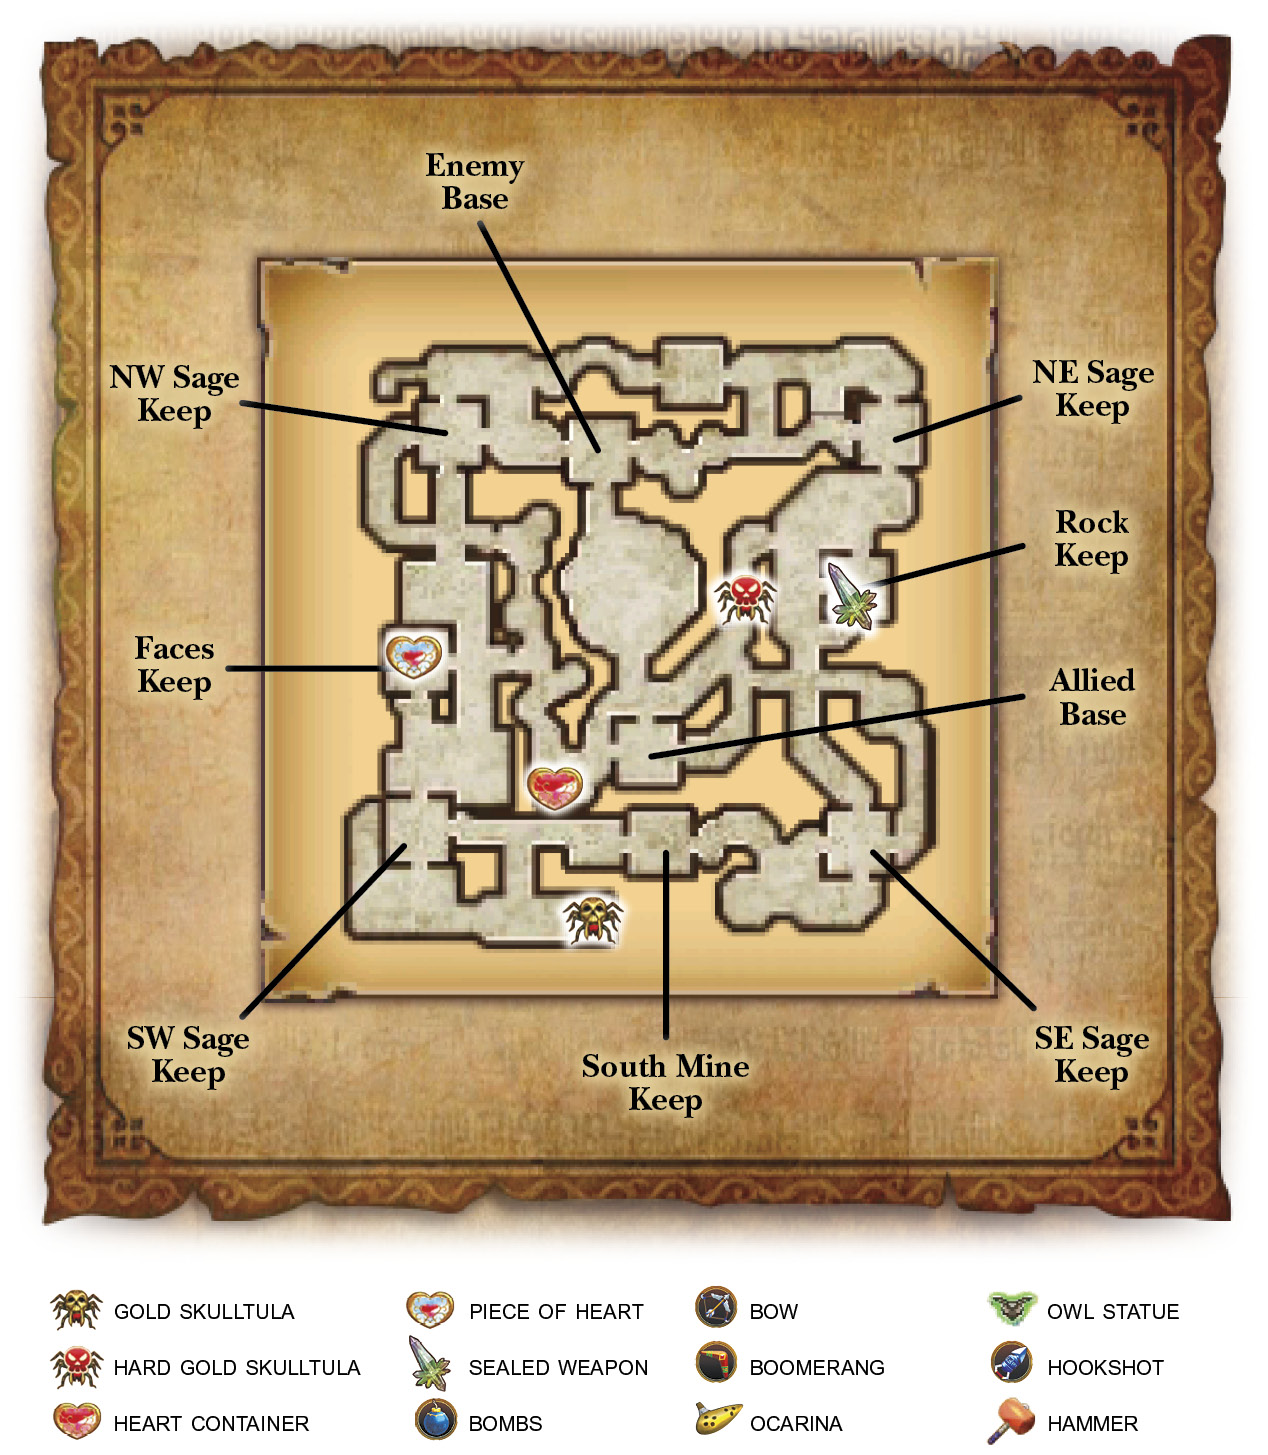
Playable CharactersHeart ContainerPiece of HeartGold Skulltula
Hard Mode Gold Skulltula
UnlockablesNone. Victory ConditionsDefeat Phantom Ganon. Defeat ConditionsCia flees or the Allied Base falls. |






Saved by Sages
Our heroes’ success at the Temple of Souls has set the stage for the final battle against evil. Tracking a shadowy presence to the Wind and Earth Temples, Tetra and her companions stand ready to save the world from darkness. If they can defeat the great evil that they’ve cornered here, all will be put back to rights. The final battle is at hand!
In this Scenario, Phantom Ganon calls down bolts of lightning that cause steady damage to your forces. This includes Cia, who is holed up at the Allied Base. Cia must be protected throughout this Scenario, and every second counts. You’ve got to stop that lightning, ASAP!
Four Sage’s Keeps must be captured in order to stop Phantom Ganon’s electric onslaught. Fortunately, four capable Warriors are under your control. Rush to capture the four marked Sage Keeps from the battle’s onset, switching characters the moment you capture one of the Keeps. Each of your playable Warriors has a Sage Keep to capture.
Link and Lana have direct access to the NW and SE Sage Keeps, but their allies don’t have it so easy. Switch to Tetra, and you’ll find she can’t simply enter the SW Sage Keep; she must use the Hammer to pound a switch to the east first, thereby banishing some statues that block her path.
After Hammering the switch and banishing the statues, Tetra is able to Hookshot up to higher ground. Rescue the embattled Hylian Captain you find up there, then hurry and capture the SW Sage Keep.
Similarly, King Daphnes must Hammer a switch to the west of the NE Sage Keep in order to grow some Korok Trees. Once they’ve shot up, King Daphnes can Hookshot up the Korok Trees and then head into the NE Sage Keep. Capture the Keep with all speed—Cia won’t last long against Phantom Ganon’s lightning!
Reaching the Temple’s Center
Capturing all four Sage Keeps shuts off Phantom Ganon’s lightning and opens the Sage Keeps’ gates, letting you explore more of the temple. Your next objective is to defeat the powerful monsters in the temple’s center, but first you must connect more pathways. Switch to Link and Hammer the switch to the south of the NW Sage Keep to banish some statues, then Hookshot up to higher ground.
Lana must also Hammer a switch to the north of the SE Sage Keep in order to sprout some Korok Trees and Hookshot up.
Giant Bosses Arrive
By the time Link and Lana are able to Hookshot out of their respective areas, Phantom Ganon will have released a Gohma and Manhandla to take back the Sage Keeps. Lana and King Daphnes can work together to uproot Manhandla, while Link and Tetra focus on gutting Gohma. Phantom Ganon’s lightning resumes striking again if even one of the Sage Keeps falls, and it won’t stop until you control all four Sage Keeps again. Beat back Manhandla with the Boomerang and bring down Gohma with the Bow.
Saving Cia
By the time you’ve bested both Giant Bosses, Cia will likely be under siege by the powerful monsters in the temple’s center. There’s no time to lose! Hurry to the Allied Base and rescue Cia from the burly Stone Blins and Big Poe that are battering her about.
Phanton Ganon Appears
Slaying the central monsters that assault Cia prompts Phantom Ganon to join the battle. The shadowy fiend moves to the temple’s center, and Cia advances from the Allied Base to confront him. Cia won’t last long against this terrible foe, but this is also your best opportunity to seek out the temple’s hidden treasures. Command one character (anyone but Link or King Daphnes) to escort Cia into the fray while optionally using others to quickly go after the following goodies.
Hard Gold Skulltula OpportunityIf the Hard Gold Skulltula is your quarry, then you don’t have time to hunt down other goodies—and that’s okay, because you’ve likely already found them. Instead, your focus must be to damage Phantom Ganon. You must also be playing as Tetra. Command all of your Warriors to converge on Phantom Ganon, then battle the brute using the strategies outlined in the following Boss Battle section. Bring Phantom Ganon to 50% or less health in 15 minutes or less, and the Hard Gold Skulltula appears in the passage to the west of the Rock Keep. Use the Boomerang to reach it. |
Heart Container Opportunity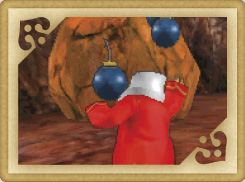 Before battling Phantom Ganon, use King Daphnes to bomb the boulder to the west of the Allied Base. When the smoke clears, open the chest that you’ve uncovered to claim a valuable Heart Container. |
Piece of Heart Opportunity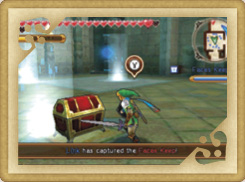 Send Link to the west and capture the Faces Keep to cause a treasure chest to appear. Inside you’ll find a Piece of Heart for our hero. |
Gold Skulltula Opportunity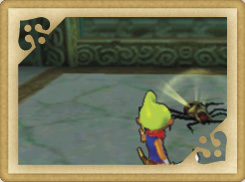 The moment you meet the 1,000 KO milestone, a Gold Skulltula appears way down south, in the area where Tetra began this Scenario. Hurry down there and use the Hookshot to zip up to the ledge at the end of the dead-end. There you discover the Gold Skulltula—assuming it hasn’t fled! |
Once you’ve finished looting the temple, command all of your Warriors to converge on Phantom Ganon. You’ve no hope of defeating Phantom Ganon unless all of your Warriors work together. When everyone is present and accounted for, the final battle can begin.