
Hyrule Warriors Legends Guide Legend Mode
The Sorceress of the Valley: Valley of Seers
Playable Characters
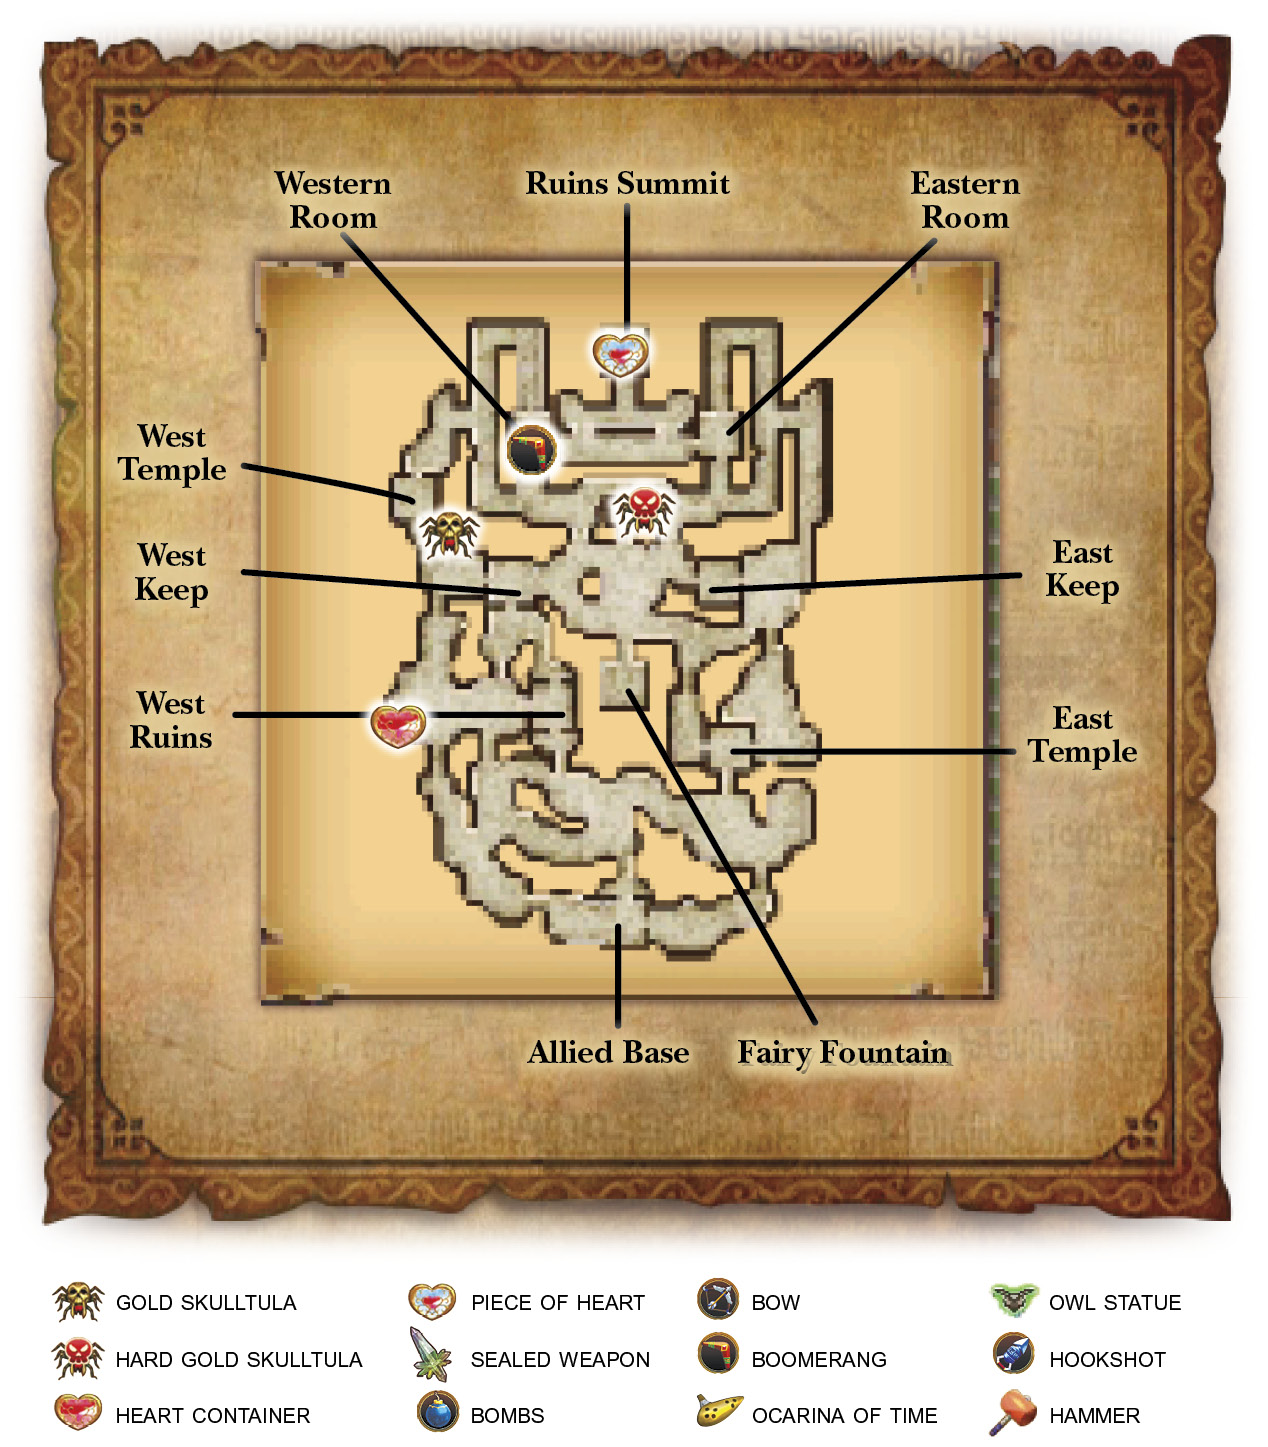
Heart Container
Piece of Heart
Gold Skulltula
Hard Mode Gold Skulltula
UnlockablesBoomerang Lana’s Deku Spear Victory ConditionsDefeat Cia. Defeat ConditionsIf Lana flees or the Allied Base is captured. |








She Who Pulls the Strings
It turns out that the young, blue-haired sorceress, Lana, knows who is behind these attacks: a dark-hearted sorceress named Cia, who happens to be from the same clan as Lana. She’s in charge of Volga, Wizzro, and the legions of monsters that have been attacking Hyrule, and it looks like Lana knows where to find her. Her goal is to complete the Triforce for what we can only assume is evil purposes.
Heroes Only
Even with our help, this Scenario can get pretty intense. The main element you’re going to need for this battle is field control. More specifically, you must to take out any and all enemy Captains you encounter quickly, and then move on to your next mission objective. Our suggestions are going to have you bolting back and forth across the map to keep your Allied Base and friends in safe keeping. Be ready for anything.
Finders Keepers
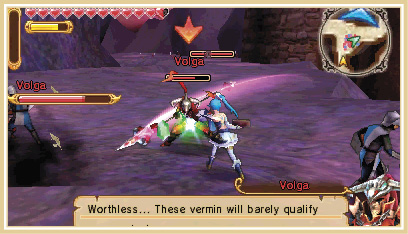
Your first mission is to capture both the West and East Keeps to give your army a foothold on the battlefield. Start with the East Keep; you’ll run into Volga if you run through the East Temple Keep and out through its western gate. This is a good thing, despite what you’re probably thinking right now. Volga will challenge, and likely defeat, Impa if left unchecked. This will cause you to lose the Scenario, so you can’t let this happen! If you beat him, on the other hand, Impa and her squad will get a morale boost instead, which means she’ll be a raving force of brutality on the field—and that’s a great thing.
Disaster Central
If you enter through the western gate of the East Keep, you’ll have to travel through the map’s center. This is where a majority of the Captains pass through over the course of the battle. Make it a point to defeat any Captain while passing through here, but only if you don’t have a pressing objective to reach. You don’t want to waste a too much time and end up losing the fight, right?
The Beamos’s Laser Gaze
Once inside the East Keep, you run into a Beamos statue. These things still act like their Legend of Zelda counterparts, but they are far more destructive. If a Beamos sees you, or pretty much anyone else, it will shoot a laser across the ground in a straight line toward you. Once the Beamos stops shooting the laser, the path burned into the ground explodes. This is not only a pain for you, but it also can completely cripple Keeps that you’ve captured. The Beamos never stops firing, whether you’re there or not, so a Keep of slow-moving allied soldiers is a barrel of fish and Beamos has got the gun.
The way to take out the Beamos is simply by throwing Bombs at it. You can also use a Special Attack, but Bombs work just as well and they don’t cost a precious Special Bar.
Once you’re done capturing the East Keep, head to the West Keep and capture it as well to complete the mission.
Capturing the Keep also reveals a chest that contains a Sealed Weapon, which becomes Lana’s first Spear at the end of the Scenario.

Building Bridges
Now that the Keeps are captured and your army has a decent hold on the battlefield, the next goal is going to be to take on Cia directly. Problem is, she’s locked herself away in the ruins and you have no way of reaching her.
With the impeccable timing as usual, your army has the solution: An Engineer enters the battle with a plan to lower the ruins’ east bridge. The problem is, you have to get the Engineer there first. As soon as you’re done capturing the Keeps, race to the Allied Base and find the Engineer on its east side. Escort the Engineer as you did the Bombchu, by defeating anything and everything with a Health Bar that gets near the Engineer. Cia will send more Captains onto the field with the specific goal of defeating the Engineer before he reaches his destination. Don’t allow them to do this; the Engineer will take care of the rest.
If you fail to protect the Engineer, don’t sweat it too much. You won’t fail the Scenario and the bridge will still come down, but your army will take a hit to its morale.
As soon as the Engineer reaches the bridge, your mission is complete.
Watch Your Flank!
Before you head into the ruins, race to the battlefield’s west side. Cia opens the West Temple Keep’s gates, letting a handful of Captains run free. These Captains will capture any Keeps they pass, but they’ll ultimately head directly for the Allied Base, and your allies won’t be able to handle that many Captains attacking at once. That’s why you must head over there yourself and clear up all of the Captains in the area, then go back to the east and cross the bridge.
Gold Skulltula OpportunityWhile fighting this barrage of Captains, you’ll most likely hit 1,000 KOs. If that’s the case, go to the south entrance of the West Temple Keep and you’ll find the Gold Skulltula hanging out on the Keep’s wall. |
Cia’s Stronghold
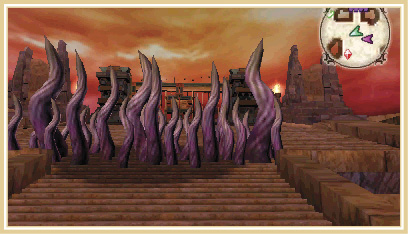
Travel north across the bridge, then go west through the only opening available to you to access the ruins. Now head north and around the bend. The southern path is blocked by an indestructible Wall of Vines, so taking that path isn’t an option at the moment. Head south into the Eastern Room Keep and capture it.
Reaching Cia in the Ruins Summit Keep is impossible because more Walls of Vines are blocking off the entrance. We need to get something to deal with these things or we’re going to get nowhere fast!
Trimming the Wall of Vines
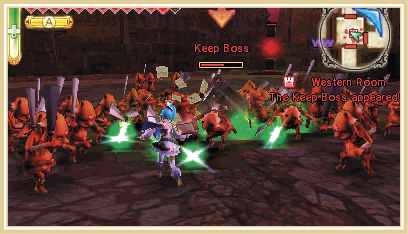
You need to cut down the Walls of Vines, and Lana knows where to find the tool for the job. Head through the Eastern Room Keep’s western gate and go west into the Western Room Keep. Once you’re inside, the gates slam shut, locking you in with an endless supply of enemies. You must capture the Keep to escape.
This is an excellent room in which to use your Focus Spirit if you’re looking to get some of those Focus Spirit bonuses. Destroy the Beamos statue on the west side of the room, activate your Focus Spirit, and start swinging. If you want the maximum bonus you must avoid defeating the Keep Boss until your Focus Spirit runs out. This is pretty tough but doable if you stay away from the room’s center and instead attack in a circle around the Keep.
Once you’ve captured the Keep, a treasure chest containing a Boomerang appears. This is exactly what you need to destroy the Walls of Vines! It also does a pretty solid job of dizzying enemies so that you can smack them around a bit without fear of retaliation.
Confront Cia!
Now that you’ve got the Boomerang, you can now make your way up to Cia in the Ruins Summit Keep. Destroy the Walls of Vines blocking the Keep’s entrance and go in. Cia makes like a Wizzro and flees the scene, leaving behind her favorite pet plant, Manhandla, to keep you occupied.
Piece of Heart OpportunityMake sure to capture the Ruins Summit Keep while playing as Sheik to find a chest containing a Piece of Heart. |
Move south toward Manhandla, but instead of jumping off the ledges leading to the central area of the map, defeat the Gatekeeper Captain to open the gate and head on down the stairs. This makes it easier to get the Hard Gold Skulltula if this is your second playthrough. If not, getting more Materials and Weapons from a Captain is never a bad thing.