
Hyrule Warriors Legends Guide Legend Mode
Liberation of the Triforce: Ganon's Tower
Playable CharactersHeart ContainerPiece of HeartGold Skulltula
Hard Mode Gold Skulltula
UnlockablesVictory ConditionsDefeat Ganondorf. Defeat ConditionsIf Zelda flees. |

A Miracle in the Making
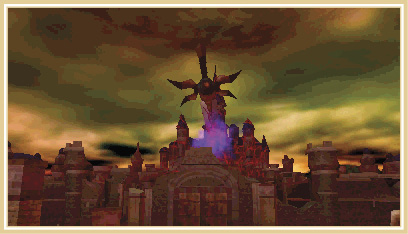
The victory in Gerudo Desert has given you a single shot at taking out Ganondorf. He’s taken Hyrule Castle and transformed it to better match his black heart. The Hyrule Field is a gnarled, hellish nightmare completely overrun by monsters. Ganondorf is hiding inside Hyrule Castle, performing a ritual that can only be bad for the heroes. We’re running out of time! We’ve got to bring an end to the Dark Lord now; we may never get another chance.
Dragon Hunting
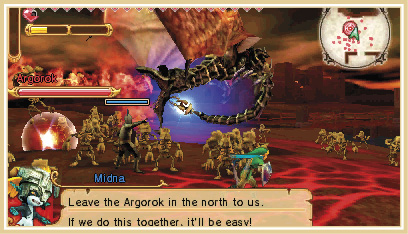
Your first task is to defeat the two Argoroks on the field—one in the southwest corner of the map and the other in the northwest corner. Start with the southwestern Argorok.
After you defeat the first Argorok, Darunia enters the battlefield with a plan to break through the West Field Keep’s east wall. The goal is to get to Hyrule Castle’s gates to force Ganondorf outside. The Goron chief has a Bombchu with him and he needs it to be escorted to the West Field Keep. This is where things get challenging. You have to escort the Bombchu safely while trying to battle with the second Argorok. Face the Argorok first and Command another character to escort the Bombchu to make sure it’s safe. If you race to the Argorok before it can reach the Bombchu, it’s that much easier to get the Bombchu to its target safely.
Right after the Bombchu starts moving, a few Captains appear near the Bombchu. You need to be fast in taking out the Argorok so that the enemy Captains don’t destroy the Bombchu before you can reach it. Use your Special Attacks and Focus Spirit to bring down the Argorok faster. If you press the Special Attack button after activating your Focus Spirit, you’ll deplete the gauge and do a different Focus Spirit attack. This is a great attack to use because Argorok is in the air for most of the fight; this attack will knock it out of the air and reveal its Weak Point Mark. You most likely won’t be able to attack it with Regular Attacks while your Focus Spirit is active, so save time, activate the Focus Spirit Attack, damage the Argorok, and get back to pulling it down with your Hookshot.
Capture the West Field Keep
Once you’ve defeated the second Argorok, race to the Bombchu and defeat the enemy Captains surrounding it. The Bombchu will begin moving again when the area is clear. Escort it to the West Field Keep’s east wall, where it detonates, destroying the wall and giving you access to the Keep. Before you head in to the Keep, sweep the battlefield and capture any enemy Keeps you have access to. Every bit of field control is going to help for the latter half of this fight. Just be quick about it: Two of your allies make their way into the West Field Keep as soon as the wall is broken. It won’t take them long to capture it and when they do, the next part of the battle begins.
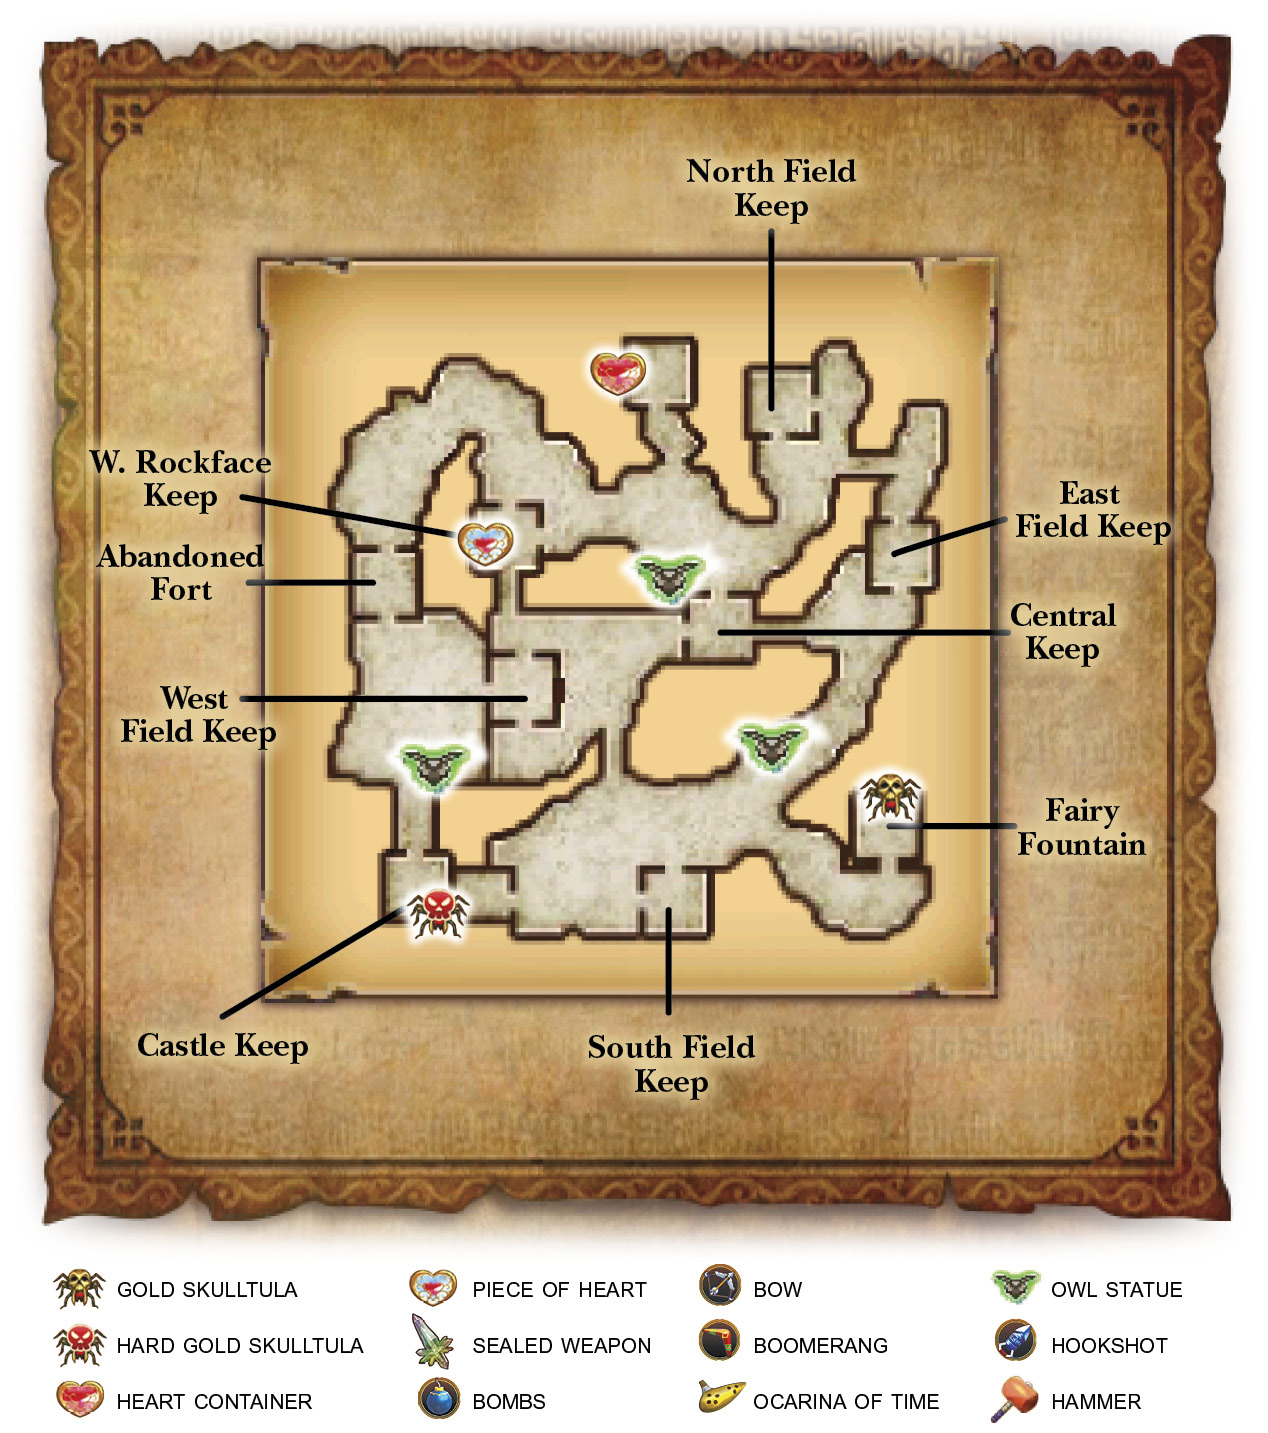
Gold Skulltula Opportunity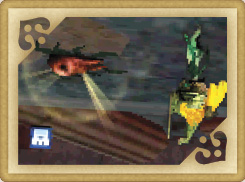 While capturing all of the available enemy Keeps, you’ll very likely reach 1,000 KOs, which means a Gold Skulltula will appear on the map. The shiny arachnid is under a boulder in the Fairy Fountain Keep. Race there, destroy the boulder, and defeat the Skulltula to claim your puzzle piece. |
Piece of Heart Opportunity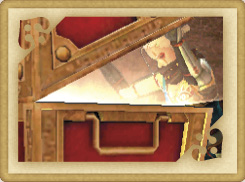 When a chance permits, capture the W. Rockface Keep to reveal a chest containing Impa’s Piece of Heart for this Scenario. |
Heart Container OpportunityIf you’re playing as Zelda, you can run up to the abandoned Keep on the north side of the map and destroy the boulder sitting up against its western wall. Underneath the boulder is a chest containing Zelda’s Heart Container for this Scenario. |
Once you’ve captured all of the available Keeps on the battlefield, head over to the West Field Keep and capture it, too, to gain access to the west side of the map. As soon as you capture the Keep, race south to the Hyrule Castle Checkpoint (the building connected to the Castle Keep’s east side) and wait for the gate to open. Inside the Checkpoint is a handful of enemy Captains that will attempt to run amok on the map while you’re busy with other things. Take them out here to maintain your field control.
Ganondorf’s Wrath
The plan to force Ganondorf out of Hyrule Castle worked—maybe a little too well. Ganondorf comes barrelling out of Hyrule Castle with murder on his mind. He begins randomly striking everywhere on the battlefield with lightning. Don’t stand in one place for too long if you want to avoid taking damage.
Instead of immediately pursuing Ganondorf, enter the Castle Keep, defeat any Captains you find in there, and then capture the Keep. This weakens Ganondorf, making him significantly easier to fight. Just make sure you pay extremely close attention to the health of your allies. Ganondorf is a very powerful adversary who can destroy your allies’ Health Bars in no time flat. Race to their aid if they get down to a third of their Health Bar.
After the Castle Keep is captured, head north and face Ganondorf. Ganondorf will attempt to use his lightning attack to take the Castle Keep back remotely, and that means time is of the essence here. If he manages to get the Castle Keep back under his control, he’ll regain his power.
Hard Gold Skulltula OpportunityIn order to reveal the Gold Skulltula for this Scenario, you need to be playing as Darunia. The Skulltula will only come out if all of your allies have maintained 30% or more health throughout this Scenario and if you defeat Ganondorf before he can recapture the Castle Keep. Once he enters the field, he consistently shoots lightning bolts at the Castle Keep if you’ve captured it from him. You must hurry and defeat him as quickly as possible to keep him from taking the Castle Keep. Once Ganondorf’s been defeated, the Gold Skulltula will appear on the south wall of the Castle Keep. |
Bait Ganondorf by guarding, then dash behind him. Most of his attacks are aimed directly in front of him, but make sure not to get too close to him; he does have a few moves that land in a circle around him. After you land a few Weak Point Smashes, the King of Evil is no more.
Wait… Something’s not right. He must have completed the ritual! The Triforce is reacting! Ganondorf has become the Dark Beast once again!