
Hyrule Warriors Legends Guide Legend Mode
The Armies of Ruin: Hyrule Field
Playable Characters
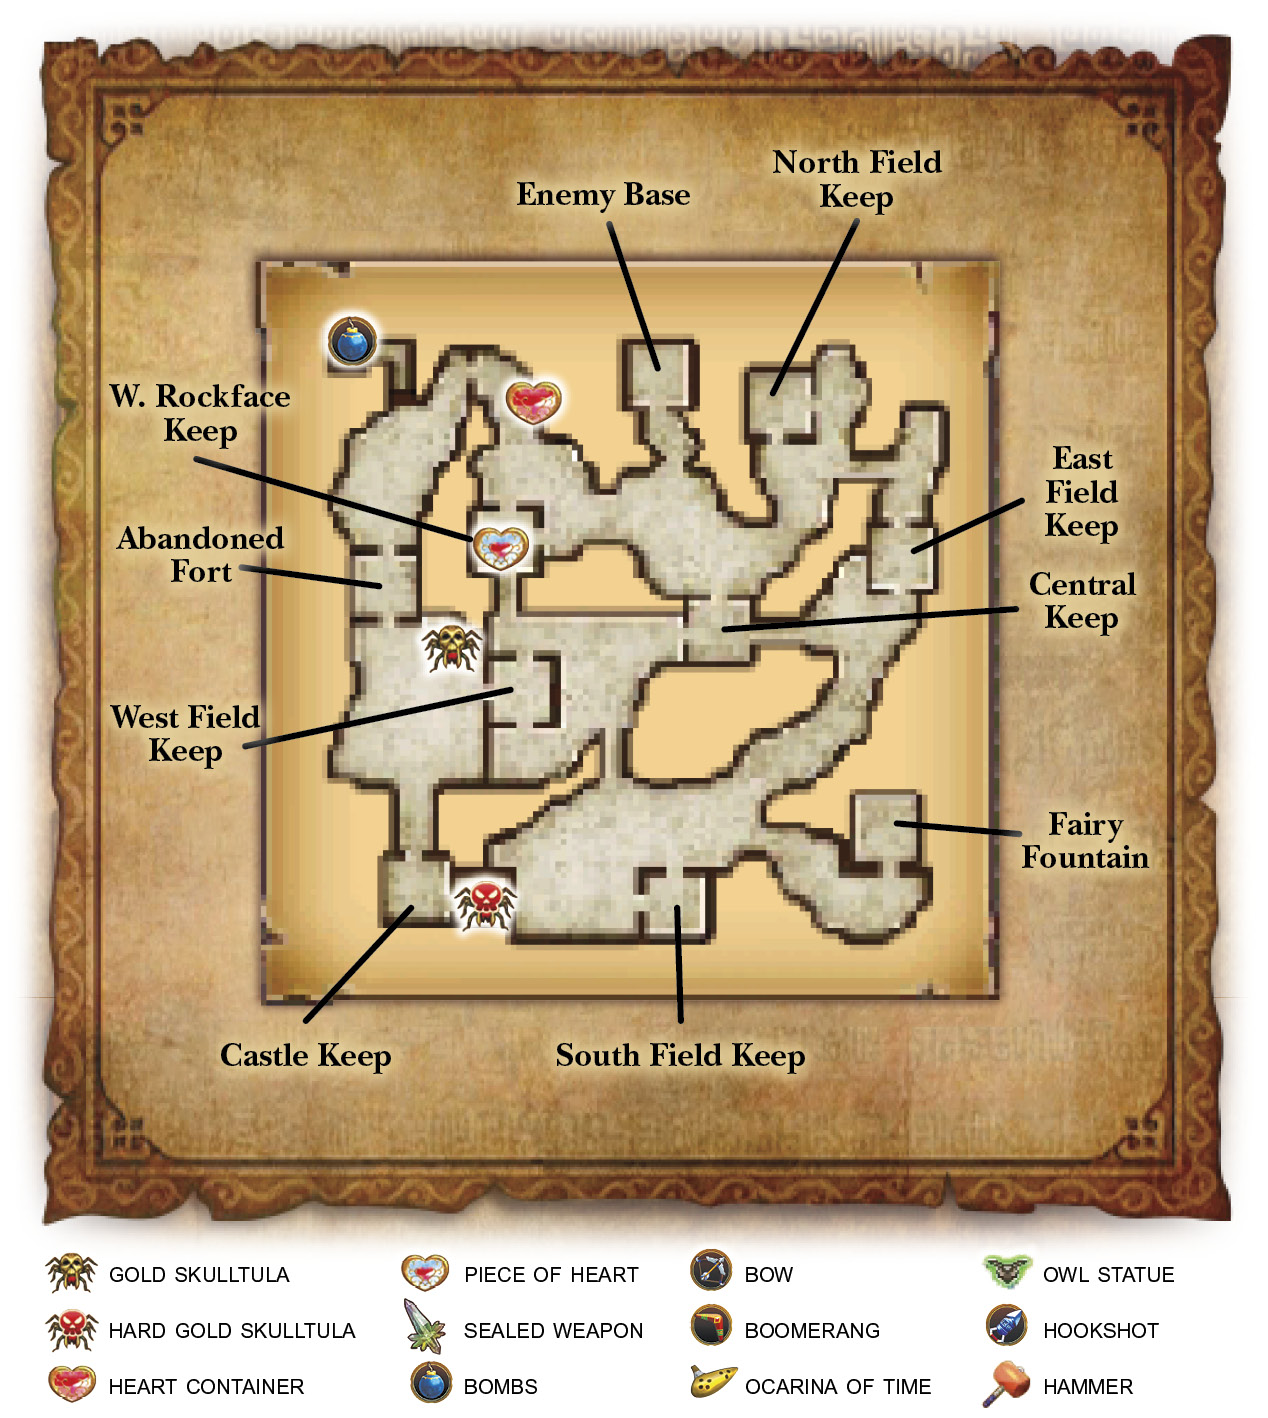
Heart Container
Piece of Heart
Gold Skulltula
Hard Mode Gold Skulltula
UnlockablesBombs Impa Free Mode Adventure Mode Gallery Victory ConditionsDefeat all enemies. Defeat ConditionsIf Zelda flees or Hyrule Castle is captured. |



Hero-in-Training
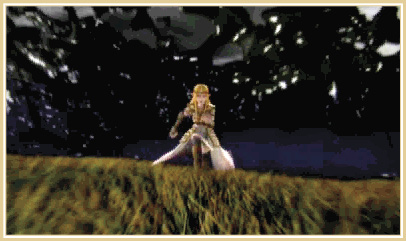
Princess Zelda has been having ominous, recurring dreams about an evil force sweeping over Hyrule. Her fear that these dreams are something more leads her on the hunt for the legendary Hero who can don the green Hero’s Tunic. As she investigates the soldiers training within her walls, she notices a young recruit with much more skill and vigor than the rest: a young man by the name of Link.
Before she can come to any conclusions about Link’s potential to become the Hero, she is called away on urgent matters: It seems that her dreams were premonitions after all, for the devious Wizzro and his right-hand, the Dragon Knight Volga, march toward Hyrule Castle with an army of Moblins bent on claiming all of Hyrule for themselves.

Strategic Advantage
At this point, we all know who Link is and his place as the legendary Hero, but we’ll still need to prove that fact to Impa and Zelda. And to do that, we’re going to need to help win this battle.
Below are descriptions of how to complete all of the objectives in this level of Legend Mode. Follow our instructions and we’ll give you the fastest, easiest, and most fruitful strategies for completing the level and finding lots of secrets along the way.
Assisting Impa
Helping Impa doesn’t require as direct an approach as it might seem. Just make your way across the starting bridge into the field ahead and start swinging. As you thin the enemy numbers, a fairy named Proxi will call out for help. Help her the same way you’ve been helping Impa, via relentless assault on the enemy.
After you clear enough enemies, Proxi will hitch a ride with Link, serving as the silent protagonist’s mouthpiece for the rest of your adventure.
Continue fighting the enemy hordes until the gate to the Abandoned Fort to the north opens.
Face the Dragon Knight!
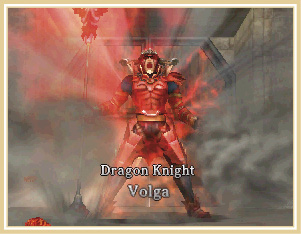
A new wave of enemies comes out of the Abandoned Fort and their leader, the Dragon Knight Volga, must be defeated to capture the keep.
Volga is the first enemy Warrior you’ll do battle with in Hyrule Warriors and he is no pushover. Luckily, you only need to get him down to half health to end the fight.
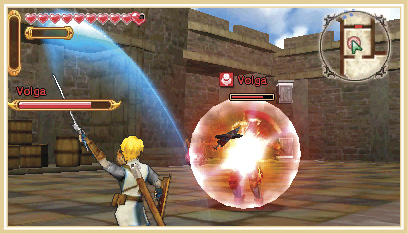
The easiest—and fastest—way to defeat Volga is with a full-on relentless assault. Keep swinging until he hits you with a small Force Blast. After knocking you back, he’ll likely do a small jump, followed by a downward lunge with his lance. Roll backward to avoid the lunge, then roll right back at him and start swinging as soon as you see his Weak Point Mark. Most enemies will knock you away or evade your attacks after you’ve degraded their Weak Point Mark enough, but Volga’s Mark can often be driven down in a single assault.
Repeat this method a few more times and Volga will retreat from the battle, opening the northern gate of the Abandoned Keep and giving Link a good amount of Experience Points.
On the Level
On the bottom screen, just below your Rupees, you’ll find your Warrior’s Level and Experience Bar. Defeating enemies earns you experience, which will slowly fill up your Experience Bar. When the bar completely fills, your Warrior will Level Up, increasing their strength and, at times, increasing their total Heart Container count.
After a Level Up, the Experience Bar will empty. Just fill it back up and your Warrior will Level Up again and again.
Defeat Lizalfos
As you make your way north, an ally Goron Captain will request your assistance with a pesky Lizalfos. Lizalfos are agile enemy Captains that can breath fire balls or create flamethrower-like bursts in front of and around themselves. They are defeated in much the same way as Volga—attack them until they knock you back with a Force Blast, at which point they’ll do one of two moves: breath a spray of fire directly in front of them, or breath a wall of fire in quarter circle around them and then do a downward stab attack. The first move is the one you want, as it is the easiest to counterattack, but both moves reveal the Lizalfos’s Weak Point Mark.
The best way to tell which move it’s using is by looking at Lizafos’s feet. If a blue aura surrounds it, Lizalfos is about to use the second and more devastating of the two attacks. Unless you’re certain you can get behind Lizalfos without getting hit by its flames and its lunge, you’re better off waiting out this one, as it’ll do a substantial amount of damage and you’ll also miss your window for attacking while its Weak Point Mark is in view.
It’s the Bomb
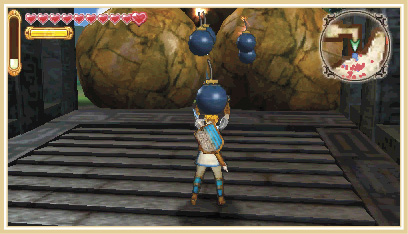
Once Lizalfos has been dispatched, the door to the mines, which is directly north of you, will open up. Head inside and follow the stairs down to the bottom of the mine shaft, where you will find a treasure chest containing the Bomb Sub-Weapon.
After obtaining your new toy, Moblins begin dropping boulders down in front of the mines, locking you in. Head back up the stairs and test out your new tool by pressing 0.
Head south, back through the Abandoned Keep, and into the field where you started the Scenario. Once there, go east toward the West Field Keep. The Keep is blocked off by boulders (it’s marked as an X on your minimap). Luckily, you have your new toys; use your Bombs again to destroy the boulders.
Switching Characters
Link has cleared the boulders, but the West Field Keep’s doors are shut tightly. Time for a little help from a friend! Tap Princess Zelda’s portrait on the bottom screen to take control of her, then fight hard to capture the nearby West Field Keep.
Playing for Keeps
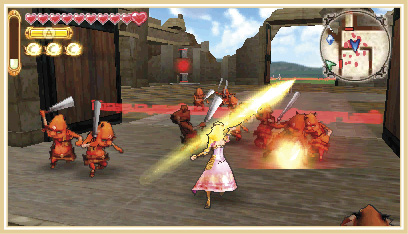
If you’re wondering what the point of capture Keeps is, here’s a breakdown: Keeps are strongholds that continuously produce more soldiers to aid in the battle. Your overall goal in each battle is to capture a majority of the Keeps. Capturing keeps stops the flow of enemy units from that location and starts a flow of friendly units to help during the battle. It also slows down the enemy’s conquest of a map by forcing them to stop at every one of your Keeps to capture it. If you don’t capture Keeps, you’ll be forced to run back and forth around the map to keep your enemies from winning by capturing your home base.
To capture a Keep, you simply need to decrease the meter directly below your minimap by defeating enemies inside the Keep itself. As you defeat the Keep’s forces, more units will teleport in to try and stop you. Once the meter is empty, the Keep Boss will appear. Defeat this Captain and the Keep is yours!
Another way to find the locations of specific Keeps is through the Battlefield Info screen in the Pause menu. Press 2 to bring up the Scenario-Information Screen, then select Battlefield Info, press f and you’ll find a list of all the Keeps in this Scenario. We’ll be referring to Keeps by their names often in this guide, so make sure to use this screen to point you in the right direction.
Capture Two More Keeps
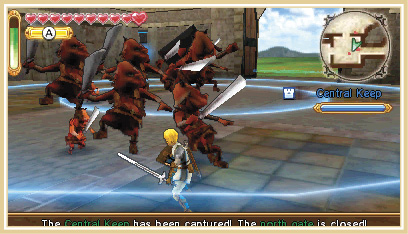
Capturing the West Field Keep opens its doors, allowing Link to join Zelda. Your new objective is to capture the two nearby Keeps, which are marked on your map as objectives. Switch back to Link if you like, or keep using Zelda as you fight to capture the two Keeps.
Piece of Heart Opportunity
When playing as Link, cross over to the north side of the map and head west to W. Rockface Keep. Capture the Keep to make a treasure chest containing the Piece of Heart appear. Open the chest and claim your new Piece of Heart. |
Heart Container Opportunity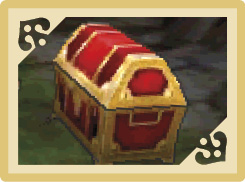
As Link, head directly north of the W. Rockface Keep on the map’s north side to find a boulder concealing a treasure chest. Open the chest to claim your new Heart Container. |
Meeting the Great Fairy
After you’ve captured the Keeps, Zelda hatches a plan to devastate the enemy forces. Down in the southeast corner of the map is the fountain of the Great Fairy. If Zelda and Link can pray to her, she may assist the heroes in defeating the enemy troops—that’s the plan anyway.
Head south toward the Great Fairy’s fountain, but before entering it, make sure to stop off at the South Field Keep to the west of the Great Fairy. It will likely be in danger and have a couple, if not several, enemy Captains. Defeat them and any other enemies with Health Bars to give your allies the edge they need to hold down the fort.
Now head toward the Great Fairy and use your Bombs to destroy the cracked wall blocking your entry. Upon entering the fountain, move directly into the center of the circle in front of the fountain and hit ^. The Great Fairy heeds the requests of Zelda and Link and destroys a large portion of the enemy’s army.

Reptilian Rampage
To get back at Zelda’s forces for that little Great Fairy trick, Wizzro calls in some help of his own in the form of the mighty King Dodongo.
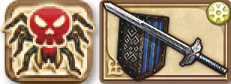
Hard Mode Skulltula OpportunityYou must be using Link and his Hylian Sword before this Skulltula will show up. After helping Zelda pray to the Great Fairy, the Hard Mode Skulltula will make an appearance in the bottom-left corner of the screen near Hyrule Castle. You’ll find the Skulltula sitting on the southern wall in the gated-off corridor directly to the right of Hyrule Castle. |