
Hyrule Warriors Legends Guide Legend Mode
Cia's Tale: The Dragon of the Caves
Playable CharactersHeart ContainerPiece of HeartGold Skulltula
Hard Mode Gold Skulltula
UnlockablesNone. Victory ConditionsAcquire the ancient ring, and then defeat Volga. Defeat ConditionsDon’t let Wizzro flee or the Allied Base fall. |


Ancient Evil
After you’ve defeated Ganon and completed the “Liberation of the Triforce” Scenario, five special Scenarios become unlocked. Together, these five Scenarios reveal Cia’s backstory, letting you experience the wicked Sorceress’s rise to power. In this first Scenario, Cia seeks a worthy Warrior to command her vast armies of monsters. That warrior is none other than Volga, the Dragon Knight of the Eldin Caves.
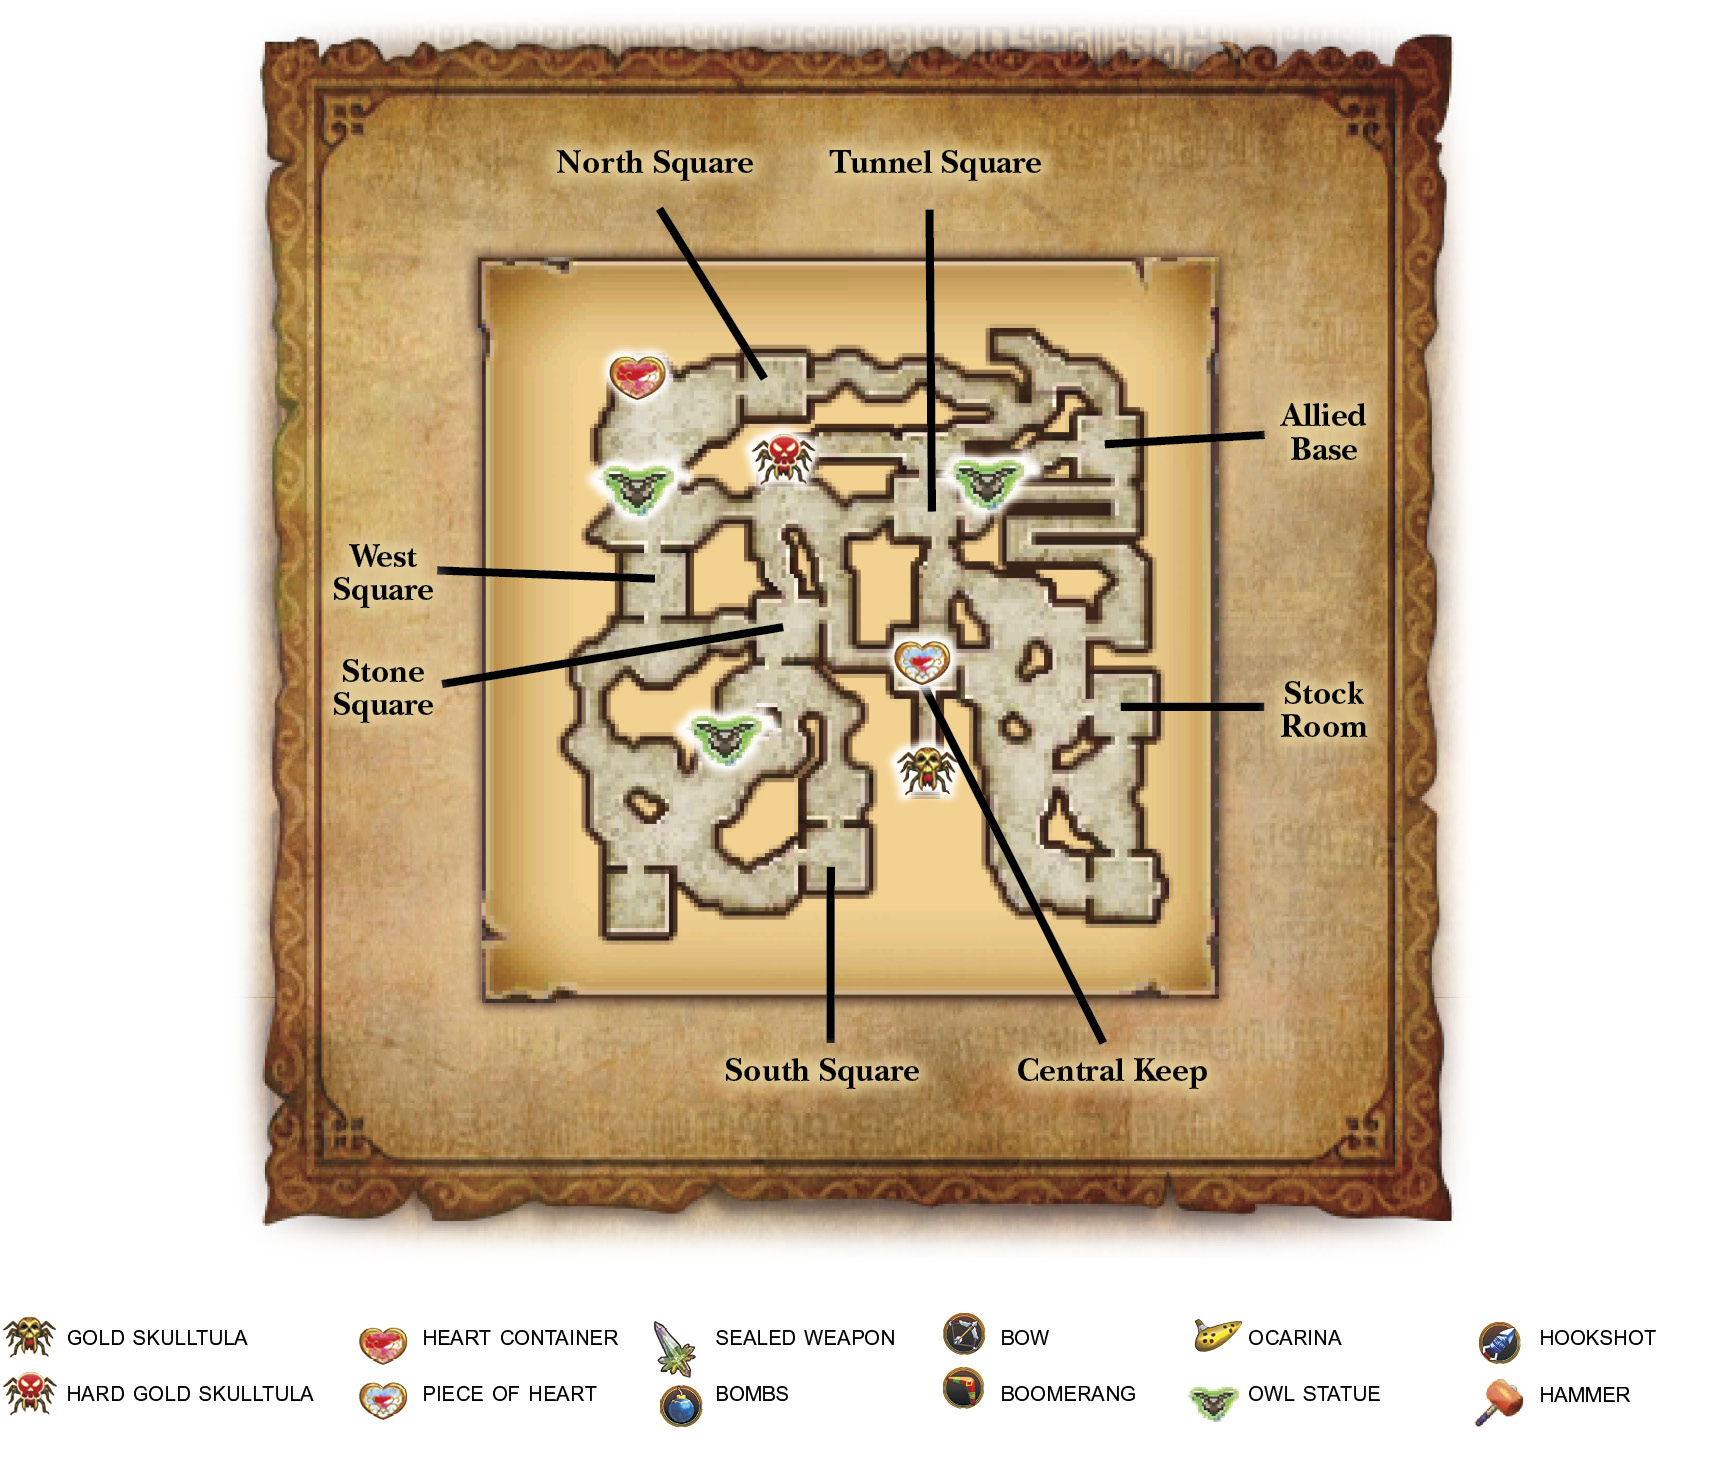
Volga’s servitude is your objective, but Cia senses another tantalizing power within the caves. It seems that the Gorons are hiding something very valuable close by. Capture the nearby Keeps to begin your search for an ancient ring, starting with the Stock Room and then moving north to capture the Tunnel Square.
Capturing the Tunnel Square opens the way to the Crystal Cave. Go east, activating the nearby owl statue as you continue your search for the ancient ring.
Entering the Crystal Cave, Cia senses the ancient ring’s presence. The sinful sorceress calls out to its power, summoning forth the wicked wizard, Wizzro. Thrilled to be freed of the Gorons’ clutches, Wizzro agrees to fight alongside Cia, and the Crystal Cave becomes your Allied Base for the duration of this Scenario.
Volga’s Display of Power
Excellent! Now that you’ve recruited Wizzro to your cause, the gates to the west open, letting you delve deeper into the caves. Go west to find Volga standing tall, waiting for you. The Dragon Knight has no interest in leaguing with Cia and immediately attacks. His fury is intense, but fighting back is your only option.
When you reduce Volga to half his health, a host of enemy reinforcements appears all over the cave’s west side. Things are about to get hectic, but concentrate on defeating Volga for now.
Gorons Strike Back
Volga retreats after you whittle his health down to dangerous levels, leaving his minions to combat you. You’re tasked with capturing his Keeps, but ignore them for the moment—you have greater concerns. The Gorons suddenly return, seizing the Central Keep and sending a trio of Bombchu to blow up your Keeps. Race to the west and activate the northwest owl statue, then immediately warp back to the northeast owl statue and intercept the first Bombchu, which is headed for the Stock Room.
Hard Gold Skulltula OpportunityDefeating all three Bombchu is mandatory if you wish to reveal this Scenario’s Hard Gold Skulltula. Prioritize destroying all three, for if even one Bombchu blasts a Keep, you forfeit your chances of exposing the Skulltula. |
Gold Skulltula Opportunity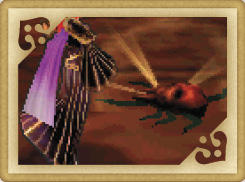 All this battling with the Gorons and Volga’s forces has likely boosted your KO count to the 1,000 KO mark by now. Bomb the boulder near the Central Keep to expose your Gold Skulltula reward. |
The second Bombchu begins way up north, and it’s headed for the Tunnel Square. Warp back to the northeast owl statue and intercept the Bombchu, then go south and destroy the final Bombchu, which departs from the Central Keep and motors directly toward the Allied Base. Capture the Central Keep afterward to end the Gorons’ meddling.
Piece of Heart Opportunity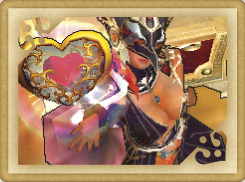 Capturing the Central Keep not only neutralizes the Gorons, it also makes a treasure chest materialize inside. Open it to obtain a Piece of Heart for Cia. |
Chasing the Dragon
With the Bombchu threat diffused, it’s time to track down Volga. Reclaim any Keeps that the Gorons might have taken, then warp to the northwest owl statue and go north to eliminate a pesky enemy Summoner. Remember to keep tabs on Wizzro’s health and come to his aid if the need arises.
Heart Container Opportunity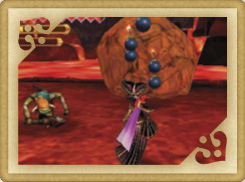 When it comes to hunting Dragon Knights, you need all the help you can get. Bomb the boulder to the north of the northwest owl statue to expose a treasure chest that holds a Heart Container for Cia. |
Capture the nearby North Square after dispatching the Summoner, then warp back to the northwest owl statue and secure the West Square, followed by the Stone Square. Go south and activate the caves’ final owl statue before claiming Volga’s final Keep, the South Square.
Betrayed
Capturing all of Volga’s Keeps forces the Dragon Knight’s hand. Volga summons not one, but two King Dodongos, one of which appears near the Tunnel Square. Believing Cia to be outmatched, Wizzro suddenly turns on her, joining forces with Volga’s army. You’ve really got your hands full now!
The northern King Dodongo is much too close to the Allied Base for comfort. Warp to the northeast owl statue and race to the Tunnel Square to intercept it. Heave bombs into the monster’s mouth to reveal its Weak Point gauge, then pile on the damage.
King Dodongo is dangerous, but that sneaky Wizzro is an even greater threat. He slips into the Allied Base and begins an assault. Race to the base’s defense, leaving King Dodongo if you haven’t yet disposed of him. Defeat Wizzro quickly, then hurry to finish off the first King Dodongo.
One Dodongo down, one to go! The second is likely storming the South Square with Volga by now. Warp to the southern owl statue and defeat the second King Dodongo just as you did the first.
With both King Dodongos undone, taming the Dragon Knight is all that remains. Volga’s morale is high, so he’s even more dangerous this time around. Dodge his devastating attacks and counter the moment his Weak Point gauge appears. Bring Volga to his knees to subjugate a mighty ally.