
Hyrule Warriors Legends Guide Legend Mode
Battle of the Triforce: Hyrule Field
Playable CharactersHeart ContainerPiece of HeartGold Skulltula
Hard Mode Gold Skulltula
Unlockables None. Victory ConditionsDefeat ConditionsIf the Allied Base falls. |


Two Birds with One Stone
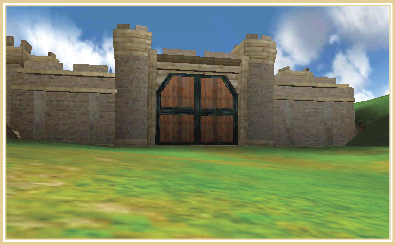
With the Triforce of Power back in the hands of our master, there are only two pieces left to claim. The redundant hero in the green tunic, Link, and the obnoxiously crafty Princess Zelda have the remaining pieces. Fortunately for us, they are both at Hyrule Castle. If we could defeat them simultaneously we would not have to waste time on this pursuit. Without further delay, attack Hyrule Field and capture the Triforce for the Dark Lord!
This is a challenging, but short Scenario. A lot of your success in this battle will rely on whether or not you help Zant’s journey to the Rockface Checkpoint. If you leave him be, you’ll have lots of time to capture all of the accessible Keeps and defeat all of the reachable Captains. If you decide to help Zant by defeating all of the enemies that block his path to the Checkpoint, prepare for a mad dash around the map while you are assaulted by several enemy Warriors at once for the duration of the fight.
DON’T Support Zant
Start by heading to the Mountain Keep immediately after the Scenario starts. Capturing it right away, but make sure to linger for a moment. A Summoner appears inside the Keep shortly after you arrive and you definitely don’t want to leave him unchecked. Defeat it, then move to another Keep.
As soon as the battle begins, Zant attempts to sneak around the back of the battlefield to get the jump on the Hylians. This Scenario gets hectic very quickly, so if you want to keep things in your control, let Zant get to the Rockface Checkpoint on his own while you capture Keeps and defeat Captains. Pay close attention to his Health Bar, though, because it won’t take long for Princess Zelda to see through Zant’s plan and send her forces to stop him. If his Health Bar gets low, race over and heal him by entering the green rings surrounding him, but leave his attackers alone—the longer he takes to reach the Rockface Checkpoint, the more time you have to gain control of the field.
You must keep a watchful eye on your Lizalfos Captains during this fight. Shortly after Zelda sends a Hylian Captain to attack Zant, you’re given a minor task to protect the Lizalfos on the map. With the Hylian forces’ boosted morale, your Lizalfos troops can be defeated rather effortlessly. If one of them is beaten, the Hylians will receive a second morale boost, making their attacks even more devastating. The Lizalfos to watch out for the most is the one near Central Keep. Link is actually lingering in that area and will have very little trouble taking out your Lizalfos crony.
Defeat Link!
Eventually Link rushes straight toward the Allied Base to capture it. Race over to him to intervene, and be swift about it! As soon as Zant reaches the Rockface Checkpoint, the Hylians begin the next phase of their counter-offensive.
Bait Link with your guard and wait for his Weak Point Mark to appear. He’s one of the best Warriors to use this tactic against because of his incredible speed and his ability to combo effortlessly. Hit him with a handful of Weak Point Smashes and watch Link fall faster than a Wallmaster from a temple ceiling.
Stop Impa!
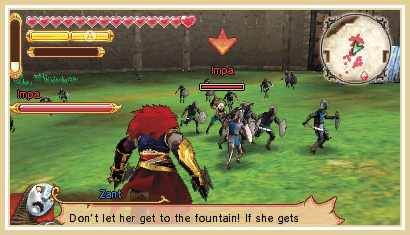
When Zant reaches the Rockface Checkpoint, Impa races from the Hyrule Castle Checkpoint, the structure connected to the east side of the Hyrule Castle Keep, to the Fairy Fountain in the map’s southeast corner. Her goal is to pray to the Great Fairy for help in this battle. If she can reach the Fairy Fountain, you’ll have two minutes to defeat her before the Great Fairy destroys the Allied Base. Ghirahim moves in to intercept her, but the distraction only works for a couple of minutes before Impa realizes that fighting is getting her nowhere. From that point, she continues on her path to the Fairy Fountain.
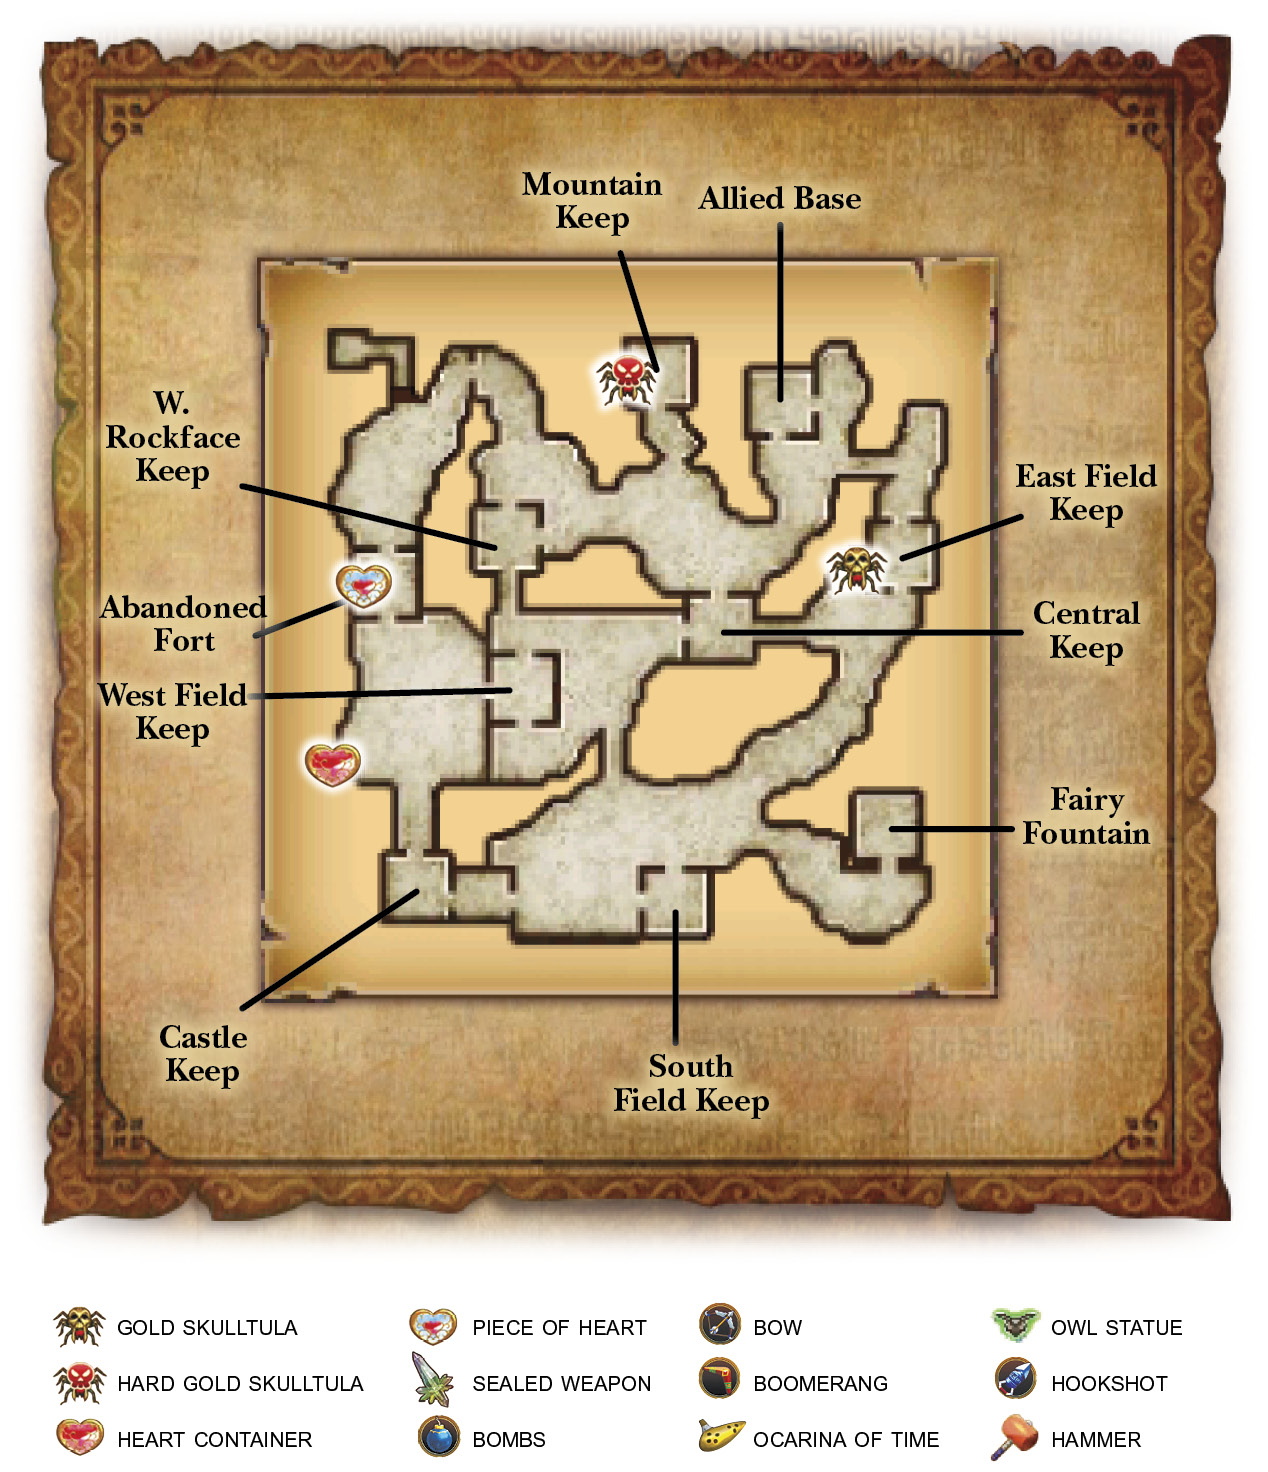
Hard Gold Skulltula OpportunityIf you’re after the Hard Gold Skulltula, you must defeat Impa before she reaches the Fairy Fountain. Intercept her with all speed! |
If you defeated Link before Impa left the Hyrule Castle Checkpoint, then go to the southwestern corner of the map and wait right in front of the Checkpoint (remember it’s the building connected to the east side of Hyrule Castle). Impa poses very little threat if you catch her on her way out of the Checkpoint; because she’s completely focused on reaching the Fairy Fountain, she won’t bother trying to attack you until she makes it about halfway between the Checkpoint and the Fountain. Attack her relentlessly, then bait her with your guard if she tries to fight back. She should cause you very little trouble during this fight.
Gold Skulltula Opportunity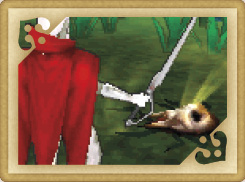 This Skulltula is difficult because of how chaotic this battle is. When you reach 1,000 KOs, race to the outer east wall of the East Field Keep and destroy the boulder there. You’ll find the Gold Skulltula hiding underneath the boulder |
Piece of Heart OpportunityAs soon as Impa is defeated and if Zant was successful in opening the Rockface Checkpoint, race through the Checkpoint as Ganondorf and then head south to the Abandoned Fort Keep. Capture the Keep to reveal a treasure chest containing the Piece of Heart. |
Heart Container OpportunityFrom the Abandoned Fort Keep, head south toward the bridge leading into Hyrule Castle. Stop short of the bridge and go west to find a boulder concealing the Heart Container. |
Synchronize!
As soon as Impa’s plan is foiled, Link reappears on the battlefield and Zelda opens the gates to Hyrule Castle. Now begins the trickiest part of the Scenario. Link and Zelda will continuously return to the battlefield now matter how many times you defeat them. They seem to be utilizing the power of their Triforce pieces to get themselves back in the fight whenever they are knocked out. Whenever you defeat either of them, they’ll kneel in the spot they were defeated in and then, after a short while, they’ll stand up and charge toward the Allied Base once more. Defeating them as soon as possible is definitely in your best interest.
Hard Gold Skulltula Opportunity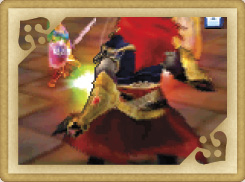 In order to reveal this Skulltula, you have to be playing as Ganondorf. You must defeat Link and Zelda a combined total of four times during this battle. Your first fight with Link doesn’t count toward your four KOs. The KOs only count when both Zelda and Link are on the field at the same time. Defeat one first, then the other — but don’t defeat them both within a minute or two of each other, or you’ll complete the Scenario before the Gold Skulltula appears in Mountain Keep. |
Link and Zelda use the power of the Triforce to assault any Keeps they pass through. This means they can tear through Keeps much faster than they normally would be able to. They’ll still stop at any Keep they reach until it is captured, so you have a bit of leeway while trying to weaken one of the Warriors, before taking on the other.
The way to stop them reappearing is to defeat them within about a minute or two of each other. The best way to accomplish this is to attack one of the Warriors until his or her health is very low. Then switch characters and turn your focus on the other Hylian Warrior and defeat that one, then return and knock out the Warrior whose health you already lowered. This isn’t terribly difficult so long as you keep Link and Zelda out of the Allied Base. Once they are both in there, you’ll have to watch who you’re attacking and you’ll have to be extra fast because they’ll slowly lower the health of the Allied Base with every attack they do inside it.