
Hyrule Warriors Legends Guide Legend Mode
Boss Fight: Gohma
Gohma: The creepy cyclops that has haunted the dreams of The Legend of Zelda fans for generations. Like King Dodongo, if you’ve been a fan of the series for a while now, you’ll know exactly what to do to deal with Gohma. For the rest of you, buckle up and read on.
Gohma’s main method of attack is also its greatest weakness. It loves to sweep the area surrounding it with lasers from its eye. Fortunately, these lasers are a breeze to dodge if you’re paying attention; keep your eyes glued to Gohma’s eye and you’ll know exactly what kind of laser it’s going to fire.
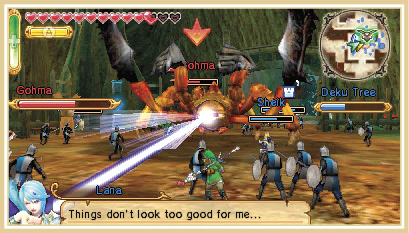
If Gohma looks to the right (its left), it’ll do a horizontal sweeping laser in an arc in front of it.
If it looks down slightly, it’s about to do a vertical laser that will start on the ground and move straight up.
If you see a ball of energy building up in its eye, that means it’s going to fire a giant electrifying ball at you and your allies.
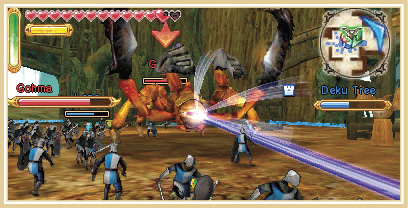
With each of these laser attacks, the Gohma’s eye becomes blue after or during the attack. When you see that blue pupil, that’s your time to strike! Fire an arrow right into its eye and its Weak Point Mark will appear. Beat up on the Gohma until you either get a Weak Point Smash or it gets up again, jump away from it when it starts to get up to avoid being hit by its counterattack, then repeat the whole process.
Just be quick about it or the Gohma’s eye will change back to its normal red, meaning you have to wait for its next laser attack.
Lasers aren’t the only offensive moves the Gohma has. You’ll have to watch out for when it raises one of its front arms; this means the Gohma is about to sweep its claws in front of it in a spinning tornado attack.
Gohma’s last move is easy enough to dodge, but it’s also incredibly destructive. The Gohma will leap into the air and come crashing down, damaging anything and anyone unlucky enough to be under it.
This move destroys Keeps swiftly and can do the same to your Health Bar if you get lazy. Just pay attention to the large white circle it leaves behind when it jumps; this is an indicator of where the Gohma is going to land when it returns from its journey into the stratosphere. Stay a good distance away from that circle and you’ll be completely fine.
The most important part of this fight is doing as much damage to as possible while Gohma is in the Enemy Base Keep. After spending some time in the Keep, it’ll leap directly to the Deku Tree. This is a very bad thing; it may have attacks that are easy for you to dodge, but your soldier friends will have far more trouble dealing with it, meaning the Deku Tree Keep can be destroyed in a few minutes flat.
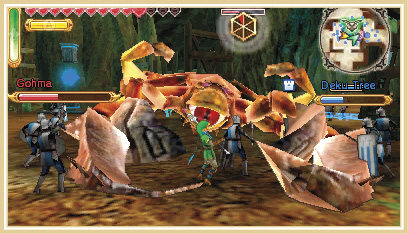
If Gohma leaps to the Deku Tree, waste no time in following and defeating it or you run the very real risk of failing the Scenario. The good news is, once you’ve defeated the Gohma, the Scenario ends and you’re declared the victor!
Hard Gold Skulltula OpportunityYou need Link’s Fire Rod for this one. The crux of this Skulltula falls on capturing every keep before Gohma and the Keep Saboteurs arrive. Once they do, they can quickly cause your allies to flee and run the Deku Tree’s health down to dangerous levels, completing disabling your ability to find the Skulltula. Once the Skulltula has entered the battlefield, however, you are safe to run off and capture it at the northernmost point of the map, directly west of the Great Fairy’s Fountain. You’ll need the Hookshot equipped to pull yourself up the ledge that the Skulltula is hiding on, but once you’re up there, it’s fair game. |