
Hyrule Warriors Legends Guide Legend Mode
Boss Fight: King Dodongo Second Fight
Your second fight with King Dodongo is pretty much the same as the first, but this time the monstrous monitor is far less interested in opening its mouth for you. It’s also a good bit stronger than the first fight, but all of its moves are the same.
As a refresher, wait for King Dodongo to open its mouth to charge up a fireball attack, which often happens immediately after it breathes fire. King Dodongo’s mouth is bright orange while charging, so make sure to dump a boatload of Bombs in there as soon as you see it open.
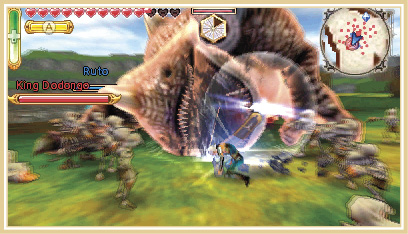
Once you’ve thrown some Bombs in, Dodongo will collapse and its Weak Point Mark will be revealed. Beat up on King Dodongo to deplete its Mark and perform a Weak Point Smash. Repeat the process until it’s defeated.
NOW Finish Zelda
With King Dodongo out of the way, it’s time to go deal with Zelda once more. Defeat her the same way you did Darunia: Blocking her attacks and waiting for her Weak Point Mark to appear. Her Mark takes considerably longer to deplete than Darunia’s, so be prepared for this fight to test your patience.
Once you’ve defeated her, though, the battle will be over and you will have won the Scenario.