
Hyrule Warriors Legends Guide Legend Mode
The Sacred Sword: Temple of the Sacred Sword
Playable Characters
*After completing the Scenario once. Heart ContainerPiece of HeartGold Skulltula
Hard Mode Gold Skulltula
UnlockablesZelda’s Glittering Rapier Victory ConditionsAcquire the Master Sword. Defeat Conditions |









The Sword of Legend
Now that you and your allies have closed the Gates of Souls, Cia has increased the strength of her war machine and the frequency of her attacks on Hyrule. Zelda, revealing that she was Sheik all along, offers a solution that will defeat Cia for good: Obtaining the Master Sword. Without delay, the heroes head to the Temple of the Sacred Sword, the supposed resting place of the legendary sword, to see what they can find.
On your first playthrough of this Scenario, you’re limited to playing Link. Once you complete it, however, you’ll be able to go through with every other character listed above to get all of the unlockables.
Hard Gold Skulltula OpportunityAs Fi, defeat 2,000 enemies and locate all of the Sealed Statues without letting Impa, Midna, or Darunia lose enough health to fall into danger. You’ll need to be the one to find them; if any of your teammates finds a sealed statue, the Skulltula won’t show up. Once you’ve completed those two goals, defeat Wizzro in the chamber of the Master Sword to make the Skulltula appear in the Master Sword chamber near the entrance. |
Activate the Three Sealed Statues
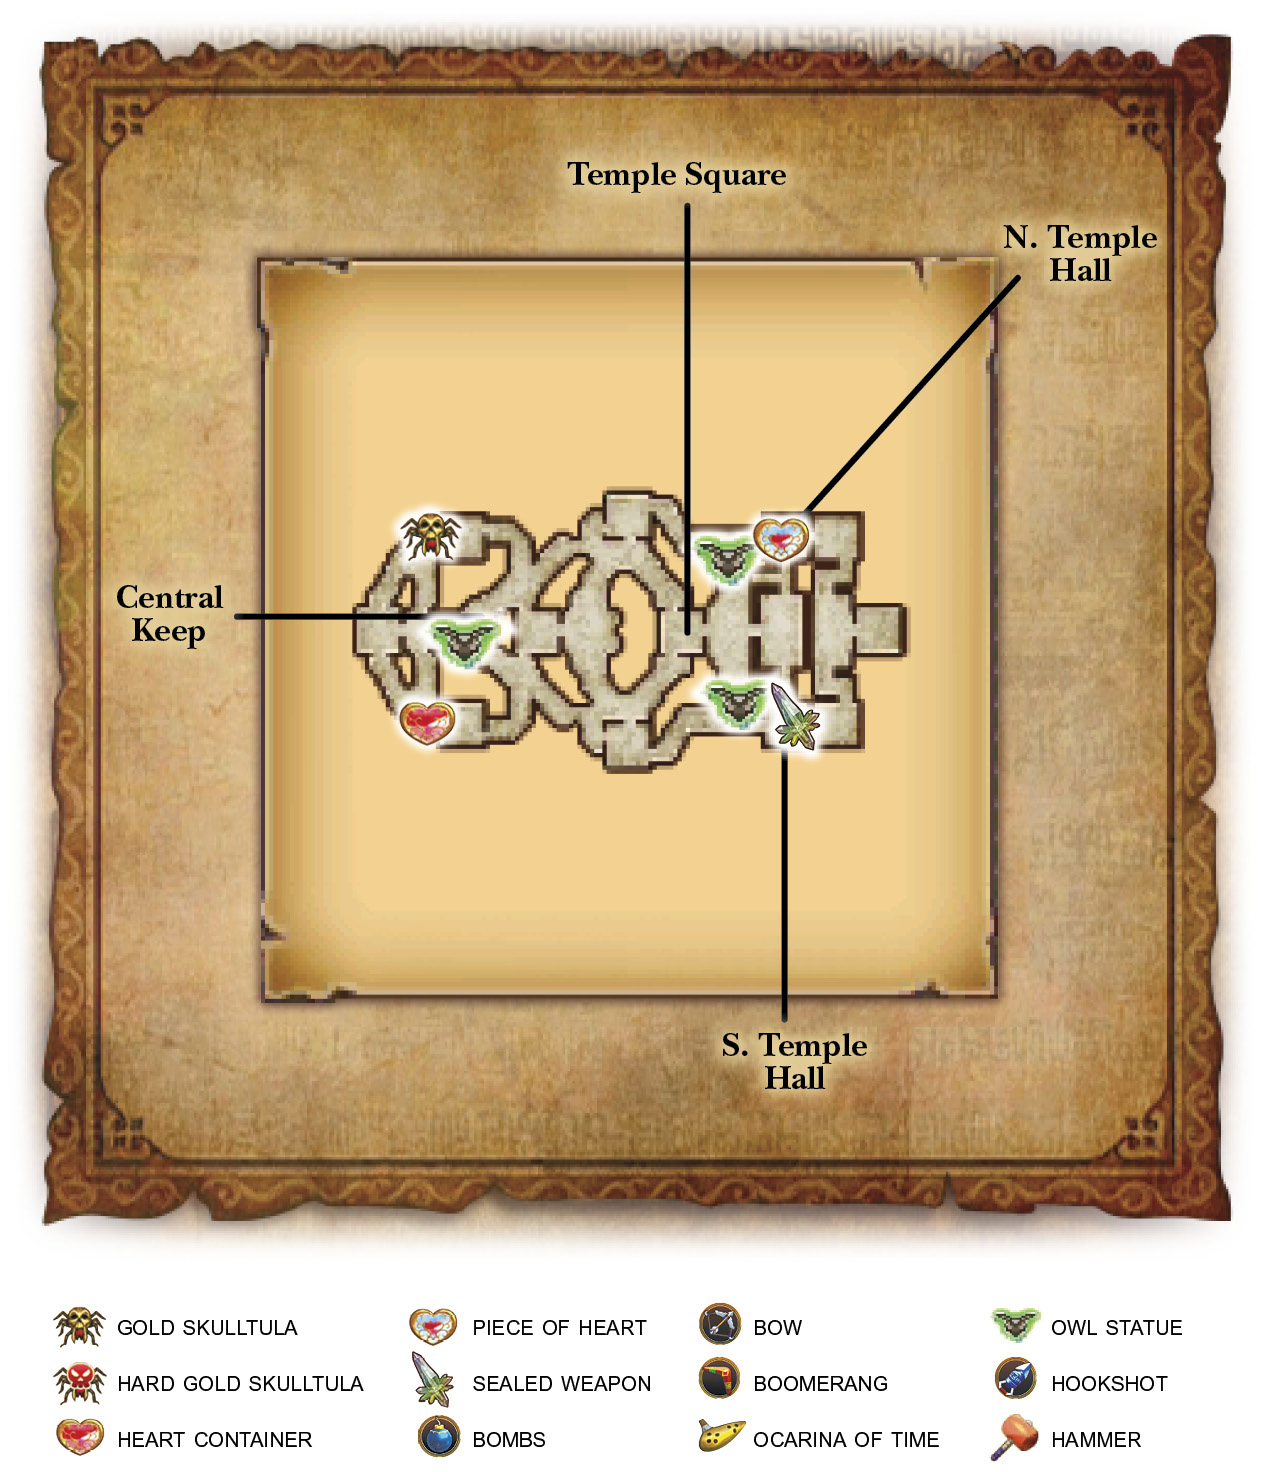
When you first start the Scenario, the temple grounds are completely empty. Your goal is to activate three Sealed Statues located somewhere around the area, but where they are is a complete mystery at this point. Start by investigating the abandoned Keep on the far west side of the map; maybe we’ll find something there that will shine some light on this mystery. Activate the owl statue you encounter along the way.
Inside the abandoned Keep is one of the three Sealed Statues! After discovering the statue, Impa makes her way toward it to activate it, while Midna and Darunia begin searching for the remaining two. While Impa is on her way, however, ghosts begin to appear all over the west side of the map! Defeat as many of the ghosts as you can while Impa activates the statue. The statue will gradually drain her health, so making sure she’s not in danger from the ghost soldiers will help to keep you from failing the Scenario if things start to get out of control.
Heart Container OpportunityThis is an excellent time to find this Scenario’s Heart Container, if you’ve already completed this Scenario at least once. As Zelda, head southwest through the southern abandoned Keep on the west side of the map. Just outside the Keep’s west gate is a boulder concealing a treasure chest. Destroy the boulder with your Bombs and open the chest to grab the Heart Container. Just make sure not to enter the abandoned Keep on the western tip of the map, or you’ll activate your next mission before you’re ready. |
The Spectral Army
Once you’ve insured Impa’s safety, head to the east side of the map to reach the temple. When you arrive at the temple, it becomes clear that you have to find another way in; the gates are closed and there’s no clear way of opening them. To make matters worse, more ghost warriors begin materializing onto the battlefield. Quickly activate the owl statues to the north and south.
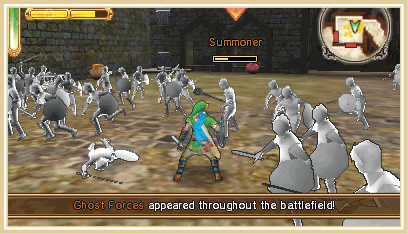
Start tearing through the spectral hordes while making your way northwest to the abandoned Keep north of the center of the map. At the Keep, you’ll find the second Sealed Statue and a ghost Summoner, who is aiding the ectoplasmic assault by summoning more ghost warriors. Defeat it to stop the flow of ghosts from this side of the map.
Midna starts on the south side of the battlefield. When she begins making her way up to your location. While she journeys to the Sealed Statue, another wave of ghost soldiers appears all around her. You need to go and defeat the Summoner in their ranks and thin their numbers as much as possible before Midna can continue on her path to the statue.
Once Midna reaches the abandoned Keep, she activates the second statue. Now there’s just one left to find!
The Southern Statue
If one of the statues is in the northern abandoned Keep, then it certainly wouldn’t hurt to check the southern one. If one of your allies hasn’t searched the Keep already, enter it to discover the third and final Sealed Statue. Darunia begins making his way from the northern abandoned Keep toward the remaining statue. The Goron chief runs into the same trouble on his way to the Keep as Midna did, so go defeat the ghost forces surrounding him to get him moving again.
Defeat the Summoner and any enemies with Health Bars to get Darunia moving again. It is also advantageous to capture the Temple Square Keep while you’re in the area.
Once Darunia activates the third statue, the waves of ghosts increase! No matter how many ghosts you defeat they never stop appearing! There must be a source of all of these spectral soldiers!
Cutting the Puppet Master’s Strings
Zelda’s convinced that someone in your ranks is controlling the ghosts, but who could it be?
Press o and take a look at Battlefield Info. Something seems wrong… Look through all of your allies. Wait a minute! There’s an extra allied Warrior on the center of the field who’s not listed in the Battlefield Info screen! Head to the center of the map immediately and confront this imposter!
It’s Lana?! What’s going on here? There are two Lanas on the field! Wait… We’ve seen this before! The enemy played this trick once already in the Water Temple with a fake Zelda. This has Wizzro’s stink all over it! Defeat this false Lana to stem the flow of ghosts!
Don’t bother with the standard block-and-counter method of attack that you’ve been using on most enemy Warriors. Lana’s attacks will shove you away, putting you out of range when her Weak Point Mark appears. Go for a straightforward approach and attack with Regular Attacks relentlessly.
The Temple Is Open!
After you defeat the fake Lana, the ghosts regain control of their spiritual facilities and realize that Link is the true successor to the title of Hero and wielder of the Master Sword. Wanting to not cause any more difficulties for Link and his friends, they pack their unearthly belongings and leave the battlefield. Unfortunately, so do half of your allies: Darunia, Impa, and Midna also leave. The health-draining effects of activating the Sealed Statues has left them in a shambolic state, meaning they won’t be much help to you and your other allies. It’s okay, we can finish this fight with Zelda and Lana by our side.
With the ghosts gone, the Temple of the Sacred Sword opens. Make exploring its interior your main priority. Just make sure to keep an eye on Zelda now that your allies’ numbers have thinned. If she’s forced to flee, you’ll fail the Scenario, and with fewer teammates on the field, this can happen quicker than you might think.
Gold Skulltula Opportunity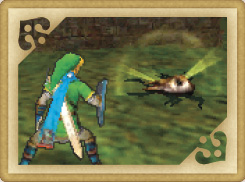 If you’ve reached the 1,000 KO mark, a Gold Skulltula enters the field and hides out underneath a boulder in the northwest corner of the map. The boulder in question is next to the northern abandoned Keep, to the right of the Keep on the map’s far west side. Blow up the boulder to reveal the Skulltula, then smack it with your weapon to defeat it. |
The Temple of the Sacred Sword is full of Wizzro’s minions, who are bent on keeping you from reaching the Master Sword. Take either a left or right after entering the temple, capture the nearby Keep, then head up the stairs. At the top of the stairs is a large room containing two Gatekeepers. Defeat them and the chamber of the Master Sword is open to you.
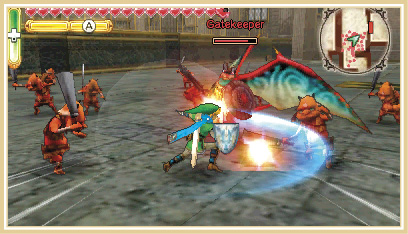
Piece of Heart OpportunityIf you capture the N. Temple Hall Keep while playing as Lana, a treasure chest appears. It contains her Piece of Heart for this Scenario. |
The Blade of Evil’s Bane
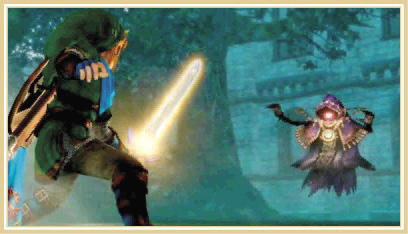
After you grab the Master Sword, Wizzro teleports into the room and assaults Link. With the Blade of Evil’s Bane in hand, show Wizzro that you’re not taking anymore of his shenanigans. Attack Wizzro until you get his health down to around half. He then flees the scene and reappears on the west side of the map, bringing with him a large pool of reinforcements.
Wizzro then sends his reinforcements directly after Princess Zelda. Zelda retreats into the Temple of the Sacred Sword with Lana, where she tries to make a stand against Wizzro’s attack. Leave the temple and wait in the Temple Square Keep. All of Wizzro’s Captains will make their way through here, so this is an excellent spot to intercept them as they try to attack Zelda.
After you defeat the first wave of Captains, Wizzro calls on another wave to attack Zelda one more time. Hold firm in the Temple Square Keep and intercept them as they move through it. When the Captains stop coming, warp to the west owl statue and confront Wizzro once more.
Once you defeat Wizzro, the victory is yours!