Hyrule Warriors Legends Guide Legend Mode
The Shadow King: Palace of Twilight
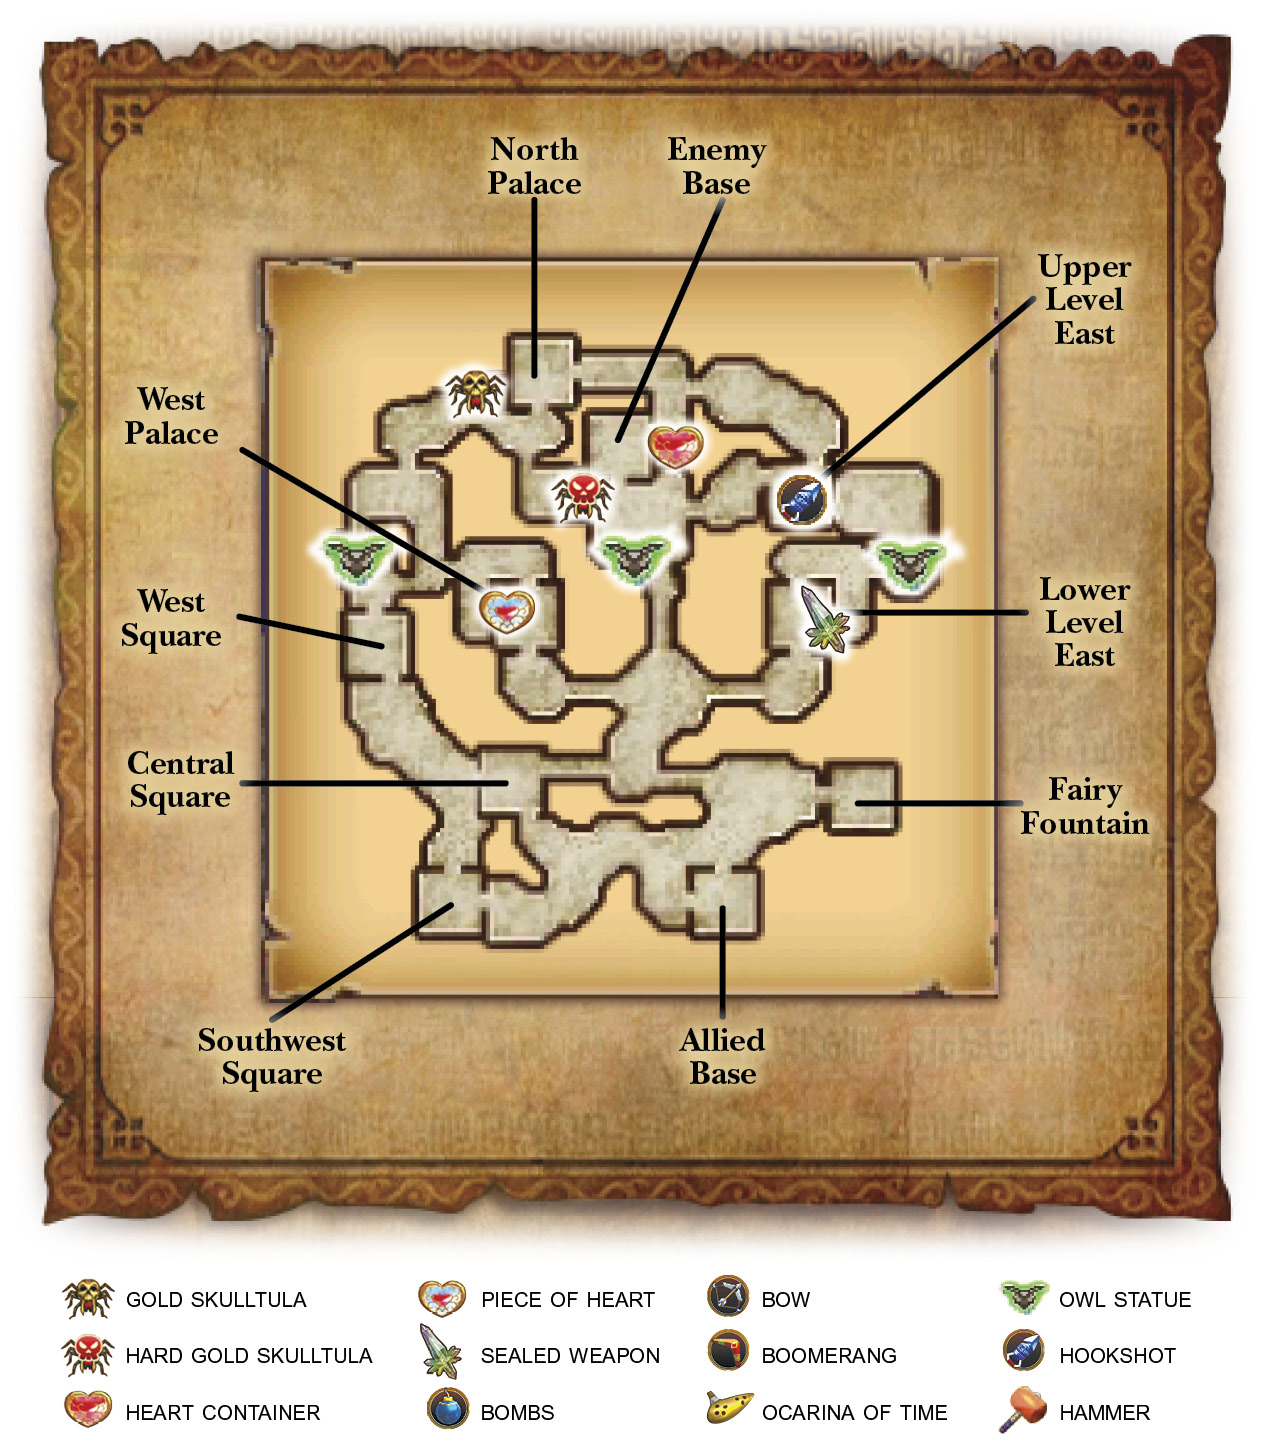
Playable CharactersHeart ContainerPiece of HeartGold Skulltula
Hard Mode Gold Skulltula
UnlockablesHookshot Lana’s Sealing Tome Victory ConditionsDefeat Zant. Defeat Conditions |





Facing the Twilight King
This battle takes place in the land of Twilight and it looks like Cia already has a foothold here, too; she’s recruited the help of the self-proclaimed Twilight King, Zant. Defeat Zant and seal the Gate of Souls at the back of the palace to bring peace to the Twilight Realm once again.
This Scenario has can get a little chaotic, so be sure to read the strategies we present here. You are free to choose either Lana or Midna for this fight, and both are excellent choices. Midna’s Regular Attacks are definitely weaker than Lana’s, putting her at a slight disadvantage, but you shouldn’t have any issue completing the Scenario whichever character you select.
Capture the Eastern Keeps
Your first task it to capture the Upper and Lower Level East Keeps. This is pretty straightforward, so head over there and knock them out. Just make sure to activate the owl statue and defeat any Captains you come across; if haven’t noticed, the battlefield is covered with them. This Scenario has a good bit of micromanaging, that is, unless you’re diligent about clearing out the Captains.
Shortly after entering the Lower Level East Keep, Zant will send a faction of his Captains toward the Allied Base. You can go and rough them up now, or continue on. They likely won’t make it anywhere near the Allied Base before you capture both Keeps, so you can focus on the task at hand.
Capturing the Lower Level Keep will net you a chest containing a Sealed Weapon. At the completion of the Scenario, the Sealed Weapon will become Lana’s second-level Book of Sorcery, the Sealing Tome. Whenever you unlock a new version of a weapon, it will appear in Weapon Bags on the battlefield.
Burning Bridges
Barely a moment goes by after you capture the Lower Level East Keep before Zant blows the bridges leading back to the Allied Base, trapping you in the palace. You must find a tool to help you deal w ith these new obstacles. At the moment, you only have one choice: Head to the Upper Level East Keep.
Once you capture the Upper Level East Keep, a treasure chest appears, containing just the tool you need: the Hookshot. This Sub-Weapon allows you pull yourself up ledges indicated with specific hanging plaques (see the screenshot for reference). This is just what you need to get up the broken bridges.
Argorok Attack!
Zant is none too pleased that you found the Hookshot, though, to be fair, he really shouldn’t have just left it in the middle of a Keep like that. To get back at you for your blatant thievery, Zant summons the Twilight Dragon Argorok to run amok on the field. The dragon will continuously spew fire balls at the Allied Base, slowly whittling down its health. Waste no time in racing to the West Square Keep.
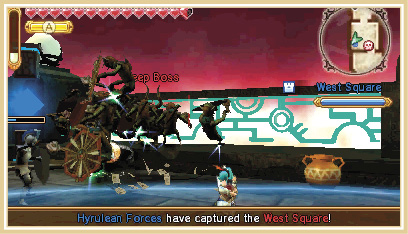
When you arrive at West Square Keep, it’ll become apparent that you’re completely helpless in bringing the dragon down. Thankfully your ally has’s a plan to cast a net on Argorok. The problem is she needs an escort to get her to Argorok. Head toward her location in the Allied Base, defeating Captains on the way there, and guide her over to the West Square Keep.
Once your ally arrives at the Keep, she’ll create a Magic Circle in the center of the Keep. If you haven’t captured the Keep yet, now’s the time to do it. After the Keep is in your possession, the Magic Circle appears. Step in the center and hit the Y button to activate it. Magical chains shoot out at the Argorok, but the slippery salamander breaks out and flees the battlefield.
Gold Skulltula OpportunityThere’s a good chance that you’ve defeated 1,000 enemies by now. If that’s the case, you can find the Skulltula just outside the North Palace Keep to the left. You need to bomb the boulder next to the Keep to find the Skulltula, then it’s all yours. |
Protect the Bug Princess!
Once Argorok flees, Zant hatches a new scheme. He orders Commandos to hunt down and kidnap Agitha. You can prevent that from happening if you intercept the Commandos when they’re en route to the Bug Princess, who is currently in the Upper Level East Keep.
Both of the Commandos come out of the North Palace Keep, one heading through its south gate and the other through its east gate. If either of them reaches Agitha, they’ll nab her immediately and take her to the North Palace Keep, where they will rapidly deplete her health.
Start by attacking the Commando exiting through the south gate first because it’s the first one to leave the North Palace Keep, then circle around through the Upper Level East Keep and cut off the second Commando. If you successfully defeat the would-be kidnappers before they bugnap Agitha, she’ll get a morale boost.
Heart Container OpportunityIf you’re playing as Midna, you can find a treasure chest containing her Heart Container underneath a boulder. Stand outside of the Enemy Base’s east gate and you’ll see the boulder up against the south wall of the corridor. Destroy the boulder to reveal the chest, then open the chest to reveal the Heart Container. |
Argorok Bites Back!
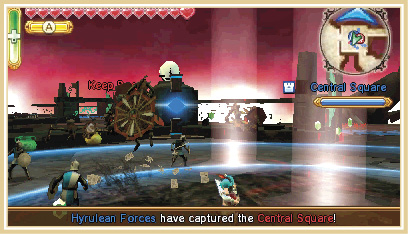
As if it knows you are enjoying some much needed rest, Argorok returns to the battle to cause chaos once again. This time the fire-breathing flapper appears near the Central Square Keep. Make your way there immediately!
Piece of Heart OpportunityIf you are playing as Lana, you can capture the West Palace Keep on your way to Argorok to reveal a treasure chest containing her Piece of Heart for the Scenario. |
No matter what you do, Argorok will take the Central Square Keep the second it enters it. Take the Keep back to reveal another Magic Circle.
From Bad to Worse
Argorok escaped again! There’s got to be a way to pin down the dragon for good! Unfortunately, we don’t have time to brainstorm at the moment; Zant has called in reinforcements and is sending them to the Allied Base! And if that weren’t enough, Argorok returns for a third time!
Say Your Prayers
Agitha’s Goddess Butterfly seems to have a plan because she is guiding Agitha to the abandoned Keep in the southeast corner of the battlefield. As it turns out, the abandoned Keep isn’t abandoned at all! It’s a Fairy Fountain! This might be just what we need to turn the tide of the battle. Head into the Fairy Fountain and pray to the Great Fairy.
It worked! The Great Fairy finally brought that lousy lizard to the ground! Go to the center of the map where the Argorok is and get ready to finish it off; it’s not going to escape this time!