
Hyrule Warriors Legends Guide Legend Mode
Land of Twilight: Twilight Field
Playable Characters
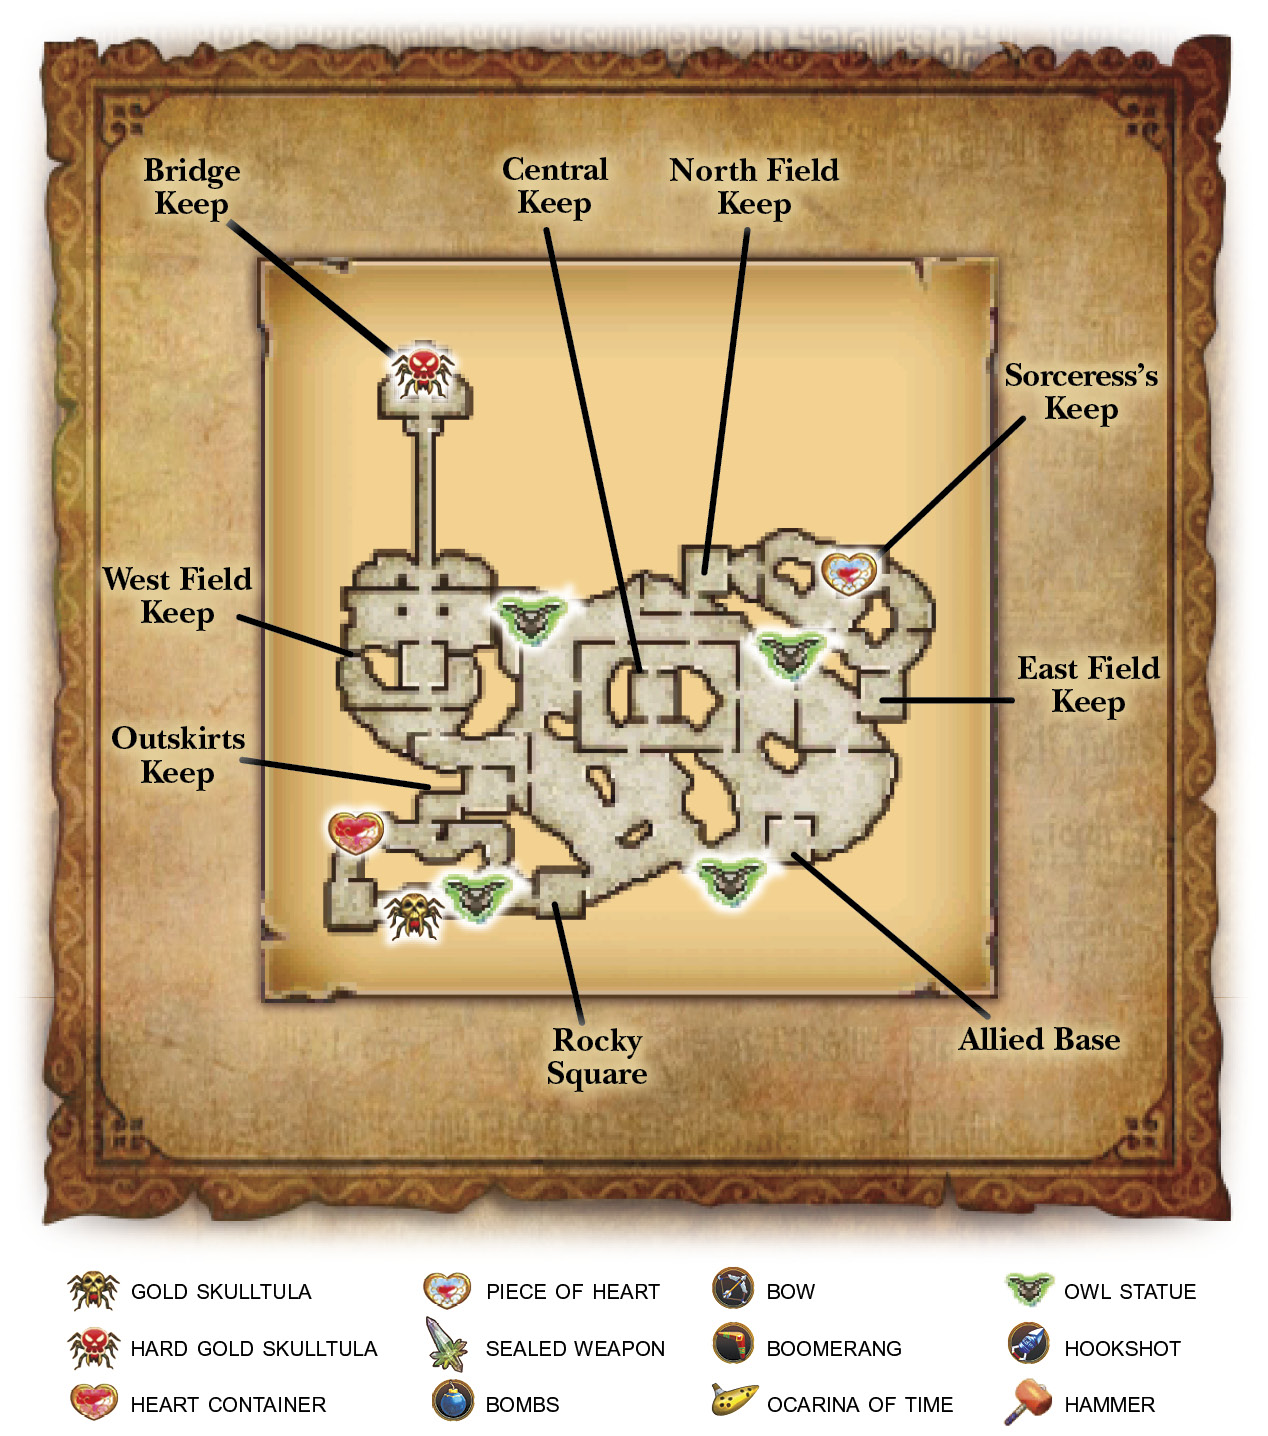
Heart Container
Piece of Heart
Gold Skulltula
Hard Mode Gold Skulltula
UnlockablesMidna Victory ConditionsFind the Gate of Souls. Defeat ConditionsIf the villager flees or the Allied Base is |





Warriors of Twilight
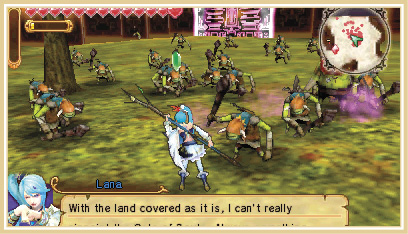
The group split up to see what lies beyond each of the portals. The portal Lana walks through leads her to a field covered in pockets of shadow and monsters in the Hyrule of Twilight Princess. Before she can make sense of this phenomenon she hears the cries of someone in need.
Lana’s Deku Spear is recommended by the game for this Scenario, but the spear is more for mobility; if Lana isn’t a particularly high level—which she won’t be at this point in the game—using the Spear is a bit of a handicap. Our recommendation is to use the Book of Sorcery instead, but, as always, you are free to use whatever weapons you find to be the most fun and interesting, and the Deku Spear certainly is both of those things.
Twilight Patches
The first things you’ll likely notice in this Scenario are the big, black squares all over the minimap. No, your game isn’t broken; those are pockets of Twilight that we’ll be referring to as Twilight Patches. Inside each of these patches is a Keep protected by Dark Keep Bosses, Captains that are quite vicious and challenging to fight. If you defeat the Dark Keep Boss, the Twilight Patch will clear up. Be warned, however: If the Keep is taken back by enemy forces, the Twilight Patch will reappear, meaning you’ll have to capture the Keep within to dispel the Twilight once more.
With that said, don’t worry about the Twilight Patches at the moment. They’ll play a big role in the latter half of the fight, but for right now you have more pressing issues to deal with.
Save the Villager
The cries are coming from a young villager who is being attacked by enemies in the abandoned Keep in the southwest corner of the battlefield. Waste no time heading toward the villager, but feel free to capture the Rocky Square Keep on the way; all you need to do is reach the villager to save her, so if you’re nearby, you can race to her if her health gets too low.
Once you reach the abandoned Keep, you discover the identity of the villager; it’s the Bug Princess, Agitha. She’s very passionate about anything and everything insect-related, and she proves it almost immediately when a rare Goddess Butterfly flies by and she single-mindedly follows it.
Bug Catching
Escort Agitha while she chases the Goddess Butterfly. Despite her unerring bug-lust, she’ll stop for any enemies that get near her, instead of simply stopping for enemies with Health Bars, meaning you’ll have to clear out anything near her to get her moving again.
Agitha’s destination is the center of the Twilight Patch above the Outskirts Keep, but you’ll have to capture the Keep before you can reach the Patch. Before you enter the Outskirts Keep, you’ll have to guide Agitha to its east gate. When she reaches the gate she opens it. It’s time to go to work capturing it.
Heart Container OpportunityDirectly north of the southeastern Keep where you first met Agitha, you’ll find Lana’s Heart Container. You’ll need the Hookshot from a later level, so you won’t have access to the Container on your first trip to the Twilight Field. Make sure you don’t forget to come back once you do. |
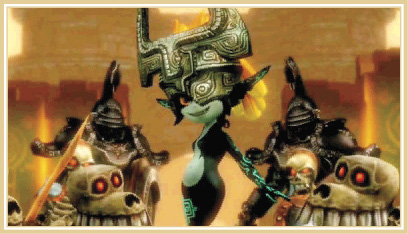
Once you reach the center of the Twilight Patch above the Outskirts Keep, another face familiar to fans of Twilight Princess makes an appearance: the Twilight Princess herself, Midna. Unfortunately, Midna is also at war with Cia and she has little time to exchange pleasantries. Even worse, she steals the Goddess Butterfly and uses it to guide her to Cia’s Keep, leaving behind her personal guard to do away with Lana and Agitha.
The Twilight Invasion
Midna and her army enter the field as a second oppositional force, meaning you now need to fight the Twilight Army and the Dark Army. To make matters worse, Midna is empowered by the Twilight Patches around the battlefield, meaning challenging her head-on is going to be quite difficult until you clear out some of the Patches.
Before you pursue Midna, capture the West Field Keep, right where you are. This will further weaken Midna and help keep Agitha safe while she waits for you to get the Goddess Butterfly.
To reclaim the Goddess Butterfly, you’ll need to defeat Midna. Instead of challenging her directly, head off and capture the East and North Field Keeps to further weaken her.
Gold Skulltula OpportunityAround this time, you’ll probably have 1,000 KOs. If that’s the case, run down to the southeastern Keep where you found Agitha. Directly to the right of the Keep, you find the Skulltula scuttling along the side of a house. Defeat it and claim your puzzle piece. |
A Hyrulian Standoff
Midna slowly makes her way toward Cia’s Keep. Once Midna reaches the Keep, Cia flees, causing Midna to turn her wrath onto you and Agitha. She teleport over to the bridge just below the Bridge Keep. If you defeat her before she teleports, she’ll appear on the bridge with half health, which is definitely a welcome advantage.
Hard Gold Skulltula OpportunityThis is undoubtedly one of the easiest Hard Gold Skulltulas you can get in the game. As soon as Midna enters the battlefield, fight and defeat her. She doesn’t have a lot of health, so she can be knocked out pretty easily. If she is giving you trouble, you just need to remove more Twilight Patches to weaken her—if she isn’t right by Cia, of course. You only need to defeat her before she reaches Cia and then capture any remaining keeps to get the Skulltula to appear. Speaking of which, you can find the Skulltula on the northern wall of the Bridge Keep. |
Midna doesn’t pose much of a threat after you’ve cleared the field of all the Twilight Patches, though she is pretty difficult to Weak Point Smash. You can block pretty much every one of her attacks and she doesn’t have any way to guard her back, so block and roll until you get behind her. Once she’s finished one of her Strong Attacks, she’ll likely reveal her Weak Point Mark.
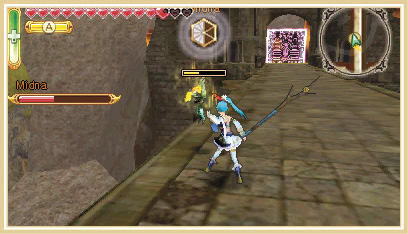
Midna is incredibly squirrelly, so getting a Weak Point Smash on her is going to take a few Mark reveals, but if you stay patient and keep your guard up, you’ll have no trouble taking her down.