
Final Fantasy XII: The Zodiac Age Guide Zodiac Job System
Party Composition
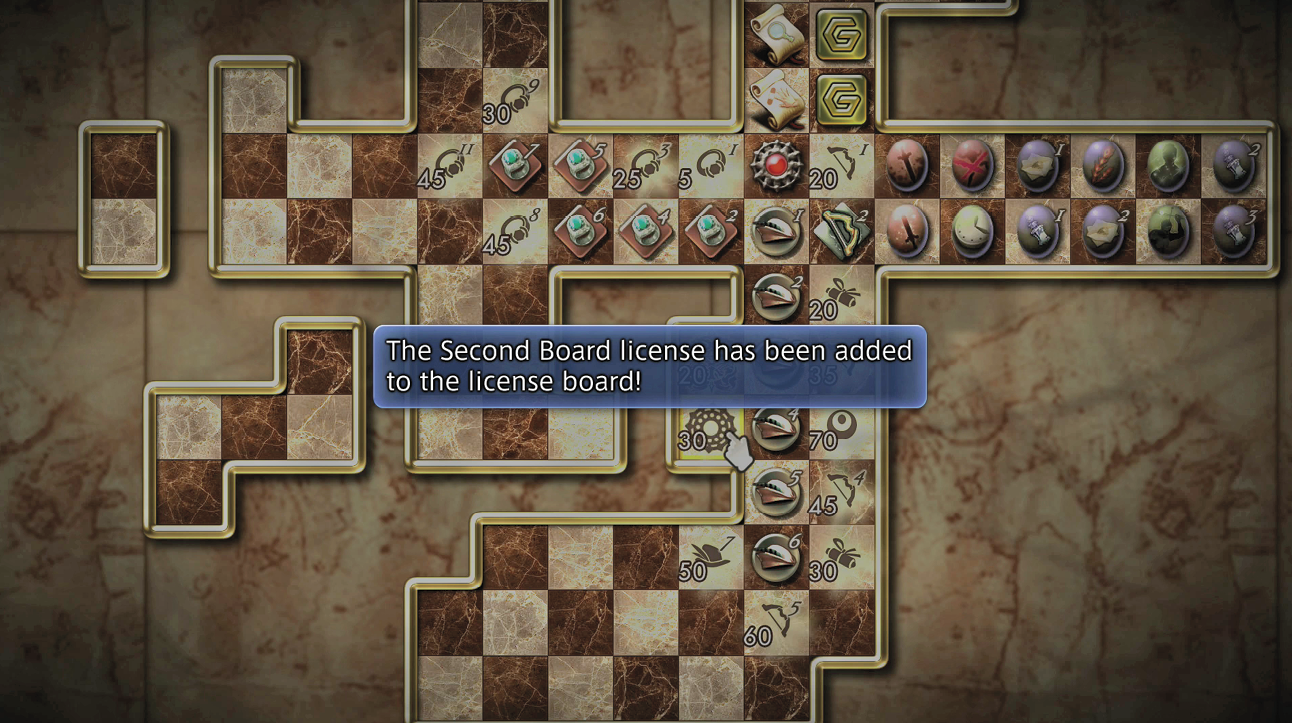
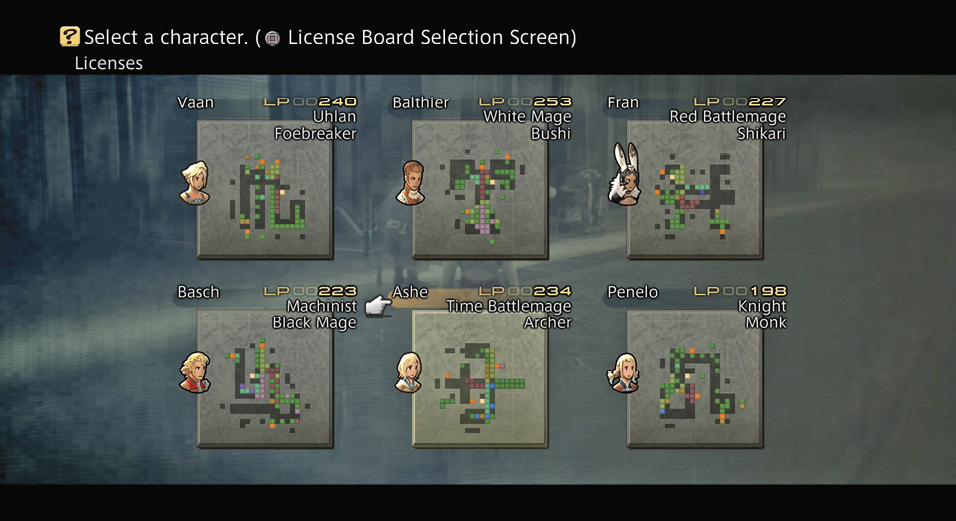
Before making your first Job selection, it’s important to have an idea of what all twelve of them will likely be. This section gives you the tools you need to make a party that you can win battles with throughout the entire game. Together with the Job sheets, you’ll be able to create your own personal version of the heroes of FINAL FANTASY XII.
Things Every Party Needs
In every serious encounter in the world of Ivalice, your team will have a few roles that must be filled. It’s not as simple as doing damage faster than the opponent, although damage is certainly a must. You’ll also need sufficient healing to keep the party running, some support to weaken foes and/or strengthen allies, and likely a tough character, usually with Decoy on, to be the “tank” and take the hits that less-durable allies cannot. You’ll also need special-case damage, like ranged attacks or magick damage for some enemies.
Since you’ll have six Jobs across three characters available at any given time, it’s actually quite easy to cover all your bases. Jobs which have little to do except for swing a weapon now have the opportunity to double as healers or support characters. When in doubt, put opposite roles together on one character. The bigger a difference between boards, the better their absolute value will be. The worst possible combo would be the same Job twice, which you’re not able to do because it would be literally pointless. Branch out and gain power!
What to Choose
Using this chapter may seem complicated, intimidating, and perhaps a bit scary. These are choices you won’t get back, and the threat of making the wrong choice is frightening. The most important thing to remember is that there are twelve Jobs and twelve Job slots. It’s easy to fall down this rabbit hole, so hold onto this: as long as every Job is represented, your team can handle anything, given some clever gambits and preparation. Make a deliberate choice, but remember that it’s easy to make sure you don’t make a wrong one.
Looking at how many Swiftness, Channeling, and Battle or Magick Lores each Job gets is very informative. Not only do these Augments meaningfully improve the performance of your characters, but you can use them to optimize the party. Putting together two Jobs with all three Swiftness licenses, for example, may be a waste when each of them could greatly boost a character who is only getting one swiftness for their other Job.
Locked Licenses
Some spaces on the board will seem to be floating off to the side, totally unreachable. These Licenses are “Locked” behind Espers you either haven’t defeated yet or have assigned to another character. They may also be Locked behind a Quickening slot that’s now gone because the other three have been bought. Understanding and managing these locks are critical to having a powerful team. You won’t be able to unlock all of the features for each Job, but if you assign Espers wisely, choose your Quickenings with care, and try to line up the abilities of the two Jobs, you can unleash much of the power behind these bonus spaces.
Use the Lock Chart to see which Licenses are Locked by which Espers or Quickenings to see how your team might look. Remember: any Licenses one Job unlocks carry over, so a lot of Locks become meaningless. If one Job opens up even a single space in a row of Battle Lores, for example, you get to buy all of them without needing to use that Esper. Most Jobs only have a few Licenses behind their Quickening Locks, with the notable exception being Shikari. You’ll necessarily miss one of the Ninja Sword Licenses no matter what you do.
Remember to prioritize the end of the game over the start when choosing locks. The Licenses highlighted in yellow are recommended because of the extra functionality they bring. Magick, some technicks and late-game equipment are easily the most useful. Early or mid-game equipment might help right now, but will be dead weight once that gear becomes obsoleted. Spaces colored purple mean that there’s a Quickening that can unlock those Licenses as well. Something being double-Locked sounds worse, but it’s actually much preferable because you only need to open one of those Locks, and Quickenings are much easier to line up and don’t take anything away from another character.
| Job | Armor | Belias | Chaos | Zalera | Zeromus | Hashmal | Ultima | Exodus | Cúchulainn | Shemhazai | Adrammelech | Famfrit | Mateus | Zodiark | 50: Quickening | 75: Quickening | 100: Quickening | 125: Quickening |
|---|---|---|---|---|---|---|---|---|---|---|---|---|---|---|---|---|---|---|
|
Light |
x |
5 Magick Lores (30B, C, D) (50C, D) |
x |
x |
x |
Infuse, 1000 Needles |
x |
x |
Heavy Armor 10, 11, 12 |
x |
390, 435 HP |
x |
Infuse, 1000 Needles |
White Magick 4 |
x |
x |
x |
|
|
Mystic |
x |
x |
Steal, Poach |
Heavy Armor 9 |
Makara |
Telekinesis |
Heavy Armor 8 |
x |
Heavy Armor 7 |
Hand-bombs 2 |
190, 230, 310 HP |
Hand-bombs 3 |
x |
70 HP |
x |
x |
390 HP |
|
|
Mystic |
Libra |
Brawler |
Blood Sword, Karkata |
2 Magick Lores (100A, C) |
x |
Stamp |
500 HP |
Stamp |
Shield Block (25) |
Souleater |
x |
x |
Heavy Armor 9, 10 , 11 |
x |
350 HP, 50: Battle Lore (D) |
390 HP, 50: Battle Lore (C) |
435 HP |
|
|
Heavy |
Horology |
x |
Traveler |
4 Magick Lores (30A,B,C,D) |
Swiftness (50) |
Swiftness (80) |
4 Magick Lores (30A, B, C, D) |
Shades of Black |
x |
Battle Lore (70C) |
Magick Lore (50D) |
x |
x |
x |
x |
390 HP |
Battle Lore (100C) |
|
|
Heavy |
Potion Lore 1 |
390 HP, Revive, Excalipur |
x |
x |
White Magick 8,9 |
Telekinesis, Battle Lore (70C) |
350 HP |
Battle Lore (70A) |
Potion Lore 2 |
x |
x |
White Magick 6, 7 |
390 HP, Revive, Excalipur |
x |
x |
x |
390 HP, Revive, Excalipur |
|
|
Light |
x |
350 HP |
x |
Makara |
x |
3 Magick Lores (50B, C, D) |
Green Magick 1 |
Magick Lore (30C) |
Hand-bombs 3 |
x |
Time Magick 8, 9 ,10 |
x |
HP 390 |
x |
x |
x |
3 Magick Lores (50B, 50C, 50D) |
|
|
Light |
x |
White Magick 11, 12 |
Traveler |
Sight Unseeing |
White Magick 4 |
2 Swiftnesses (50, 80) |
Souleater |
x |
Potion Lore 3 |
x |
White Magick 10 |
x |
White Magick 13 |
x |
White Magick 9 |
x |
Phoenix Lore |
|
|
Mystic |
x |
Greatswords 3 |
x |
Channeling (80) |
Steal |
Greatswords 1, 2 |
Heavy Armor 8, 9, 10 |
Black Magick 9, 10 |
White Magick 7 |
x |
2 Battle Lores (30B, D) |
x |
Greatswords 4 |
White Magick 2 |
230 HP |
x |
435 HP |
|
|
Light |
x |
x |
435 HP |
x |
Bonecrusher |
2 Phoenix Lores (30, 50) |
Stamp |
White Magick 12 |
Guns 5, 6 |
Shades of Black |
x |
Gil Toss |
x |
Ninja Swords 1 |
Ninja Swords 2 |
Ninja Swords 3 |
Yagyu Darkblade & Mesa |
|
|
Heavy |
x |
270 HP |
Ether Lore 3 |
Addle, Shear |
Channeling (80) |
Swords 7, 8 |
Battle Lore (70D) |
x |
x |
White Magick 4 |
Battle Lore (70A) |
230 HP |
Swords 9 |
x |
150 HP |
x |
x |
|
|
Heavy |
x |
Black Magick 7, 8 |
x |
x |
Bonecrusher |
Expose |
x |
Wither |
x |
Battle Lore (100A) |
Potion Lore 3 |
2 Magick Lores (50C, D) |
x |
x |
x |
Black Magick 5, 6 |
x |
|
|
Mystic |
x |
310 HP, Greatswords 2 |
x |
270 HP |
x |
x |
Battle Lore |
Libra |
230 HP |
Souleater, Battle Lore (50C) |
Numerology, Daggers 5 |
x |
Greatswords 1 |
150 HP |
190 HP |
Battle Lore (50A) |
x |