
Final Fantasy XII: The Zodiac Age Guide Walkthrough Part 2
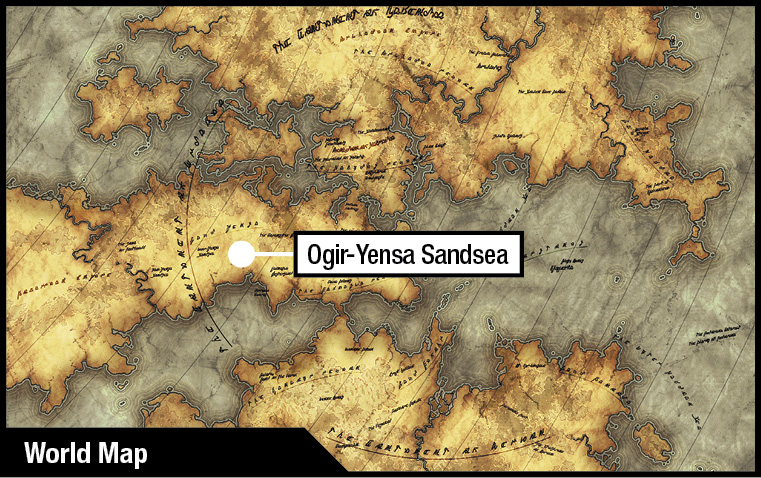
Ogir-Yensa Sandsea
OBJECTIVE
Find King Raithwall’s Tomb
Cross the great western sandseas to the Valley of the Dead, seeking the ancient tomb of the Dynast-King.
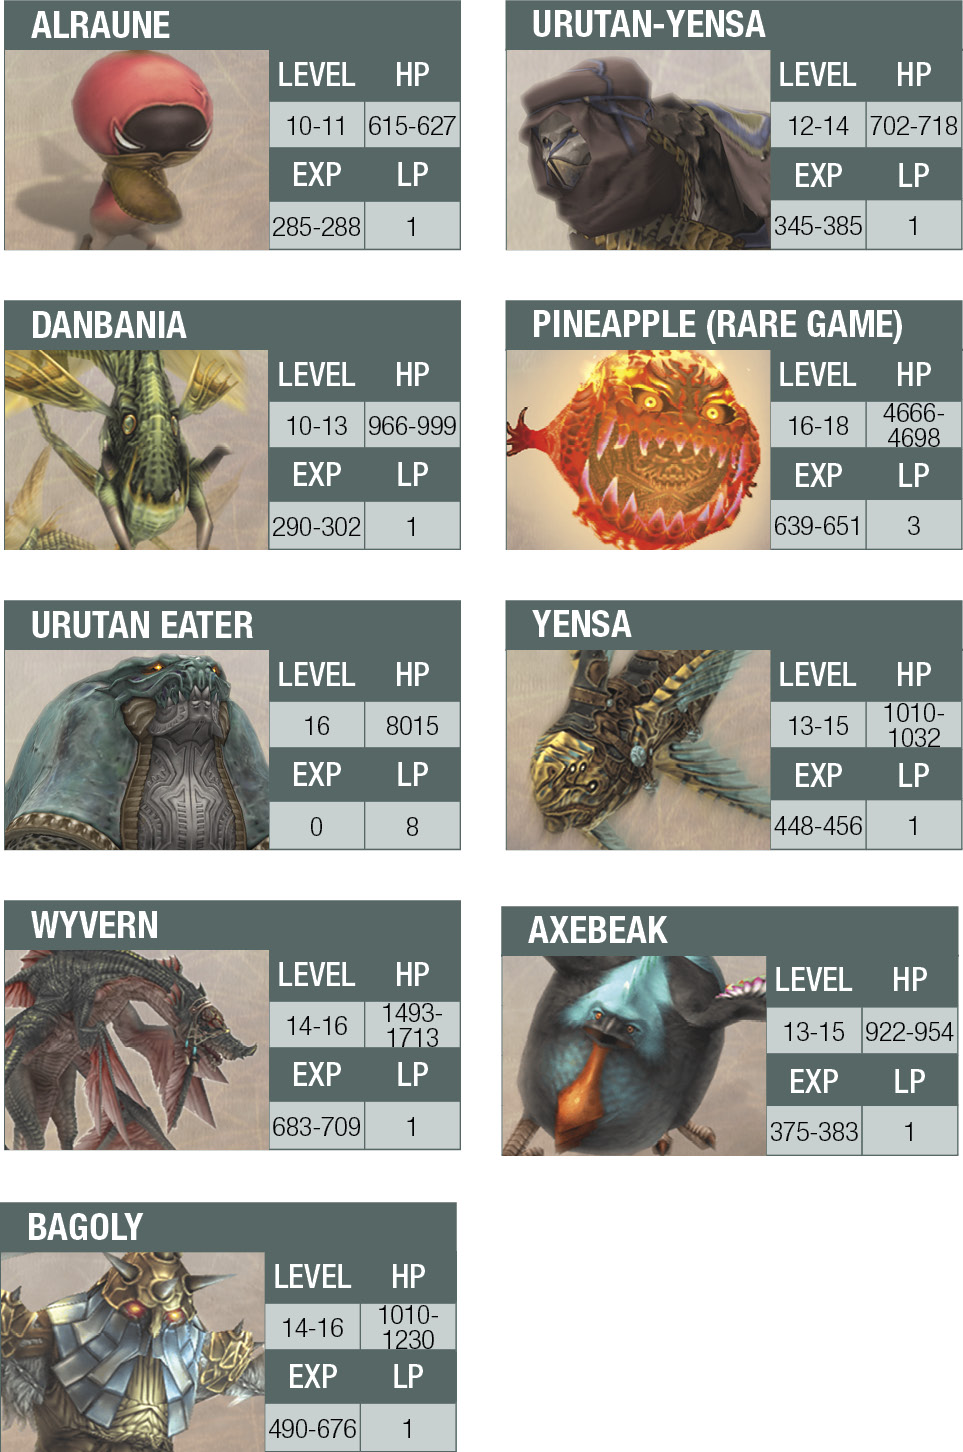
Action Checklist
This list is for both sandseas, the Ogir-Yensa and the Nam-Yensa.
1. Cross the Ogir-Yensa Sandsea.
2. Talk to the Sandsea moogle.
3. Defeat the giant tortoise and get the Eksir Berries reward.
4. Cross the Nam-Yensa Sandsea.
5. Enter the Tomb of Raithwall.
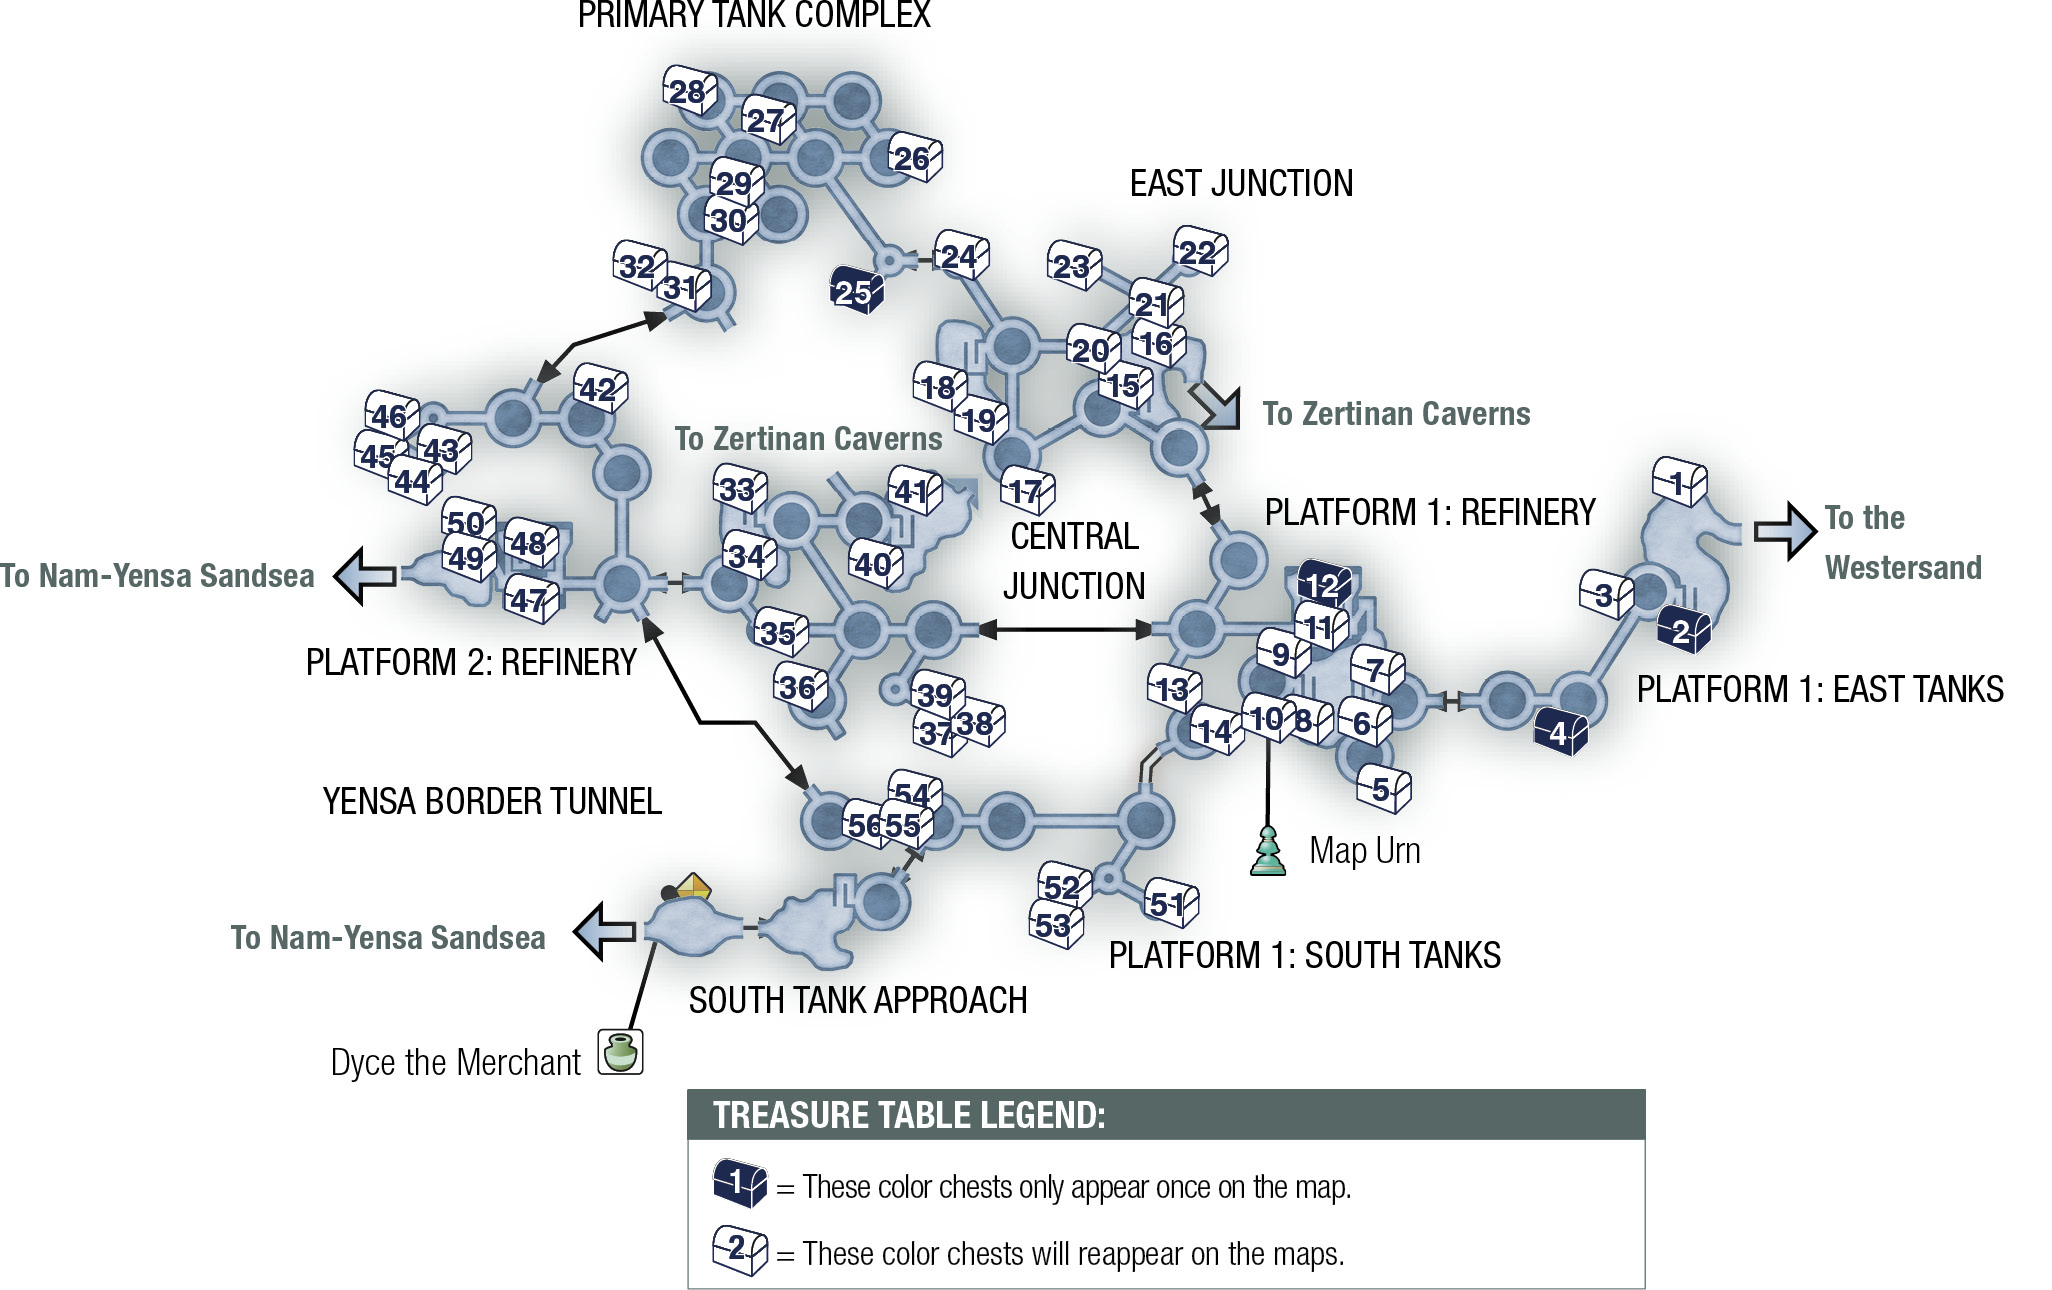
| Pop odds | If pop, Gil odds & Amt | Normal Loot | w/Diamond Armlet | ||||
|---|---|---|---|---|---|---|---|
|
# |
App. % |
Gil % |
Amt. if Gil |
50% |
50% |
90% |
10% |
|
1 |
75% |
~300 |
~300 |
Potion |
Bhuj |
Knot of Rust |
Meteorite (A) |
|
2 |
100% |
— |
— |
Infuse |
Infuse |
Infuse |
Infuse |
|
3 |
75% |
~300 |
~300 |
Ether |
Wizard’s Staff |
Knot of Rust |
Meteorite (B) |
|
4 |
100% |
— |
— |
Sleep |
Sleep |
Sleep |
Sleep |
|
5 |
75% |
35% |
~500 |
Hi-Ether |
Ancient Sword |
Knot of Rust |
Meteorite (B) |
|
6 |
75% |
35% |
~300 |
Potion |
Phoenix Down |
Knot of Rust |
Meteorite (A) |
|
7 |
75% |
35% |
~300 |
Chronos Tear |
Round Shield |
Knot of Rust |
Meteorite (A) |
|
8 |
75% |
35% |
~350 |
Potion |
Prince’s Kiss |
Knot of Rust |
Meteorite (A) |
|
9 |
75% |
35% |
~300 |
Potion |
Eye Drops |
Knot of Rust |
Meteorite (A) |
|
10 |
75% |
35% |
~600 |
Remedy |
Remedy |
Knot of Rust |
Meteorite (A) |
|
11 |
75% |
35% |
~300 |
Hi-Potion |
Windbreaker |
Knot of Rust |
Meteorite (A) |
|
12 |
100% |
0% |
— |
Golden Amulet |
Golden Amulet |
Golden Amulet |
Golden Amulet |
|
13 |
75% |
35% |
~300 |
Potion |
Killer Bow |
Knot of Rust |
Meteorite (A) |
|
14 |
75% |
35% |
~300 |
Gold Needle |
Wizard’s Hat |
Knot of Rust |
Meteorite (A) |
|
15 |
70% |
45% |
~300 |
Ether |
Chronos Tear |
Knot of Rust |
Meteorite (A) |
|
16 |
70% |
45% |
~300 |
Potion |
Phoenix Down |
Knot of Rust |
Meteorite (A) |
|
17 |
70% |
45% |
~300 |
Ether |
Barbut |
Knot of Rust |
Meteorite (B) |
|
18 |
70% |
45% |
~300 |
Potion |
Rime Fang |
Knot of Rust |
Meteorite (A) |
|
19 |
75% |
30% |
~400 |
Hi-Potion |
Chainmail |
Knot of Rust |
Meteorite (A) |
|
20 |
70% |
45% |
~300 |
Ether |
Kogarasumaru |
Knot of Rust |
Meteorite (A) |
|
21 |
70% |
45% |
~300 |
Potion |
Gold Needle |
Knot of Rust |
Meteorite (A) |
|
22 |
75% |
15% |
~600 |
Hi-Potion |
Warhammer |
Knot of Rust |
Meteorite (A) |
|
23 |
75% |
15% |
~600 |
Gravity Mote |
Healing Rod |
Knot of Rust |
Meteorite (A) |
|
24 |
70% |
45% |
~300 |
Potion |
Soleil Fang |
Knot of Rust |
Meteorite (A) |
|
25 |
100% |
0% |
— |
Reflect |
Reflect |
Reflect |
Reflect |
|
26 |
75% |
20% |
~320 |
Potion |
Echo Herbs |
Knot of Rust |
Meteorite (A) |
|
27 |
75% |
20% |
~320 |
Phoenix Down |
Musk Stick |
Knot of Rust |
Meteorite (A) |
|
28 |
75% |
30% |
~500 |
Remedy |
Sirius |
Knot of Rust |
Meteorite (B) |
|
29 |
75% |
20% |
~320 |
Antidote |
Wizard’s Robes |
Knot of Rust |
Meteorite (A) |
|
30 |
75% |
20% |
~320 |
Echo Herbs |
Hi-Potion |
Knot of Rust |
Meteorite (A) |
|
31 |
75% |
20% |
~320 |
Potion |
Hi-Potion |
Knot of Rust |
Meteorite (C) |
|
32 |
75% |
20% |
~320 |
Phoenix Down |
Linen Cuirass |
Knot of Rust |
Meteorite (A) |
|
33 |
80% |
50% |
~200 |
Chronos Tear |
Ether |
Knot of Rust |
Meteorite (A) |
|
34 |
80% |
50% |
~400 |
Potion |
Paramina Crossbow |
Knot of Rust |
Meteorite (A) |
|
35 |
80% |
50% |
~200 |
Potion |
Ether |
Knot of Rust |
Meteorite (A) |
|
36 |
80% |
50% |
~200 |
Hi-Potion |
Lambent Hat |
Knot of Rust |
Meteorite (A) |
|
37 |
80% |
40% |
~500 |
Hi-Potion |
Soldier’s Cap |
Knot of Rust |
Meteorite (A) |
|
38 |
80% |
40% |
~200 |
Potion |
Phoenix Down |
Knot of Rust |
Meteorite (A) |
|
39 |
80% |
50% |
~200 |
Phoenix Down |
Phoenix Down |
Knot of Rust |
Meteorite (A) |
|
40 |
80% |
50% |
~200 |
Lightning Fang |
Ether |
Knot of Rust |
Meteorite (B) |
|
41 |
80% |
50% |
~200 |
Potion |
Round Shield |
Knot of Rust |
Meteorite (A) |
|
42 |
75% |
30% |
~300 |
Potion |
Antidote |
Knot of Rust |
Meteorite (A) |
|
43 |
75% |
30% |
~300 |
Potion |
Phoenix Down |
Knot of Rust |
Meteorite (C) |
|
44 |
75% |
25% |
~300 |
Potion |
Golden Shield |
Knot of Rust |
Meteorite (A) |
|
45 |
75% |
30% |
~300 |
Potion |
Hi-Ether |
Knot of Rust |
Meteorite (A) |
|
46 |
75% |
25% |
~300 |
Potion |
Leather Gorget |
Knot of Rust |
Meteorite (A) |
|
47 |
75% |
30% |
~300 |
Potion |
Gold Needle |
Knot of Rust |
Meteorite (B) |
|
48 |
75% |
30% |
~300 |
Potion |
Potion |
Knot of Rust |
Meteorite (A) |
|
49 |
75% |
30% |
~300 |
Potion |
Nu Khai Sand |
Knot of Rust |
Meteorite (A) |
|
50 |
75% |
30% |
~300 |
Potion |
Handkerchief |
Knot of Rust |
Meteorite (A) |
|
51 |
75% |
40% |
~300 |
Hi-Potion |
Kogarasumaru |
Knot of Rust |
Meteorite (B) |
|
52 |
75% |
40% |
~280 |
Nu Khai Sand |
Bhuj |
Knot of Rust |
Meteorite (A) |
|
53 |
75% |
40% |
~290 |
Potion |
Gold Needle |
Knot of Rust |
Meteorite (A) |
|
54 |
75% |
40% |
~280 |
Hi-Potion |
Musk Stick |
Knot of Rust |
Meteorite (A) |
|
55 |
75% |
35% |
~150 |
Potion |
Lightning Fang |
Knot of Rust |
Meteorite (A) |
|
56 |
75% |
35% |
~180 |
Phoenix Down |
Antidote |
Knot of Rust |
Meteorite (A) |
Cross the Ogir-Yensa Sandsea
This section starts in the westernmost area of the Dalmasca Westersand. To the immediate east, across one zone line, you'll find a Dive Talon that's probably too strong for the party to take on straight-up, but not too strong to practice Quickening chains on, for EXP, LP, and loot. There's a Save Crystal right here to refill Mist Charges instantly. If you're holding off on assigning jobs and Quickenings until after the Tomb of Raithwall, skip Dive Talon grinding for now, but come back after events in the tomb; the teleport crystal offers easy access.
Farther east lays the rest of Dalmasca Westersand leading to Rabanastre (for this region's treasure map, check the Side Quests chapter under the Earth Tyrant mission).
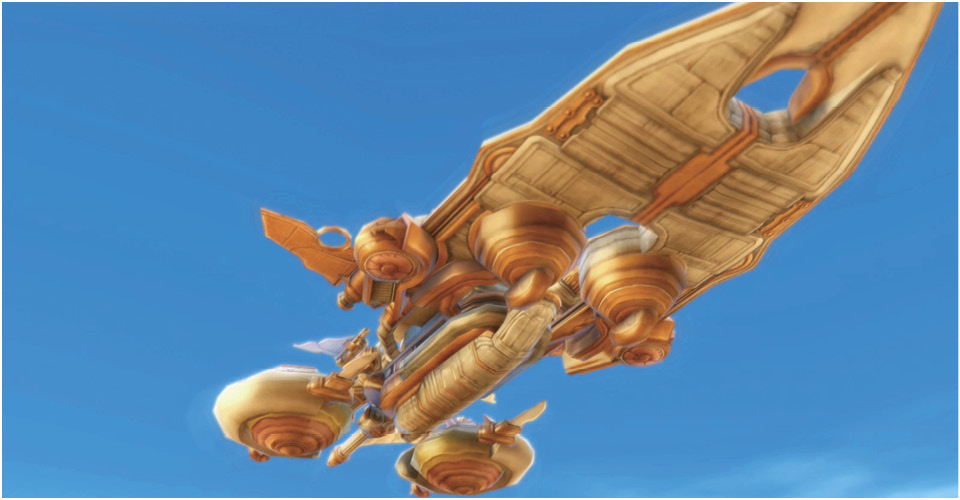
The way forward, though, is west, leading out of Dalmasca Westersand, heading into the vast sandseas. Balthier has shrouded the Strahl in the sky above the desert; the airship can fly no further west because its skystone-powered engines cannot function in the “jagd” in that direction. The party sets off across the sands to seek the tomb of Raithwall, the Dynast-King.
So now the party must trek across the great western sandseas. Actually, they’ll be trekking above the sandseas; as the brief event implies, you can’t walk directly on a sandsea, since its composition is a bizarre granulated liquid. To cross the Ogir-Yensa, and the Nam-Yensa after that, you must use a series of platforms and ramps.
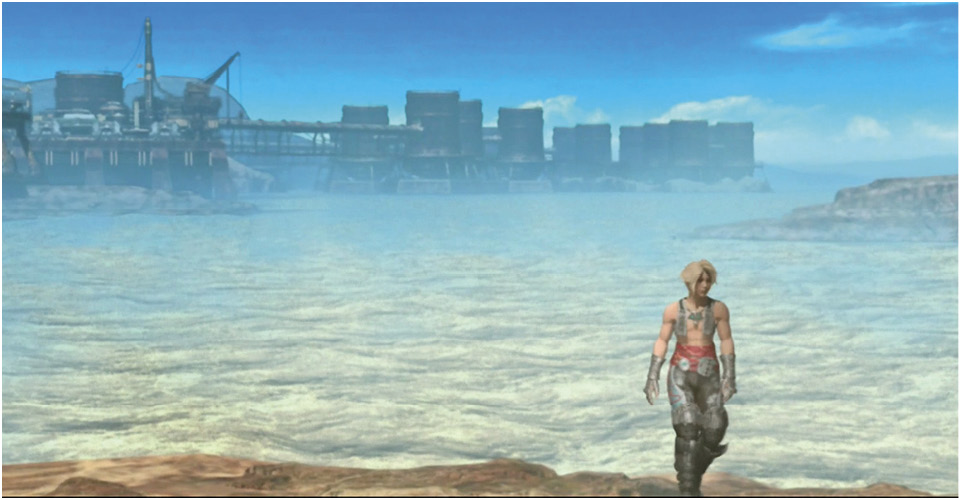
Climb the first ramp and fight through the Alraune while moving across the catwalks of the first three storage tanks. Continue to the next section to trigger an event.
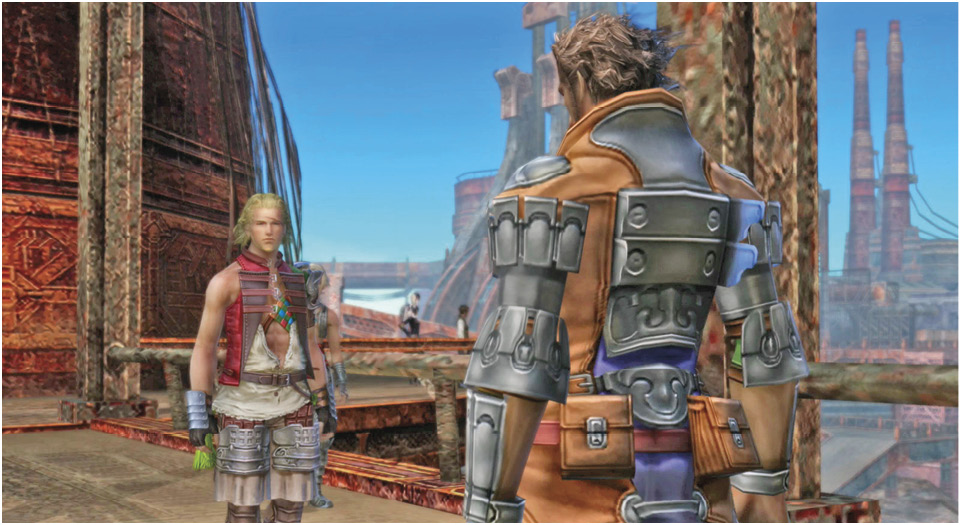
Meanwhile, Fran has some bad premonitions about this place. This is Urutan-Yensa territory and your party has drawn their attention. Better get moving!
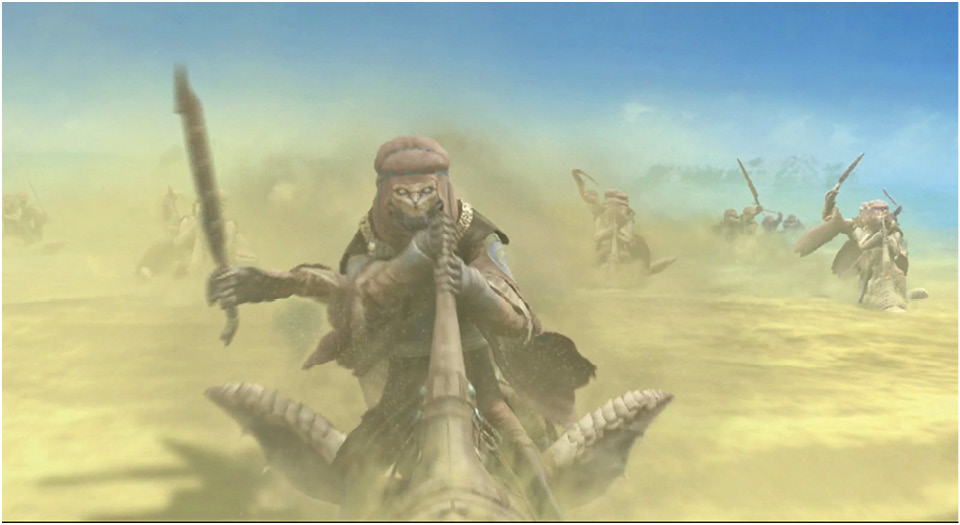
Vossler joins your party as a guest. Move around the first tower of the Platform 1 - Refinery and down the ramp to the sand, where the first group of Urutan-Yensa await. The Urutan-Yensa are weak against the Wind element, so if anyone in your party has a Wind-enhanced weapon, get that character out front.
These foes occasionally cast Haste on themselves, too, so if you have Slow in your magick arsenal, use it to counteract.
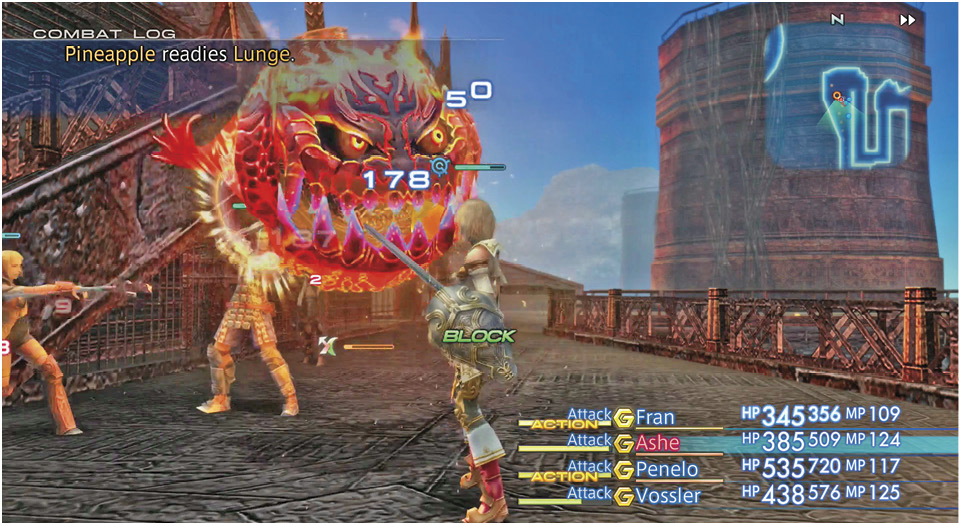
Climb the ramp up the tower to the west. On the south side of that tower locate a Map Urn containing a full map of the Ogir-Yensa Sandsea. Next, go back down to ground level and head for the northern ramp that leads up to the huge refinery structure.
Proceed across the refinery; on the far side you have a choice of three directions, so take your pick. Each one eventually takes you to where you want to go, the Nam-Yensa Sandsea. For this story walkthrough, let’s exit from the southernmost exit, heading to the South Tanks of Platform 1.
Head down the spur extending southwest from the South Tanks to find some treasure, then fight to the west through the Urutan-Yensa along the main platform to the fourth and final tank. Exit northwest to the Platform 2 - Refinery area.
You can follow the north spur past three tanks to find a lot of treasure at the end of the platform. Or, you can take the west spur through the refinery and descend the ramp to the ground on the west side. Then head west into the tunnel to reach the Sandscale Bank of the next region you must cross, the Nam-Yensa Sandsea.