
Final Fantasy XII: The Zodiac Age Guide Walkthrough Part 4
First Ascent: Horizon of First
OBJECTIVE
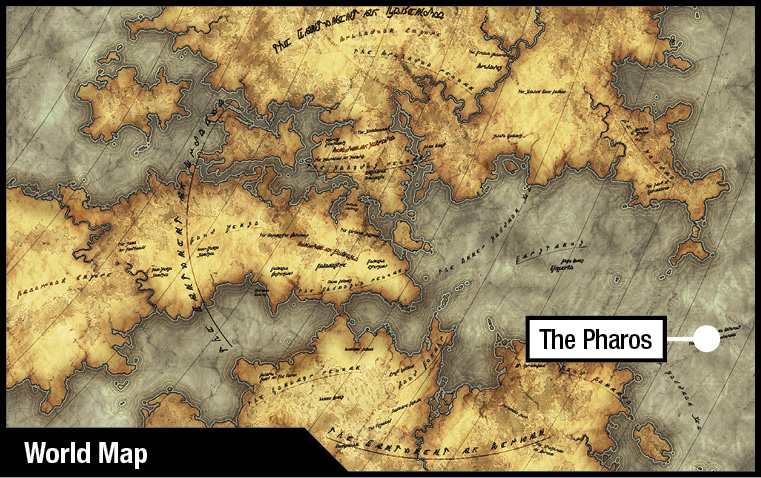
Seek the Sun-Cryst Atop the Pharos at Ridorana
Travel up all three ascents of the Pharos lighthouse to find the Sun-Cryst.
Action Checklist
1. Defeat Hydro.
2. Collect three Black Orbs from vanquished enemies.
3. Place an orb on each of the three altars on Floor 01 to open an exit door.
4. Defeat Pandaemonium to activate the Way Stone.
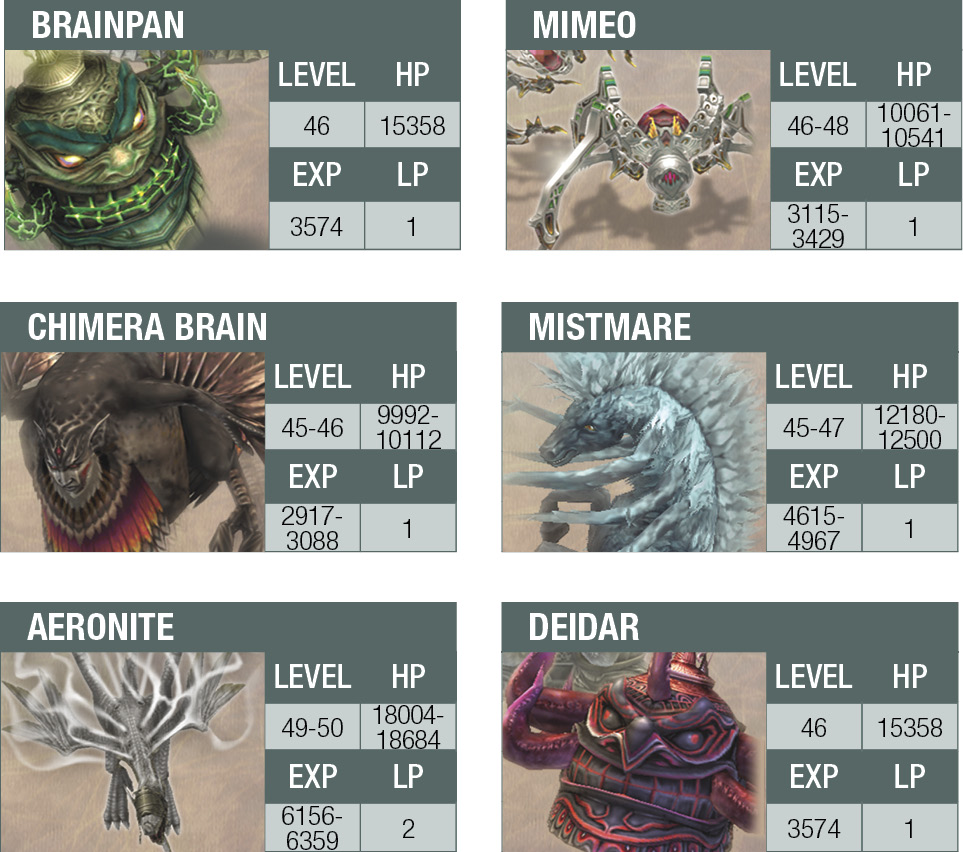
5. Teleport to the new area and defeat Brainpans to activate bridges and advance.
6. Defeat Slyt and teleport to the Second Ascent.
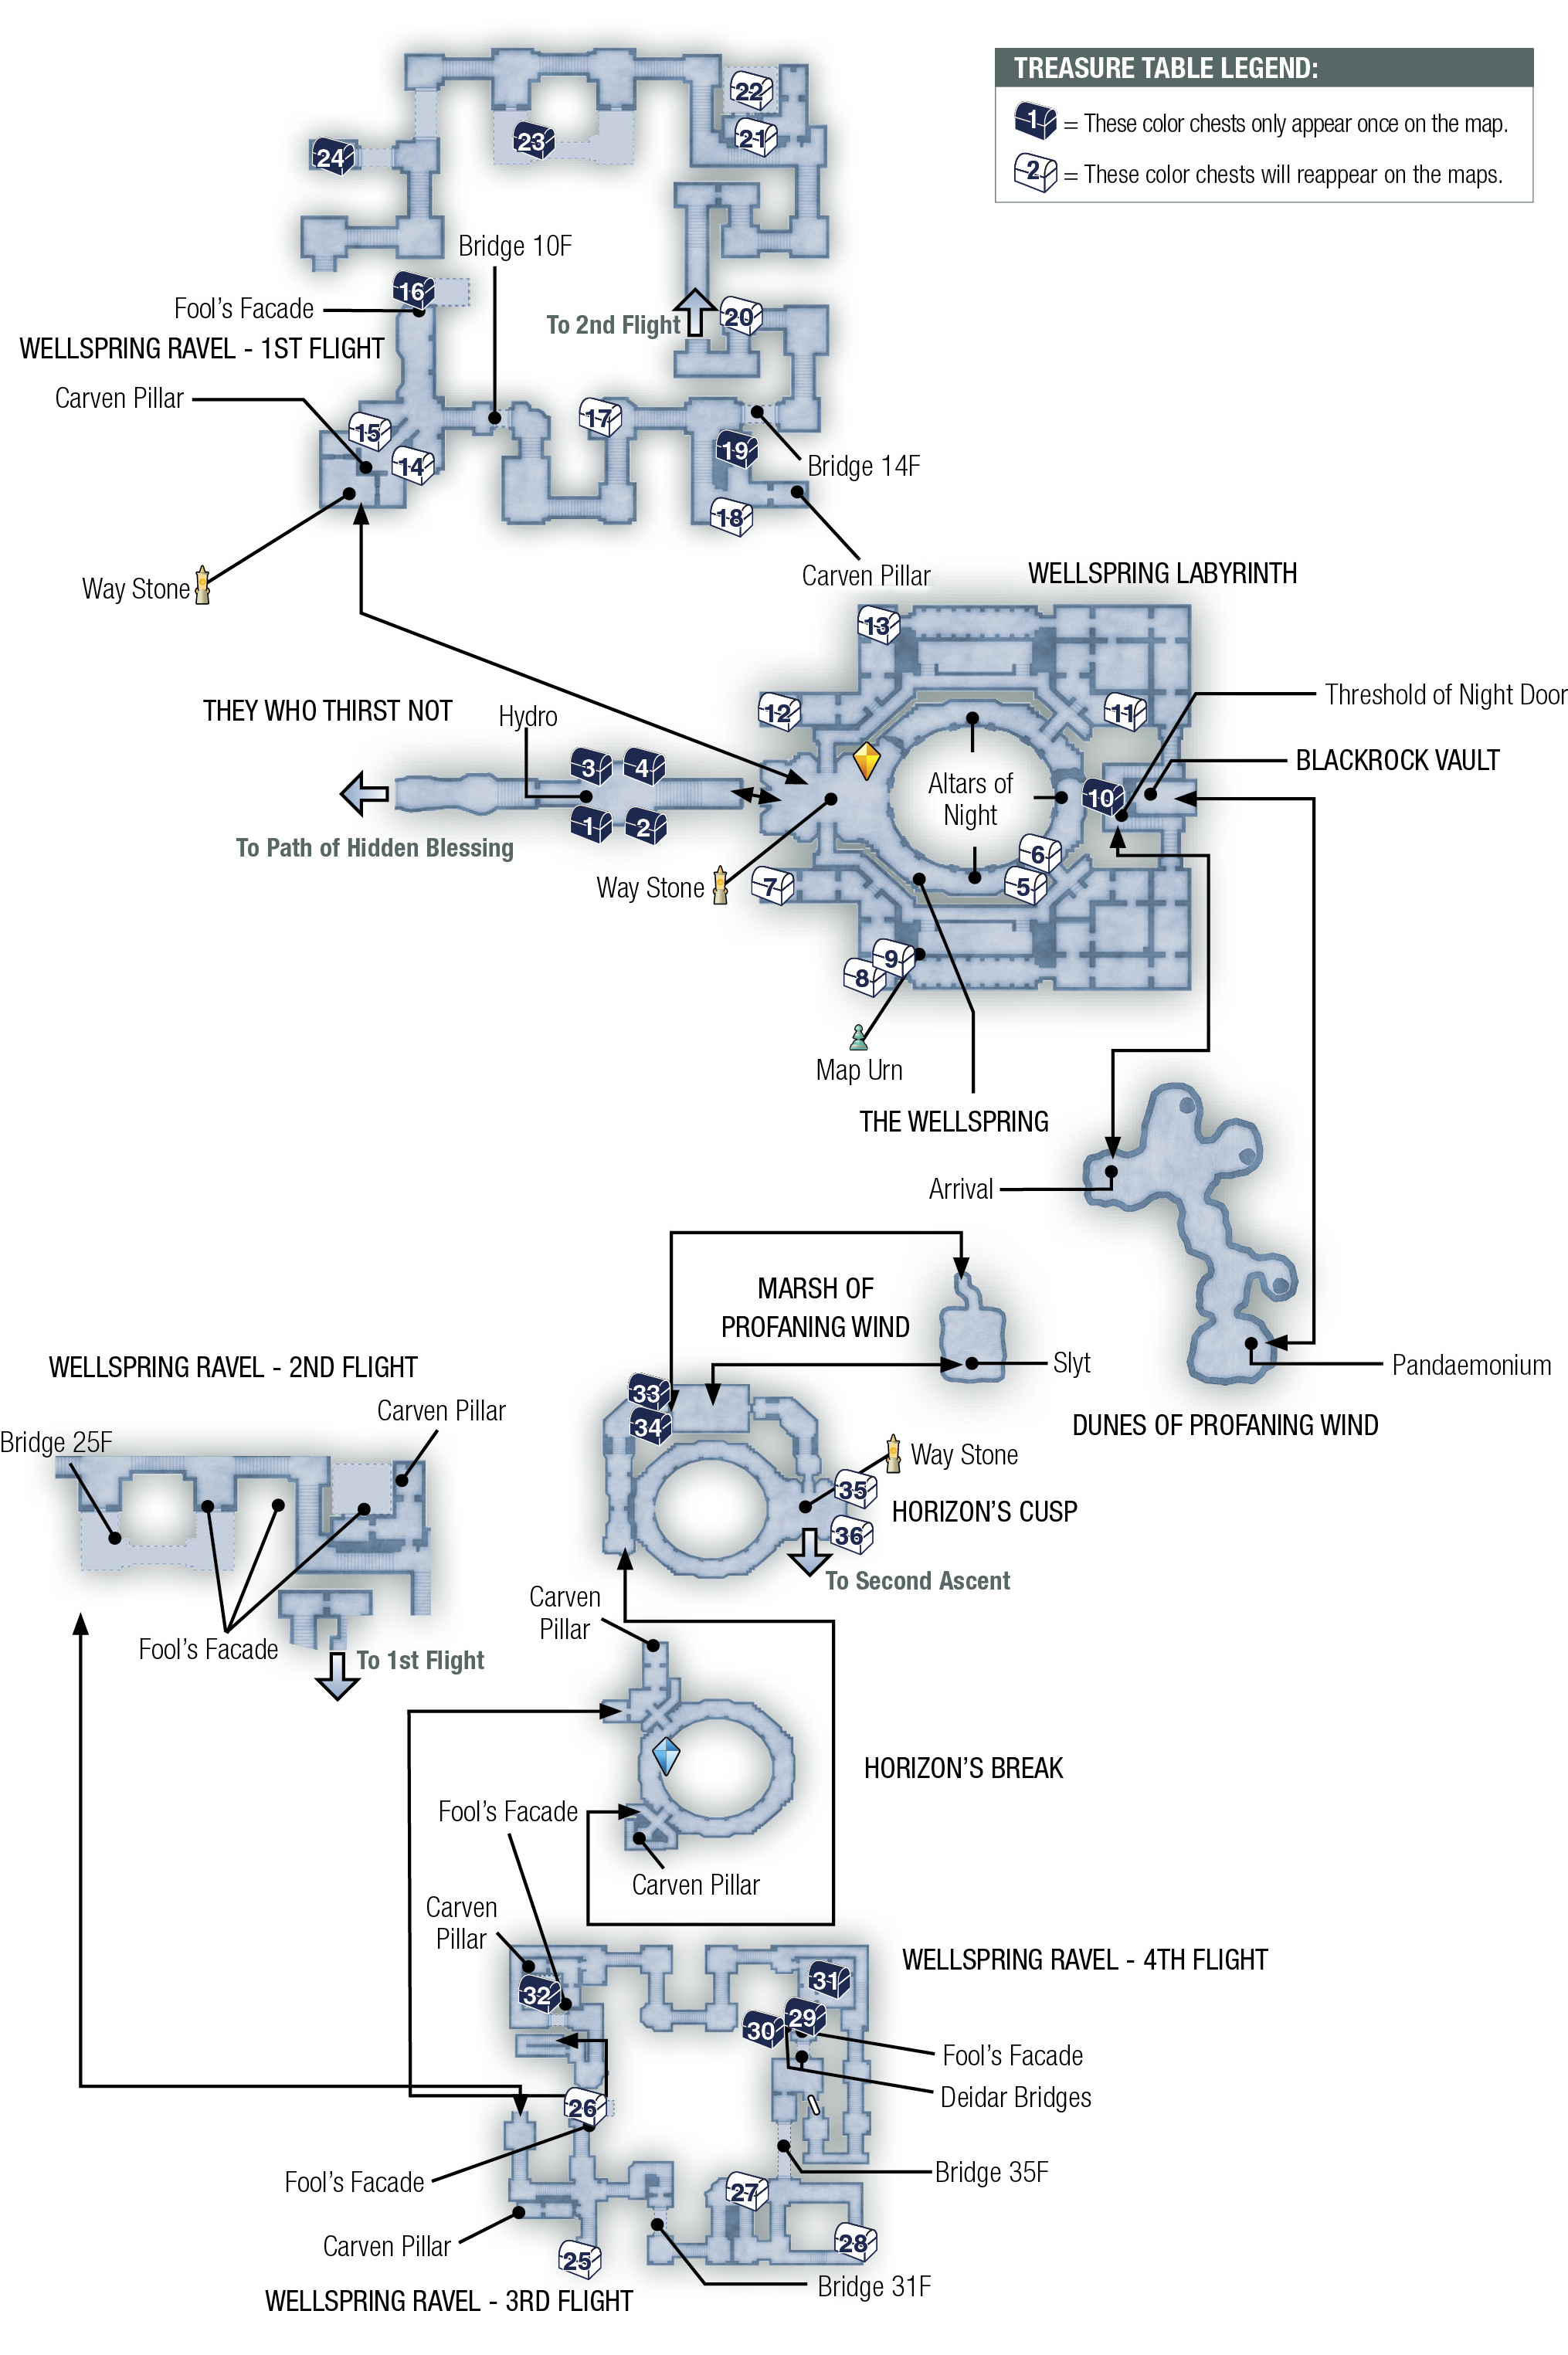
| Pop odds | If pop, Gil odds & Amt | Normal Loot | w/Diamond Armlet | ||||
|---|---|---|---|---|---|---|---|
|
# |
App. % |
Gil % |
Amt. if Gil |
50% |
50% |
95% |
5% |
|
1 |
25% |
0% |
— |
Berserker Bracers |
Berserker Bracers |
Berserker Bracers |
Berserker Bracers |
|
2 |
75% |
0% |
— |
Cura Mote |
Cura Mote |
Cura Mote |
Cura Mote |
|
3 |
100% |
0% |
— |
Ruby Ring |
Ruby Ring |
Ruby Ring |
Ruby Ring |
|
4 |
75% |
0% |
— |
Bubble Mote |
Bubble Mote |
Bubble Mote |
Bubble Mote |
|
5 |
30% |
50% |
~500 |
X-Potion |
Serum |
Knot of Rust |
Meteorite (A) |
|
6 |
30% |
50% |
~500 |
X-Potion |
Hi-Ether |
Knot of Rust |
Meteorite (B) |
|
7 |
75% |
40% |
~500 |
Hi-Potion |
Gravity Mote |
Knot of Rust |
Meteorite (A) |
|
8 |
75% |
40% |
~500 |
Hi-Potion |
Bio Mote |
Knot of Rust |
Meteorite (A) |
|
9 |
75% |
40% |
~500 |
X-Potion |
Argle Armlet |
Knot of Rust |
Meteorite (A) |
|
10 |
100% |
0% |
— |
Hermes Sandals |
Hermes Sandals |
Hermes Sandals |
Hermes Sandals |
|
11 |
75% |
40% |
~500 |
X-Potion |
Remedy |
Knot of Rust |
Meteorite (B) |
|
12 |
75% |
40% |
~500 |
Hi-Ether |
Magick Gloves |
Knot of Rust |
Meteorite (A) |
|
13 |
75% |
40% |
~500 |
Hi-Potion |
Serum |
Knot of Rust |
Meteorite (A) |
|
14 |
75% |
40% |
~500 |
X-Potion |
Dispel Mote |
Knot of Rust |
Meteorite (A) |
|
15 |
75% |
40% |
~500 |
X-Potion |
Bio Mote |
Knot of Rust |
Meteorite (A) |
|
16 |
100% |
0% |
— |
Demon Shield |
Demon Shield |
DemonShield |
Demon Shield |
|
17 |
75% |
40% |
~500 |
Hi-Potion |
Leather Gorget |
Knot of Rust |
Meteorite (A) |
|
18 |
75% |
40% |
~500 |
X-Potion |
Balance Mote |
Knot of Rust |
Meteorite (B) |
|
19 |
100% |
0% |
— |
Dragon Helm |
Dragon Helm |
Dragon Helm |
Dragon Helm |
|
20 |
75% |
40% |
~500 |
Hi-Potion |
Phoenix Down |
Knot of Rust |
Meteorite (A) |
|
21 |
80% |
40% |
~500 |
Hi-Potion |
Cura Mote |
Knot of Rust |
Meteorite (B) |
|
22 |
80% |
40% |
~500 |
X-Potion |
Aeroga Mote |
Knot of Rust |
Meteorite (B) |
|
23 |
100% |
0% |
— |
Chaperon |
Chaperon |
Chaperon |
Chaperon |
|
24 |
100% |
0% |
— |
Perseus Bow |
Perseus Bow |
Perseus Bow |
Perseus Bow |
|
25 |
80% |
40% |
~500 |
X-Potion |
Vanishga Mote |
Knot of Rust |
Meteorite (A) |
|
26 |
80% |
40% |
~500 |
X-Potion |
Power Armlet |
Knot of Rust |
Meteorite (A) |
|
27 |
80% |
40% |
~500 |
Hi-Potion |
Bangle |
Knot of Rust |
Meteorite (A) |
|
28 |
80% |
40% |
~500 |
X-Potion |
Remedy |
Knot of Rust |
Meteorite (B) |
|
29 |
100% |
0% |
— |
Gungnir |
Gungnir |
Gungnir |
Gungnir |
|
30 |
100% |
0% |
— |
Holy |
Holy |
Holy |
Holy |
|
31 |
100% |
0% |
— |
Scathe Mote |
Scathe Mote |
Scathe Mote |
Scathe Mote |
|
32 |
100% |
0% |
— |
Elixir |
Elixir |
Elixir |
Elixir |
|
33 |
100% |
0% |
— |
Reflectga Mote |
Reflectga Mote |
Reflectga Mote |
Reflectga Mote |
|
34 |
100% |
0% |
— |
Black Mask |
Black Mask |
Black Mask |
Black Mask |
|
35 |
100% |
60% |
~100 |
X-Potion |
Hi-Potion |
Knot of Rust |
Meteorite (A) |
|
36 |
100% |
60% |
~100 |
X-Potion |
Hi-Potion |
Knot of Rust |
Meteorite (B) |
Defeat the Lighthouse Guardian
You know this area is tough when the first thing the party encounters is a boss! Climb the stairs and stop. Before you step forward into the entry hall to meet Hydro, cast Haste and Protect on everyone in your party, and consider adjusting your gambits to switch all healing and status removal from magick to items. Check out the boss section that follows to see why.
Hydro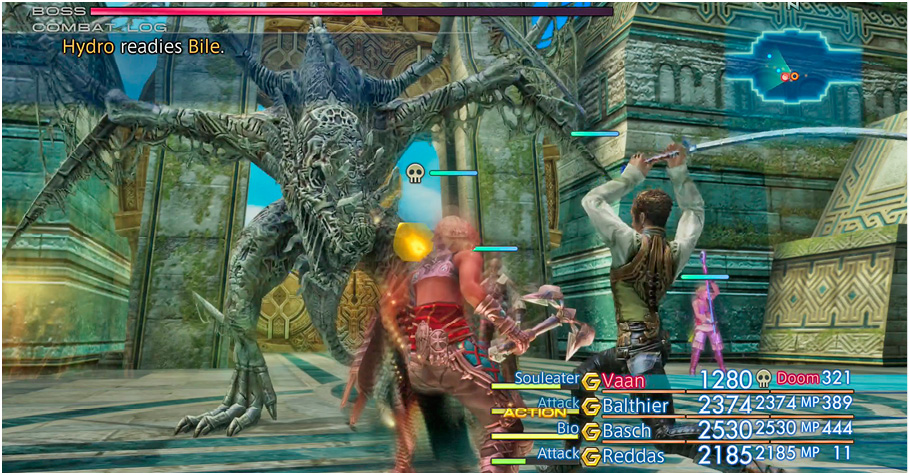
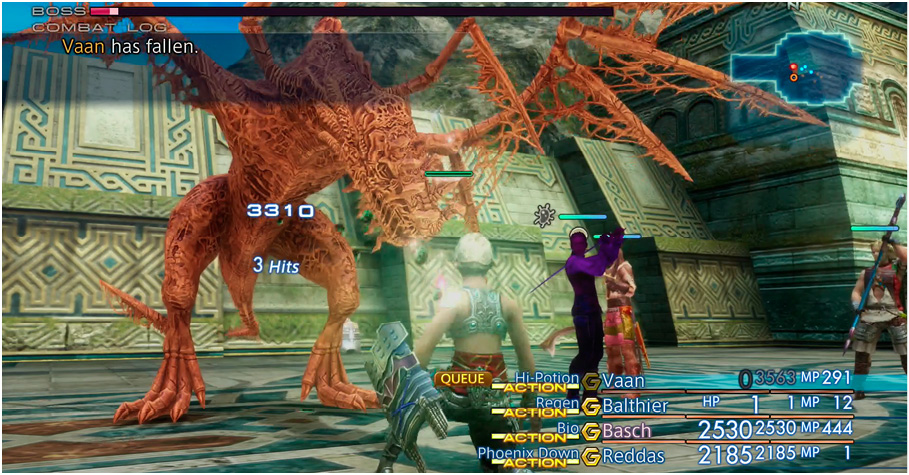
Hydro is a classic brawler that has two particularly tough aspects to his attack. First, it likes to hit with some status ailments that are problematic if you’re not prepared. Second, Hydro casts a powerful area magick called Fearga that can completely drain your characters’ MP. Note that Fearga has a relatively small range. To counteract it, you can fight Hydro with a party using only ranged weapons, causing your characters to spread out naturally or manually keep at least one member at a good distance away from the others. One obvious tactic if your healers have no MP is to switch in new healers. Make sure you have a Doom-related gambit in place too; that is, one that uses a Remedy if a character is afflicted with Doom. Make sure your characters with Remedy gambits have the Remedy 3 license, so their Remedies cure Doom. If Hydro hits with Sap, use a Regen spell to counter it. If your characters’ MP gets drained, keep moving and using the Charge technick or Syphon MP from other characters. If you have the Inquisitor and Martyr licenses, you also gain MP simply by inflicting/receiving damage. After setting up your gambits, wade into battle. Immediately cast Dispel on Hydro and follow up with Slow. After you've whittled Hydro's HP to half or less, you might consider unleashing Quickening chains. If the full team is standing, your A-team can start off with a Quickening chain into Concurrence, then you can swap to your B-team right away and chain again. Hydro is particularly nasty and fast in its last throes, so it’s nice to bypass that phase of the fight by hitting the boss with Quickenings. |

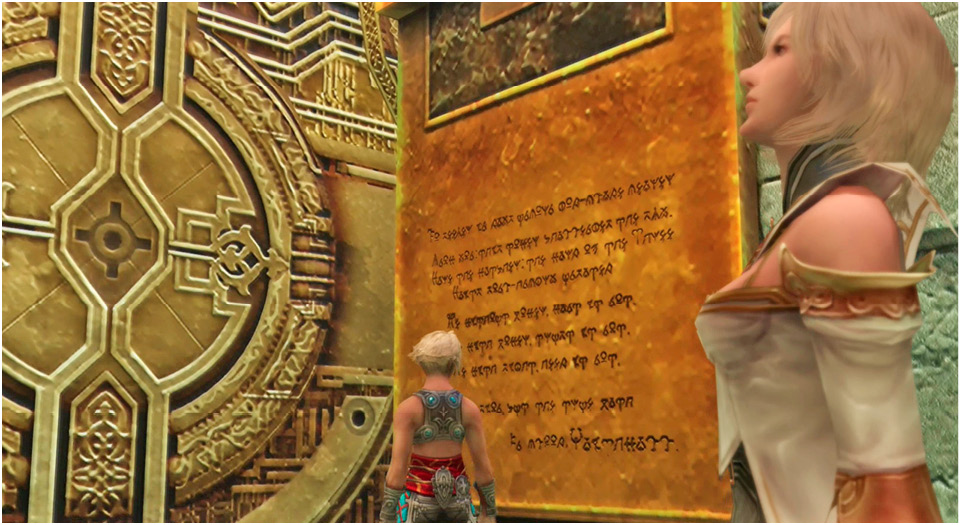
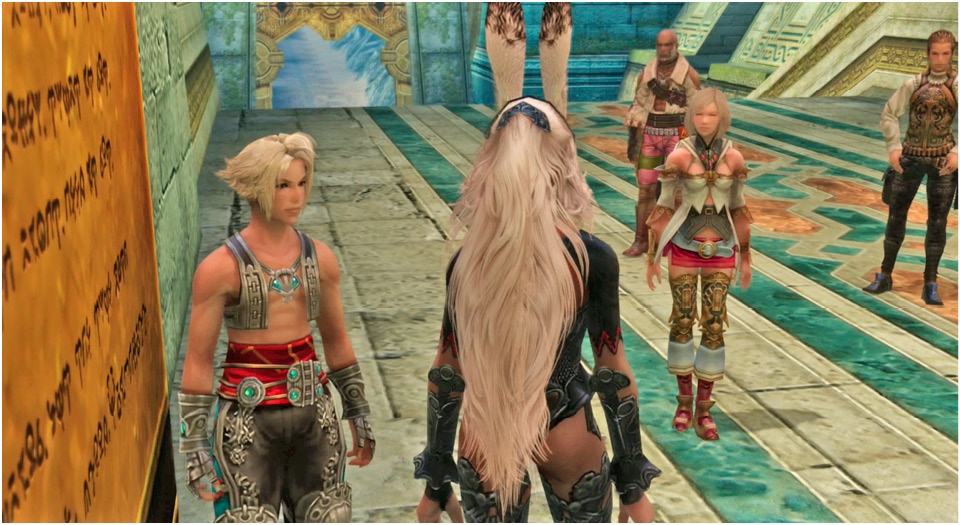
After the fight, move forward to the massive gate to trigger an event in which Fran translates an ancient message carved on the nearby wall. It seems to be a message from the Dynast-King to his heir. Sure enough, as Ashe steps forward, the gate opens wide for the party.
Open the First Seal
When you regain control, the party is on the lighthouse’s first floor (note the “01F” under the Mini-Map) in an area called The Wellspring. This is a circular corridor that wraps around a huge, mist-filled central chamber. The Wellspring corridor is divided into three arcs. There is a large stone pedestal called an Altar of Night in each arc.
You can’t use the Way Stone here yet, so go left to the teleport Save Crystal and save your game. After doing so, follow the Wellspring’s curving walkway to find the Altar of Night that faces south. Read it to learn that Pharos beasts “oft possess black orbs.” To move above Floor 01 you must do the following:
1. Defeat foes.
2. Pick up three Black Orbs that some fallen foes leave behind.
3. Place one Black Orb on each of the three Altars of Night.
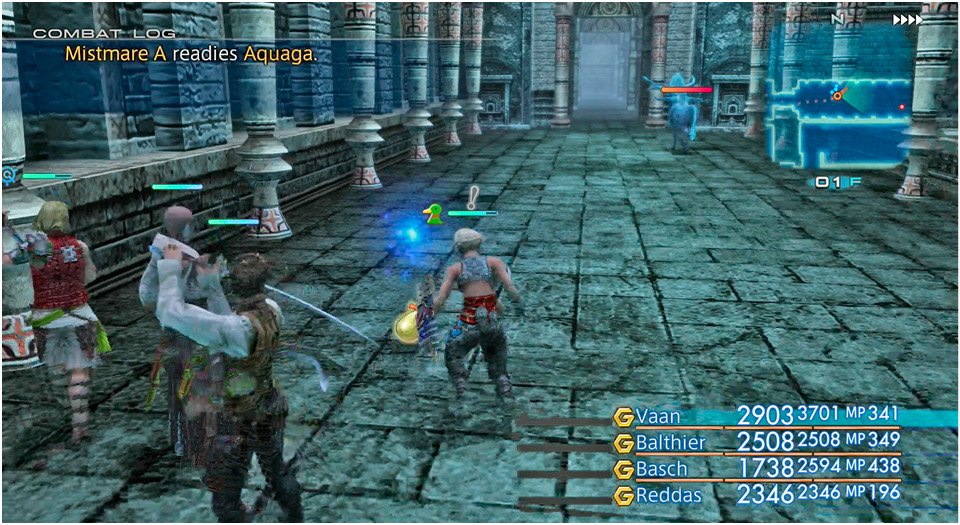
Altar of Night: South
Exit the Wellspring via the south passage (directly south of the Way Stone) into the Wellspring Labyrinth. Use the maps in this section to navigate the maze east, south, then back west along the southernmost corridor to find the Map Urn of the entire First Ascent area.
Along the way, fight enemies and look for a glowing orb hovering in the air after each foe falls. If you see one, walk into it until the words “Black Orb” appear, then press the  button to pick it up. Hurry though, as these orbs only stick around for a few seconds.
Keep felling foes in the southern half of the Wellspring Labyrinth until you obtain three Black Orbs. Now you can focus on reaching the altars. Return to the Altar of Night and use an orb on the altar to break the magicked seal. One down, two to go!
Altar of Night: East
As before, exit the Wellspring via the south passage into the Labyrinth. Follow the innermost corridor to the east until you can exit left, back into the Wellspring. This time, though, you step into the eastern arc of the Wellspring. Turn right and approach the Altar of Night, then place a Black Orb to break the second seal. (If you don’t have another Black Orb, then KO some foes until you acquire one.)
Altar of Night: North
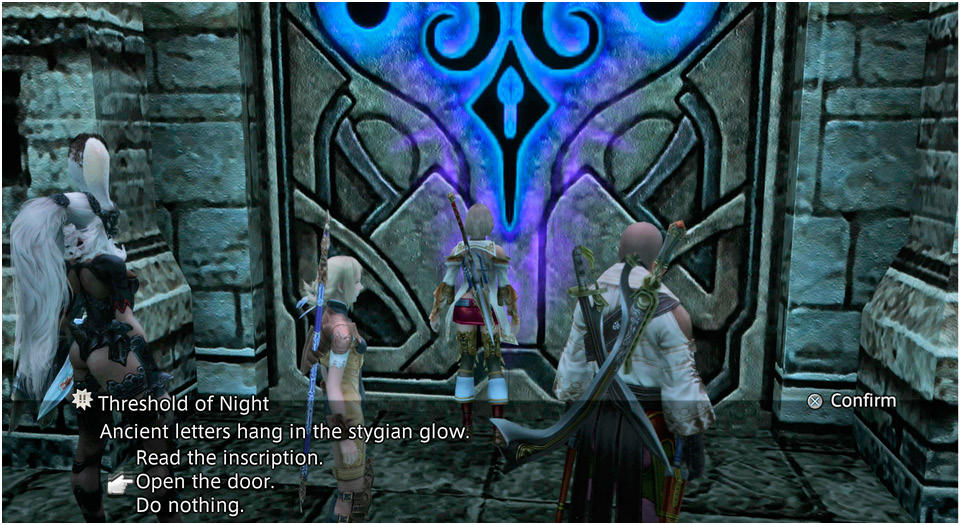
Now return to the Wellspring Labyrinth. Work your way around the maze to the stairs that connect to the northern half of the labyrinth. At the top, notice the glowing blue door called the Threshold of Night. The magickal seals that you’re breaking at the Altars of Night are what bind this door shut. You’ll return to this area shortly.
For now, continue downstairs into the northern Labyrinth and navigate (and fight) to the inner corridor. Exit into the northern arc of the Wellspring and place a Black Orb on the third and final Altar of Night. This breaks the third seal and the message “the Seal of Night loses its power” appears on-screen.
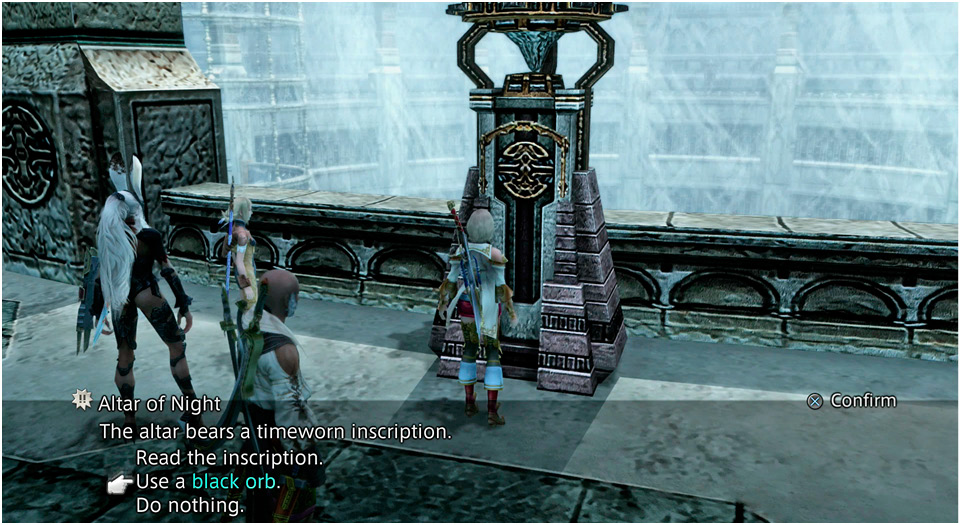
The Seal of Night was the magickal seal binding the Threshold of Night door back on the stairs. If you check the Area Map, you will see a flashing icon over that door’s location. Navigate back to the Threshold of Night and go through it to reach… a desert?
Meet the First Watcher
This odd reality is referred to as the Dune of Profaning Wind, and it doesn’t appear on the Area Map. Four gray boulders rest in alcoves amongst the sand dunes and darker cliffs. When you try to approach the first three boulders, the party gets sent right back to the bottom. Climb the hill to the topmost “boulder”, which turns out to be a giant stone tortoise named Pandaemonium.
Pandaemonium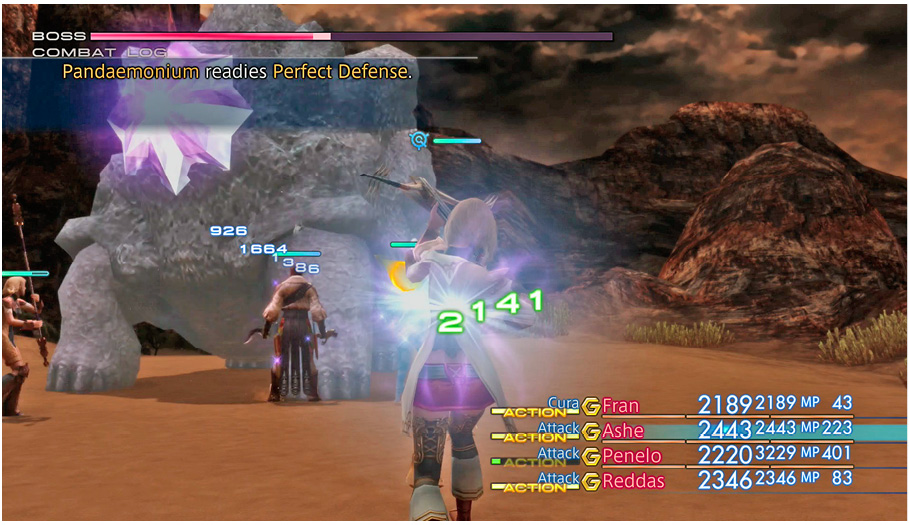
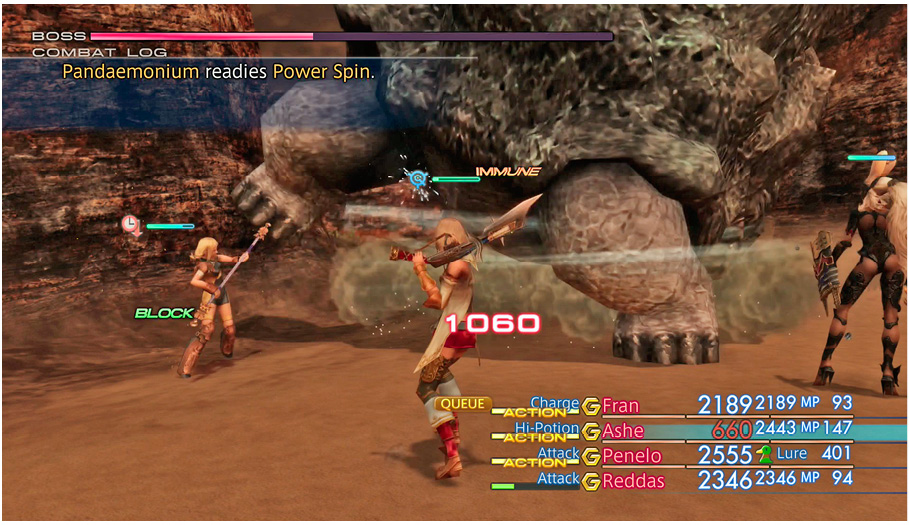
Start by casting Dispel to eliminate the boss’s Shell and Protect magick, then start hammering away with your strongest melee fighters. Have a support ally cast Haste and Protect on your attackers, and prepare to remove status effects with Esuna. Pandaemonium is weak against Wind magick, so cast Aeroga if it’s in your spell arsenal. When Pandaemonium’s HP hits the halfway mark, it casts an impenetrable shield around itself with a “Perfect Defense” spell. There’s not much you can do except wait it out. Keep everyone healed, and counter the status ailments (Blind, Petrify) that the big tortoise zaps at the party. Don’t waste MP trying to hit the boss with magick, as it’s immune to every kind of attack. Just be patient; the shield fades after about a minute, at which time you can get back to punishing Pandaemonium. |

After the victory, the party automatically teleports into Blackrock Vault, the small room behind the Threshold of Night door. Exit the vault and return to the Save Crystal in the Wellspring. Next, use the now-active Way Stone to teleport to a new area.
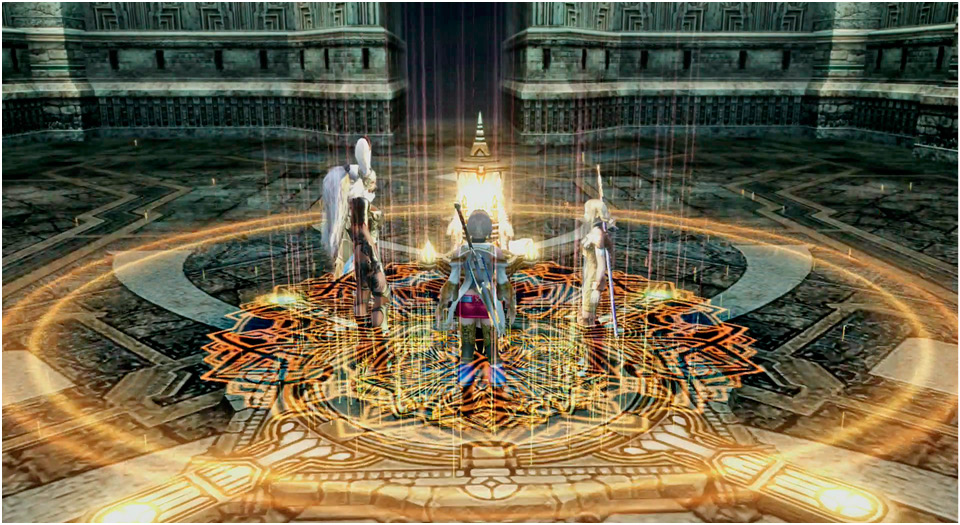
Wellspring Ravel: 1st Flight
10F Bridge
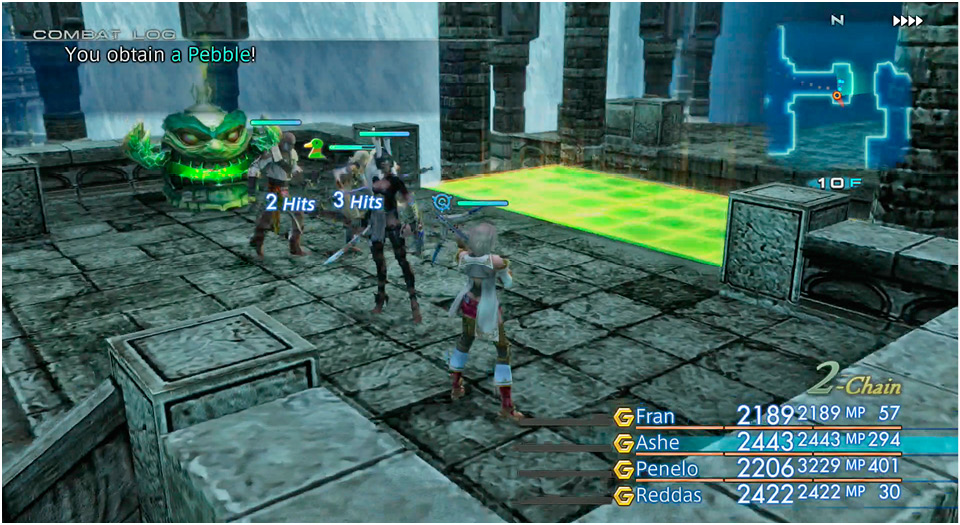
Go through either of the green, glowing ancient doors and head around the corner to find the Carven Pillar. Read its inscription to learn that the “tongue of stone’s green flame your way bespeaks” and “once silenced… its muted form a bridge for you to tread.” Broken down, this phrase means that you must hit the green-flame foes to activate bridge mechanisms. (Just kidding: This will become clearer in a minute.) Unfortunately, some flying foes called Aeronites flutter up ahead. Hit them with Telekinesis, black magick, spears, and ranged weapons.
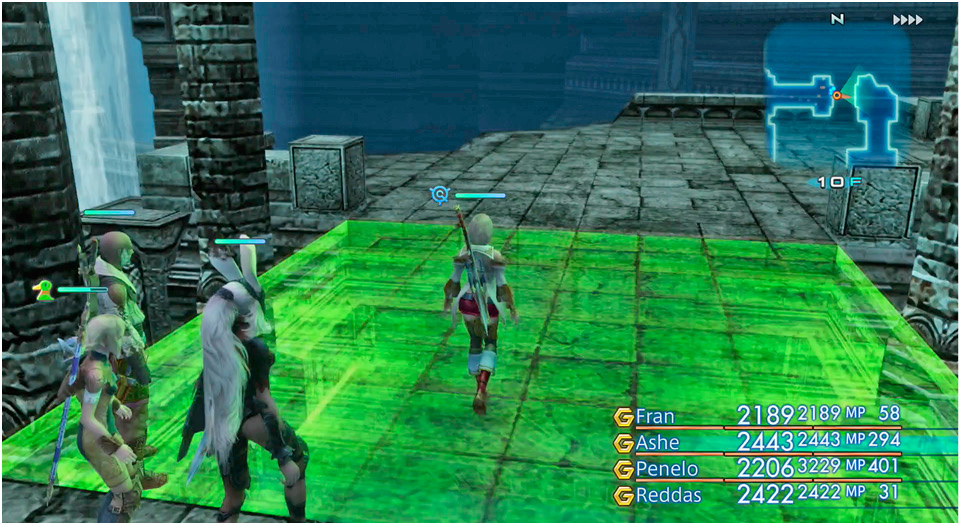
Now climb the stairs to the high platform where two Brainpans spout green flames. After destroying each Brainpan, a section of bridge drops into place just to the east. Cross it and climb upstairs to the next floors.
14F Bridge
Now you must knock out four more Brainpans to drop in all four sections of the next bridge. One Brainpan is on 12F, another is on 14F (where the bridge is located), and there are two of them on 15F—one in an alcove and one in a back room. Cross the newly formed bridge on 14F, then climb up to 17F.
Wellspring Ravel: 2nd Flight
25F Bridge
From 17F, keep climbing and searching for Brainpans. You need six more to form the next bridge, which is on 25F. There are two Brainpans on 20F; one of them is in a back room with another Fool’s Facade that you can smash through for a treasure chest. Another Brainpan is on the 21F landing. There is another Fool’s Facade on 23F, leading to a staircase that runs up to 24F, where you can bash through another wall that leads back onto the main path. The last three Brainpans are clustered together on 25F near the bridge. Nail them and cross the now-finished bridge, then climb up to 28F to enter a new area.
Wellspring Ravel: 3rd Flight
31F Bridge
You need five Brainpans for the next bridge. Two of them are on the 29F landing, while another one is on 30F behind an ancient door. Read the Carven Pillar there to learn that “the red flame consumes the green, sundering the stair which it has laid.” Translation: Don’t strike a red-flame guy, called a Deidar, when you have a bridge in progress ahead! If you do, a section of unfinished bridge will actually disappear.
The first Deidar appears on 31F, sitting not far from the next bridge crossing. Press the R2 button and run past it through the portal to find two Brainpans on the other side. Defeat them, then cross the bridge and keep climbing.
35F Bridge
The next bridge calls for the slaughter of 10 more Brainpans. Remember to leave the red Deidars alone! The first Brainpan is on the 32F landing. Two more sit on 34F, while three more are on 35F. Be careful, though, as a Deidar sits not far from the trio of Brainpans on 35F.
Now descend from 35F to find that the duo on 34F has respawned! That makes eight of them. If you do KO a Deidar by accident, look around for some more Brainpans, as they will randomly respawn if the bridge is not finished. Climb the back stairs to find that the trio on 35F has respawned. Keep striking Brainpans until you defeat 10 of them, then cross the bridge.
47F Bridge
It takes only four Brainpans to create the next bridge. Defeat two of them on 36F, then run past the red Deidar up to 38F to nail another Brainpan. Another Deidar is close by, so keep your party focused! There are two more Brainpans in the corners of a backroom on 40F. Run past the Deidar on 41F and pound the Brainpan on 42F. Another Brainpan is in a room with a Carven Pillar on 46F, with another fake wall and secret room nearby.
After crossing the bridge on 47F, watch out for two powerful Aeronite flyers hovering together on 48F and be ready with your regular flyer-fighters. Nail these foes with Thundaga to quickly clear the skies. After doing so, climb up to the ancient door and open it to enter a new area.
Horizon’s Break
Find the Save Crystal as you step into the circular corridor around the mist-filled central chamber of the Pharos. Exit the corridor to the southwest and climb the staircase to an ancient door on 49F. This leads to another new area.
Horizon’s Cusp: The Second Watcher
Climb up to another ancient door with an inscription that warns of the “second watcher” waiting ahead. Open the door to enter… a lush green marsh with a waterfall in the distance? This is the Marsh of the Profaning Wind. Step forward to meet the second watcher.
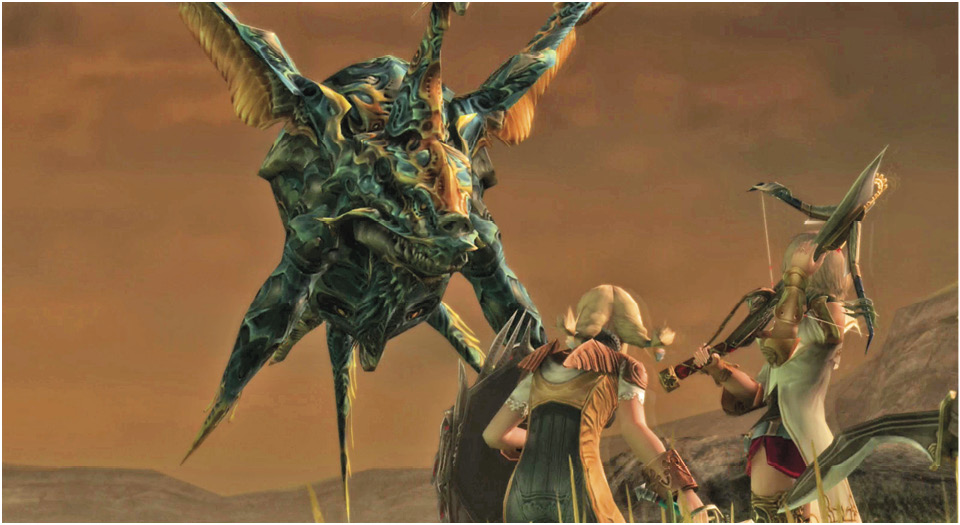
Slyt
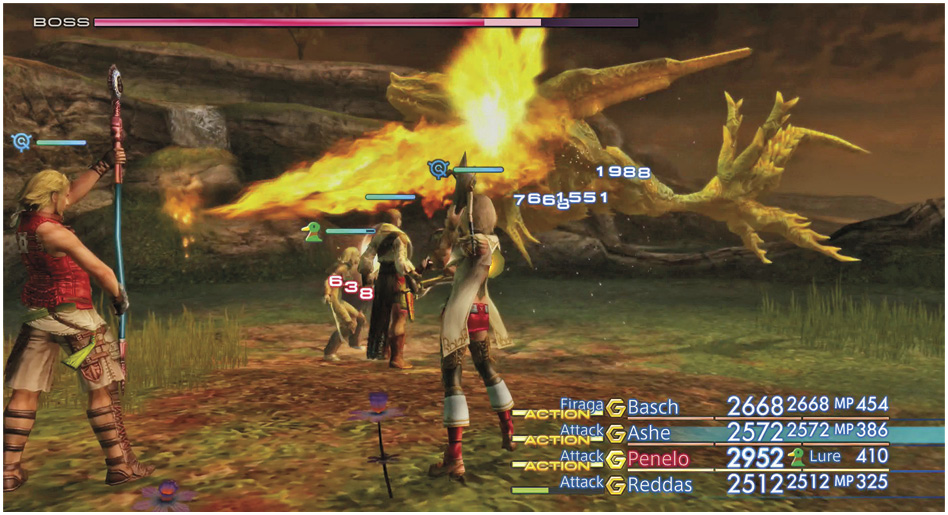
Slyt is very quick on the attack and has Regen active as well. It will refresh its Regen almost instantly if you try to dispel it, so it’s better to ignore it. If you haven’t already, use Haste on your party. You can try to Slow and/or Confuse Slyt, but it won’t always work. Slyt is weak against Fire, so cast Oil and then light it up with your heavy Fire spells. With Reddas as a melee fighter drawing its attention and a Black Mage casting Firaga at Slyt, it’s possible to take down this foe rather quickly. After the fight, the party appears right back in Horizon’s Cusp. Exit via the east door and climb to the Way Stone on 50F, then use it to teleport to the Second Ascent of the Pharos. |
