Final Fantasy XII: The Zodiac Age Guide Walkthrough Part 3
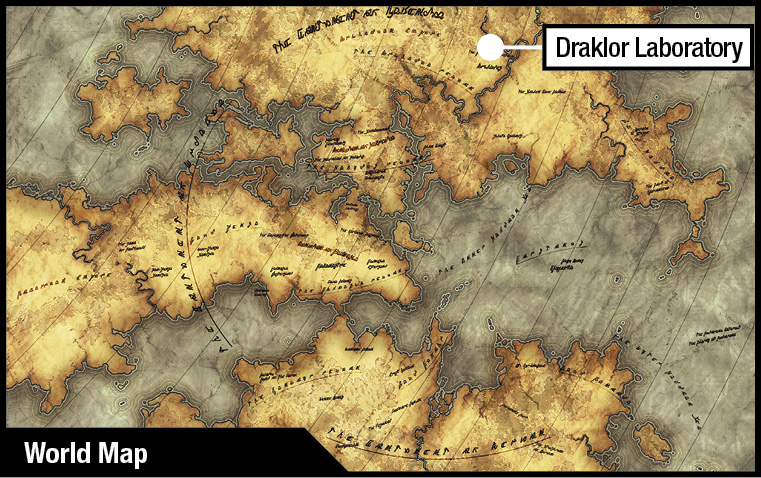
Draklor Laboratory
OBJECTIVE
Find Dr. Cid’s Lab
The urgency is growing. Your goal is to find and confront Dr. Cid before he carries his nethicite experiments too far. The word is, he’s somewhere on Draklor’s top floor.
Action Checklist
1. Use the elevators and bulkhead controls to access the 70th floor.
2. Defeat Dr. Cid.
| Pop odds | If pop, Gil odds & Amt | Normal Loot | w/Diamond Armlet | ||||
|---|---|---|---|---|---|---|---|
|
# |
App. % |
Gil % |
Amt. if Gil |
50% |
50% |
90% |
10% |
|
1 |
60% |
0% |
— |
Balance Mote |
Bio Mote |
Knot of Rust |
Meteorite (A) |
|
2 |
60% |
0% |
— |
Gravity Mote |
Aero Mote |
Knot of Rust |
Meteorite (A) |
|
3 |
60% |
0% |
— |
Aqua Mote |
Aeroga Mote |
Knot of Rust |
Meteorite (B) |
|
4 |
60% |
0% |
— |
Balance Mote |
Aeroga Mote |
Knot of Rust |
Meteorite (A) |
|
5 |
60% |
0% |
— |
Cura Mote |
Bio Mote |
Knot of Rust |
Meteorite (B) |
|
6 |
100% |
0% |
— |
Claymore |
Claymore |
Claymore |
Claymore |
|
7 |
55% |
0% |
— |
Balance Mote |
Bio Mote |
Knot of Rust |
Meteorite (A) |
|
8 |
55% |
0% |
— |
Aqua Mote |
Dispel Mote |
Knot of Rust |
Meteorite (B) |
|
9 |
55% |
0% |
— |
Cura Mote |
Aqua Mote |
Knot of Rust |
Meteorite (A) |
|
10 |
55% |
0% |
— |
Balance Mote |
Warp Mote |
Knot of Rust |
Meteorite (A) |
|
11 |
50% |
0% |
— |
Reverse Mote |
Aeroga Mote |
Knot of Rust |
Meteorite (A) |
|
12 |
100% |
0% |
— |
Gil Toss |
Gil Toss |
Gil Toss |
Gil Toss |
|
13 |
100% |
0% |
— |
Holy Mote |
Holy Mote |
Holy Mote |
Holy Mote |
|
14 |
100% |
0% |
— |
Hastega Mote |
Hastega Mote |
Hastega Mote |
Hastega Mote |
Get to the Top Floor
Floor 66
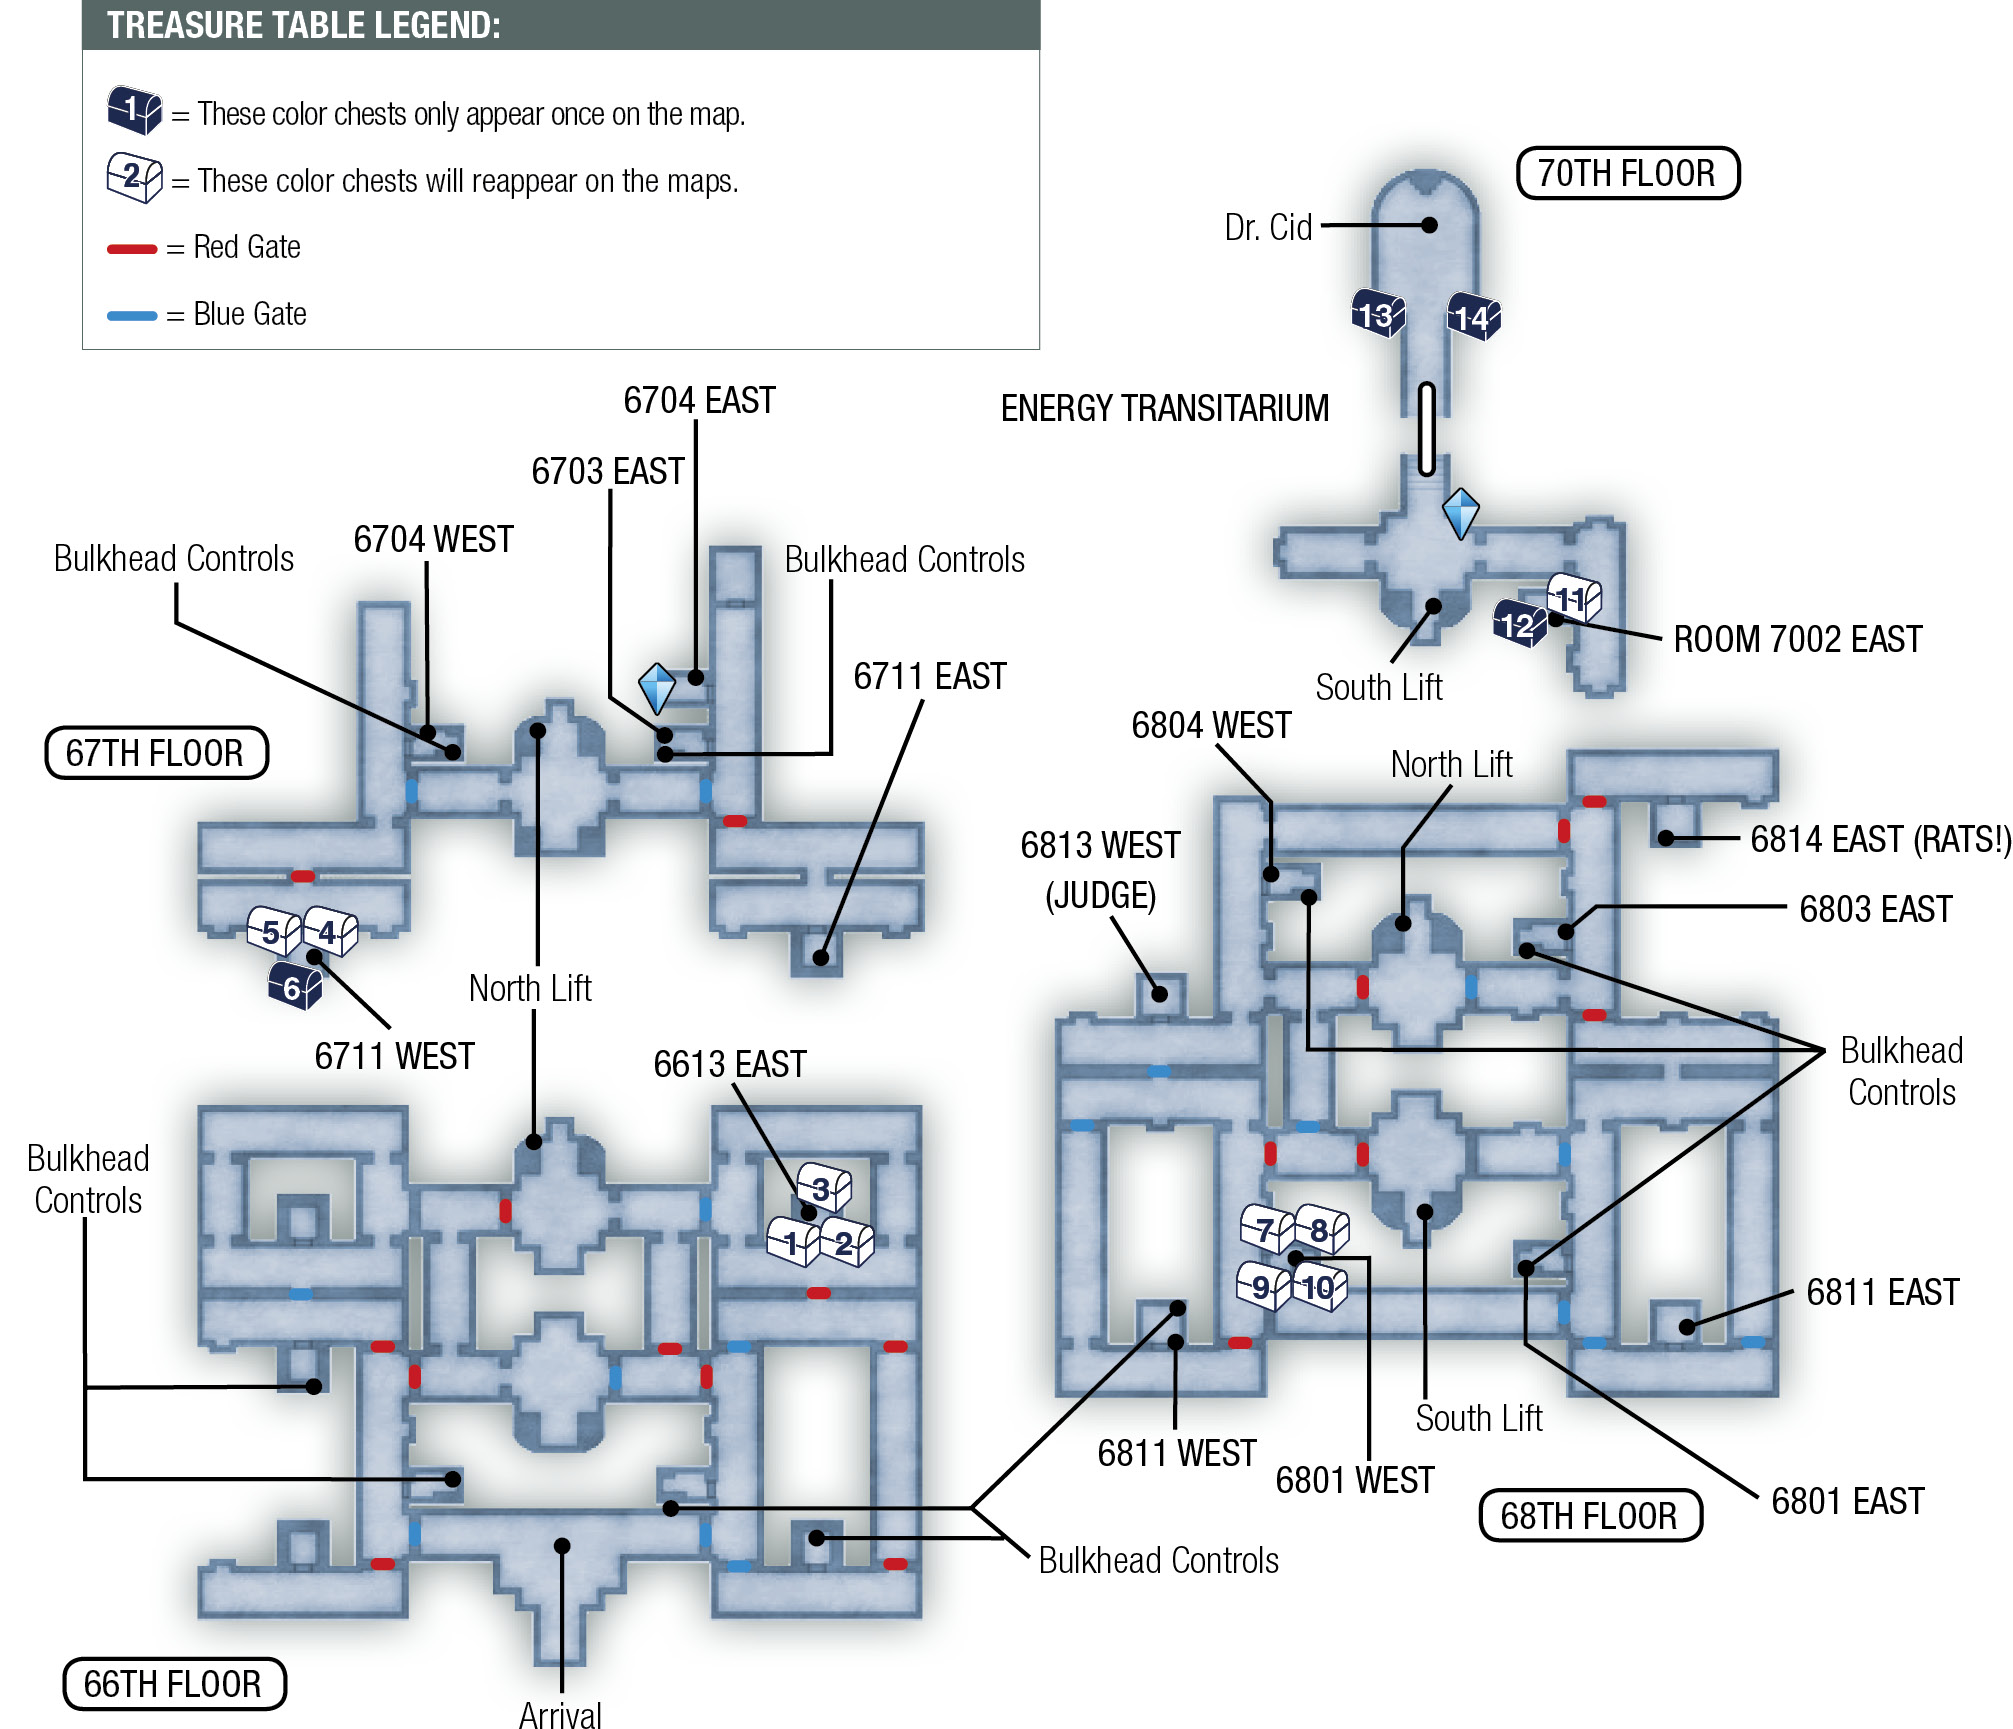
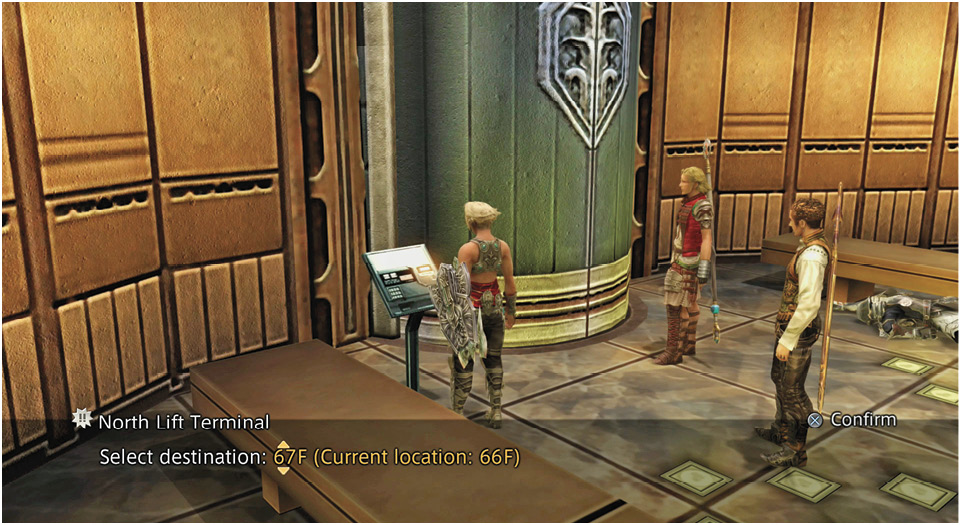
When the party arrives on the 66th Floor, head west and work your way north through the corridors (past some dead and wounded Imperial soldiers) to the northernmost lift. Use the control panel, called the “North Lift Terminal,” and select 67F as your destination.
Floor 67
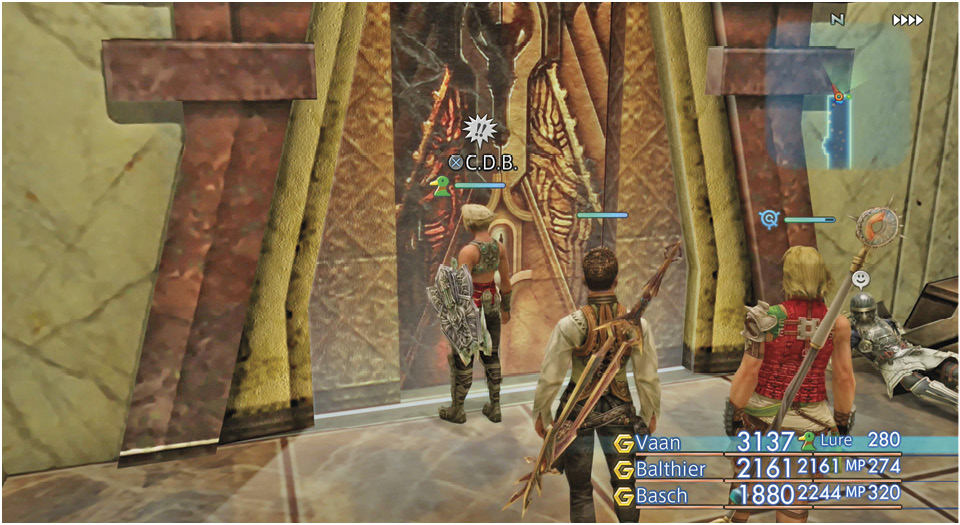
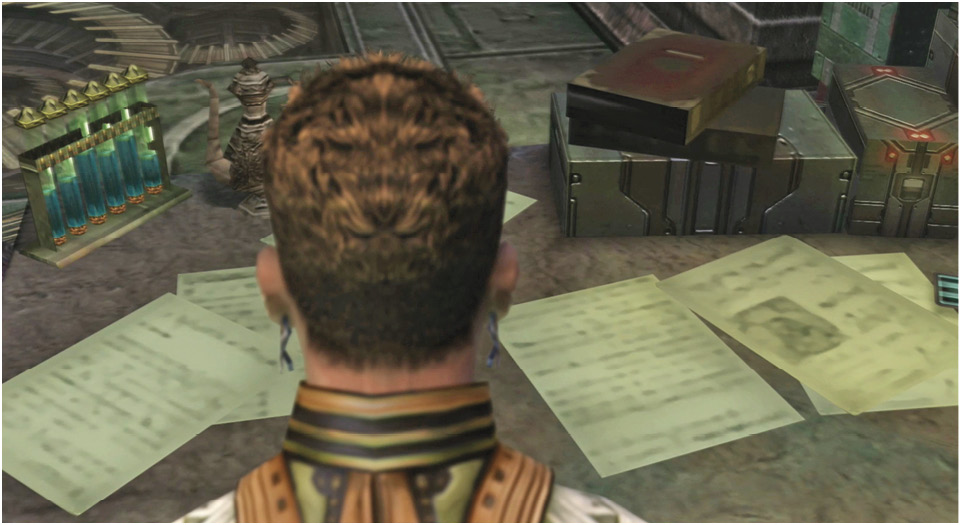
Head east and then north to the door labeled “C.D.B.” (for “Cidolfus Demen Bunansa,” Dr. Cid’s full name). Enter to trigger a short event showing Balthier examining notes in Dr. Cid’s ransacked office. You automatically receive a Lab Access Card and a Draklor map. When the scene ends, the party appears back in the hallway. Note that the game’s Mini-Map is going haywire, but the Area Map is in good shape.
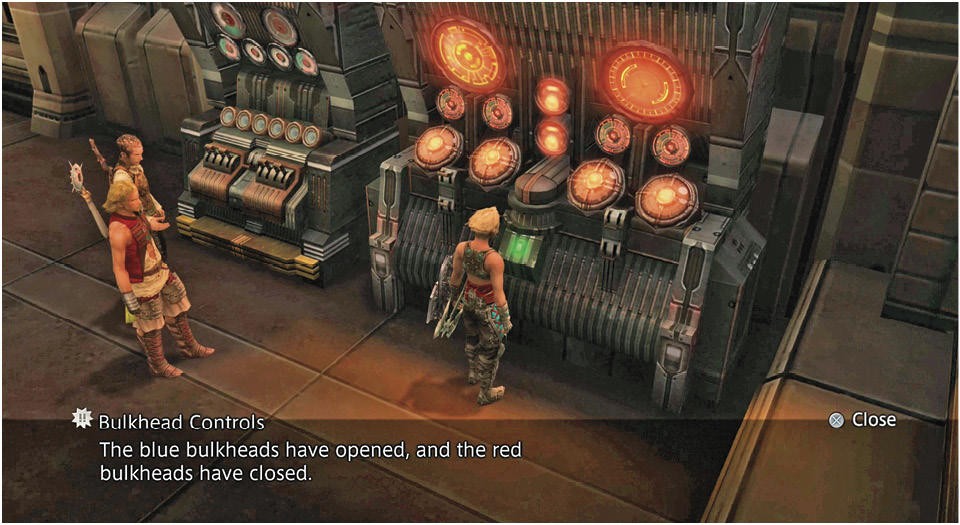
Go through the first door on the right, marked “Rm 6704 East,” to find a Save Crystal. Use it and talk to the Senior Researcher. He explains that the complex features red and blue bulkheads. When red doors are open, blue doors are closed and vice versa.
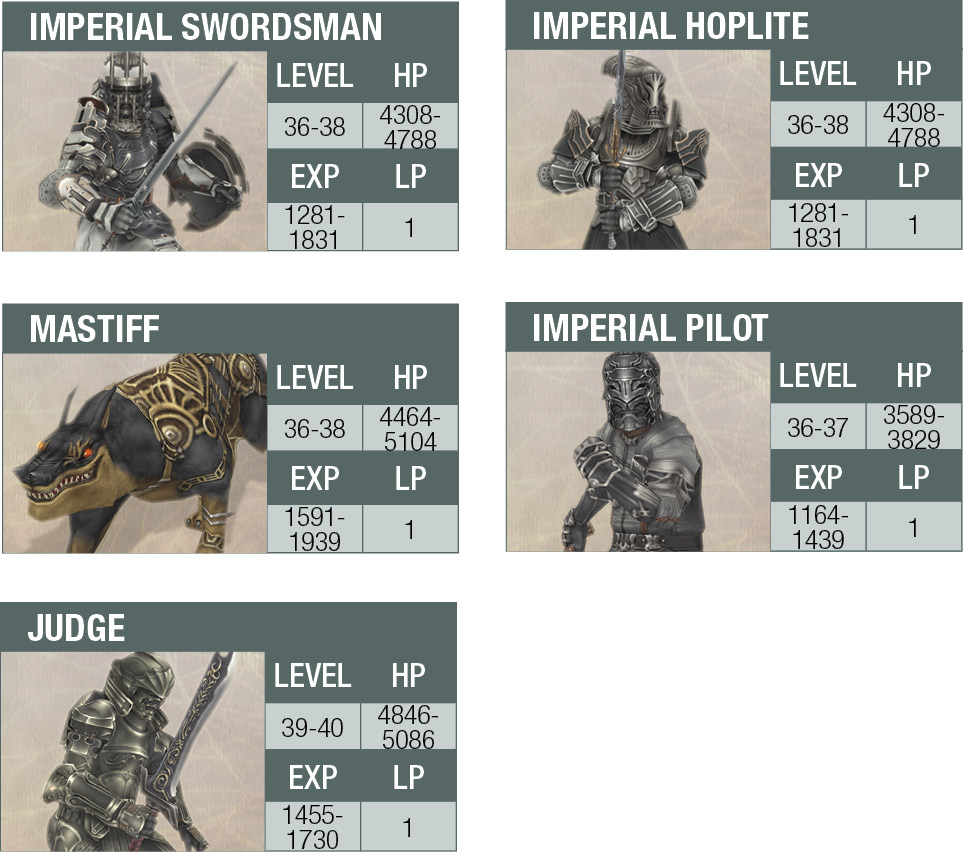
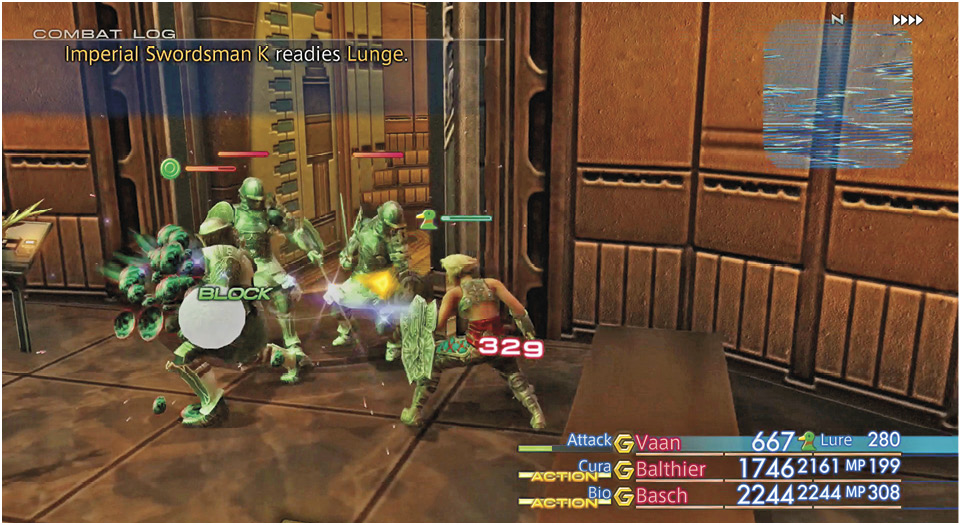
Exit 6704 East and go next door to 6703 East. Use the Bulkhead Controls in the corner of this room to open the blue bulkheads. (The panel changes from blue to red.) Exit the room and follow the corridor back to the lift, but watch out for an attack by Imperial troops! Fight through the Swordsmen and Hoplite and get to the lift. Note that Imperials will keep arriving via the lift until you actually board it. Take the elevator up to floor 68.
Floor 68
The party arrives in the north lift lobby. Your goal on floor 68 is to reach the south lift on this floor and this goal requires the use of a few bulkhead switches. First, go east and enter 6803 East and switch the bulkhead controls from red to blue, thus opening the red bulkheads. Exit the room, go north, and take the next two lefts around to Room 6804 West. Enter the room and switch the bulkhead controls back to red, thus opening the blue bulkheads.
Now exit and go all the way to the room in the southwest corner of Floor 68, Room 6811 West. Switch the bulkhead controls there from red to blue, opening the red bulkheads again. Now exit the room, go left, and take the first left, heading north up the corridor. Take the first right to find the elevator lobby. Take the lift up to Floor 70.
Find Dr. Cid
Finally, a Save Crystal! Before you proceed into Dr. Cid’s den, head east and around the corner to Room 7002 East, where a nice item rests inside a treasure coffer. Now return and head north up the stairs toward the Energy Transitarium to trigger the second appearance of Reddas.
Dr. Cid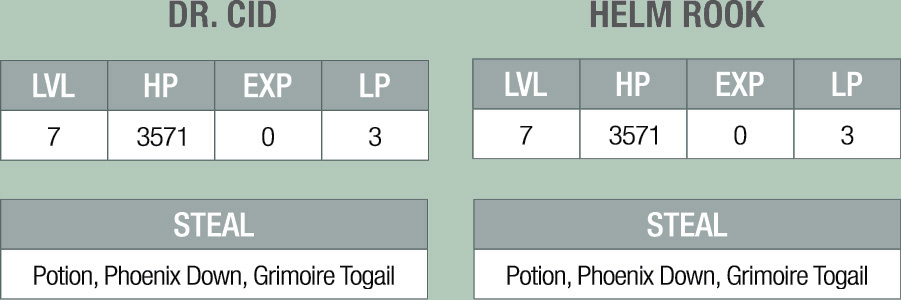
Dr. Cid has four floating mechanical Rooks protecting him. These are perhaps the toughest boss minions you’ve faced so far. It’s very difficult to inflict damage to Cid when the Rooks are active, so ignore the doctor and focus your full fury on his minions. You can also target one central Rook (not Dr. Cid!) with a Quickening chain and hope that the follow-up area attack seriously weakens the other three. In any case, you must take out the Rooks before you can have a chance against Dr. Cid. The Rooks will cast Protect, Regen and Reflect on Cid, so don’t use any Black magick. 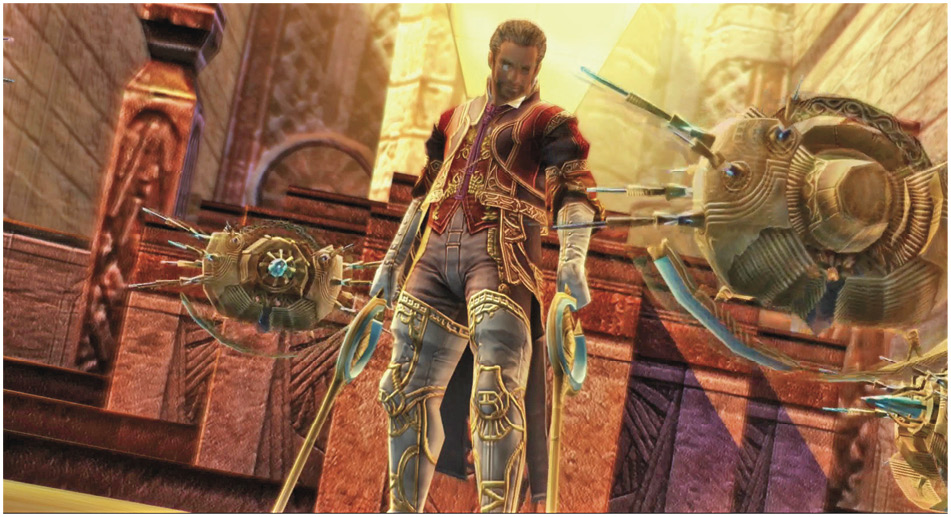
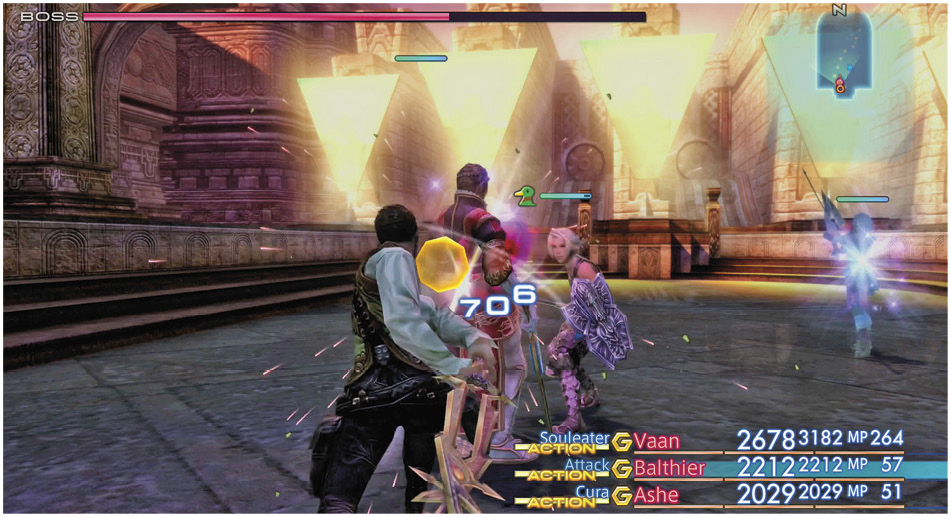
Once the last Rook falls, you’ll be in much better shape, even if your party looks depleted. Dr. Cid is powerful but quite slow, so you have time to sling Cure spells, use Potions, Charge up your MP, or use whatever Gambit routine has been successful thus far. Try to get the entire party up above 1000 HP as soon as possible, because Cid unleashes a powerful attack that knocks a lot of health out of everyone’s HP bars. You don’t actually have to knock Dr. Cid down to zero HP to win this fight. When his health drops low enough, a new ally jumps into the fray and finishes off this particular battle. |
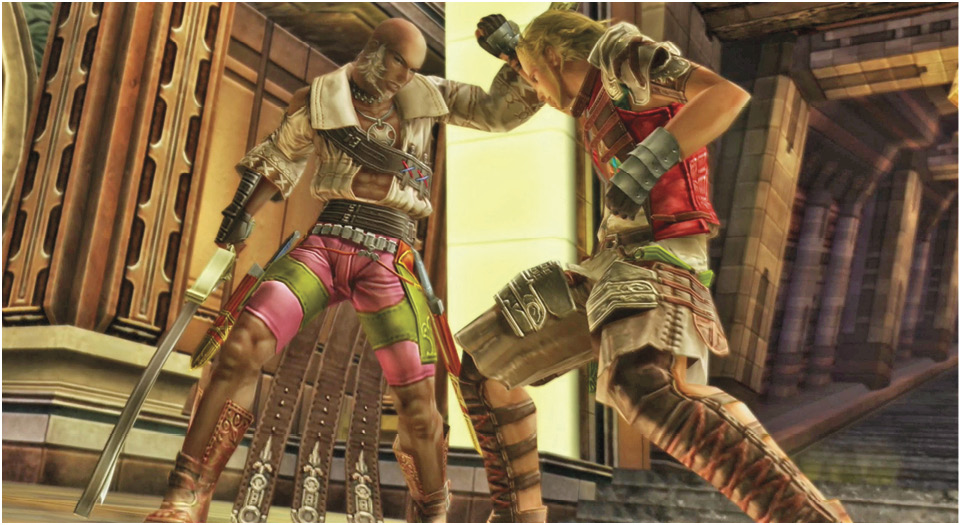
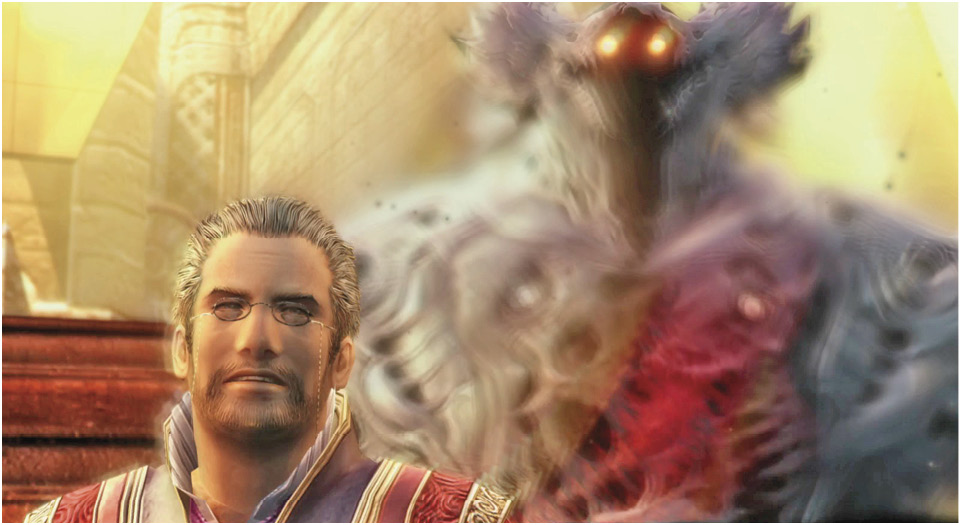
After the fight, you see a brief glimpse of what’s behind Dr. Cid’s maniacal drive for mastery of nethicite. He flies off to Giruvegan, and the man you met on the stairs who jumped into the fight makes his introduction. He’s Reddas, a sky pirate based at the Port of Balfonheim.
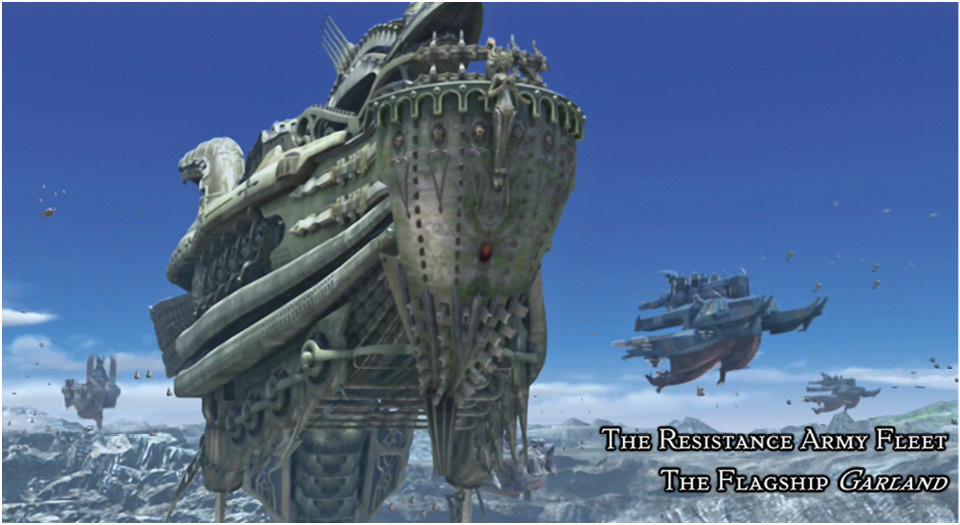
Meanwhile, in the Border-Skies, the rebel fleet under the command of Marquis Ondore is mustering its strength. From the bridge of the flagship Garland, Ondore and his crew discuss the unfolding events. War seems all but inevitable.