Final Fantasy XII: The Zodiac Age Guide Walkthrough Part 2
Jahara—Land of the Garif
Meet with the Great-chief
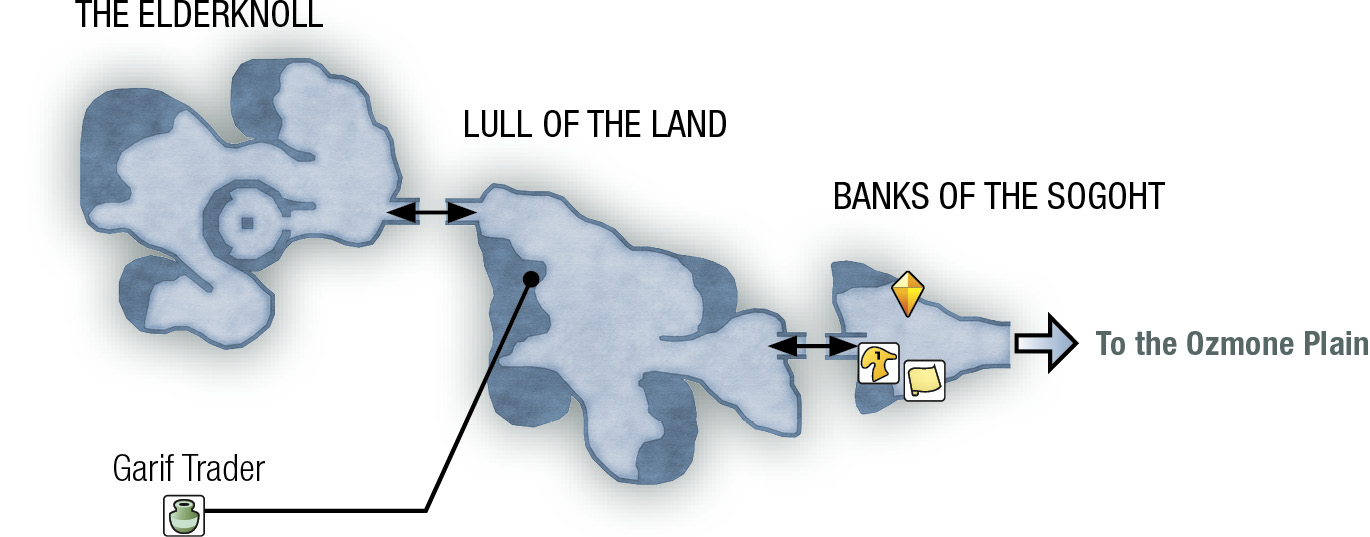
Save your game at the Save Crystal and buy maps from the Cartographers' Guild moogle near the chocobo pen if you can afford it—the Ozmone Plain map is pricey. Next, talk to the Garif Warrior at the bridge. He’s kind of surly, but another warrior approaches to vouch for you. It’s the Garif War-chief, and he lets you pass into the village.
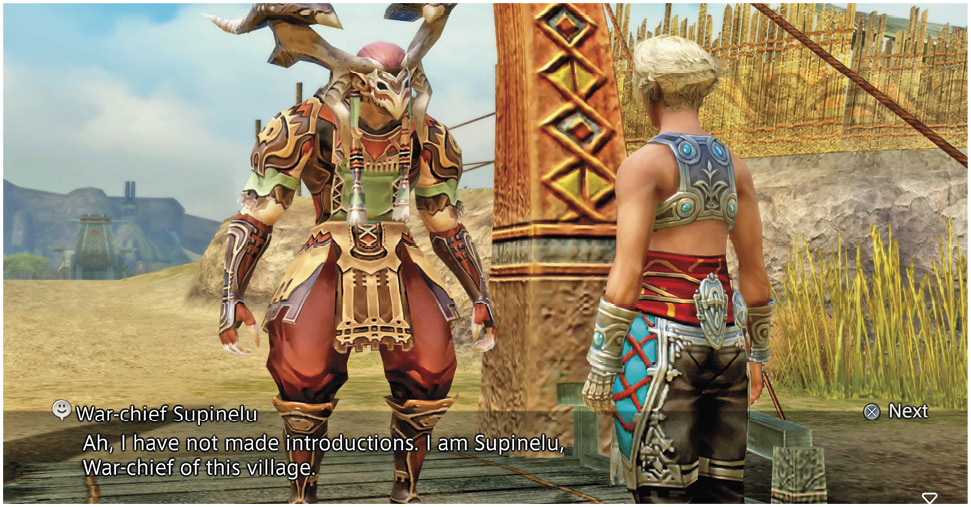
After you cross the bridge, the War-chief introduces himself as Supinelu. He says you must speak to the elders about the nethicite. Now enter the village. Talking to the Garif, it becomes clear that others have been here before you, requesting information about “the stones.”
Stop at the Garif Trader to sell your loot and upgrade your equipment; he’s got some good stuff. Also, consider selling off your old, obsolete equipment for the extra gil. Then go up the hill to the northeast and talk to High-chief Zayalu; he is standing next to two sitting Garif. He says you must speak to the Great-chief to learn of the stones. Then he gives you a Jaya Stick to deliver to War-chief Supinelu.
Now head over to the next bridge to the west. Talk to War-chief Supinelu to give him the Jaya Stick. Tell him you want to meet the Great-chief. Ashe joins the conversation and announces her lineage. This seems to be enough for the War-chief and you are granted an audience with the elder chief. Cross the bridge to the Elderknoll. Approach the warrior-guards and request a meeting.
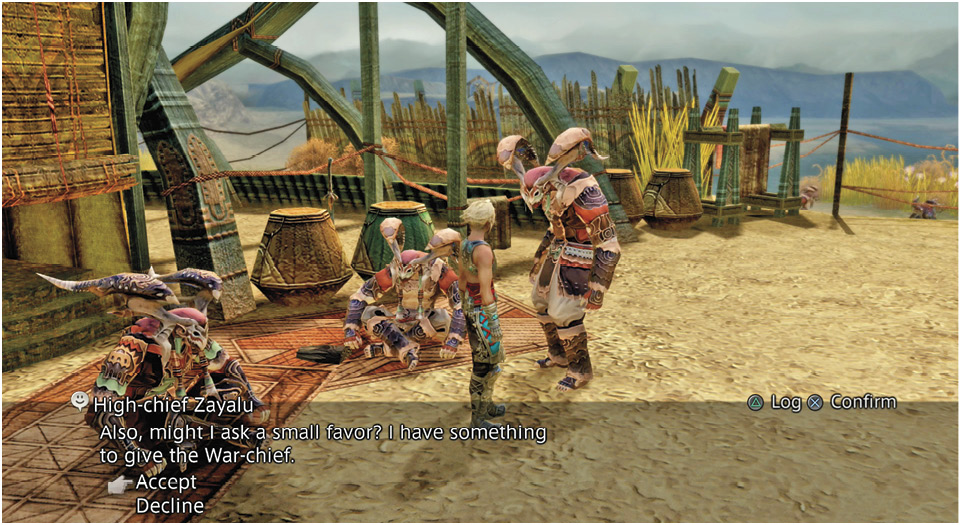
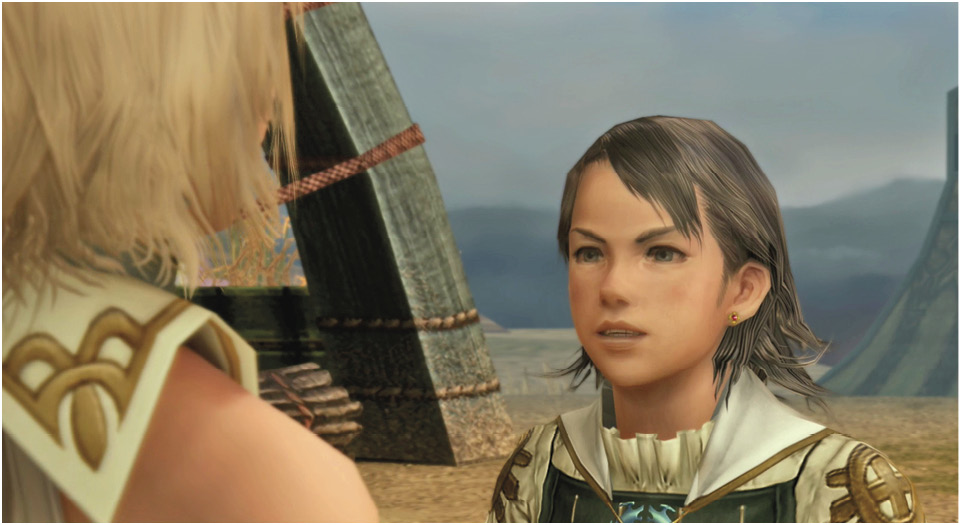
This triggers an event in which the Great-chief examines the used nethicite. He tells of the history of the stones. When the event ends, Lord Larsa makes a surprise appearance with some disturbing news.
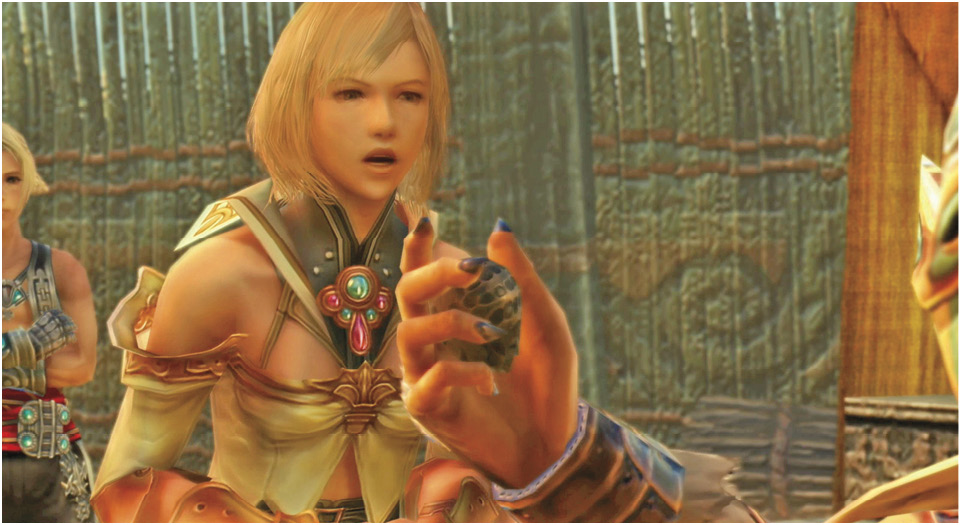
Larsa believes that the blessing of His Grace the Gran Kiltias Anastasis at Mt Bur-Omisace may give Ashe the legitimacy she needs to wear the crown and restore Dalmasca. As queen, she can declare peace with the Empire, stop the Marquis, and end the threat of a wider conflagration.
When control finally returns to you, Larsa joins your party as a guest and you have a new objective.
Hop a Chocobo to the Golmore Jungle
But before you tackle this new objective, it’s time to backtrack a bit and get across the Ozmone Plain to Golmore Jungle. Many powerful monsters lurk along the route, and you may want to fight them to level up and accumulate LP and loot. Then again, you may want a chocobo ride—just for the fun, convenience, and speed of it.
While exiting the Garif village, War-chief Supinelu hands over the gift of either a Bowgun or a Killer Bow, complete with the appropriate onion ammunition, plus a free ride on a chocobo. Talk to Gurdy, the floating moogle who tends the chocobo in the pen. She confirms the War-chief’s one-time offer for a free ride. Go ahead and hire a chocobo. Your mount time is limited to just three minutes, so get going!
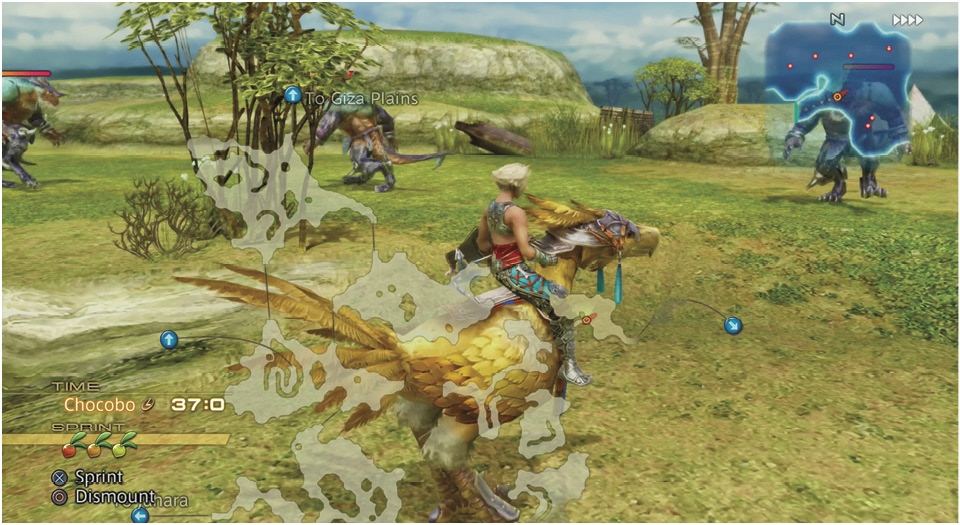
The party begins in the Haulo Green area of the Ozmone Plain. Check the area map regularly to make sure you’re following the most efficient route. Go north to The Switchback, then east into a narrow, winding canyon called The Greensnake. Monsters won’t attack while you’re astride a chocobo, so that’s one less thing to worry about.
Now sprint northeast through the Field of Light Winds to the Sunlit Path. When you arrive at the Sunlit Path, you trigger a pair of events.
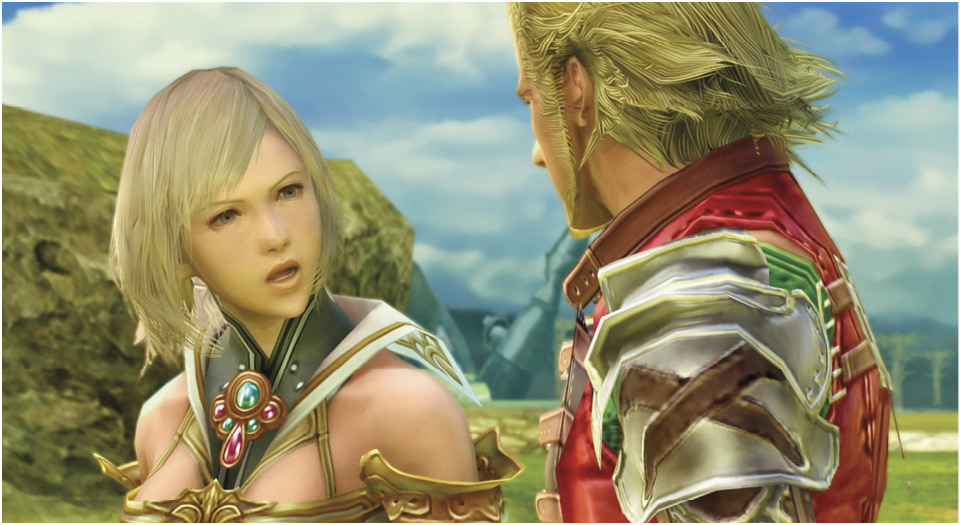
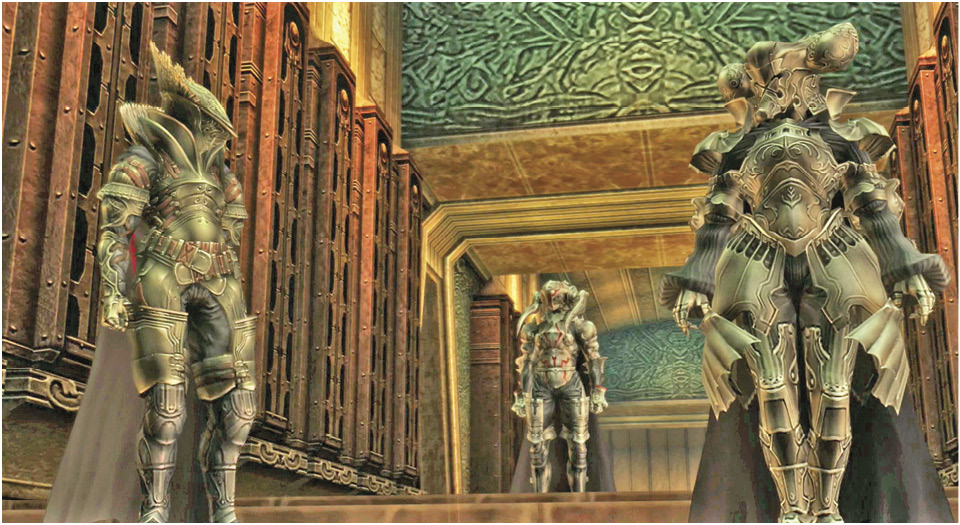
On one side, we see Ashe and Captain Basch struggling with the notion of making peace with an occupying power. On the other, we see the intrigue at work behind that power: Archadian Judges consult in the Imperial Palace, speaking of Vayne, Larsa, and the wishes and workings of the Senate.