Final Fantasy XII: The Zodiac Age Guide Walkthrough Part 4
The Feywood (South)
Action Checklist
1. Solve the “Shrine of the Lost” puzzle.
2. Summon help to open the Gate Gigas.
Cross the South Feywood
From the Redolent Glade, continue south into the next area, White Magick’s Embrace. This is where a bunch of creepy Preying Mantises are stalking the countryside, along with Mirrorknights and the snaky Basilisk. Fight through them to the south, looking for another Map Urn with a “Feywood Candle” that reveals the rest of the Feywood map. Finally, exit south into the Ice Field of Clearsight.
Solve the “Shrine of the Lost” Puzzle
The map reveals star-shaped figures in the Ice Field of Clearsight. Head for any one of those shapes—it doesn’t matter which one you go to first, because the order of the puzzle is generated randomly.
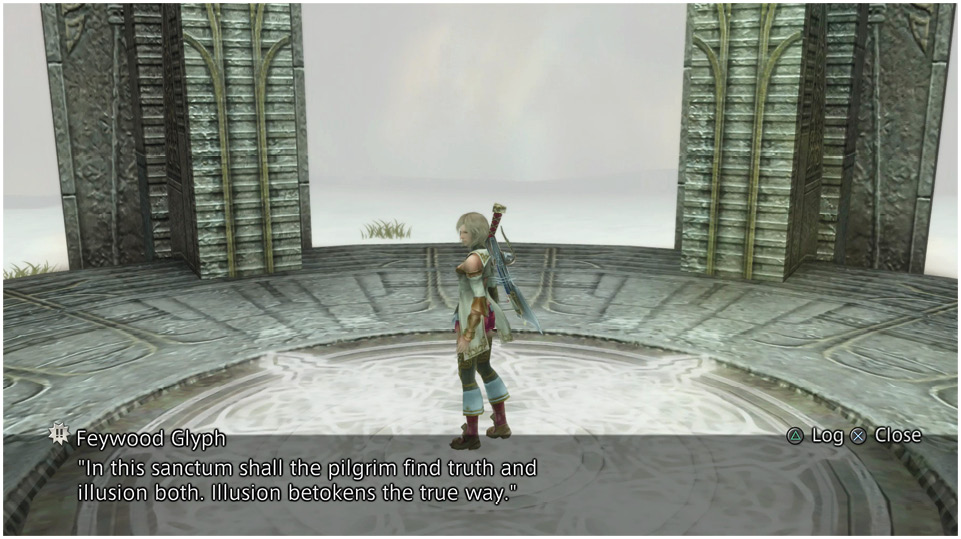
You find that each map star marks a platform structure called a Shrine of the Lost. At the first one you reach, fight off the beasts and step into the the center of the circular platform. If you see an elaborate pattern called a “Feywood Glyph” and an Action Icon pops up, press the X button and select “Examine the pattern.” If you don’t get an Action Icon, exit the platform and go on to the next star shape on the map. Keep going until you get an Action Icon when you step into the center of the platform.
A message states that “Illusion betokens the true way.” If you lower the camera view and swivel it around, you will see a green, lush forest scene through one of the exits from the platform. That’s your “illusion,” my friend. Face your party leader in that direction and proceed on to whichever shrine is directly ahead of you.
TIP: Before you go very far, check your map to verify exactly which star shape (another Shrine of the Lost) you’re pointing toward.
REASON: En route you’ll probably run into more monsters to fight and thus get turned around, possibly losing your original bearing. (If that happens, you can always head back to the first shrine and recheck the glyph and the illusion.)
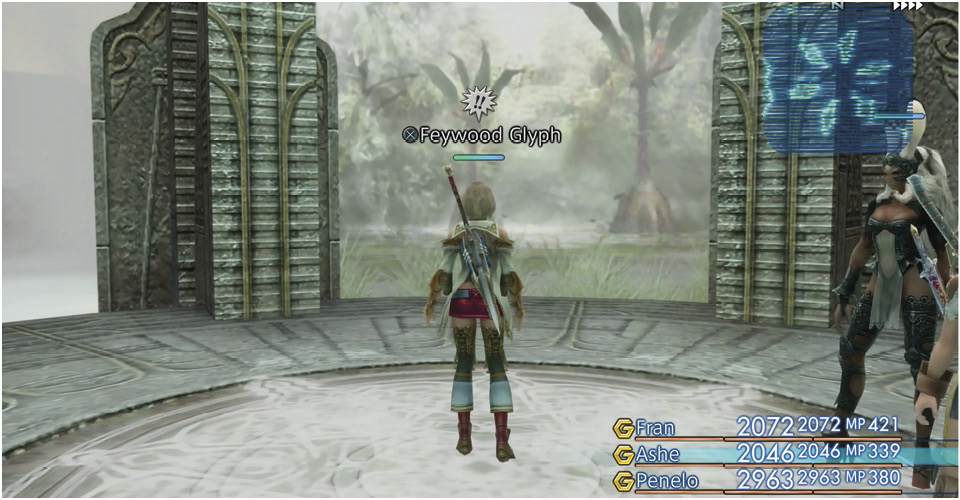
Repeat the process on the floor of the next shrine: examine the Feywood Glyph on the floor and look for the illusory view of a beautiful green forest and head in that direction until you reach the third Shrine of the Lost directly ahead. Knock out the beasts protecting the shrine and repeat the process one more time, finding the illusion that leads to the next map area, the Edge of Reason. (note: If you check the map, you will see three icons on the shrines where you examined floor glyphs).
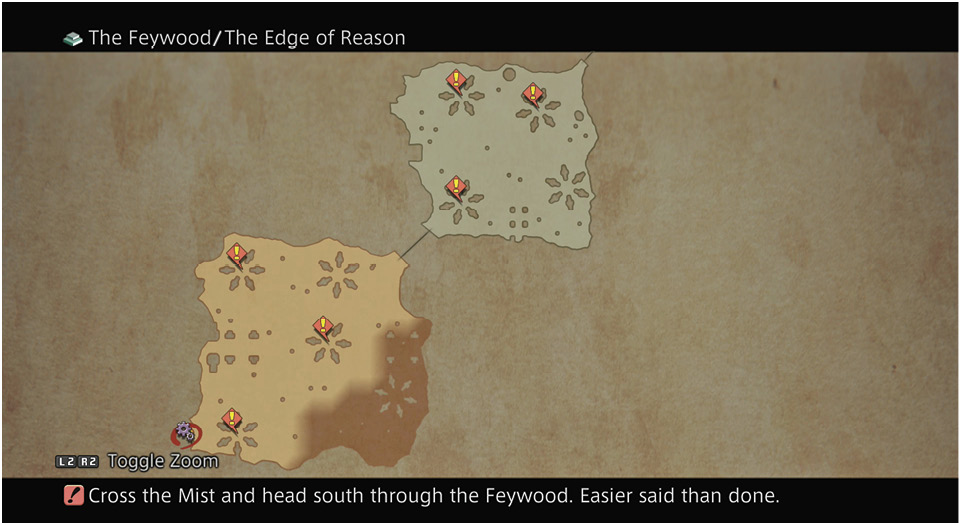
After crossing the zone line into the new area, open your map and note that it, too, features star shapes that represent Shrines. Repeat the same process that you used in the previous section to find Feywood Glyphs and activate their “illusions” to determine which shrine you should visit next. In the Edge of Reason area you’ll visit four shrines before the last one’s illusion guides the party to the monumental Gate Gigas.
The gate’s very name should provide a vague clue as to the party’s next move. Read the inscription to learn that Giruvegan is just on the other side, and that “over the one gate the Gigas holds sway.” Got a Gigas? Actually, you do. When you defeated Belias, you gained a Gigas.
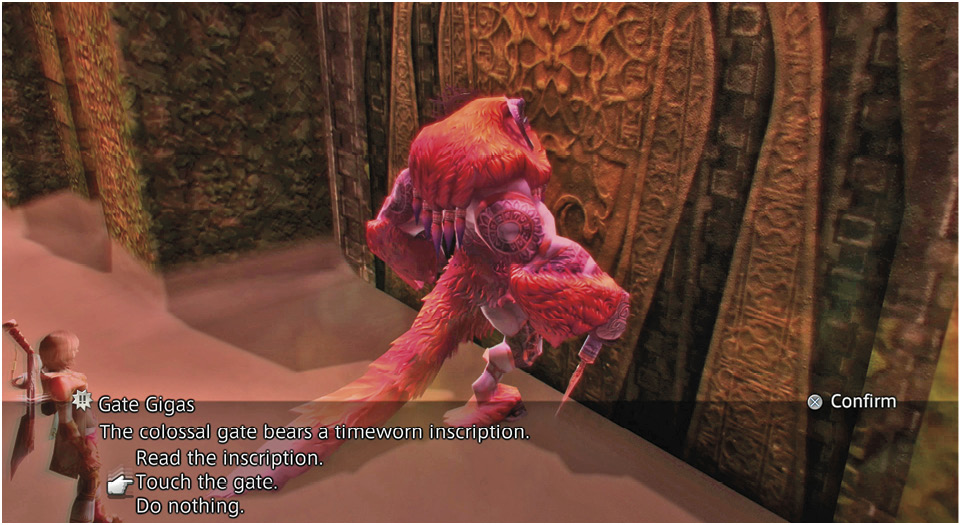
Now watch the event as Balthier balks at going inside, preferring to lie in wait for Cid at Giruvegan’s entry. Ashe’s vision beckons, however, and the choice seems clear.