Final Fantasy XII: The Zodiac Age Guide Side Events
Side Events Part 3
Cúchulainn, the Impure
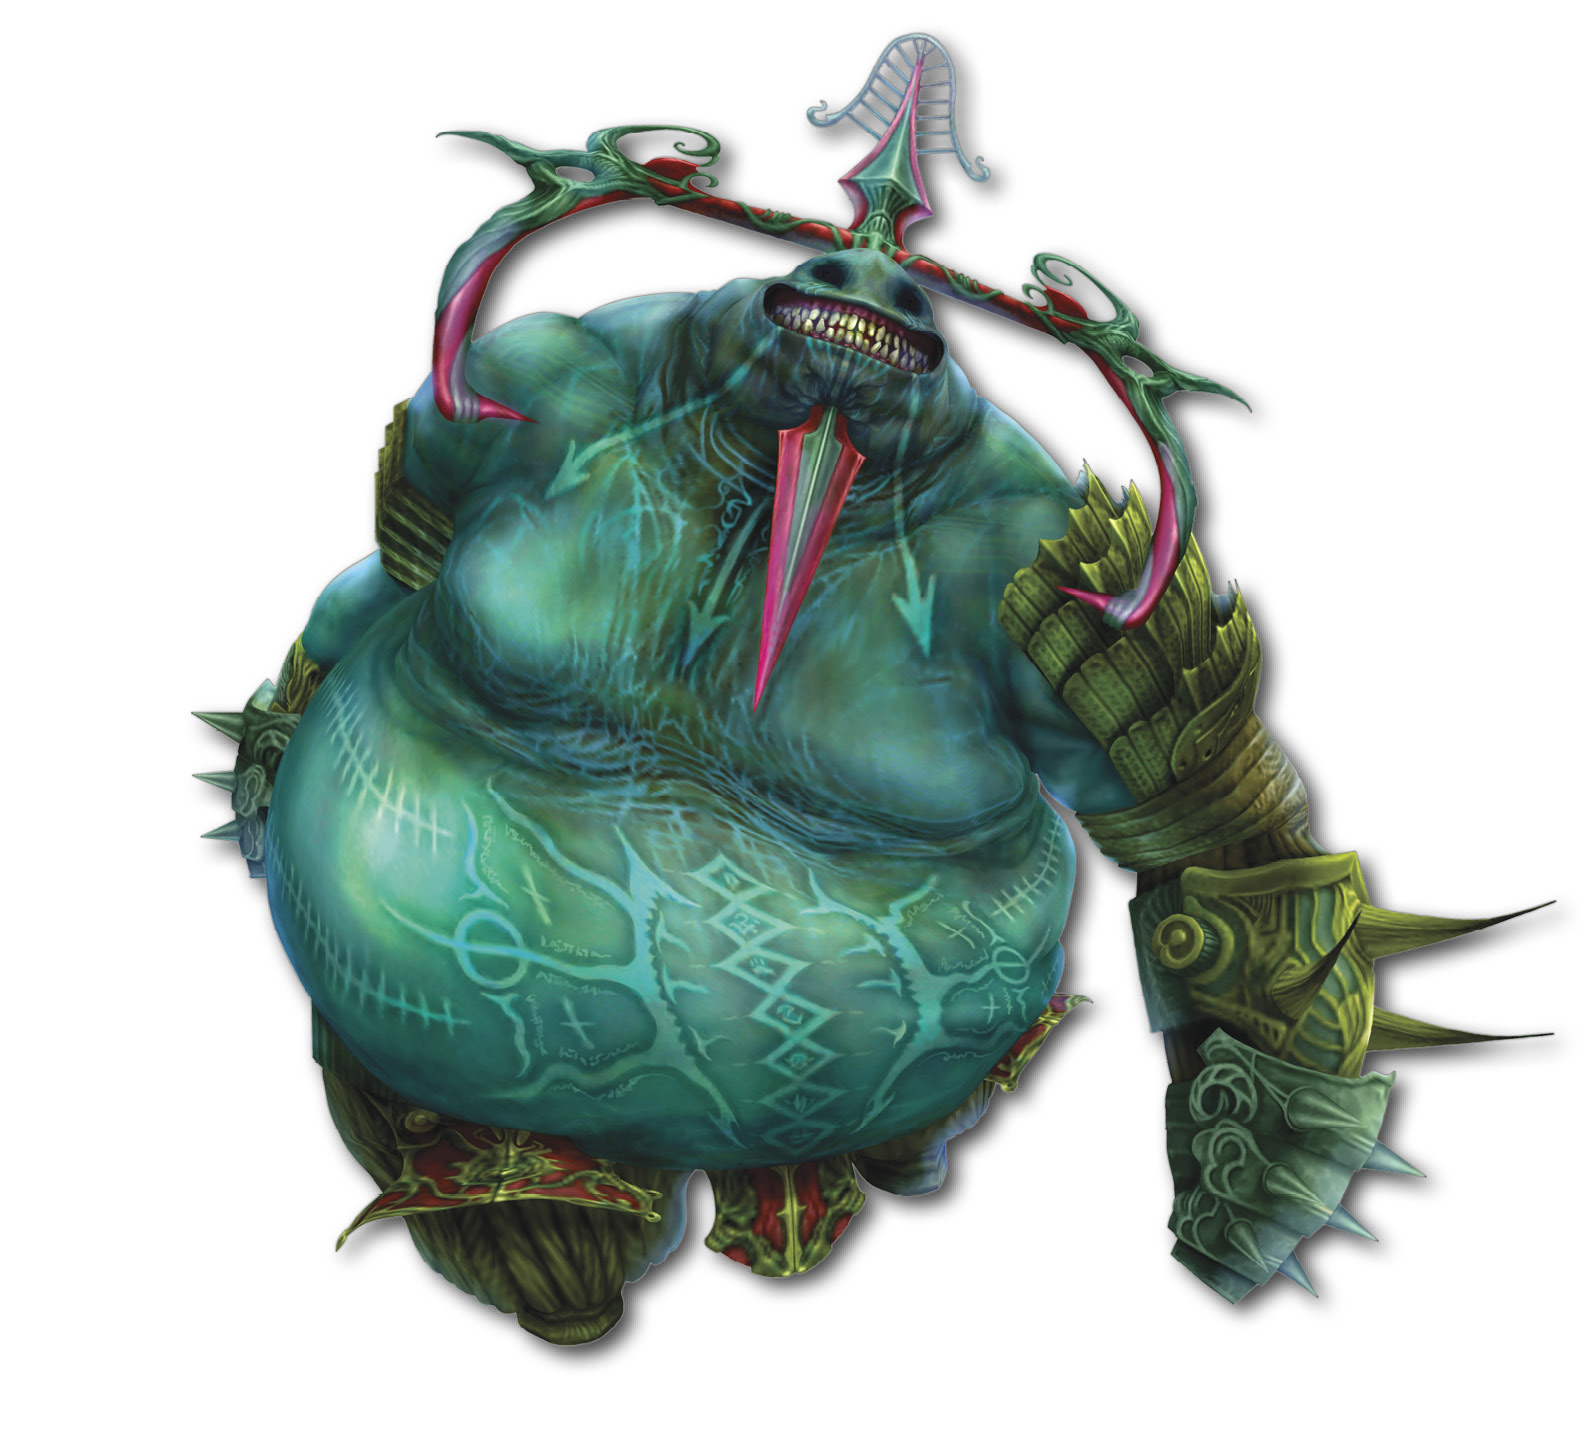
This Esper is located in the Garamsythe Waterway’s No. 1 Cloaca under Rabanastre. Getting there isn’t easy. You must first complete the “Waterway Haunting” and “Lost in the Pudding” hunts to open the way and obtain the Sluice Gate Key.
With the path open and key in hand, head down to Central Waterway Control. Use the Sluice Gate Key to activate the waterway controls in a specific order, which reveals the path to Cúchulainn. Follow these steps:
1. Begin by closing the No.3 and No.10 controls in the Central Waterway Control.
2. Enter the No.3 Cloaca Spur and use the No.1 South Waterway Control at the end.
3. Return to the Central Waterway Control and open No.3 and No.10.
4. Close No.4 and No.11, then enter the No.4 Cloaca Spur and use the No.1 North Waterway Control.
5. Return to the Central Waterway Control again and open No.11 and close No.3.
6. Enter the No.1 Cloaca and find the boss at the low point on the south end. Save your game before fighting the boss.
|
Level |
45 |
EXP |
0 |
Steal |
Scorpio Gem, Elixir, High Arcana |
|
HP |
126165 |
LP |
50 |
This is a very difficult battle, since there’s a constant HP Sap effect on the area that you can’t dispel or block. For this reason, it’s best to wait for Curaja to become available before challenging this Esper.
Dispel the boss immediately and have a couple allies focus on support and healing while the other character attacks. Make sure at least one character has a Black Belt equipped to block the boss’s Disable attacks. Make sure this character also has an Esuna gambit to free anyone who gets affected (or use Remedies, if Remedy Lore 1 is unlocked).
When the Foobars join the battle, use Firaga to defeat them. Cúchulainn likes to use Invert to quickly wipe out characters. Invert resembles an instant death spell, as HP Sap rapidly drains HP. Revive the victim quickly and immediately trigger a Quickening to turn the battle in the party’s favor.
Zalera, the Death Seraph
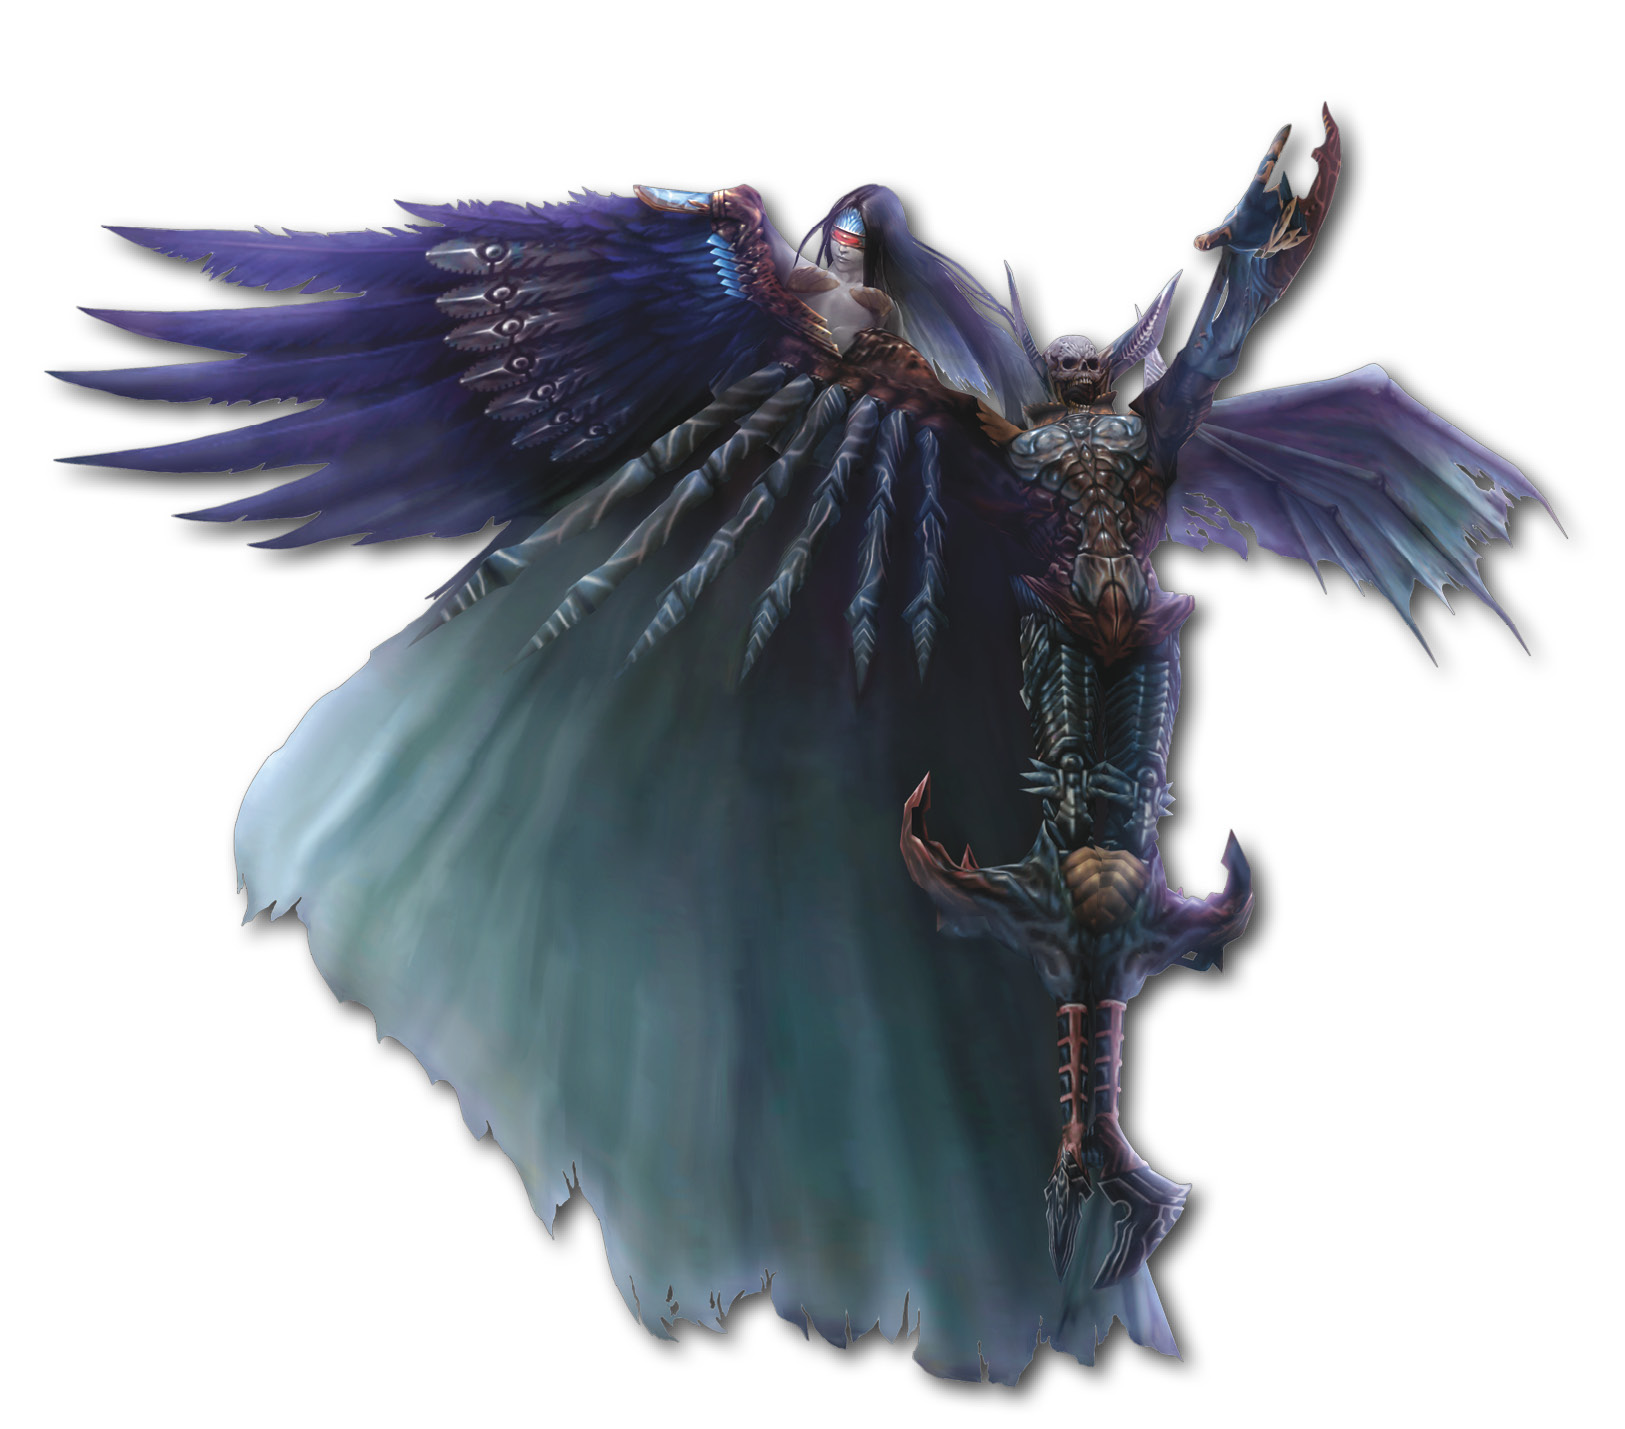
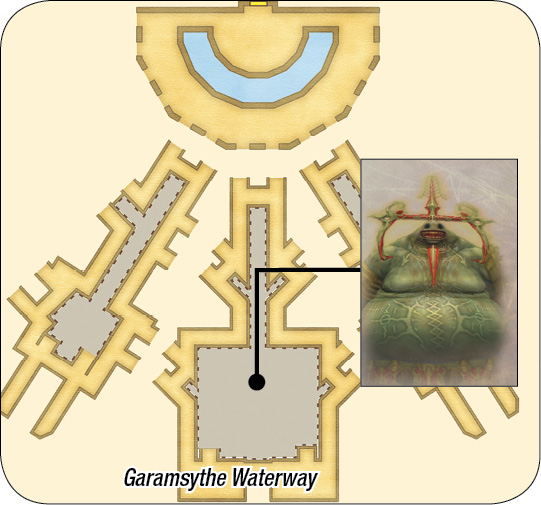
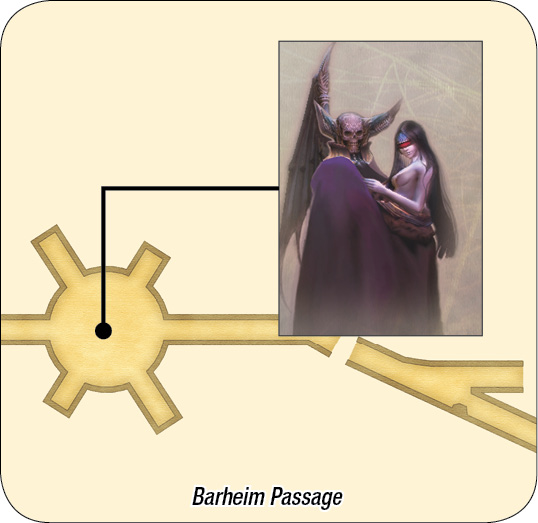
The quest to obtain Zalera requires that you complete the Patient in the Desert event to get the Barheim Key. Enter Barheim Passage from the secret entrance in the Dalmasca Estersand and wind through the tunnels to Terminus No. 7. The path isn’t an easy one, as many powerful undead creatures appear along the way. This is a great opportunity to level up, but it is also very dangerous. The path through the Zeviah Span seems to be blocked near the south end. Check the west side for an object that can be pushed over to create a path down to West Annex. West Annex is the most challenging area on the way to Terminus No. 7, as the undead appear in groups. Save in Terminus No.7 Adjunct before facing Zalera.
|
Level |
40 |
EXP |
0 |
Steal |
Pebble, Gemini Gem, High Arcana |
|
HP |
72248 |
LP |
42 |
This is a very unusual battle. The five-minute timer in this fight really puts things into overdrive! If the timer reaches zero, the party is ejected from the battle, which means starting over from scratch.
Another aspect of the fight revolves around the Dead Bones that join the fracas. Zalera is immune to physical damage whenever a Dead Bones foe is on the field. Kill all of them when they appear, then focus your attacks on the boss.
Check the levels of your party members before battling Zalera. Zalera can cast Lv. 2 Sleep, Lv. 3 Disable, Lv. 4 Break, Lv. 5 Reverse, and Prime Lv. Death. These attacks not only affect those characters with a level divisible by 2,3,4, or 5, but also those of prime numbers. Enter the battle and dispel the status effects on Zalera, then defeat the first set of Dead Bones so that Zalera is vulnerable. When the Dead Bones appear again, quickly dispatch them. As Zalera’s HP gets low, he starts casting Sleepga, Stop, and Death. Prepare accordingly. If the timer is getting low, don't hesistate to put all your effort into Quickening chains to finish Zalera off.
Zeromus, the Condemner
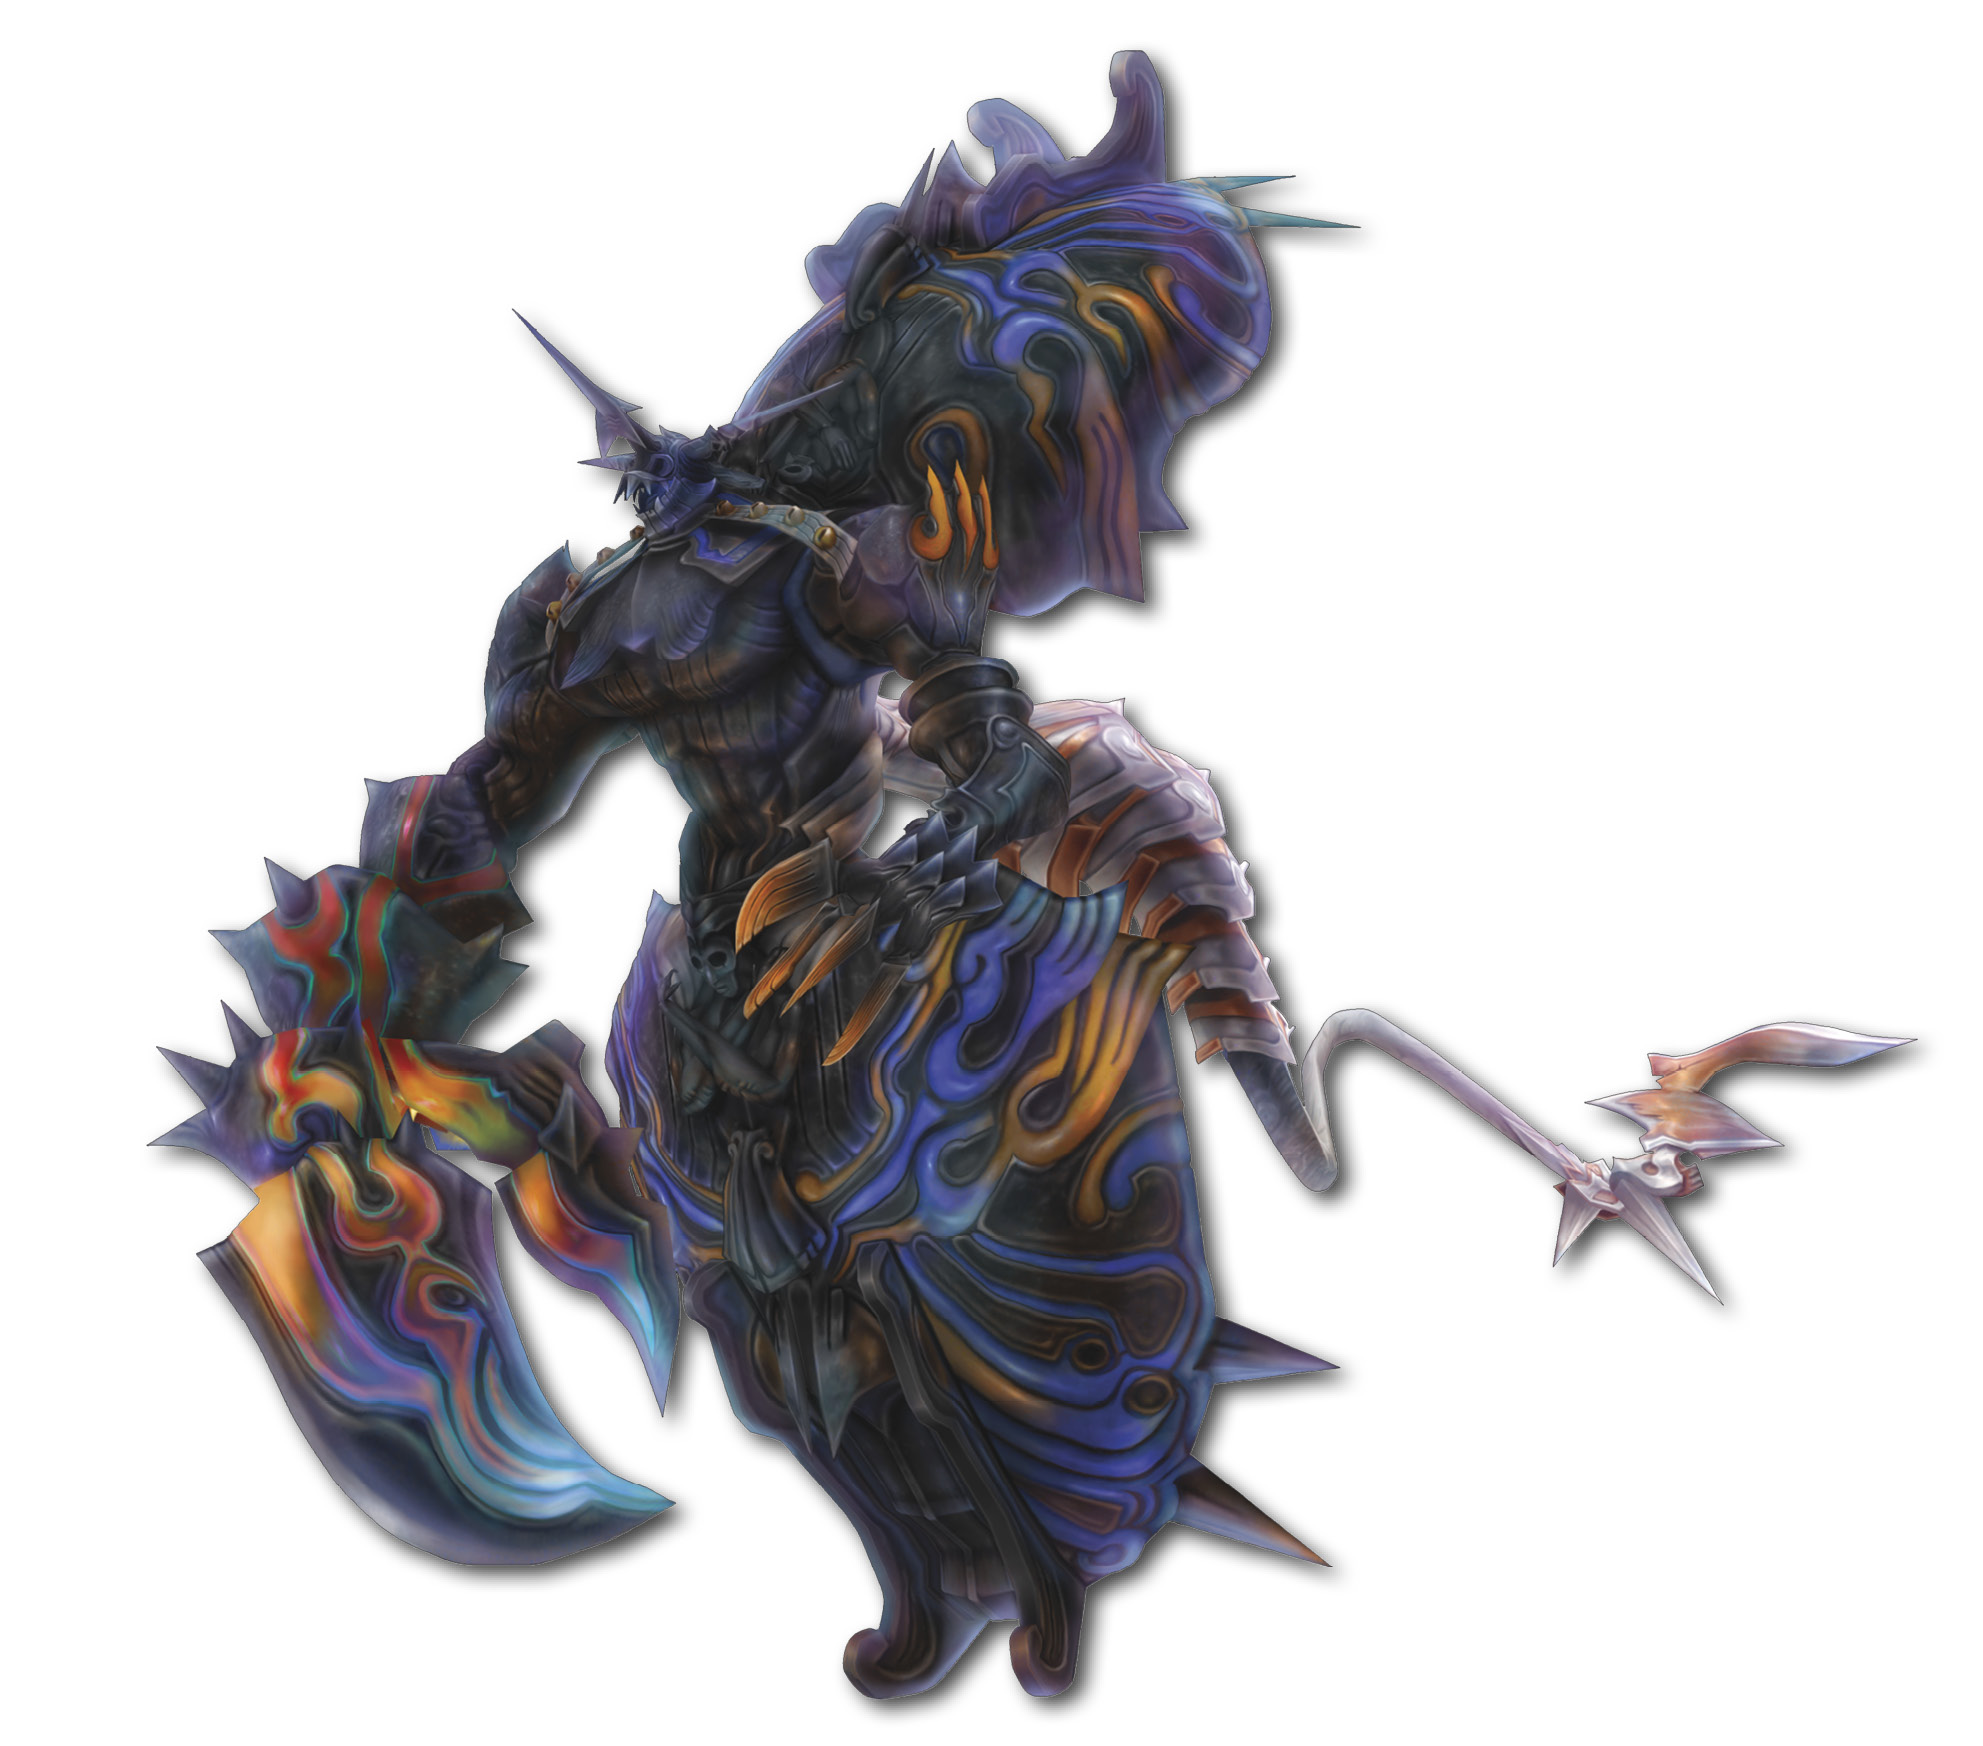
Return to Mt Bur-Omisace and speak to the Acolyte at the base of the stairs leading into the Hall of the Light. He instructs the party to seek out a “greater power” in the Stilshrine of Miriam using the Stone of the Condemner that he presents to them.
Enter the Stilshrine of Miriam and activate the Way Stone at the south end of Ward of Measure. Use the Stone of the Condemner and that point to travel to the Throne of Veiled Gods where Zeromus awaits.
|
Level |
51 |
EXP |
0 |
Steal |
Cancer Gem, Elixir, High Arcana |
|
HP |
166888 |
LP |
55 |
All magicks are disabled in this battle, so the party must rely on physical attacks, healing items, and technicks. Change all healing gambits so they use items such as Phoenix Down. In fact, it’s best to equip Pheasant Netsukes and use Phoenix Down to restore fallen allies rather than using potions. With the augments increasing the effectiveness of Phoenix Down and the accessory, a party member can fully restore a downed ally, which is far more efficient.
The boss begins with Reflect, Protect, and Shell. You cannot dispel these effects, so they will be active for the entire battle. The boss is also joined by Dark Lords, which makes things more difficult.
Bring in a melee party, and use heavy armor and weapons, since magick is disabled. Shields are a huge help, too. Keep the Dark Lords in check throughout the entire battle, as they can become a nuisance if you ignore them. In fact, make them the priority and only fight Zeromus when the area is clear. Use a Quickening to help level the Dark Lords initially, then use it again whenever the need arises. Keep fighting them to rapidly build a combo. They will eventually drop bonuses, which can restore the party’s HP and MP. This is a great way to keep everyone healthy and build Mist Charges for more Quickenings.
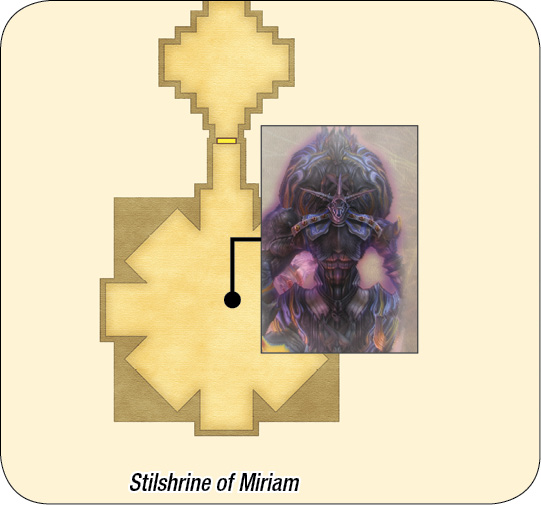
Exodus, the Judge-Sal
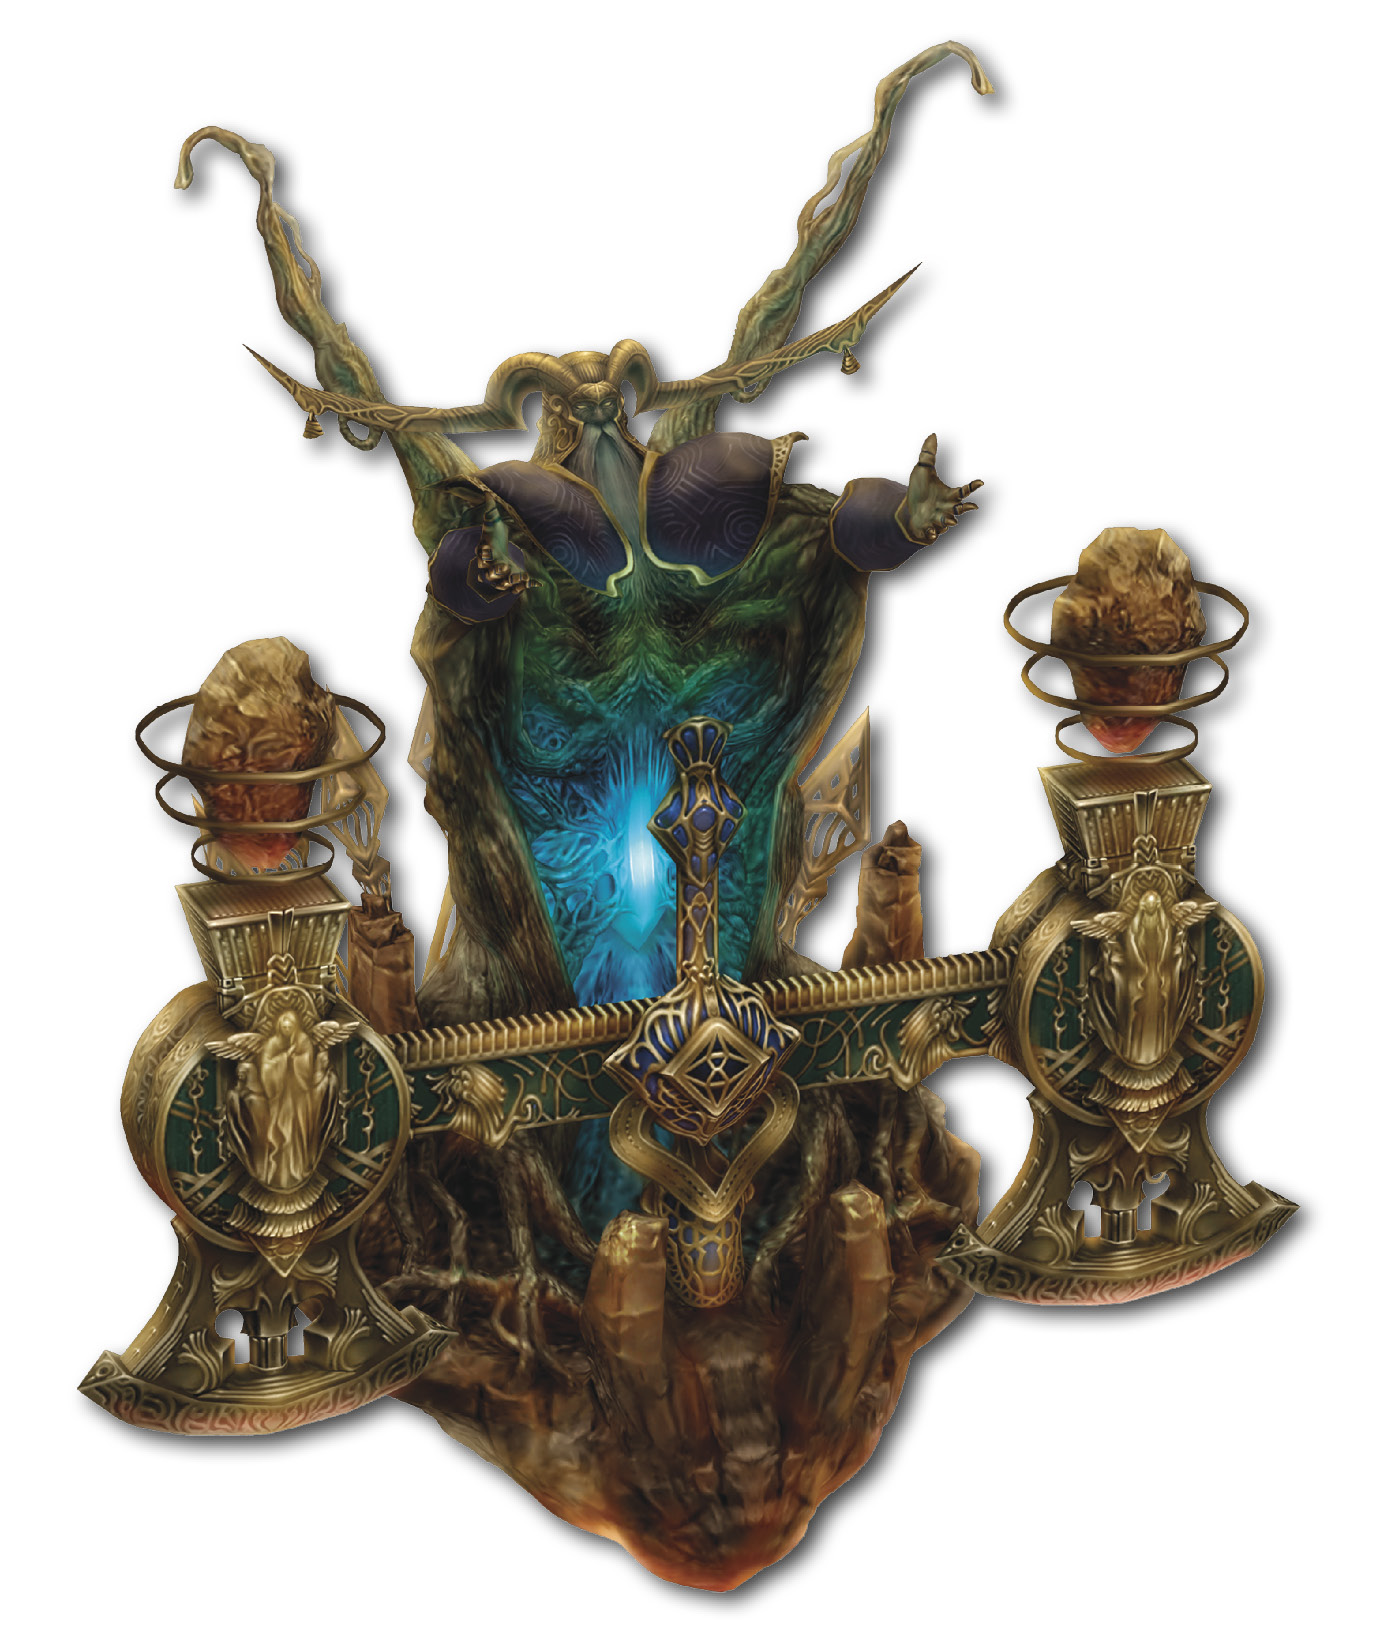
Visit the Mosphoran Highwaste and stop at the Babbling Vale. There are two important conversations here. The first one takes place with the Learned Man who explains what has happened to the shrines. The second conversation is with the Caravaner south of the shop, which reveals a hidden path and a wild chocobo in the area.
Begin by touching the Shrine of the South Wind (Babbling Vale/South) to raise the first set of floatweed. Proceed northeast to the Rays of Ashen Light and look for the Wayward Chocobo at the north end. Feed it a Gysahl Green and travel south to Empyrean Way. Look for a floatweed path to the right of the entrance (marked on the area map). Continue all the way to the end and pass through the grassy chocobo area to Skyreach Ridge. Continue toward the west ridge of the Babbling Vale and touch the Shrine of the West Wind. Knock over the Weathered Rock next to the shrine to return to the camp. Revisit the Shrine of the Northwest Wind, next to the Learned Man, and touch it.
|
Level |
46 |
EXP |
0 |
Steal |
Libra Gem, Elixir, High Arcana |
|
HP |
119060 |
LP |
52 |
This boss uses Reflect quite often, so beware of casting magick against it. Always make sure you dispel Reflect before attempting any sort of magick attack, or use Opal Rings to cast through the Reflect. This Esper can also cast two very powerful spells: Flare and Scathe. Keep the party separated and Decoy the leader to ensure these spells cause as little damage as possible. Also, be sure to employ the use of Shell in this situation. Note also that Exodus can randomly inflict Stop by using his regular physical attacks.
Items are locked in this fight, but that shouldn’t be a problem. Focus on physical damage and technicks like Souleater and 1000 Needles. Use Expose to lower the boss’s defense throughout the fight, so physical attacks and technicks inflict as much damage as possible. Near the end of the battle, the boss creates a Paling that makes it immune to physical attacks. This is when Dispel and Arcane magicks come into play. Keep a close eye on Exodus and make sure Reflect is dispelled, then bombard it with Darkga to finish it off. Otherwise, wait for the Paling to fade and finish it off with a volley of physical attacks.
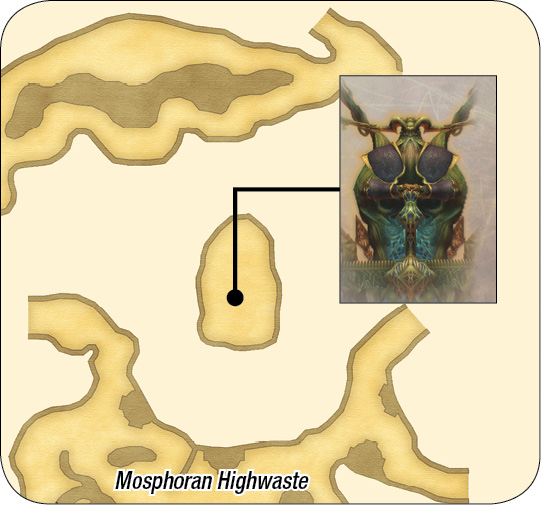
Chaos, Walker of the Wheel
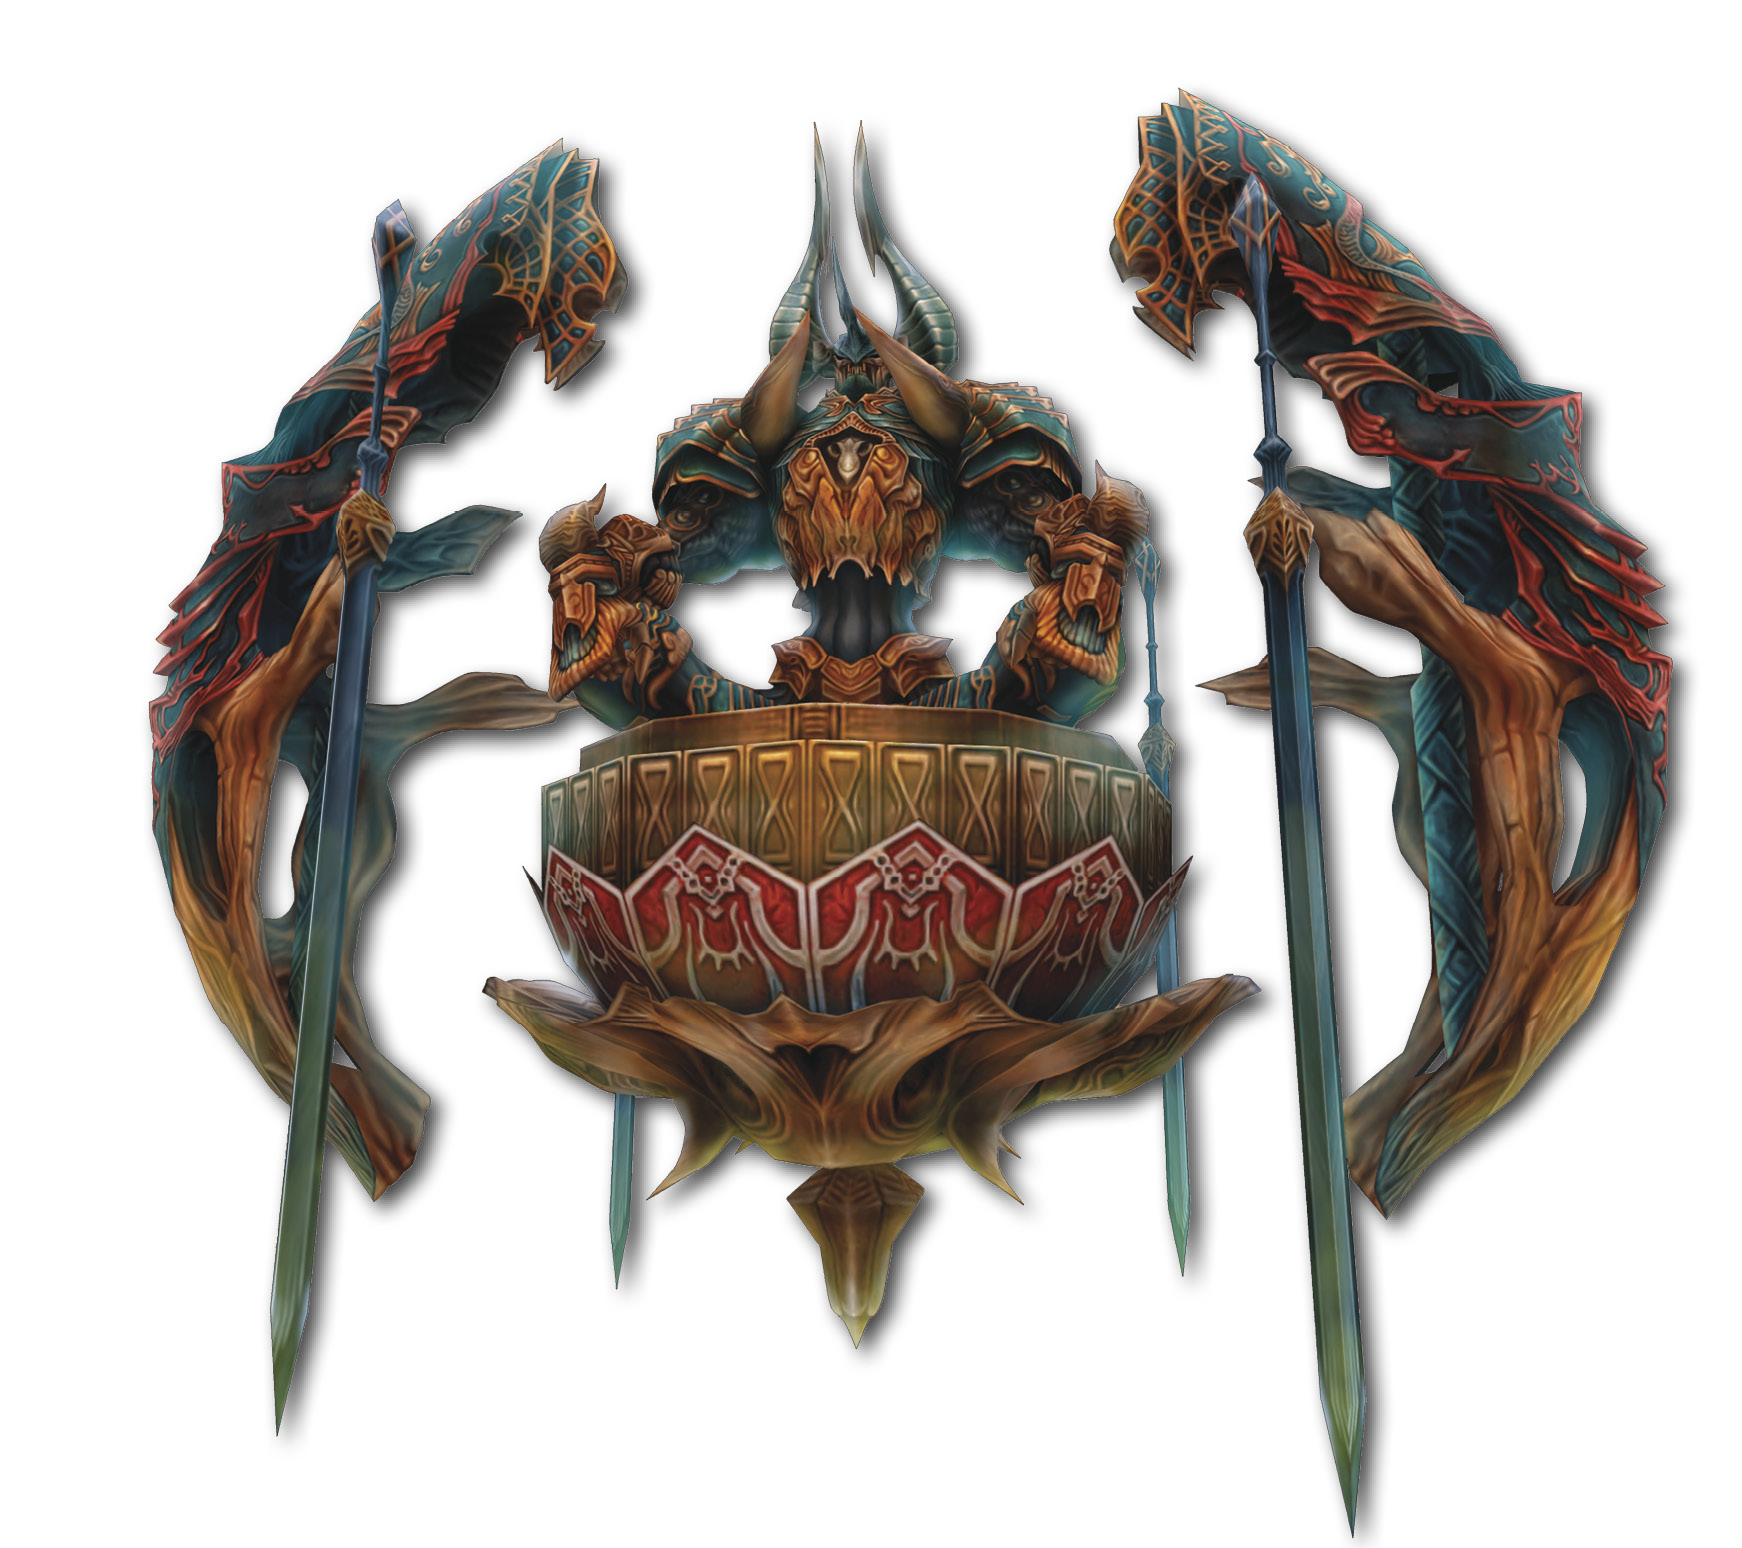
Chaos is found at the end of the Nabreus’s Medal event. The party must find the four pieces of the medal and recover two more medals. Next, the party must explore the Necrohol of Nabudis and fight two powerful bosses before facing Chaos. It’s a long journey, but well worth the trouble.
|
Level |
57 |
EXP |
0 |
Steal |
Taurus Gem, Elixir, High Arcana |
|
HP |
208966 |
LP |
60 |
The Attack command is disabled in this battle, which forces the party to rely on magicks and technicks. The Chaosjets that accompany Chaos will cast Silence, so equip Rose Corsages to negate this, or set up gambits with Echo Herbs.
Make the four Chaosjets (Air, Earth, Fire, and Water) the primary targets at the start of the battle. Use Souleater to really put the hurt on them. If a character or two is focused on outputting damage with Souleater, make sure the other characters are focused on refilling their HP. Using this technique, it’s possible to quickly eradicate all four Chaosjets. Otherwise, use Aeroga to defeat the Earth Chaosjet and Firaga to eliminate the Water Chaosjet. The Air Chaosjet is weak to earth elements, while the Fire Chaosjet is weak to water elements, but technicks work best on them both. Additionally, you can try to hit them all with a non-elemental area-of-effect spell such as Scourge, Bio, or Scathe.
It’s also important to note that Chaos will absorb Wind-based attacks! When the four Chaosjets are history, it’s time to focus on Chaos. A combination of Bio and Souleater work very well against the big guy.
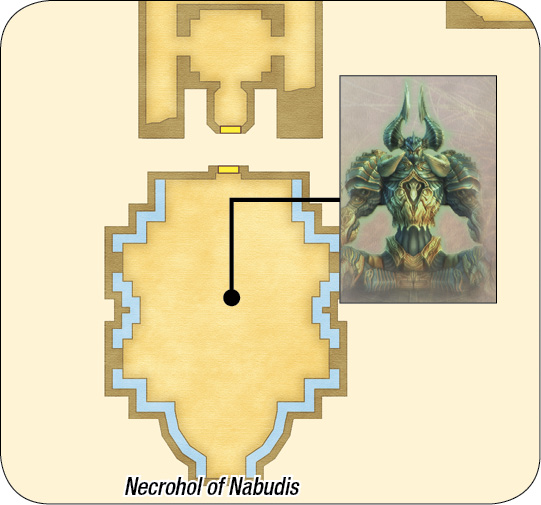
Ultima, the High Seraph
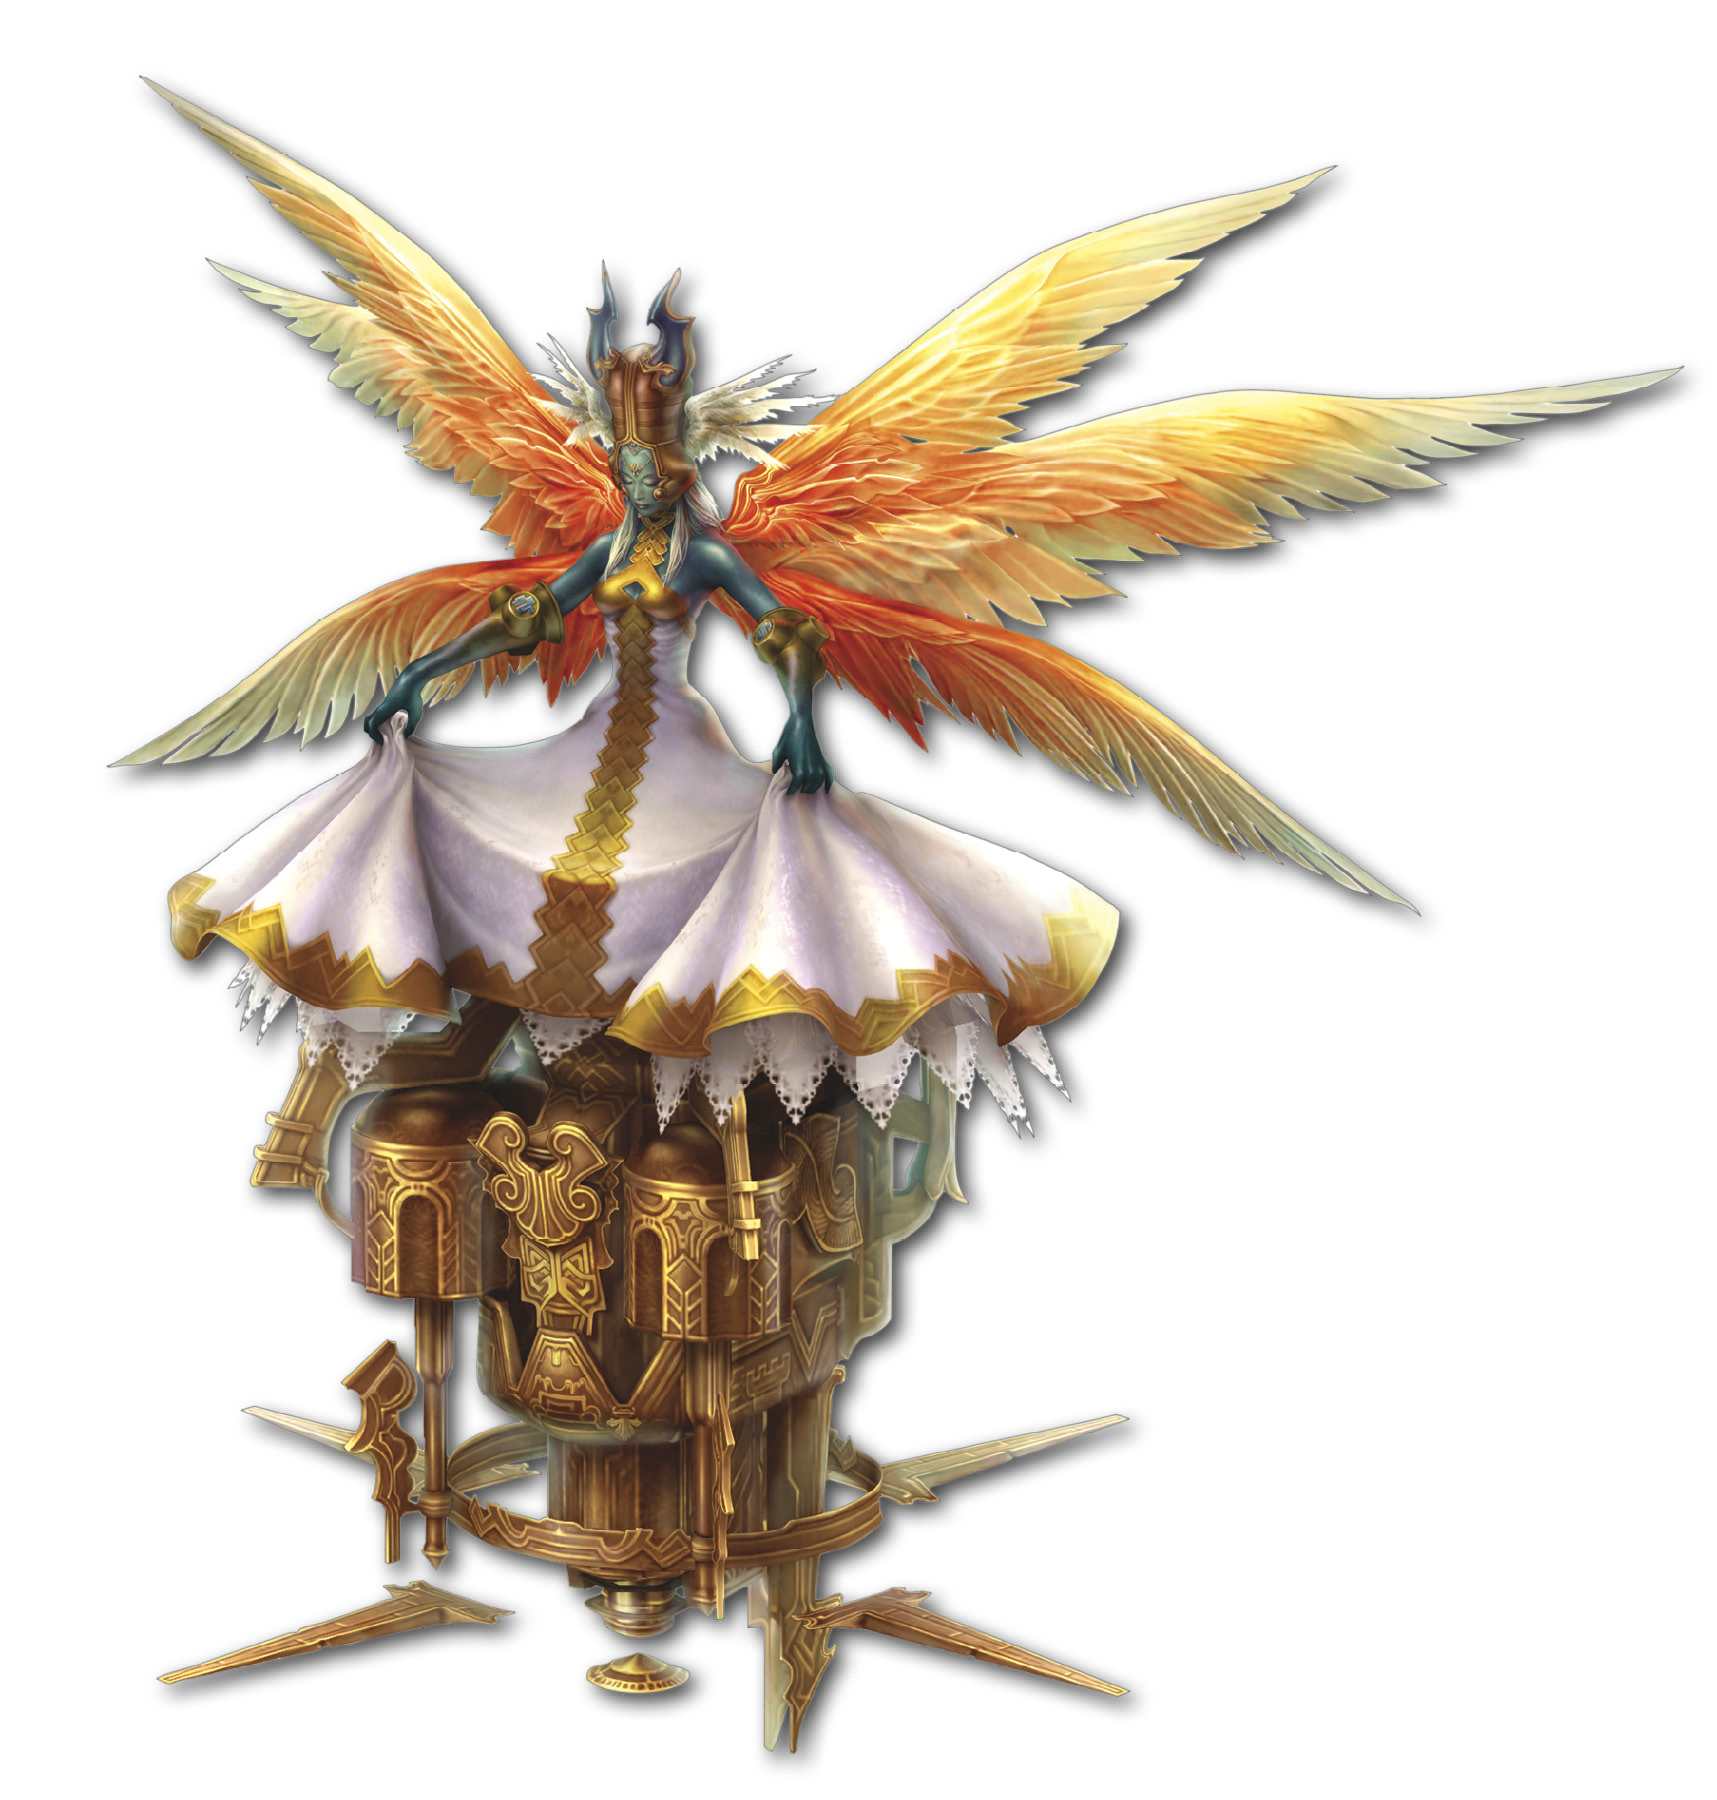
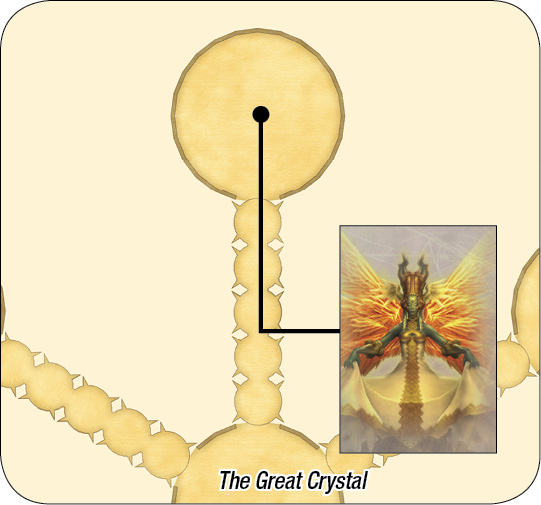
The quest for Ultima takes the party back into the twisted path of The Great Crystal below Giruvegan. Begin at Way Stone VIII and trek up to the Scorpio Gate Stone. Hit the switch and go back down to Way Stone VIII, then turn right and head up to Way Stone IX.
Pass Way Stone XX, taking either the left or right path on the opposite side to reach the Sagittarius Gate Stone. Return to Sagittarius Gates I & II. You can go in either direction, but for purposes of this walkthrough, choose Gate I, which leads to Way Stone XI. Go ahead and use the stone.
Take the rising path to the Gemini Gate Stone. Flip the switch and take the next rising path. Bypass Gemini Gate I on the right and continue to Gemini Gate II. Follow either of the gateless paths beyond Gemini Gate II to Way Stone XV and use the device.
Follow the center path from Way Stone XVI up to the Libra Gate Stone. Use the switch, then backtrack to Way Stone XVI and take the path on the right to Gate Libra I, deactivate it, then continue up. Take the rising path on the left at the next platform to the Capricorn Gate Stone. Flip the switch and backtrack down, then go right to return to Way Stone XVI. Use the sinking path on the opposite side to find Gate Capricorn I and the Virgo Gate Stone. Toss the switch on the stone and backtrack to Way Stone XVI again. Use the center path to go to the next platform, then take the left or right path to reach Gate Virgo I or II. Pass through the gate and go to Way Stone XVII to reach the last area. Save your game at the Save Crystal just ahead. The center path leads to Ultima!
|
Level |
63 |
EXP |
0 |
Steal |
Virgo Gem, High Arcana, Megalixir |
|
HP |
258001 |
LP |
65 |
For starters, don't miss the treasure chest dead-center in the area. Inside, you'll find Excalibur, one of the game's strongest weapons. DO NOT equip Excalibur yet, though, because it's a Holy weapon and Ultima absorbs Holy damage. (Return to this room later with a Diamond Armlet on, and there's a very low probability that a rarely respawning chest here will contain Gendarme, the ultimate shield.) Dispel Ultima at the start of the battle. Her attack pattern is simple, as she uses physical attacks at close range that cause moderate damage. This is accompanied by an occasional blast of Holyja. The Holyja magick causes heavy holy damage, so White Masks are a huge help since they absorb it. Holyja sometimes leaves a Reverse status on characters, so beware of group heals. One Curaja could wipe out the entire party. Keep healing manually or be ready to interrupt any heals after a Holyja attack.
The real challenge in this battle is the shifting battle conditions. It begins with HP Sap, then switches between MP Sap, No Attack, No Magicks, No Technicks, No Items, Magnetic Field, and then it repeats from HP Sap. Keep these conditions in mind and prepare for them. Make sure everyone has plenty of HP before the HP Sap hits. Recover MP quickly when the No Attack field begins and heal the entire party. Utilize physical attacks and rely on items to heal while the No Magick field is in effect. The No Technicks battle condition really shouldn’t be a problem, while the No Items condition is a blessing and a great opportunity to cause serious damage to Ultima. The Magnetic Field reduces damage and slows down the party down. Get everyone healed at this time and prepare to start the loop back at the beginning.
When Ultima is low on health, she begins using a beam attack that causes massive damage to one character. This is very difficult to overcome. Try to finish her off before she overwhelms your party. If you have Mist Charges left toward the end, it's time to spend them on Quickening chains, or to summon Espers and immediately unleash their ultimate technicks. (Don't summon an Esper and then actually try to fight, which will go extremely poorly against Ultima!)
Zodiark, Keeper of Precepts
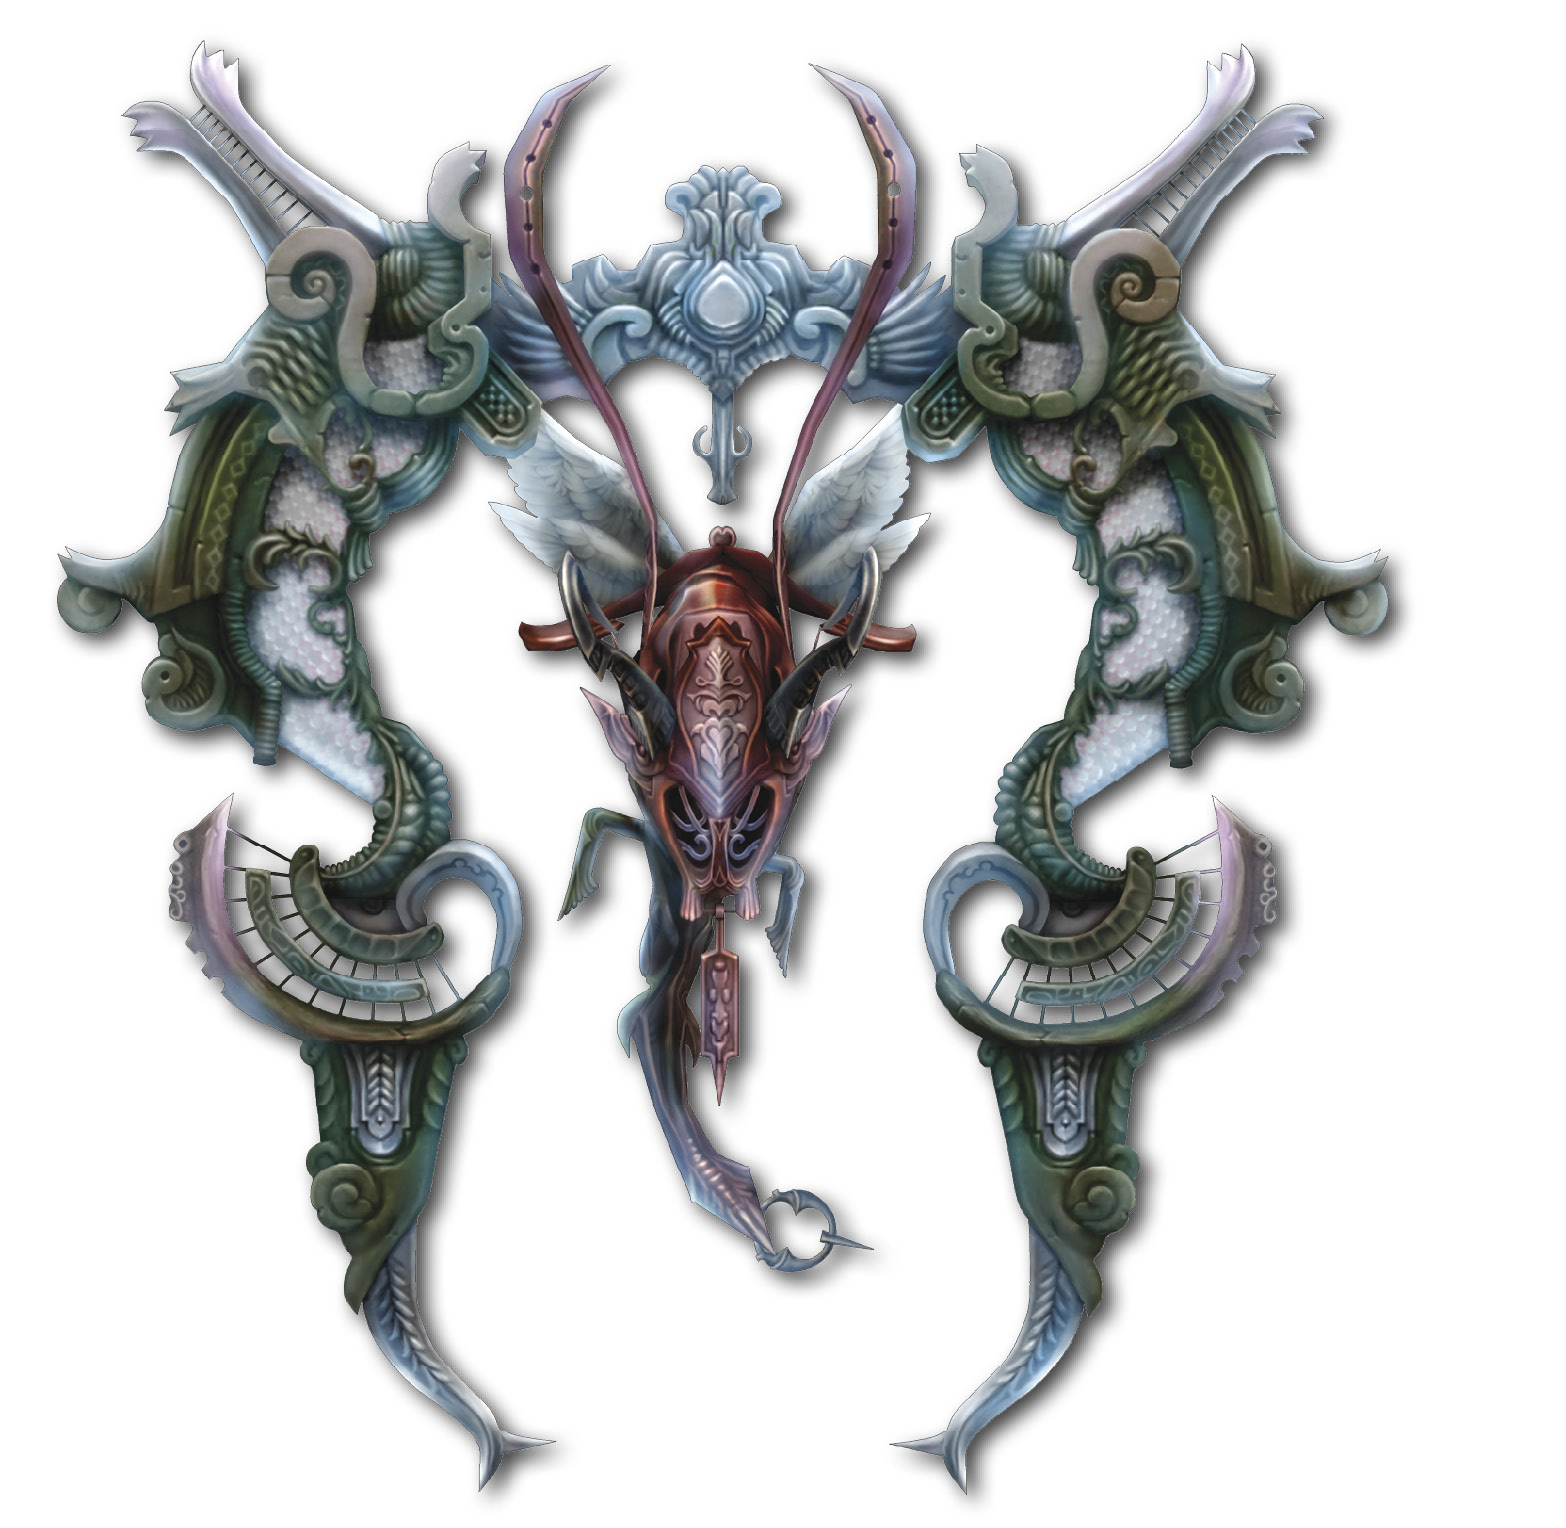
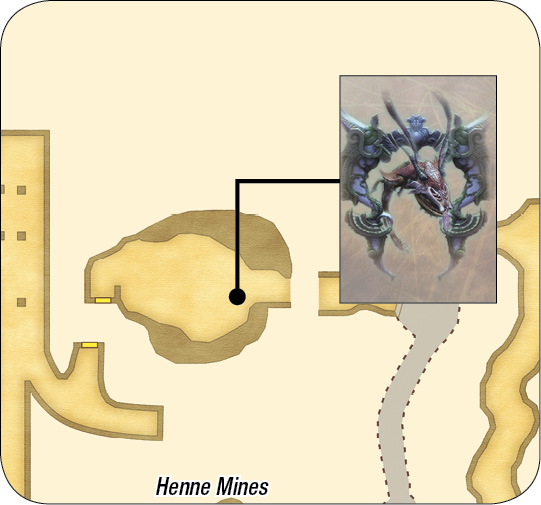
Talk to Geomancer Yugelu in Jahara after the party finds at least 10 Espers. Yugelu then unlocks the path within the Henne Mines that leads to Zodiark. The path is just north of the Staging Shaft in the Ore Separation room. The crystal in the Staging Shaft is the closest save point to Zodiark, so use it! The path to Zodiark is very difficult and tricky to navigate. Keep Float on the party at all times to avoid traps.
|
Level |
66 |
EXP |
0 |
Steal |
Serpentarius, High Arcana, Megalixir |
|
HP |
336847 |
LP |
70 |
To prepare for this fight, ensure everyone capable has a Black Mask equipped. Enter the battle with only one character and everyone else in reserve. The reason for this is that Zodiark always begins the fight with Darkja and there’s no reason to expose the entire party to it. Let one character take the hit, then bring two more characters into the battle.
Zodiark uses Reflect, Protect, Shell, and Haste. Dispel them immediately and be ready to Dispel them again throughout the entire battle.
The boss’s big attack is Darkja, which it uses frequently. This powerful attack causes lots of dark damage and it has a good chance of instantly killing its victims. This attack will wipe out your party on occasion. There’s simply no way to avoid it, but Black Masks can help.
The trick in this fight involves how you react and recover after Darkja is used. Bring in the reserves and immediately restore the downed allies with Phoenix Down or Arise. The reserve members can put up a fight for a bit, but chances are they won’t be as powerful as the primary party and will quickly fall. Switch in the main party and immediately restore the reserve party with Phoenix Down (expect to do this often). It becomes even more critical near the end of the battle when Zodiark’s attacks are extremely powerful and Darkja isn’t the only threat. Keep the party moving and a fair distance from each other to prevent Scathe from hitting all of your characters.
The first half of the fight is pretty simple. Cast Berserk and Bravery on a physical attack specialist and watch him go to work. If you have weapons with the holy element, be sure to use them for now. A powerful fighter can hit for 9999 HP of damage at high speed with Haste and Berserk in play.
The fight gets complicated when Zodiark loses about half of its HP. When this occurs, Zodiark begins casting a Magick Shield that makes it immune to magick. Keep pounding away with physical attacks for the time being. Try to keep Zodiark dispelled, but the Magick Shield occasionally makes this impossible.
As the boss's health starts creeping closer to one-fourth of its total, Zodiark will start to use a skill called Shift which changes its elemental weakness. Replace your holy element weapons with non-elemental weapons. This is also your cue to start a Quickening. You can end the fight here with a large Quickening chain and save yourself some grief with what’s coming after Shift. If the Quickening doesn’t finish Zodiark off, or if you miss your window, it uses a Paling and a Magick Shield. This means that it will often be completely invulnerable. While the Magick Shield goes down for extended periods, the Paling only ever goes down for a second or less. After this point, physical attacks against Zodiark are not an option and it has only one randomly changing elemental weakness. What to do? Time to put Scathe and the other non-elemental spells to good use. Although Flare also works, avoid using it due to its significant recovery time. One thing you need to be extremely careful about is Reflect. Dispel it off of Zodiark as soon as he casts it. If the Magick Shield is up while it has the Reflect status, sit back and heal up while you wait it out. You don’t want your own Scathe wiping out your party.
As the boss’s HP gets lower, Zodiark’s attacks grow faster and more powerful. It also casts Darkja much more often. The fight really gets dangerous when the boss’s HP is almost gone. Take it slow and steady and he will go down eventually.