
Final Fantasy XII: The Zodiac Age Guide Walkthrough Part 4
The Feywood
Action Checklist
1. Cross the northern half of the Feywood.
2. Defeat Rafflesia.
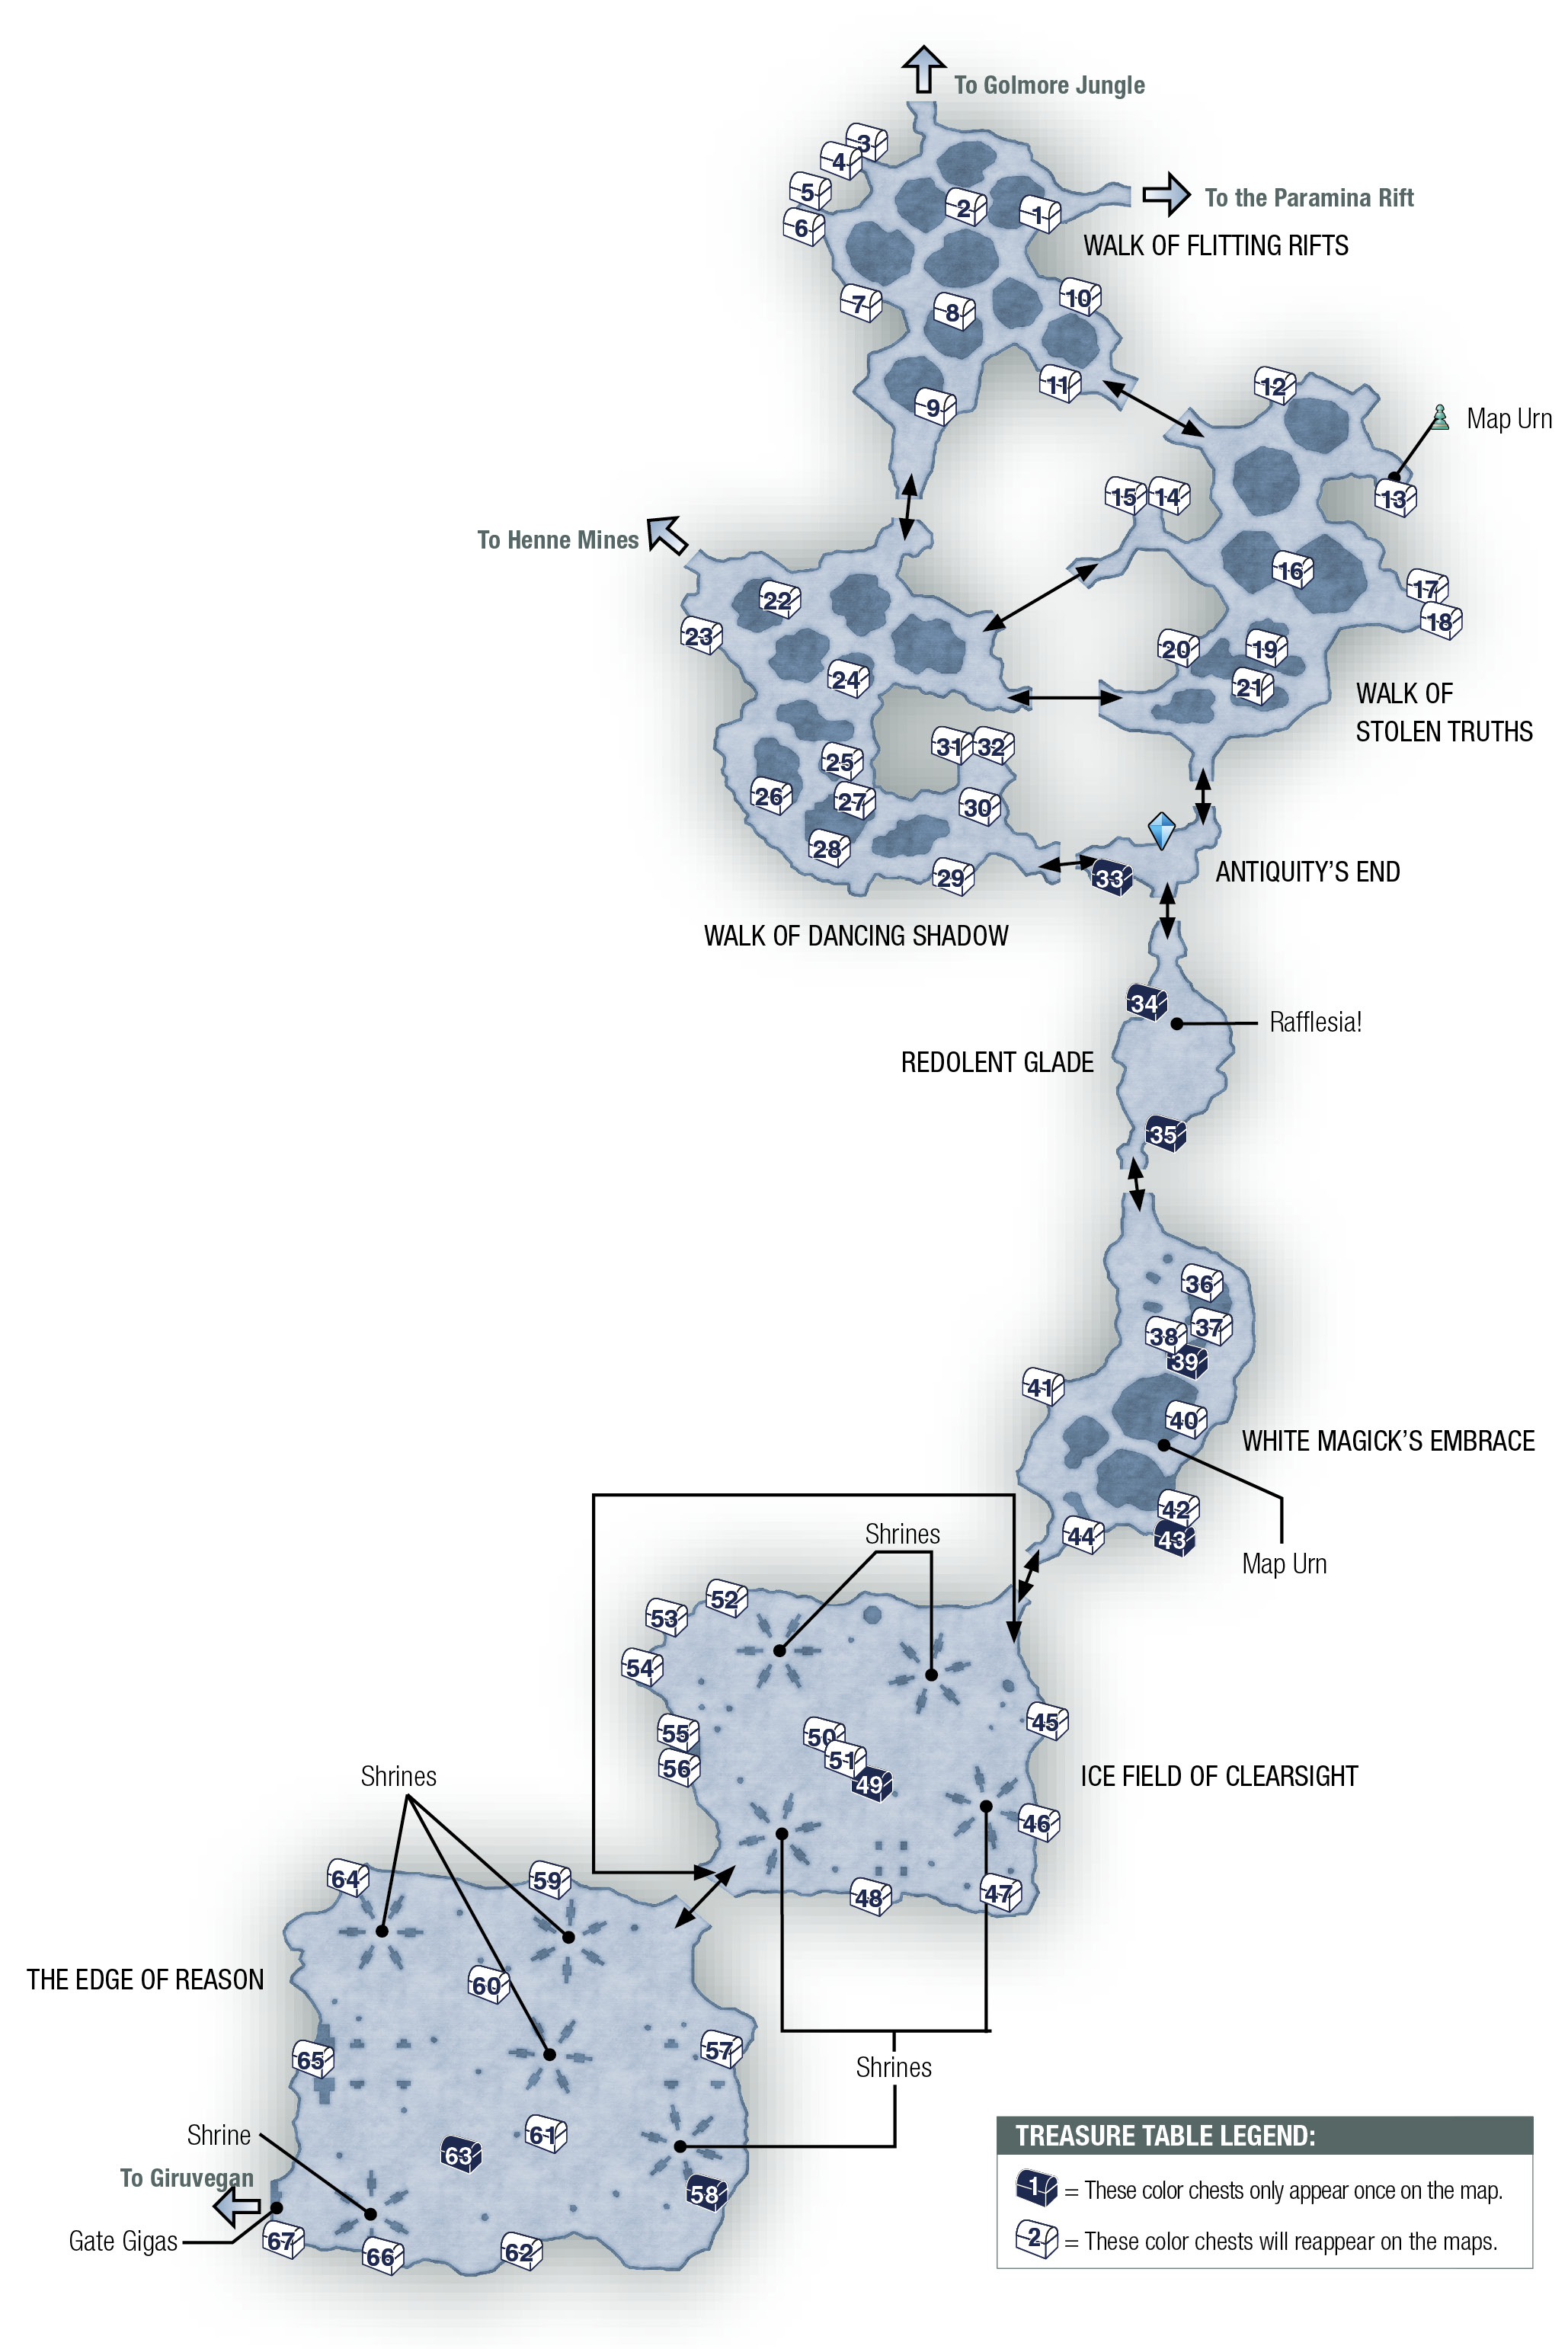
| Pop odds | If pop, Gil odds & Amt | Normal Loot | w/Diamond Armlet | ||||
|---|---|---|---|---|---|---|---|
|
# |
App. % |
Gil % |
Amt. if Gil |
50% |
50% |
95% |
5% |
|
1 |
65% |
50% |
~250 |
Ether |
Bacchus’s Wine |
Knot of Rust |
Meteorite (A) |
|
2 |
65% |
50% |
~250 |
Rime Fang |
Handkerchief |
Knot of Rust |
Meteorite (B) |
|
3 |
65% |
50% |
~250 |
Rime Fang |
Gold Needle |
Knot of Rust |
Meteorite (A) |
|
4 |
65% |
50% |
~250 |
Ether |
Prince’s Kiss |
Knot of Rust |
Meteorite (A) |
|
5 |
65% |
50% |
~250 |
Soleil Fang |
Antidote |
Knot of Rust |
Meteorite (A) |
|
6 |
65% |
50% |
~250 |
Ether |
Hi-Ether |
Knot of Rust |
Meteorite (A) |
|
7 |
65% |
50% |
~250 |
Ether |
Hi-Ether |
Knot of Rust |
Meteorite (A) |
|
8 |
65% |
50% |
~250 |
Ether |
Remedy |
Knot of Rust |
Meteorite (A) |
|
9 |
60% |
50% |
~300 |
Ether |
Eye Drops |
Knot of Rust |
Meteorite (B) |
|
10 |
65% |
50% |
~250 |
Lightning Fang |
Phoenix Down |
Knot of Rust |
Meteorite (C) |
|
11 |
60% |
50% |
~300 |
Lightning Fang |
Echo Herbs |
Knot of Rust |
Meteorite (A) |
|
12 |
75% |
50% |
~300 |
Ether |
Prince’s Kiss |
Knot of Rust |
Meteorite (B) |
|
13 |
75% |
50% |
~300 |
Ether |
Serum |
Knot of Rust |
Meteorite (A) |
|
14 |
75% |
50% |
~300 |
Ether |
Serum |
Knot of Rust |
Meteorite (A) |
|
15 |
75% |
50% |
~300 |
Ether |
Chronos Tear |
Knot of Rust |
Meteorite (A) |
|
16 |
75% |
50% |
~300 |
Rime Fang |
Hi-Ether |
Knot of Rust |
Meteorite (A) |
|
17 |
75% |
50% |
~300 |
Ether |
Nu Khai Sand |
Knot of Rust |
Meteorite (A) |
|
18 |
75% |
50% |
~300 |
Ether |
Handkerchief |
Knot of Rust |
Meteorite (A) |
|
19 |
75% |
50% |
~300 |
Ether |
Serum |
Knot of Rust |
Meteorite (A) |
|
20 |
75% |
50% |
~300 |
Soleil Fang |
Phoenix Down |
Knot of Rust |
Meteorite (B) |
|
21 |
75% |
50% |
~300 |
Soleil Fang |
Serum |
Knot of Rust |
Meteorite (A) |
|
22 |
75% |
50% |
~300 |
Rime Fang |
Nu Khai Sand |
Knot of Rust |
Meteorite (B) |
|
23 |
75% |
50% |
~300 |
Ether |
Bacchus’s Wine |
Knot of Rust |
Meteorite (A) |
|
24 |
75% |
50% |
~300 |
Ether |
Gold Needle |
Knot of Rust |
Meteorite (A) |
|
25 |
75% |
50% |
~300 |
Lightning Fang |
Hi-Ether |
Knot of Rust |
Meteorite (A) |
|
26 |
75% |
50% |
~300 |
Rime Fang |
Chronos Tear |
Knot of Rust |
Meteorite (B) |
|
27 |
75% |
50% |
~300 |
Ether |
Hi-Potion |
Knot of Rust |
Meteorite (C) |
|
28 |
75% |
50% |
~300 |
Ether |
Remedy |
Knot of Rust |
Meteorite (A) |
|
29 |
75% |
50% |
~300 |
Ether |
Chronos Tear |
Knot of Rust |
Meteorite (A) |
|
30 |
75% |
50% |
~300 |
Rime Fang |
Phoenix Down |
Knot of Rust |
Meteorite (A) |
|
31 |
75% |
50% |
~300 |
Ether |
Gold Needle |
Knot of Rust |
Meteorite (A) |
|
32 |
75% |
50% |
~300 |
Ether |
Chronos Tear |
Knot of Rust |
Meteorite (A) |
|
33 |
25% |
0% |
— |
Embroidered Tippet |
Embroidered Tippet |
Embroidered Tippet |
Embroidered Tippet |
|
34 |
100% |
0% |
— |
Domaine Calvados |
Domaine Calvados |
Domaine Calvados |
Domaine Calvados |
|
35 |
100% |
0% |
— |
X-Potion |
X-Potion |
X-Potion |
X-Potion |
|
36 |
75% |
50% |
~300 |
Ether |
Chronos Tear |
Knot of Rust |
Meteorite (B) |
|
37 |
75% |
50% |
~300 |
Ether |
Hi-Potion |
Knot of Rust |
Meteorite (A) |
|
38 |
75% |
50% |
~300 |
Ether |
Hi-Potion |
Knot of Rust |
Meteorite (A) |
|
39 |
100% |
0% |
— |
Dispelga |
Dispelga |
Dispelga |
Dispelga |
|
40 |
75% |
50% |
~300 |
Rime Fang |
Hi-Potion |
Knot of Rust |
Meteorite (C) |
|
41 |
75% |
50% |
~300 |
Ether |
Phoenix Down |
Knot of Rust |
Meteorite (B) |
|
42 |
75% |
50% |
~300 |
Rime Fang |
Hi-Ether |
Knot of Rust |
Meteorite (A) |
|
43 |
100% |
0% |
— |
Golden Amulet |
Golden Amulet |
Golden Amulet |
Golden Amulet |
|
44 |
75% |
50% |
~300 |
Ether |
Hi-Potion |
Knot of Rust |
Meteorite (A) |
|
45 |
75% |
50% |
~300 |
Ether |
Giant’s Helmet |
Knot of Rust |
Meteorite (A) |
|
46 |
75% |
50% |
~300 |
Ether |
Carabineer Mail |
Knot of Rust |
Meteorite (A) |
|
47 |
75% |
50% |
~300 |
Ether |
Chakra Band |
Knot of Rust |
Meteorite (A) |
|
48 |
75% |
50% |
~300 |
Rime Fang |
Remedy |
Knot of Rust |
Meteorite (A) |
|
49 |
100% |
0% |
— |
Bubble Belt |
Bubble Belt |
Bubble Belt |
Bubble Belt |
|
50 |
75% |
50% |
~300 |
Soleil Fang |
Jade Gown |
Knot of Rust |
Meteorite (A) |
|
51 |
75% |
50% |
~300 |
Soleil Fang |
Hypnocrown |
Knot of Rust |
Meteorite (B) |
|
52 |
75% |
50% |
~300 |
Rime Fang |
Hi-Ether |
Knot of Rust |
Meteorite (A) |
|
53 |
75% |
50% |
~300 |
Ether |
Power Vest |
Knot of Rust |
Meteorite (A) |
|
54 |
75% |
50% |
~300 |
Rime Fang |
Serum |
Knot of Rust |
Meteorite (C) |
|
55 |
75% |
50% |
~300 |
Ether |
Kaiser Shield |
Knot of Rust |
Meteorite (B) |
|
56 |
75% |
50% |
~300 |
Ether |
Power Armlet |
Knot of Rust |
Meteorite (A) |
|
57 |
75% |
50% |
~300 |
Ether |
Platinum Dagger |
Knot of Rust |
Meteorite (A) |
|
58 |
100% |
0% |
— |
Defender |
Defender |
Defender |
Defender |
|
59 |
75% |
50% |
~300 |
Ether |
Trident |
Knot of Rust |
Meteorite (A) |
|
60 |
5% |
50% |
~200 |
Lightning Fang |
Ether |
Knot of Rust |
Baltoro Seed |
|
61 |
75% |
70% |
~300 |
Ether |
Spica |
Knot of Rust |
Meteorite (A) |
|
62 |
75% |
50% |
~300 |
Ether |
Morning Star |
Knot of Rust |
Meteorite (C) |
|
63 |
100% |
0% |
— |
Reflectga |
Reflectga |
Reflectga |
Reflectga |
|
64 |
75% |
50% |
~300 |
Soleil Fang |
Deathbringer |
Knot of Rust |
Meteorite (B) |
|
65 |
75% |
50% |
~300 |
Ether |
Ivory Pole |
Knot of Rust |
Meteorite (A) |
|
66 |
75% |
50% |
~300 |
Lightning Fang |
Traitor’s Bow |
Knot of Rust |
Meteorite (A) |
|
67 |
75% |
40% |
~350 |
Remedy |
Serum |
Knot of Rust |
Meteorite (B) |
Cross North Feywood
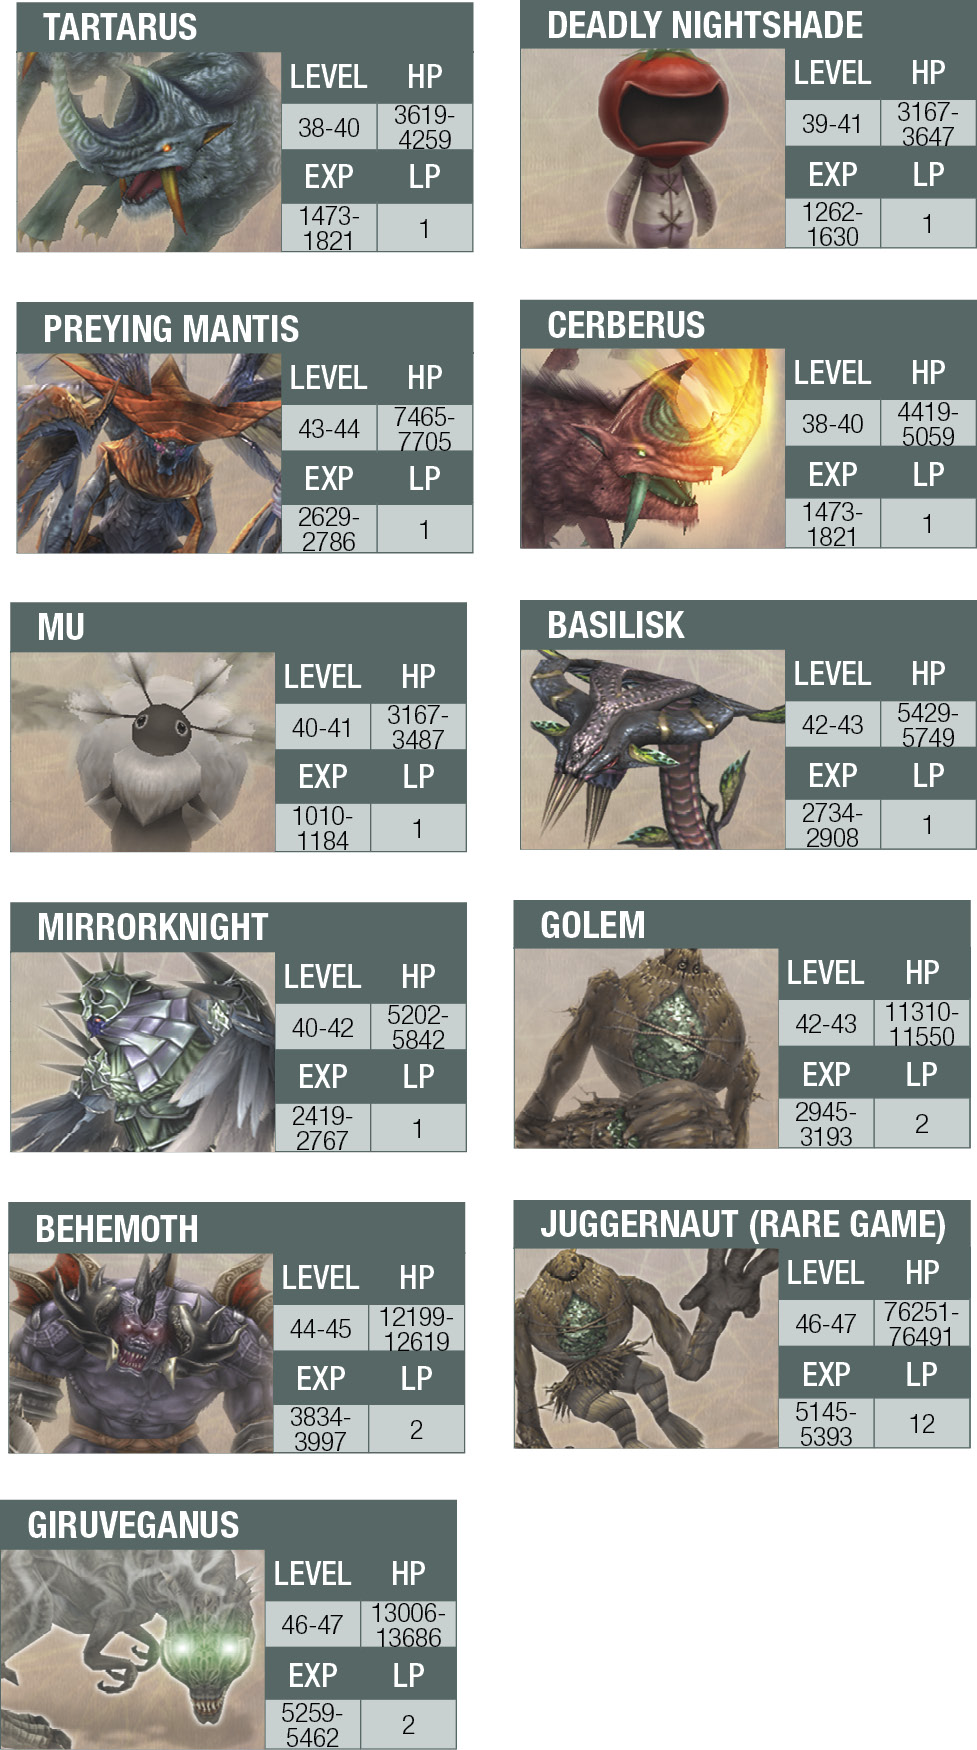
The first thing the party runs into is a swarm of Deadly Nightshades. Although they may look cute, don’t underestimate their lethality, especially in large packs. Creatures in the Feywood tend to cast magick such as Haste, Protect, and Shell upon themselves. Make sure your Dispel spell is at the ready.
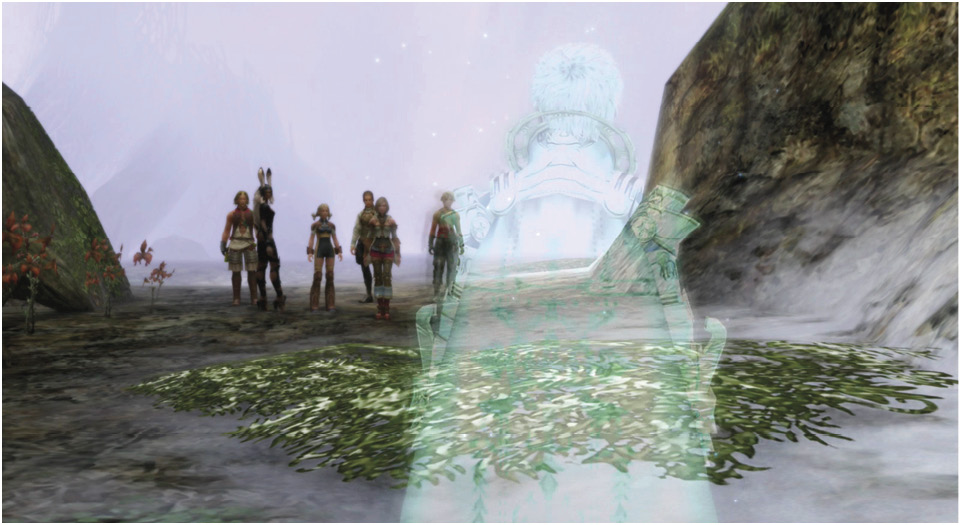
Proceed to the southeast and cross the zone line into the Walk of Stolen Truths. Now just follow the left cliff wall until you find an alcove with the Map Urn. Your immediate goal is the small area called Antiquity’s End to the south, where you’ll find a Save Crystal. After saving, head for the dense, swirling mist in the southern exit. It prevents you from advancing, but then the spirit of Rasler appears again and opens a way to the south. Follow him through. He leads the party right into the lair of Rafflesia.
Rafflesia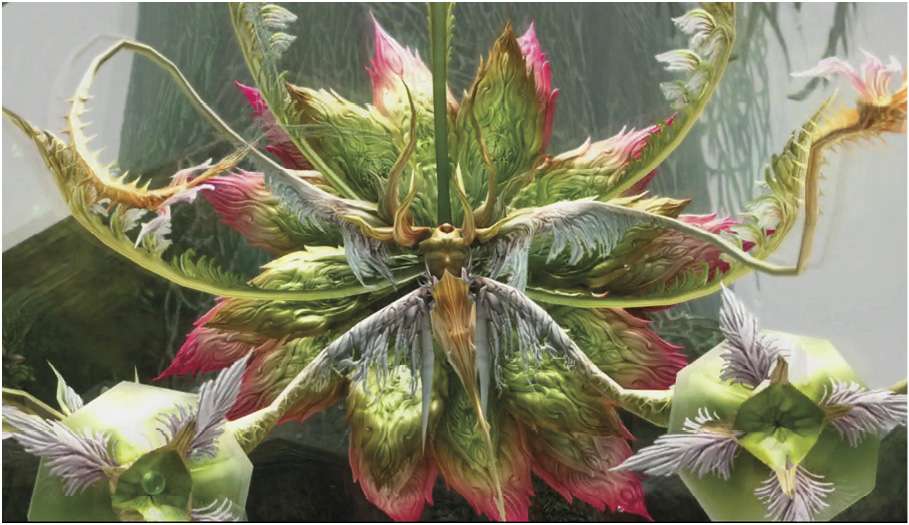
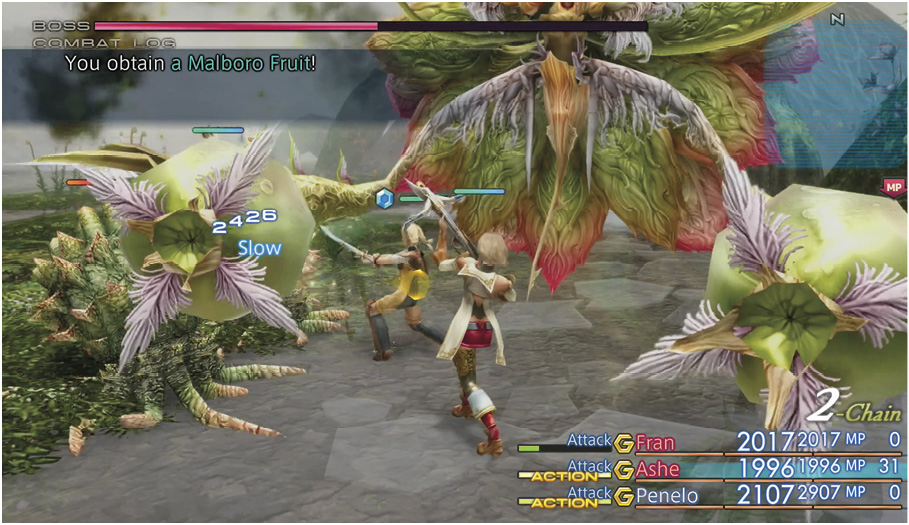
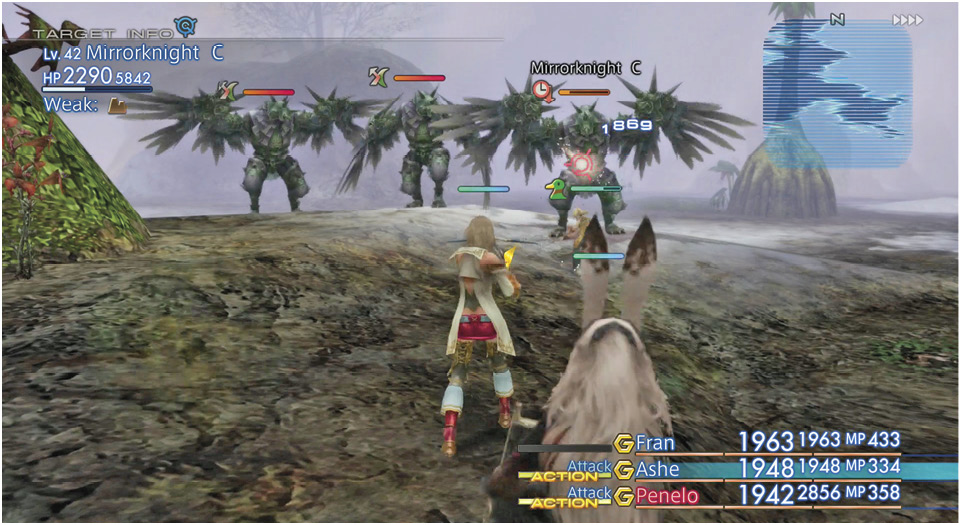
This battle is a status effects nightmare. Rafflesia slings every manner of ailment at the party, plus the MP Drain Field quickly drains your MP down to nothing. That’s right—every active character in your party soon loses the ability to cast any magick, including status removal magick! Thus, it helps if you have plenty of status removal items available. Before you take your first swing (or even before you enter the clearing), you should adjust all of your status-removal gambits so that they use items instead of spells. For example, replace Blindna with Eye Drops, Raise with Phoenix Down, and so on. Immediately upon entering, before Mist Points have been drained, direct any characters capable of casting Dispel to aim it at Rafflesia. This will remove its Haste, Shell, and Regen status buffs. When your party has no more magick, just hack away with good old-fashioned weapon attacks. When Rafflesia’s HP hits the halfway mark, it spawns a trio of Malboros. Turn your attention to them and wipe them out, then go back to Rafflesia. Another very effective tactic is to equip as many members of your party as possible with Mirror Mail. Those allies (like everyone else in your party) will rely on Potions for HP recovery anyway, so they don’t really lose out on curing magick. With Mirror Mail, the status ailment spells ricochet harmlessly away and you can hack away at the big stalk boy. Note that you can pick up dropped Mirror Mail from the Mirrorknights that prowl the Walk of Dancing Shadow area to the west if you build up a good Battle Chain against them. By the way, check out Rafflesia’s official classification in your Clan Primer Bestiary: “Aggressive Vegetable.” After Rafflesia finally falls, go back north to use the Save Crystal and then move into the southern part of the Feywood. |
