Final Fantasy XII: The Zodiac Age Guide Walkthrough Part 2
Lhusu Mines
Action Checklist
1. Work your way into Site 2.
2. Escape Ba’Gamnan and crew!
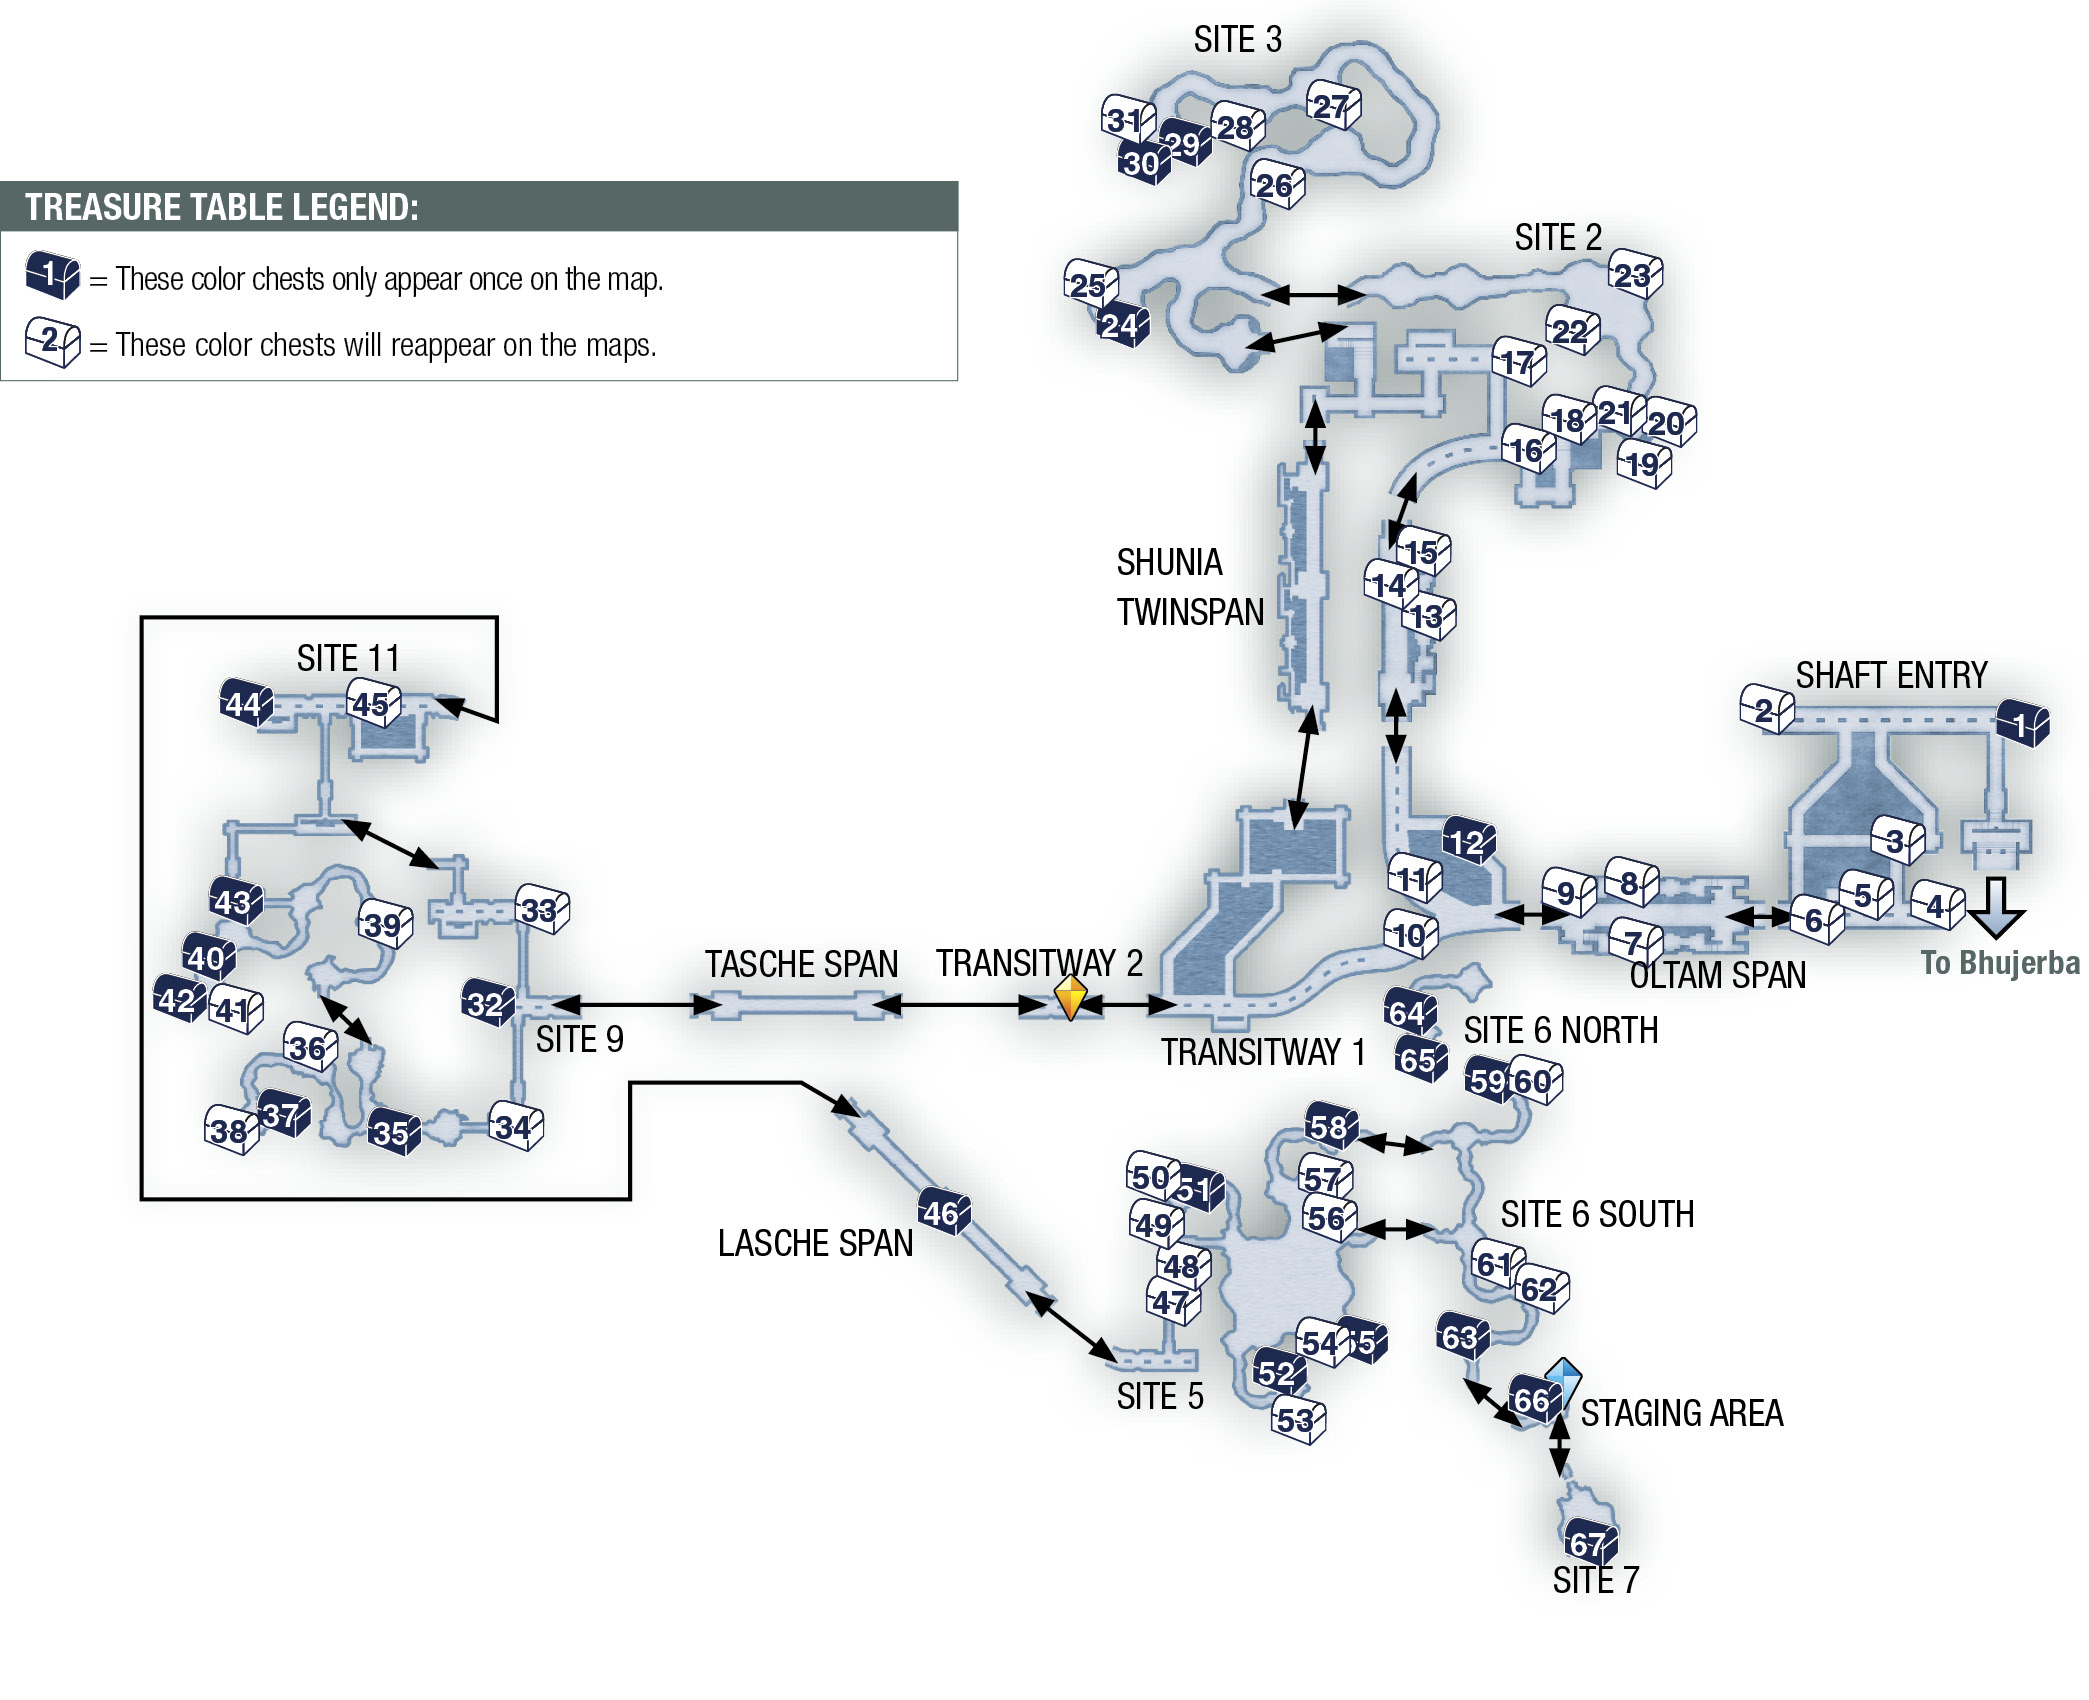
| Pop odds | If pop, Gil odds & Amt | Normal Loot | w/Diamond Armlet | ||||
|---|---|---|---|---|---|---|---|
|
# |
App. % |
Gil % |
Amt. if Gil |
50% |
50% |
90% |
10% |
|
1 |
100% |
0% |
— |
Silence |
Silence |
Silence |
Silence |
|
2 |
70% |
35% |
~220 |
Aqua Mote |
Bronze Mace |
Knot of Rust |
Meteorite (A) |
|
3 |
70% |
35% |
~220 |
Aero Mote |
Hi-Potion |
Knot of Rust |
Meteorite (A) |
|
4 |
70% |
40% |
~220 |
Aqua Mote |
Osafune |
Knot of Rust |
Meteorite (B) |
|
5 |
70% |
30% |
~220 |
Dark Mote |
Chronos Tear |
Knot of Rust |
Meteorite (A) |
|
6 |
70% |
30% |
~220 |
Aero Mote |
Ether |
Knot of Rust |
Meteorite (A) |
|
7 |
75% |
40% |
~240 |
Dark Mote |
Topkapi Hat |
Knot of Rust |
Meteorite (B) |
|
8 |
75% |
40% |
~240 |
Aero Mote |
Onion Bombs |
Knot of Rust |
Meteorite (A) |
|
9 |
75% |
40% |
~240 |
Dark Mote |
Echo Herbs |
Knot of Rust |
Meteorite (A) |
|
10 |
70% |
30% |
~270 |
Balance Mote |
Potion |
Knot of Rust |
Meteorite (A) |
|
11 |
70% |
40% |
~270 |
Aero Mote |
Leather Headgear |
Knot of Rust |
Meteorite (B) |
|
12 |
100% |
0% |
— |
Numerology |
Numerology |
Numerology |
Numerology |
|
13 |
80% |
30% |
~270 |
Potion |
Potion |
Knot of Rust |
Meteorite (A) |
|
14 |
80% |
30% |
~270 |
Potion |
Aero Mote |
Knot of Rust |
Meteorite (A) |
|
15 |
80% |
30% |
~270 |
Potion |
Potion |
Knot of Rust |
Meteorite (B) |
|
16 |
70% |
30% |
~260 |
Aero Mote |
Steel Gorget |
Knot of Rust |
Meteorite (A) |
|
17 |
70% |
30% |
~260 |
Potion |
Serpent Rod |
Knot of Rust |
Meteorite (A) |
|
18 |
75% |
30% |
~260 |
Dispel Mote |
Ether |
Knot of Rust |
Meteorite (C) |
|
19 |
70% |
30% |
~260 |
Cura Mote |
Handkerchief |
Knot of Rust |
Meteorite (B) |
|
20 |
80% |
30% |
~260 |
Gravity Mote |
Assassin’s Dagger |
Knot of Rust |
Meteorite (B) |
|
21 |
80% |
30% |
~260 |
Hi-Potion |
Gold Needle |
Knot of Rust |
Meteorite (A) |
|
22 |
70% |
30% |
~260 |
Chronos Tear |
Battle Bamboo |
Knot of Rust |
Meteorite (A) |
|
23 |
70% |
30% |
~260 |
Aero Mote |
Phoenix Down |
Knot of Rust |
Meteorite (A) |
|
24 |
100% |
0% |
— |
Multiscale |
Multiscale |
Multiscale |
Multiscale |
|
25 |
90% |
50% |
~450 |
Dark Mote |
Warp Mote |
Knot of Rust |
Meteorite (A) |
|
26 |
90% |
50% |
~450 |
Cura Mote |
Float Mote |
Knot of Rust |
Meteorite (A) |
|
27 |
90% |
50% |
~450 |
Aqua Mote |
Hastega Mote |
Knot of Rust |
Meteorite (A) |
|
28 |
90% |
50% |
~450 |
Dispel Mote |
Balance Mote |
Knot of Rust |
Meteorite (B) |
|
29 |
100% |
0% |
— |
Koga Blade |
Koga Blade |
Koga Blade |
Koga Blade |
|
30 |
100% |
0% |
— |
Tumulus |
Tumulus |
Tumulus |
Tumulus |
|
31 |
90% |
50% |
~450 |
Bio Mote |
Reflectga Mote |
Knot of Rust |
Meteorite (B) |
|
32 |
100% |
0% |
— |
Indigo Pendant |
Indigo Pendant |
Indigo Pendant |
Indigo Pendant |
|
33 |
90% |
50% |
~500 |
Aqua Mote |
Cura Mote |
Knot of Rust |
Meteorite (C) |
|
34 |
90% |
50% |
~500 |
Bio Mote |
Dispel Mote |
Knot of Rust |
Meteorite (B) |
|
35 |
100% |
0% |
— |
Iga Blade |
Iga Blade |
Iga Blade |
Iga Blade |
|
36 |
90% |
50% |
~500 |
Dark Mote |
Aeroga Mote |
Knot of Rust |
Meteorite (A) |
|
37 |
100% |
0% |
— |
Expose |
Expose |
Expose |
Expose |
|
38 |
90% |
50% |
~500 |
Aero Mote |
Gravity Mote |
Knot of Rust |
Meteorite (B) |
|
39 |
90% |
50% |
~600 |
Bubble Mote |
Cura Mote |
Knot of Rust |
Meteorite (B) |
|
40 |
100% |
0% |
— |
Orochi |
Orochi |
Orochi |
Orochi |
|
41 |
90% |
50% |
~600 |
Bio Mote |
Oil Bombs |
Knot of Rust |
Meteorite (A) |
|
42 |
100% |
0% |
— |
Zwill Crossblade |
Zwill Crossblade |
Zwill Crossblade |
Zwill Crossblade |
|
43 |
100% |
0% |
— |
Golden Skullcap |
Golden Skullcap |
Golden Skullcap |
Golden Skullcap |
|
44 |
100% |
0% |
— |
Renewing Morion |
Renewing Morion |
Renewing Morion |
Renewing Morion |
|
45 |
90% |
50% |
~600 |
Cura Mote |
Holy Mote |
Knot of Rust |
Meteorite (B) |
|
46 |
100% |
0% |
— |
Dragon Whisker |
Dragon Whisker |
Dragon Whisker |
Dragon Whisker |
|
47 |
90% |
50% |
~600 |
Bio Mote |
Vanishga Mote |
Knot of Rust |
Meteorite (A) |
|
48 |
90% |
50% |
~600 |
Bio Mote |
Cura Mote |
Knot of Rust |
Meteorite (B) |
|
49 |
90% |
50% |
~600 |
Dark Mote |
Dispel Mote |
Knot of Rust |
Meteorite (A) |
|
50 |
90% |
50% |
~600 |
Bio Mote |
Aeroga Mote |
Knot of Rust |
Meteorite (C) |
|
51 |
100% |
0% |
— |
Bone of Byblos |
Bone of Byblos |
Bone of Byblos |
Bone of Byblos |
|
52 |
100% |
0% |
— |
Quasimodo Boots |
Quasimodo Boots |
Quasimodo Boots |
Quasimodo Boots |
|
53 |
90% |
50% |
~600 |
Hastega Mote |
Reverse Mote |
Knot of Rust |
Meteorite (B) |
|
54 |
90% |
50% |
~600 |
Dark Mote |
Reflectga Mote |
Knot of Rust |
Meteorite (A) |
|
55 |
100% |
0% |
— |
Glimmering Robes |
Glimmering Robes |
Glimmering Robes |
Glimmering Robes |
|
56 |
90% |
50% |
~600 |
Bubble Mote |
Float Mote |
Knot of Rust |
Meteorite (A) |
|
57 |
90% |
50% |
~600 |
Warp Mote |
Lead Bolts |
Knot of Rust |
Meteorite (A) |
|
58 |
100% |
0% |
— |
Arcturus |
Arcturus |
Arcturus |
Arcturus |
|
59 |
100% |
0% |
— |
Magepower Shishak |
Magepower Shishak |
Magepower Shishak |
Magepower Shishak |
|
60 |
90% |
50% |
~600 |
Aqua Mote |
Holy Mote |
Knot of Rust |
Meteorite (B) |
|
61 |
90% |
50% |
~600 |
Aero Mote |
Aeroga Mote |
Knot of Rust |
Meteorite (A) |
|
62 |
90% |
50% |
~600 |
Dark Mote |
Wyrmfire Shot |
Knot of Rust |
Meteorite (A) |
|
63 |
25% |
0% |
— |
Germinas Boots |
Germinas Boots |
Germinas Boots |
Germinas Boots |
|
64 |
100% |
0% |
— |
Maximillian |
Maximillian |
Maximillian |
Maximillian |
|
65 |
100% |
100% |
— |
Whale Whisker |
Whale Whisker |
Whale Whisker |
Whale Whisker |
|
66 |
100% |
0% |
— |
Scathe |
Scathe |
Scathe |
Scathe |
|
67 |
100% |
0% |
— |
Masamune |
Masamune |
Masamune |
Masamune |
Get to Site 2
Descend into the Shaft Entry to trigger an event in which your party ducks away to avoid an Imperial inspection party led by the Archadian Judge Ghis and the Marquis Ondore.
After they pass, Lamont emerges and recalls how the Marquis served as the mediator at the negotiations of Dalmasca’s surrender. The question now: Are Ondore and Bhujerba still neutral? Or are the rumors true that he’s secretly helping the anti-Imperial resistance?
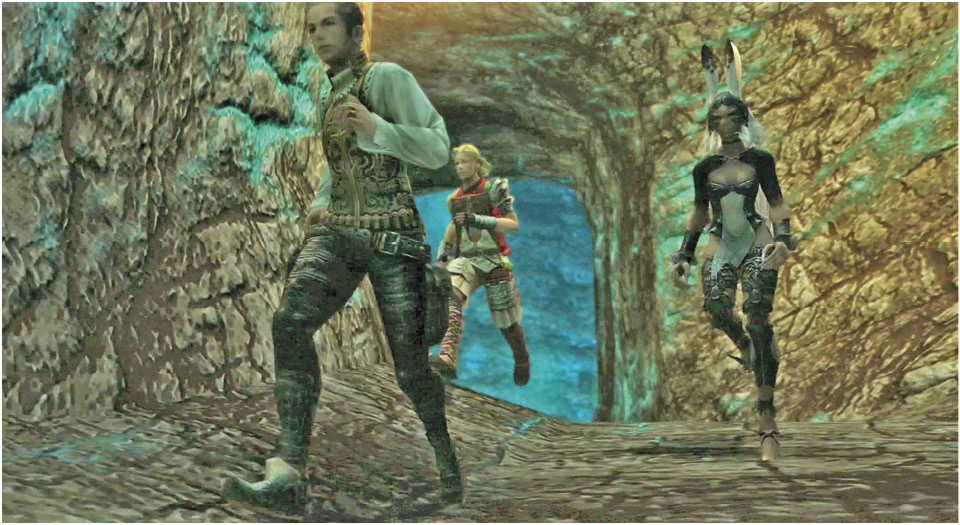
Continue into the mines. The path is linear, so just keep moving from sector to sector, battling bats and undead defenders while scoring treasures. Watch out for traps, though! Make sure you move down the westernmost corridor of the Shaft Entry, or else a gate will block the path to the west.
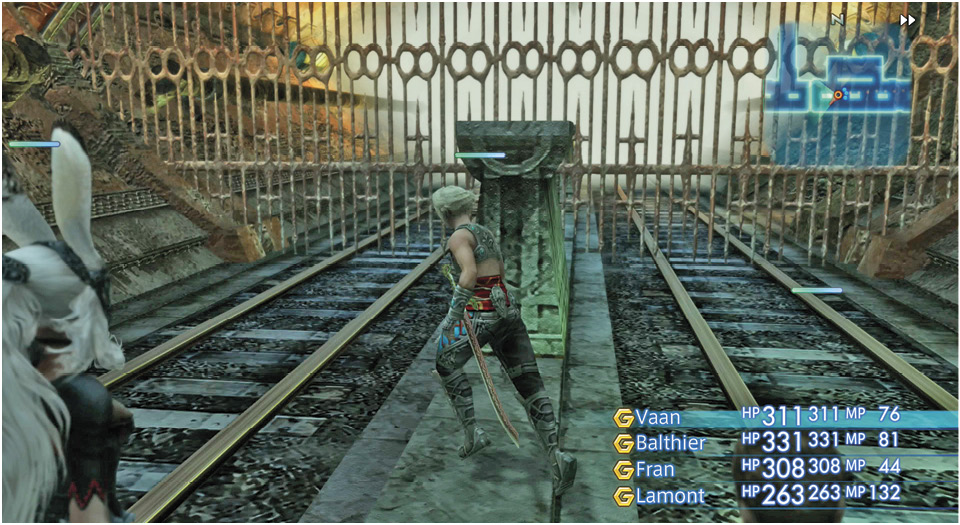
When you reach Transitway 1, the path splits. An impassable gate (for now) blocks the left path, so take the right fork. Continue north into the next sector, the Shunia Twinspan.
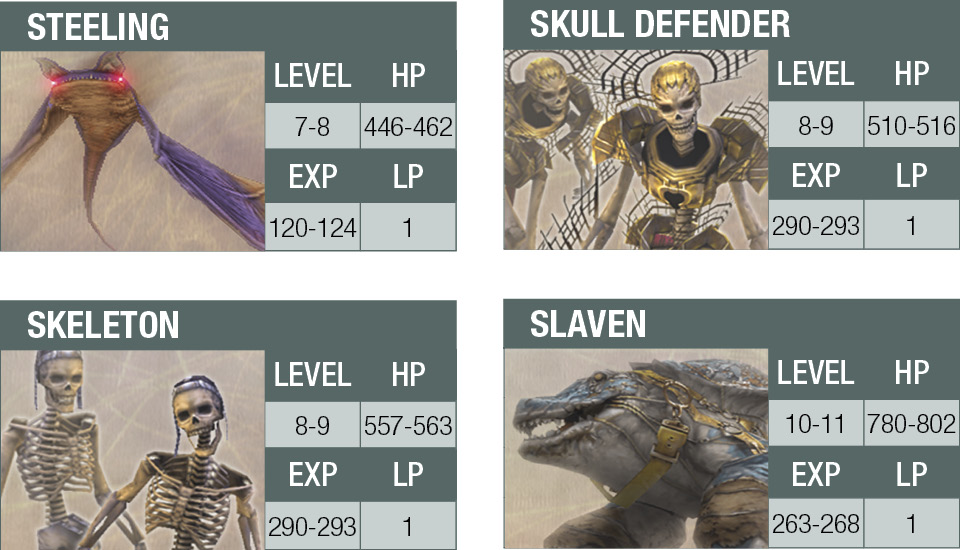
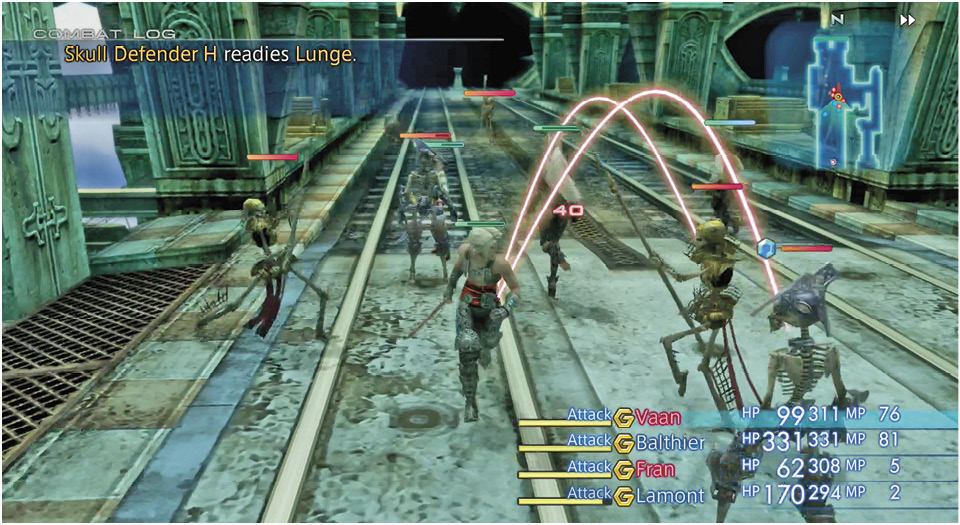
Fight your way through Skeletons and Skull Defenders across the span. There are a lot of these skeleton-type enemies here, so this is a great place to build up a good, long Battle Chain and earn some decent loot items. After clearing out all of the skeletons, move north to Site 2.
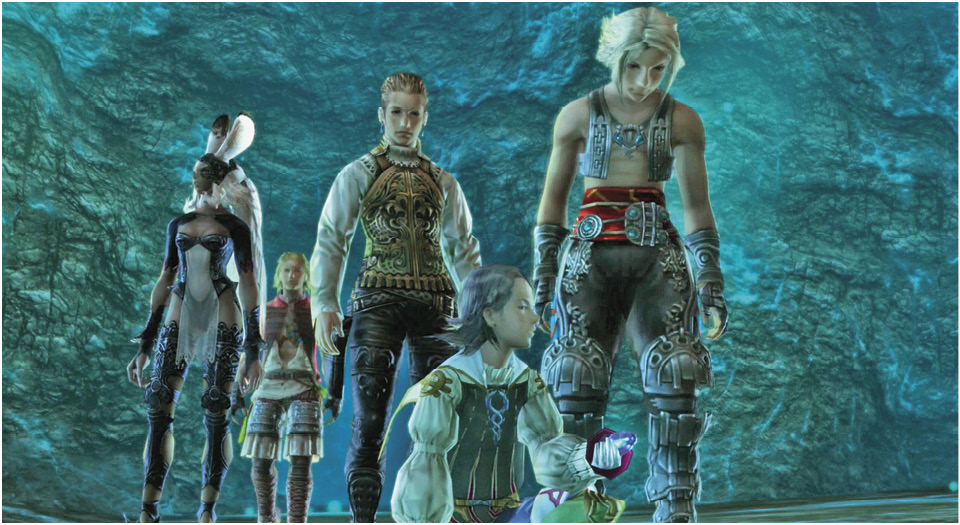
Unlike regular magicite, nethicite absorbs magickal energy, making it a very powerful substance. According to Lamont, the Draklor Laboratory has been behind research into the manufacture of nethicite. Balthier starts grilling the boy about his sources and identity, but is interrupted by the appearance of Ba’Gamnan and his bangaa crew. Ba’Gamnan claims he let Penelo loose and she ran off. Lamont leads a rush past the bangaas and the chase is on!
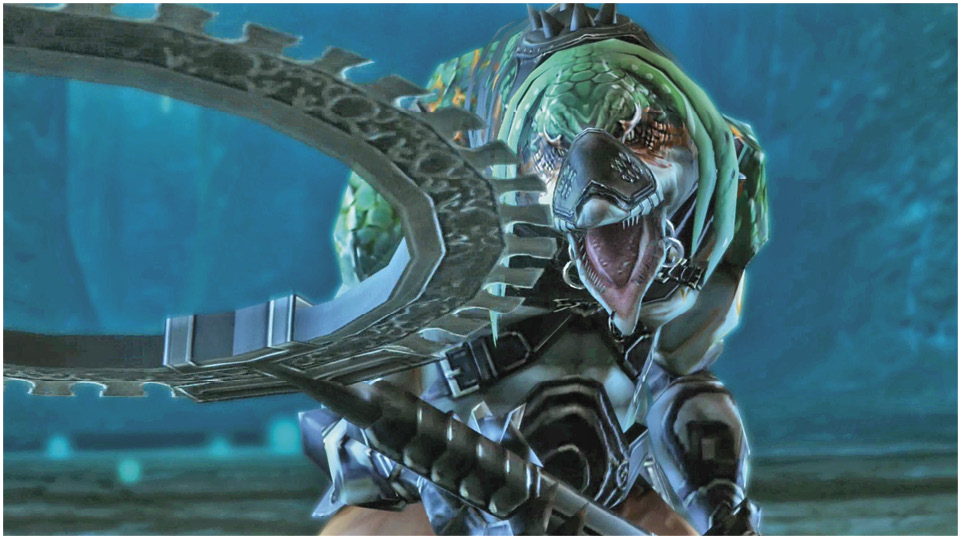
Your party isn’t strong enough to take on Ba’Gamnan’s crew. Although the fight isn’t entirely hopeless, it is very difficult and there’s no reward for winning. Therefore, just press and hold the R2 button and retrace your route all the way back to the Shaft Entry. When you cross the boundary into that sector, the pursuers give up and you can relax. Move all the way through the Shaft Entry to the exit into Bhujerba.
Back in Bhujerba
The escape from the mines triggers a very interesting event. The boy, Lamont, turns out to be somewhat more than he seemed. After “Lamont” exits with Penelo for the Marquis’s estate, Basch says that the entire party now has reason to meet Ondore. But how to arrange such a meeting?