Final Fantasy XII: The Zodiac Age Guide Walkthrough Part 2
The Henne Mines
Action Checklist
1. Get through the Henne Mines gates.
2. Survive the Jelly ambush.
3. Defeat Tiamat.
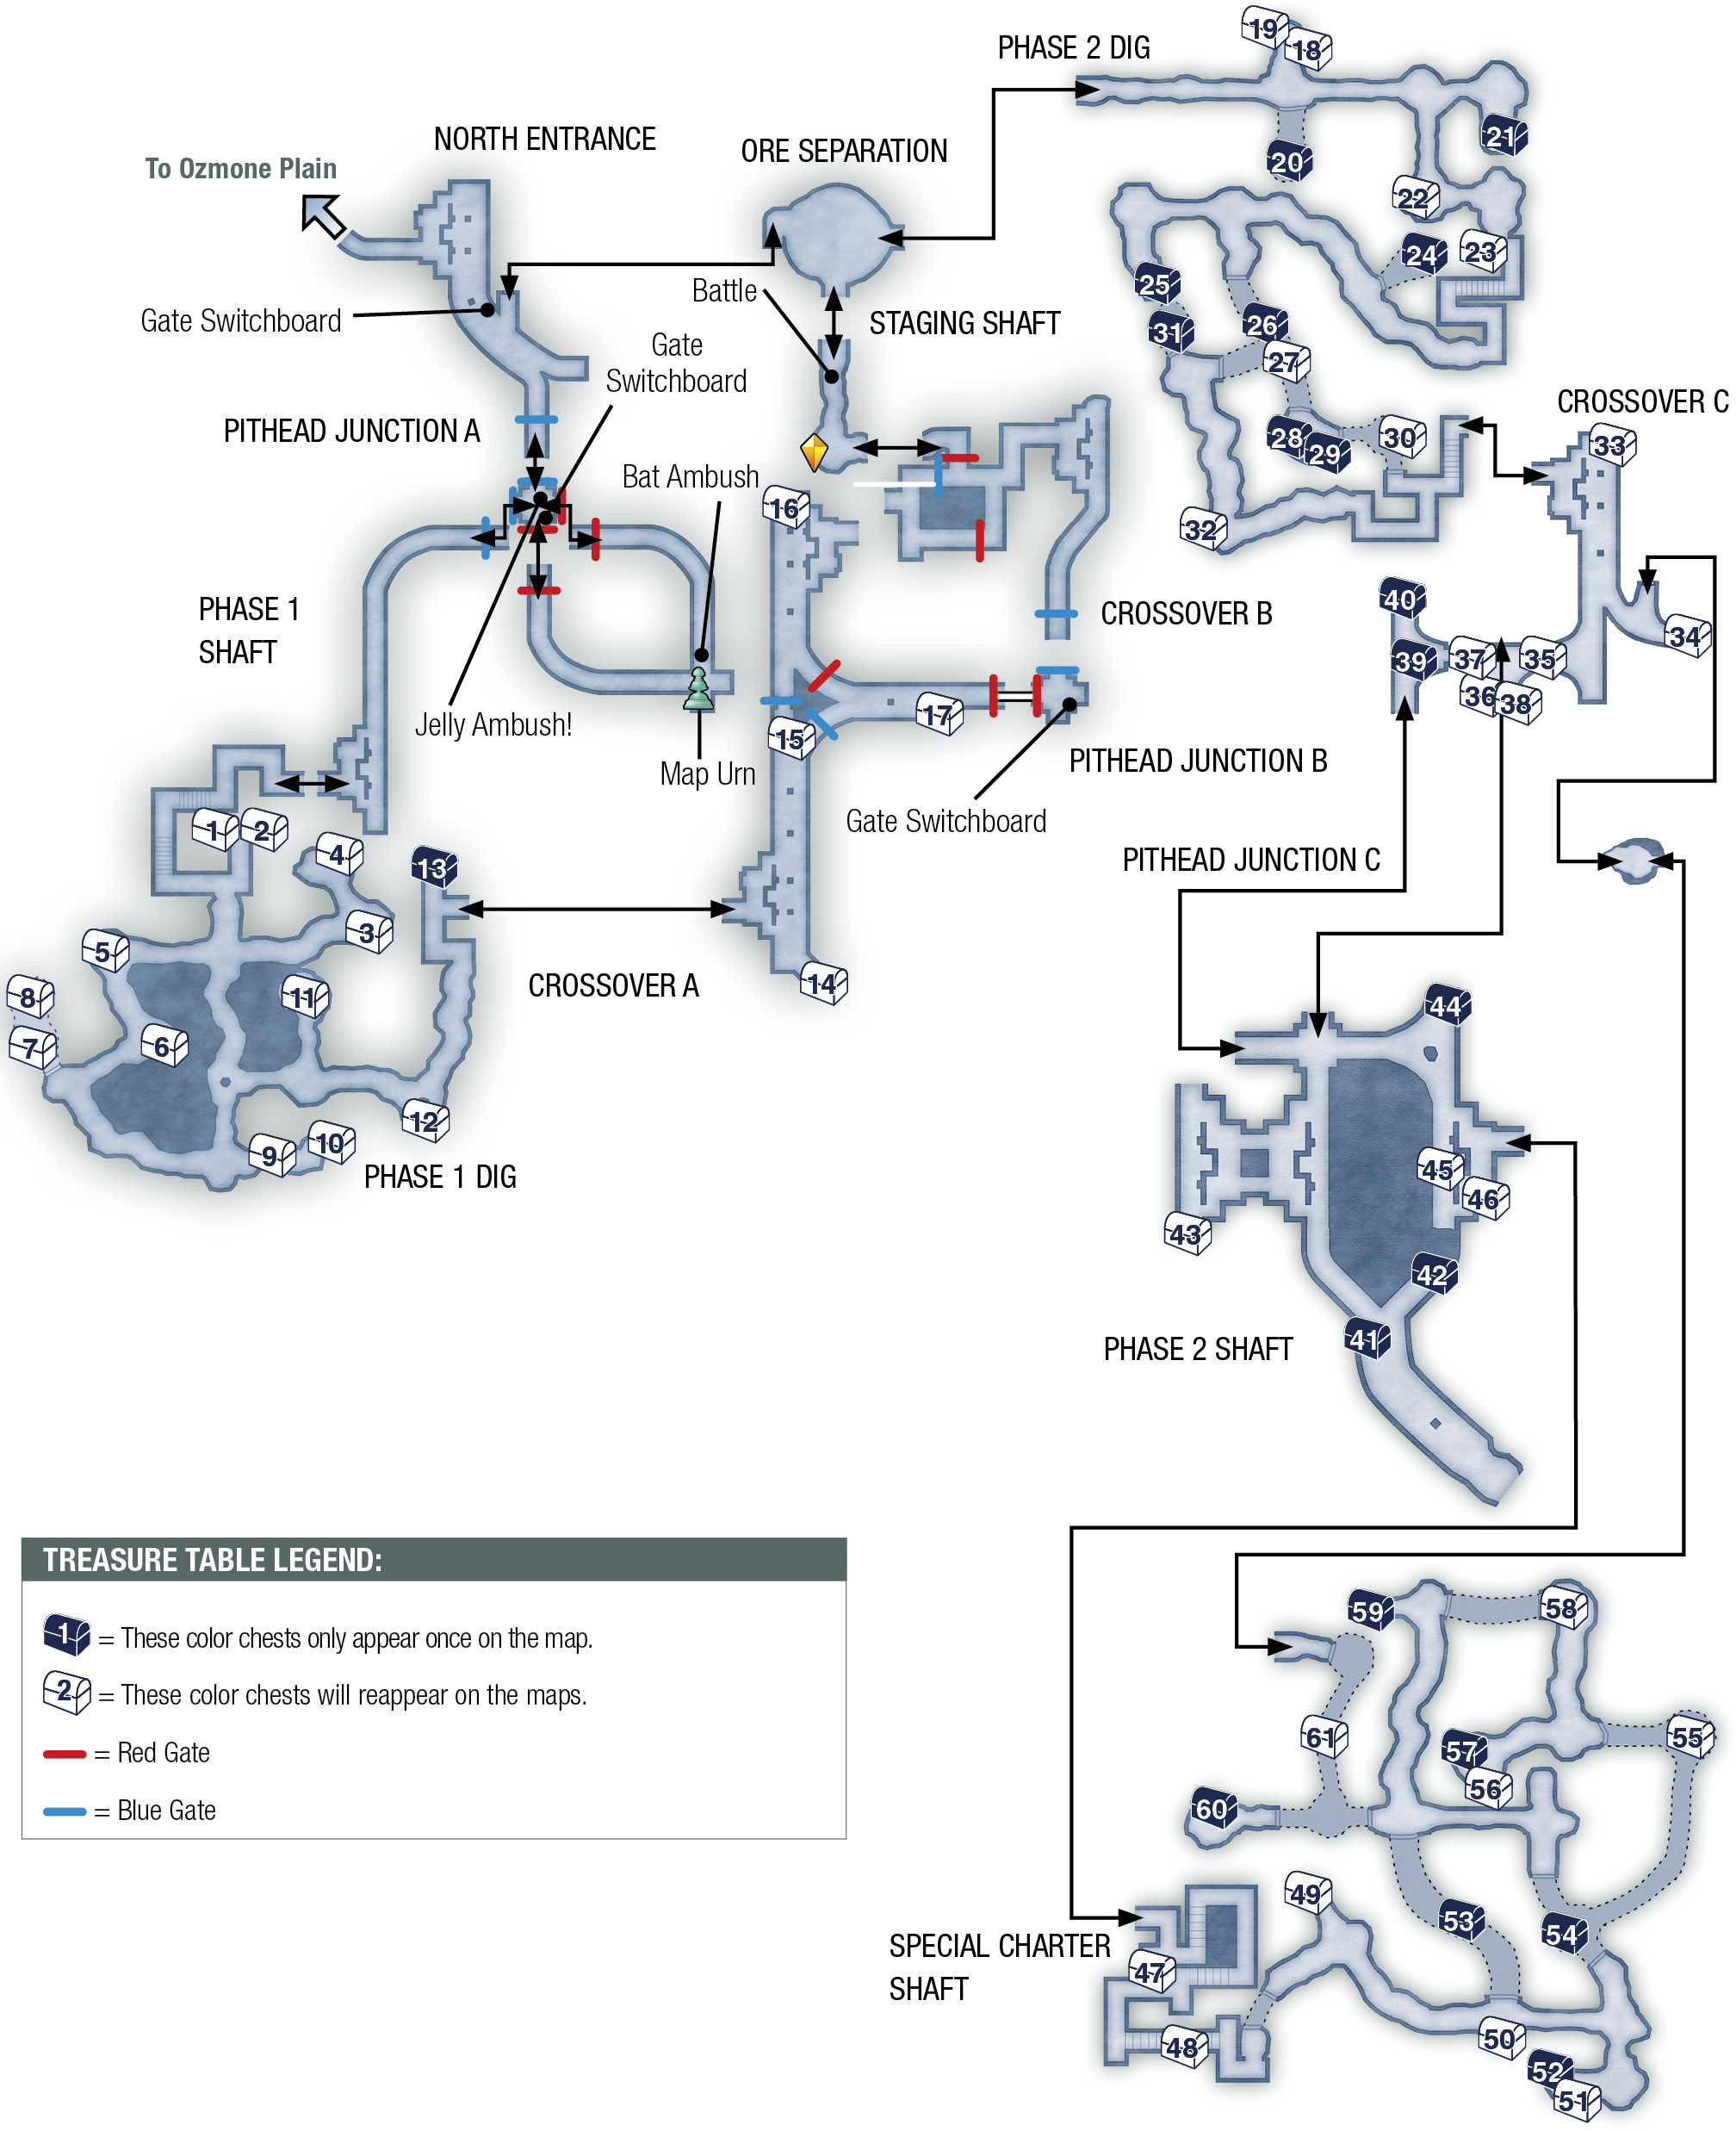
| Pop odds | If pop, Gil odds & Amt | Normal Loot | w/Diamond Armlet | ||||
|---|---|---|---|---|---|---|---|
|
# |
App. % |
Gil % |
Amt. if Gil |
50% |
50% |
95% |
5% |
|
1 |
80% |
30% |
~100 |
Balance Mote |
Dark Mote |
Knot of Rust |
Meteorite (A) |
|
2 |
80% |
30% |
~100 |
Gravity Mote |
Dark Mote |
Knot of Rust |
Meteorite (A) |
|
3 |
80% |
30% |
~100 |
Aeroga Mote |
Dark Mote |
Knot of Rust |
Meteorite (A) |
|
4 |
80% |
30% |
~100 |
Dispel Mote |
Dark Mote |
Knot of Rust |
Meteorite (C) |
|
5 |
80% |
30% |
~100 |
Aqua Mote |
Dark Mote |
Knot of Rust |
Meteorite (A) |
|
6 |
80% |
30% |
~100 |
Cura Mote |
Dark Mote |
Knot of Rust |
Meteorite (A) |
|
7 |
75% |
60% |
~600 |
Hastega Mote |
Mage’s Habit |
Knot of Rust |
Meteorite (A) |
|
8 |
75% |
60% |
~600 |
Holy Mote |
Brigandine |
Knot of Rust |
Meteorite (A) |
|
9 |
80% |
30% |
~100 |
Balance Mote |
Dark Mote |
Knot of Rust |
Meteorite (A) |
|
10 |
80% |
30% |
~100 |
Gravity Mote |
Dark Mote |
Knot of Rust |
Meteorite (A) |
|
11 |
80% |
30% |
~100 |
Bio Mote |
Dark Mote |
Knot of Rust |
Meteorite (A) |
|
12 |
75% |
40% |
~200 |
Cura Mote |
Shielded Armor |
Knot of Rust |
Meteorite (B) |
|
13 |
100% |
0% |
— |
Bonecrusher |
Bonecrusher |
Bonecrusher |
Bonecrusher |
|
14 |
75% |
40% |
~200 |
Dispel Mote |
Flame Shield |
Knot of Rust |
Meteorite (A) |
|
15 |
80% |
30% |
~120 |
Gravity Mote |
Dark Mote |
Knot of Rust |
Meteorite (A) |
|
16 |
80% |
50% |
~500 |
Vanishga Mote |
Dark Mote |
Knot of Rust |
Meteorite (B) |
|
17 |
80% |
30% |
~120 |
Bio Mote |
Dark Mote |
Knot of Rust |
Meteorite (A) |
|
18 |
75% |
50% |
~700 |
Bio Mote |
Aeroga Mote |
Knot of Rust |
Meteorite (A) |
|
19 |
75% |
50% |
~700 |
Balance Mote |
Shock Mote |
Knot of Rust |
Meteorite (B) |
|
20 |
100% |
0% |
— |
Dueling Mask |
Dueling Mask |
Dueling Mask |
Dueling Mask |
|
21 |
100% |
0% |
— |
Fomalhaut |
Fomalhaut |
Fomalhaut |
Fomalhaut |
|
22 |
75% |
50% |
~700 |
Bio Mote |
Bubble Mote |
Knot of Rust |
Meteorite (B) |
|
23 |
75% |
50% |
~700 |
Bubble Mote |
Holy Mote |
Knot of Rust |
Meteorite (A) |
|
24 |
25% |
0% |
— |
Nihopalaoa |
Nihopalaoa |
Nihopalaoa |
Nihopalaoa |
|
25 |
25% |
0% |
— |
Grand Helm |
Grand Helm |
Grand Helm |
Grand Helm |
|
26 |
100% |
0% |
— |
Circlet |
Circlet |
Circlet |
Circlet |
|
27 |
75% |
50% |
~700 |
Balance Mote |
Aeroga Mote |
Knot of Rust |
Meteorite (B) |
|
28 |
2% |
0% |
— |
Scathe Mote |
Holy Mote |
Knot of Rust |
Meteorite (A) |
|
29 |
100% |
0% |
— |
Volcano T |
Volcano T |
Volcano T |
Volcano T |
|
30 |
75% |
50% |
~700 |
Float Mote |
Aeroga Mote |
Knot of Rust |
Meteorite (A) |
|
31 |
100% |
0% |
— |
Mythril Sword |
Mythril Sword |
Mythril Sword |
Mythril Sword |
|
32 |
75% |
50% |
~700 |
Bio Mote |
Holy Mote |
Knot of Rust |
Meteorite (C) |
|
33 |
80% |
50% |
~700 |
Gravity Mote |
Hi-Ether |
Knot of Rust |
Meteorite (B) |
|
34 |
75% |
50% |
~700 |
Balance Mote |
Bubble Mote |
Knot of Rust |
Meteorite (B) |
|
35 |
75% |
50% |
~700 |
Aero Mote |
Reverse Mote |
Knot of Rust |
Meteorite (B) |
|
36 |
75% |
50% |
~700 |
Balance Mote |
Chaos Bombs |
Knot of Rust |
Meteorite (A) |
|
37 |
75% |
50% |
~700 |
Warp Mote |
Power Armlet |
Knot of Rust |
Meteorite (A) |
|
38 |
80% |
50% |
~700 |
Aeroga Mote |
Hi-Ether |
Knot of Rust |
Meteorite (A) |
|
39 |
25% |
0% |
— |
Bubble Belt |
Bubble Belt |
Bubble Belt |
Bubble Belt |
|
40 |
100% |
0% |
— |
Germinas Boots |
Germinas Boots |
Germinas Boots |
Germinas Boots |
|
41 |
25% |
0% |
— |
Sage’s Ring |
Sage’s Ring |
Sage’s Ring |
Sage’s Ring |
|
42 |
100% |
0% |
— |
Aeroga Mote |
Aeroga Mote |
Aeroga Mote |
Aeroga Mote |
|
43 |
75% |
50% |
~700 |
Bio Mote |
Assassin’s Arrows |
Knot of Rust |
Meteorite (B) |
|
44 |
100% |
0% |
— |
Volcano T |
Volcano T |
Volcano T |
Volcano T |
|
45 |
75% |
50% |
~700 |
Dark Mote |
Aeroga Mote |
Knot of Rust |
Meteorite (A) |
|
46 |
75% |
50% |
~700 |
Aero Mote |
Gravity Mote |
Knot of Rust |
Meteorite (A) |
|
47 |
75% |
50% |
~700 |
Vanishga Mote |
Cura Mote |
Knot of Rust |
Meteorite (A) |
|
48 |
1% |
0% |
— |
Zodiac Spear |
Zodiac Spear |
Zodiac Spear |
Zodiac Spear |
|
49 |
75% |
50% |
~700 |
Balance Mote |
Shock Mote |
Knot of Rust |
Meteorite (C) |
|
50 |
75% |
50% |
~700 |
Reflectga Mote |
Holy Mote |
Knot of Rust |
Meteorite (B) |
|
51 |
75% |
50% |
~700 |
Aero Mote |
Aero Mote |
Knot of Rust |
Meteorite (B) |
|
52 |
100% |
0% |
— |
Renew |
Renew |
Renew |
Renew |
|
53 |
10% |
0% |
— |
Addle |
Addle |
Addle |
Addle |
|
54 |
25% |
0% |
— |
Brave Suit |
Brave Suit |
Brave Suit |
Brave Suit |
|
55 |
75% |
50% |
~700 |
Hastega Mote |
Black Bolts |
Knot of Rust |
Meteorite (A) |
|
56 |
75% |
50% |
~700 |
Vanishga Mote |
Shock Mote |
Knot of Rust |
Meteorite (A) |
|
57 |
15% |
0% |
— |
Ribbon |
Ribbon |
Ribbon |
Ribbon |
|
58 |
75% |
50% |
~700 |
Aeroga Mote |
Mud Shot |
Knot of Rust |
Meteorite (A) |
|
59 |
25% |
0% |
— |
Grand Armor |
Grand Armor |
Grand Armor |
Grand Armor |
|
60 |
100% |
0% |
— |
Lordly Robes |
Lordly Robes |
Lordly Robes |
Lordly Robes |
|
61 |
75% |
50% |
~700 |
Reflectga Mote |
Holy Mote |
Knot of Rust |
Meteorite (B) |
Navigate the Mine Maze
Step forward into the shaft, turn right, and proceed south until you find a glowing blue Gate Switchboard on the left side of the shaft. The following notes explain the gate system in the Henne Mines.
All mine gates are red or blue, as indicated by the glowing lights above each gate. (You can also see the gates marked by their color on the maps in this section.)
Each Gate Switchboard glows with either red or blue phosphor. The current color indicates which gates are closed.
Thus, if the switchboard glows blue, all of the blue gates are closed and all of the red gates are open. If the switchboard glows red, all of the red gates are closed and all of the blue gates are open.
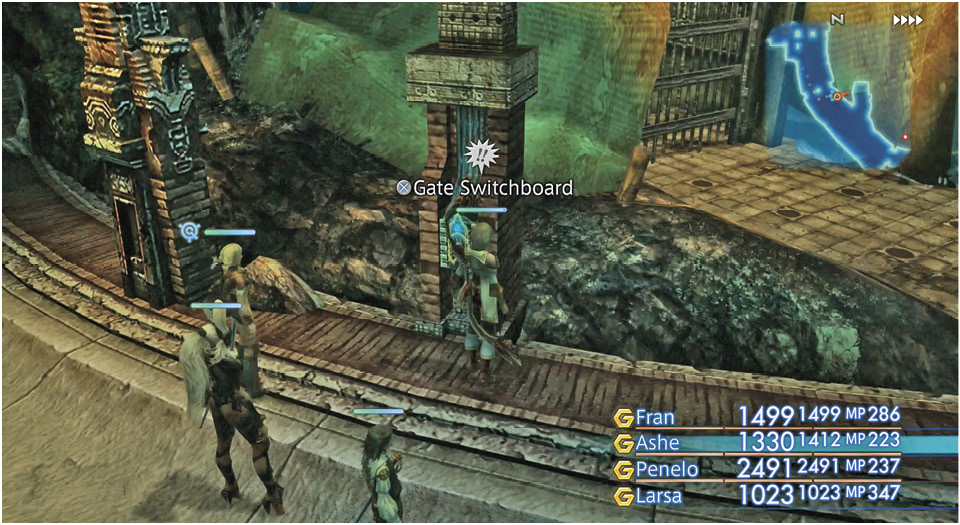
When you first approach the switchboard in the North Entrance, it glows blue—blue gates close, red gates open. Press the switch to reverse this; the switchboard glows red—red gates close, blue gates open.
This opens the first gate just down the tunnel to the south, a blue gate. (It opens during a brief event.) Go through the open gate and proceed into the next area, Pithead Junction A.
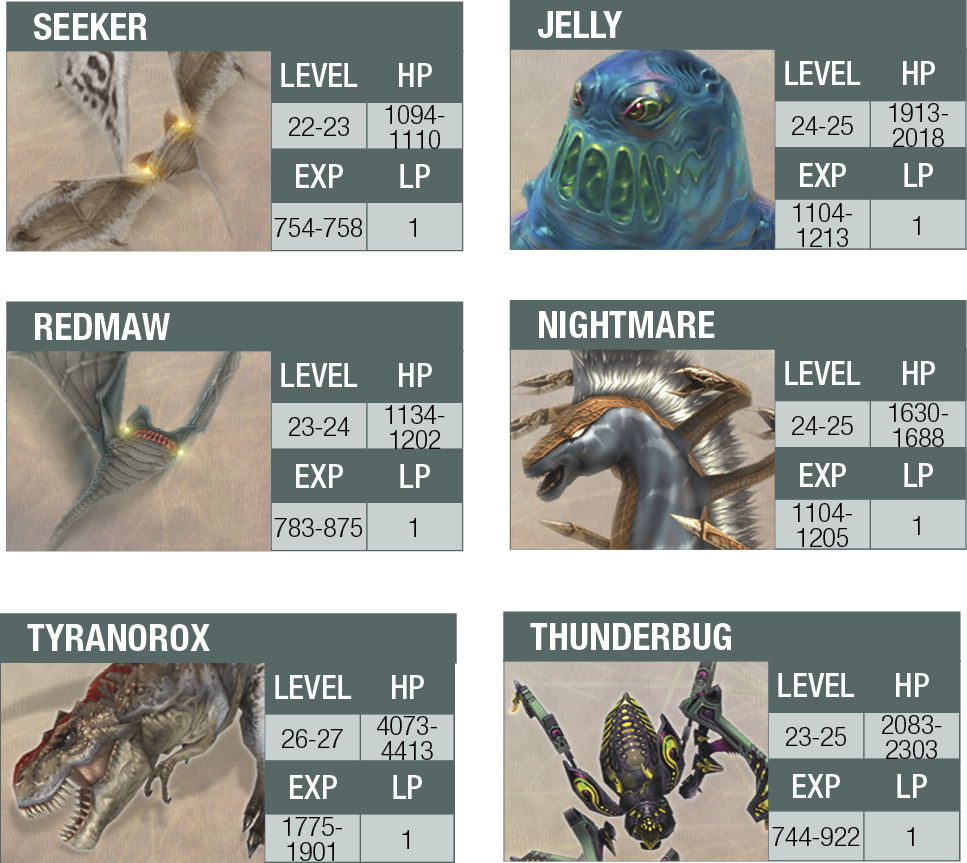
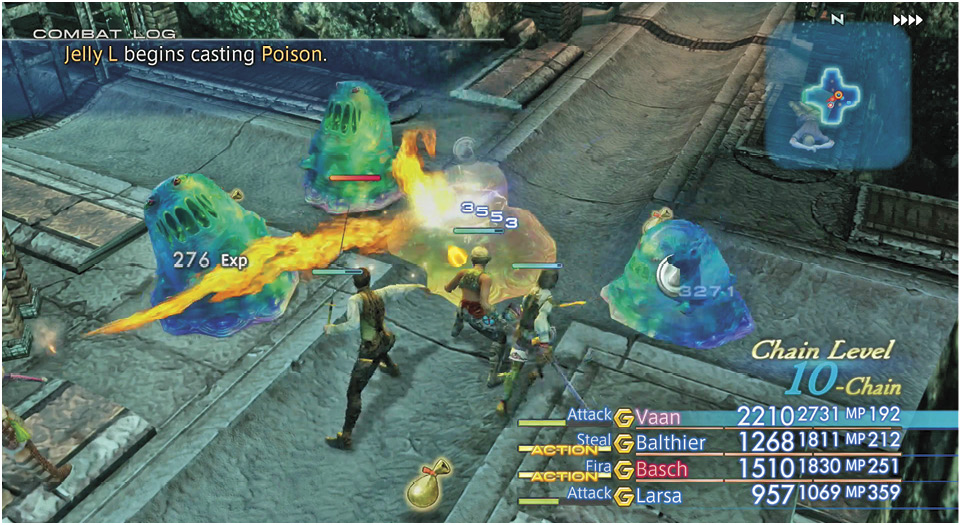
A wounded Imperial warns the party about danger in the mines. Another Gate Switchboard is on the wall nearby. Press its switch to change it from red to blue. Suddenly, grotesque Jelly beasts drop from the ceiling and attack! They drop in two waves, three at a time. They’re weak against Fire, so cast Fira at them, or wipe them out with a Quickening Concurrence.
After eliminating the Jellies, exit the junction south or east and follow the bat-infested tunnel to the Map Urn for a full map of the mines. Near the urn, a flock of Seeker and Redmaw bats attack. Now return to Pithead Junction A.
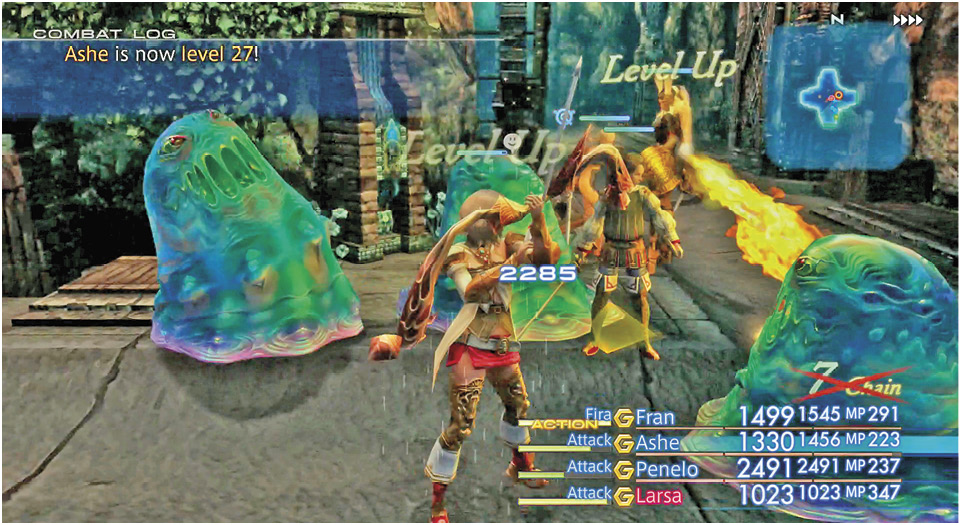
Press the gate switch to close the red gates and open the blue gates again, then exit west. Follow the Phase 1 Shaft around into another big bat swarm; decimate the foes and proceed to the platform at the tunnel’s end. A doorway here leads to a staircase that descends into a large excavated cavern, the Phase 1 Dig.
Phase 1 Dig is a large area with trapped corridors, plenty of treasure coffers, and numerous foes. Look for the equine Nightmare in a northeast shaft; Nightmares can teleport from point to point in the room and cast Dark spells. More Nightmares roam elsewhere in these tunnels. Also, watch out for a treasure that turns out to be a Thunderbug in disguise! Continue to the east until you can exit into the next area, Crossover A.
Solve the Gate Puzzle
Now you must open the gates in the correct order to get north into the Staging Shaft. In Crossover A, move north to where the tracks split; take the left fork heading north through an open blue gate to meet a big dinosaur, a Tyranorox. Don’t worry—his bite is bad, but he’s easier to drop than he looks. Hit him with a few Aero spells to take him down a notch; Tyranoroxes are weak against Wind magick. Continue north, then exit east into Crossover B.
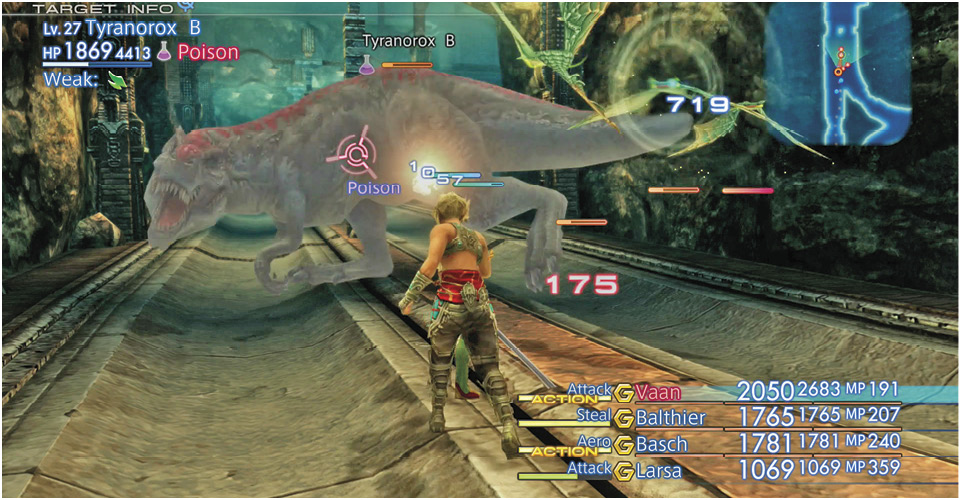
In Crossover B, go left (north) and through the open blue gate. Follow the mine shaft until you reach another junction area, Pithead Junction B. Ready for more Jellies than you ever thought possible? Press the Gate Switchboard switch to change it from red to blue—that is, closed blue gates and open red gates. After doing so, a total of eight Jellies drop from the ceiling, with a lot more on the way! If you have any characters with Quickening spells and a Mist Charge to get a Quickening started, give that a try. If not, you may want to run out of there, fast.
Now head west back into Crossover A, take the right fork to veer north (fighting another Tyranorox en route), and then exit into Crossover B. This time the red gates are open instead of the blue, so turn right and then go left around three corners until you can exit north and veer into the Staging Shaft.
This triggers a dramatic event in which Larsa notes the rich veins of magicite in this mine, and then Mjrn suddenly appears, staggering and disoriented. She calls Ashe a “power-hungry hume” and then rushes up a mine shaft to the north. A Save Crystal, at last! Save your game and follow Mjrn up that shaft.
Tiamat
As you’d expect, Tiamat is the toughest boss thus far in the game. Its real strength is its resiliency; its defense is considerable, especially when its HP bar drops below 20 percent. If you have Quickenings available (and you should have several characters with Quickenings by now), open with a good series right away, chaining at least three hits to trigger an Inferno or Cataclysm blast, too. Tiamat will focus its attention almost exclusively on one target at a time, as most of its attacks are physical. That target will need a load of healing from his/her comrades. It’s a good idea for each party member to have a gambit that casts Raise or uses Phoenix Down on any ally, so that if someone gets KO’d, he or she gets revived automatically. Note that just one good shield can make the difference against an enemy like Tiamat, who deals out primarily physical damage and focuses on single targets. Make sure your “heavy” fighter (best Strength and armor) has the best shield available, then send him or her in to trade blows toe-to -toe with Tiamat using a powerful melee weapon like an axe or hammer. Have your other two controllable characters hang back with ranged weapons loaded mainly for support (status effect bolts/arrows/bullets). 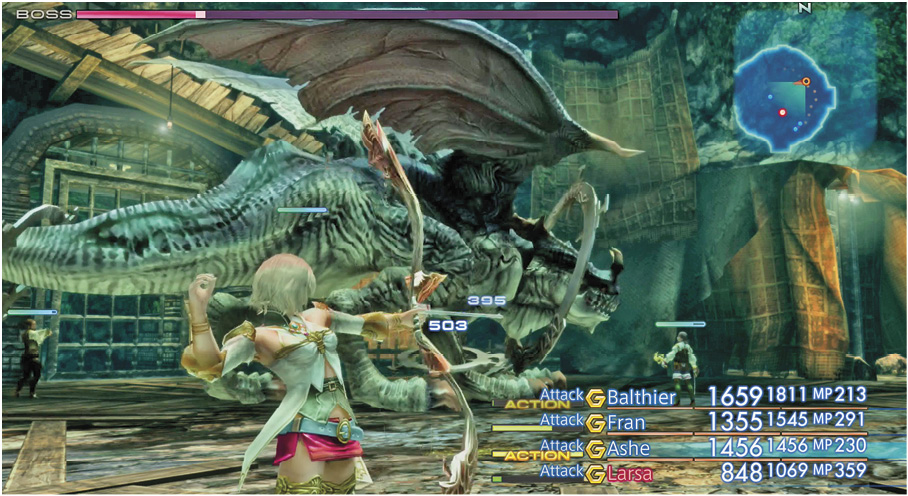
|

After Tiamat finally goes down, Mjrn emerges and collapses. Fran goes to her and learns why Mjrn came to investigate the hume activity in the mines. The party returns the stricken viera to her village. In return, Jote hands over Lente’s Tear, a key item that will grant the party access through the magickal barriers in the woods.