Final Fantasy XII: The Zodiac Age Guide Walkthrough Part 1
Rabanastre 1
OBJECTIVE
Help Migelo and Tomaj
Run an errand for Migelo the shopkeeper and then complete your first monster hunt assignment in the Estersand.
Action Checklist
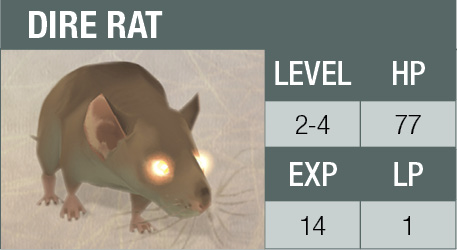
1. Kill the dire rats.
2. Visit Migelo to get an errand.
3. Find Kytes at the Sandsea and talk to Tomaj.
Rid the Waterway of Rats
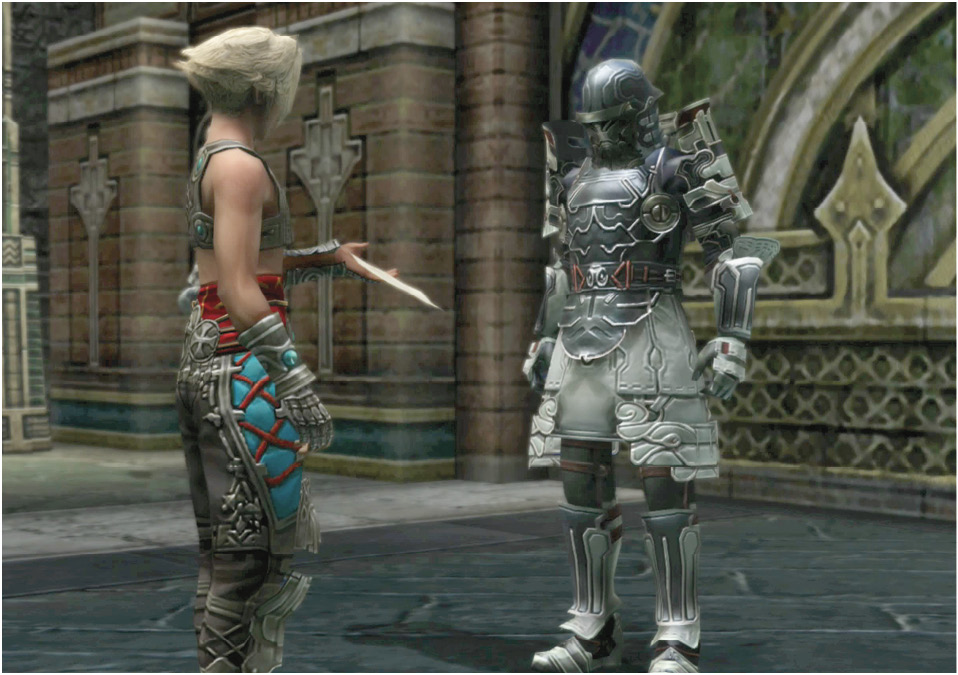
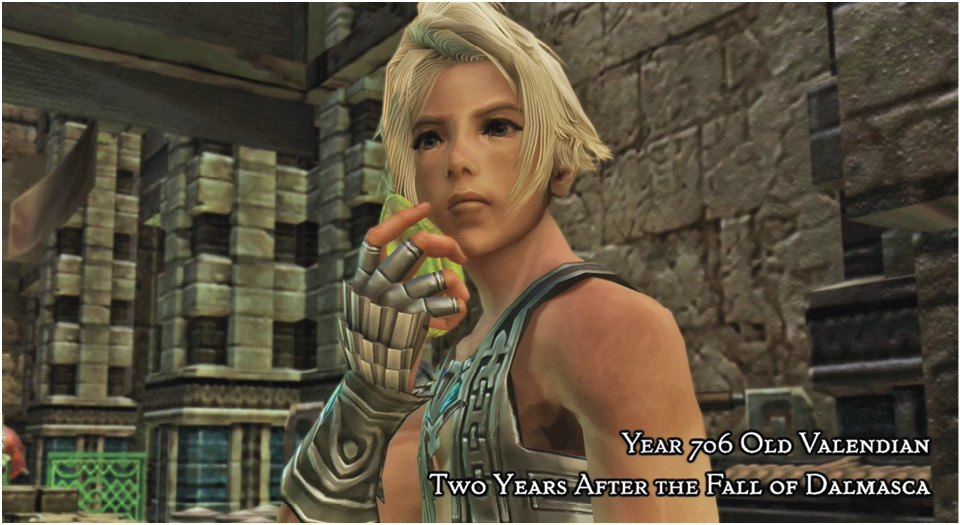
The story picks up two years later in the underground waterways beneath occupied Rabanastre. A small boy, Kytes, calls to an older boy named Vaan, who wants to “clean house” in the vermin-infested waterway. Once you gain control of Vaan, slice up the three aggressive Dire Rats in the area to trigger a long event that introduces you to Vaan’s life.
Kytes suggests that Vaan visit Migelo, the shopkeeper, who might have some errands to run. Vaan, of course, feels like he has more important things to do. The scene then shifts to the streets above. The city, despite the Archadian occupation, bustles with commerce and other activities. Vaan spots a pair of Imperial guards harassing a street merchant and he decides to intervene by plying his own “trade” by stealing the guard’s pouch!
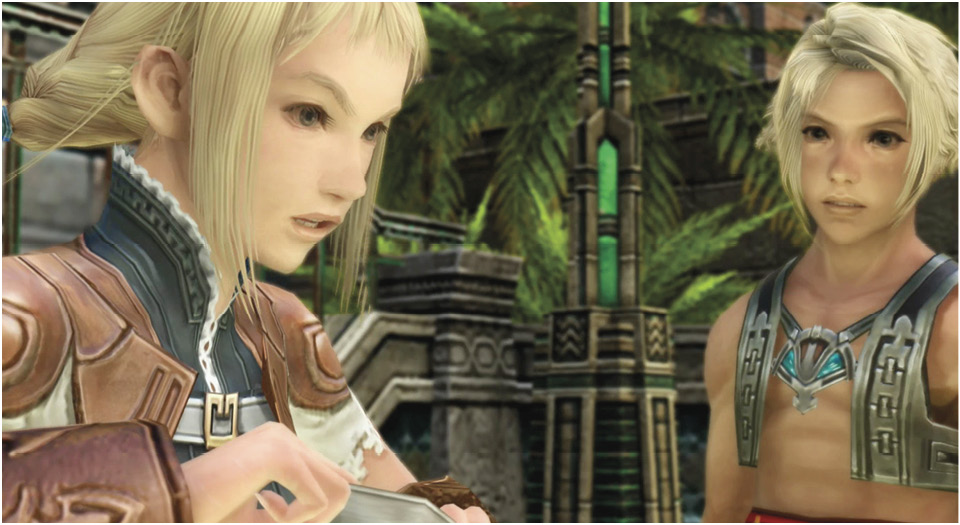
As Vaan escapes with his stolen loot, he bumps into his friend Penelo, another street orphan. As they talk, Penelo articulates the creed that Vaan supposedly lives by: the Imperials have robbed the people, so “it’s only fair that we take it back.” In fact, it’s their duty as Dalmascans.
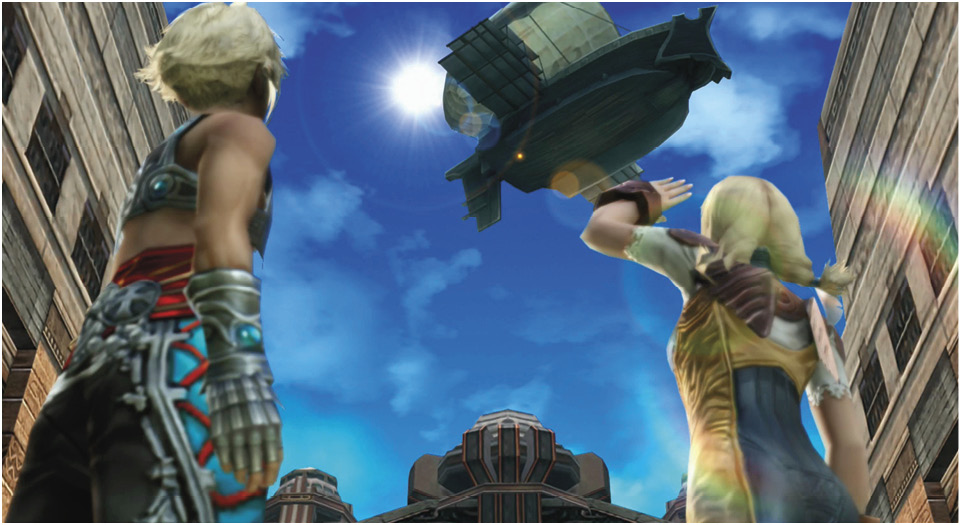
As a huge air cruiser passes overhead, Vaan expresses his deepest desire: “One day, I’ll fly an airship of my own. I’ll be a sky pirate, free to go where I will.” Penelo doesn’t argue. But for now, she suggests (like Kytes) that he visit Migelo and lend a hand.
Find Migelo
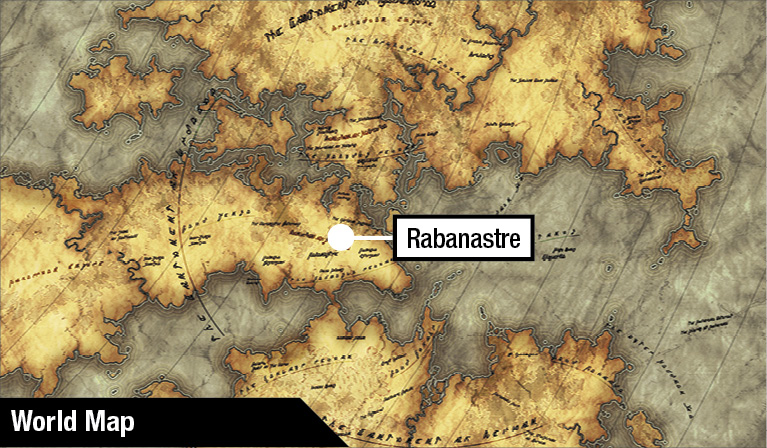
Maybe you should do as the kids suggest: go and see Migelo. A brief map tutorial now adds the World Map to the Party Menu. Press  to open the Party Menu, then select World Map to take a look. The three locations you’ve visited so far are listed on the map: Nalbina Fortress, Garamsythe Waterway (Vaan’s brief rat-killing adventure), and now Rabanastre.
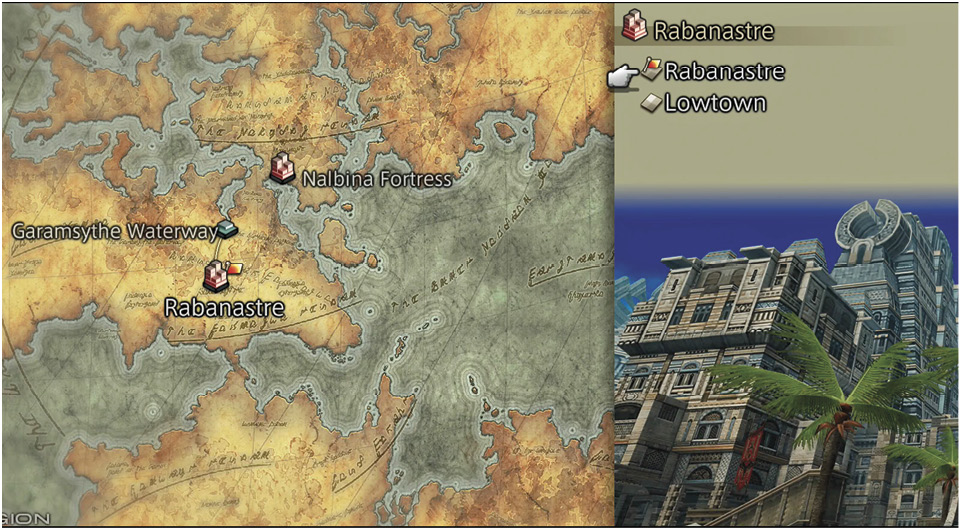
If you select Rabanastre, you see its maps broken down further: one for the upper city and one for an area called “Lowtown.” We’ll explore Lowtown soon enough, but for now, let’s find Migelo.
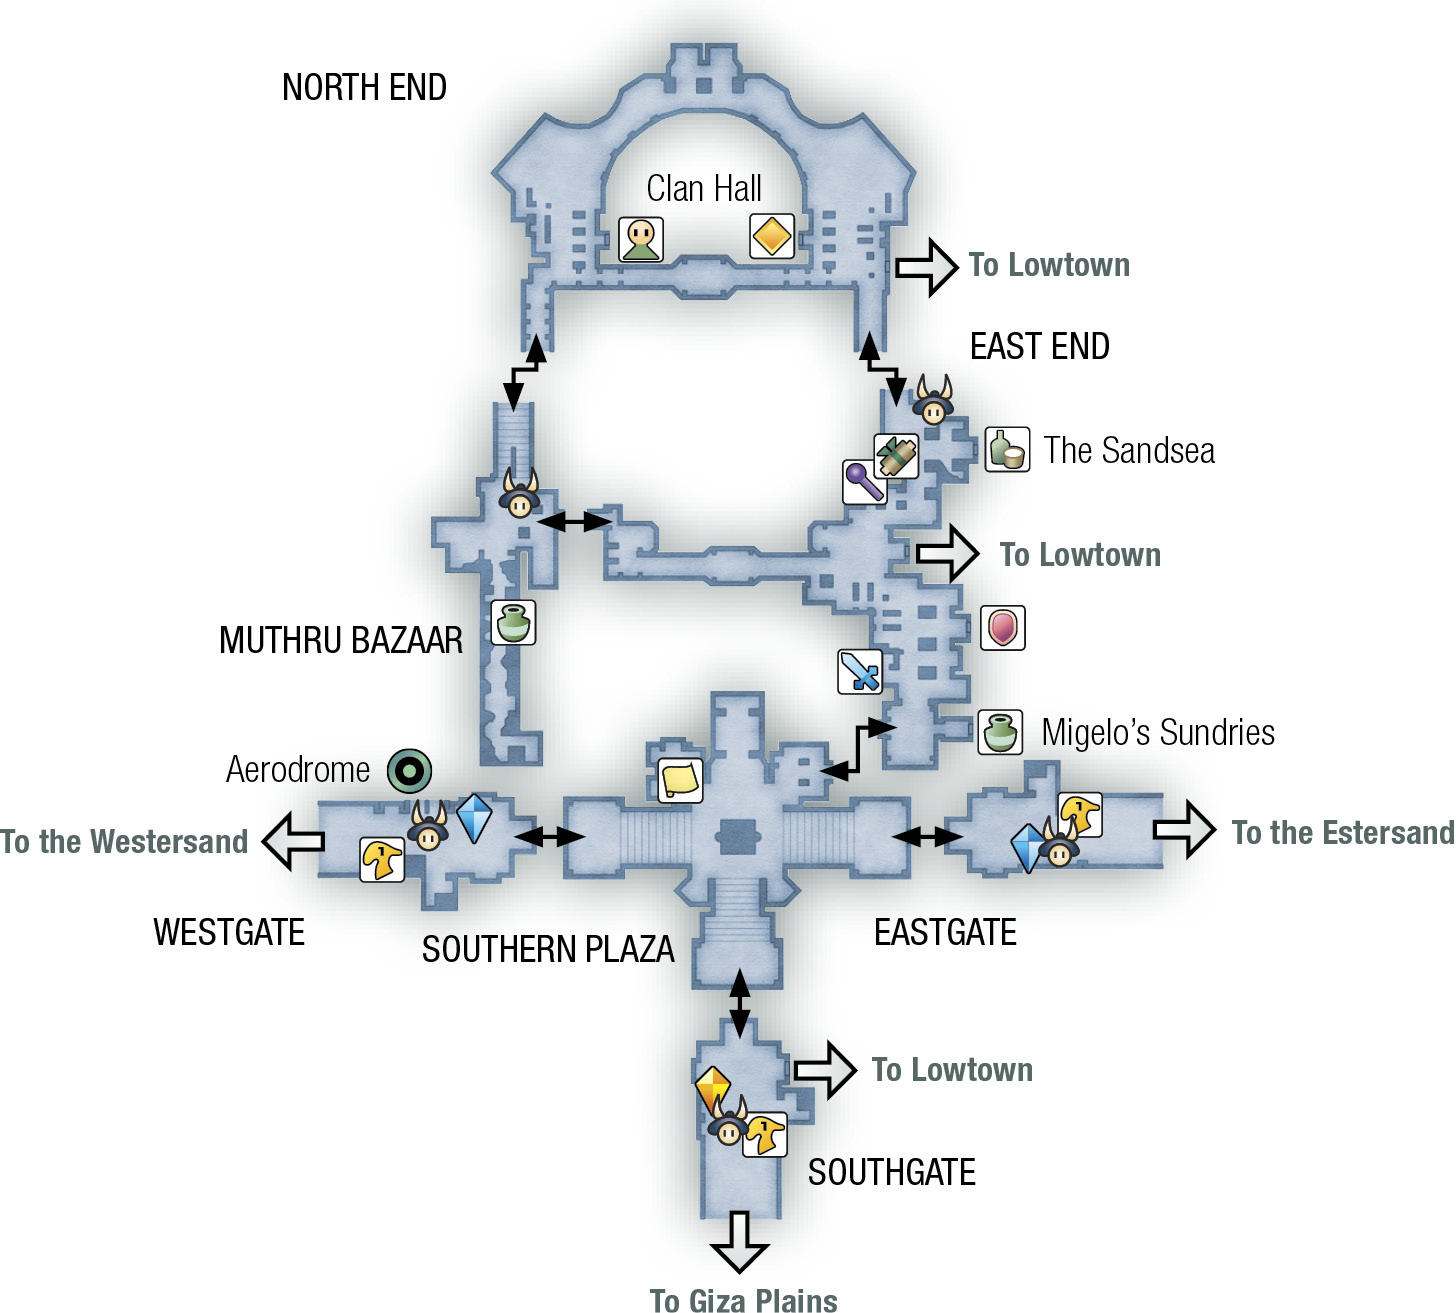
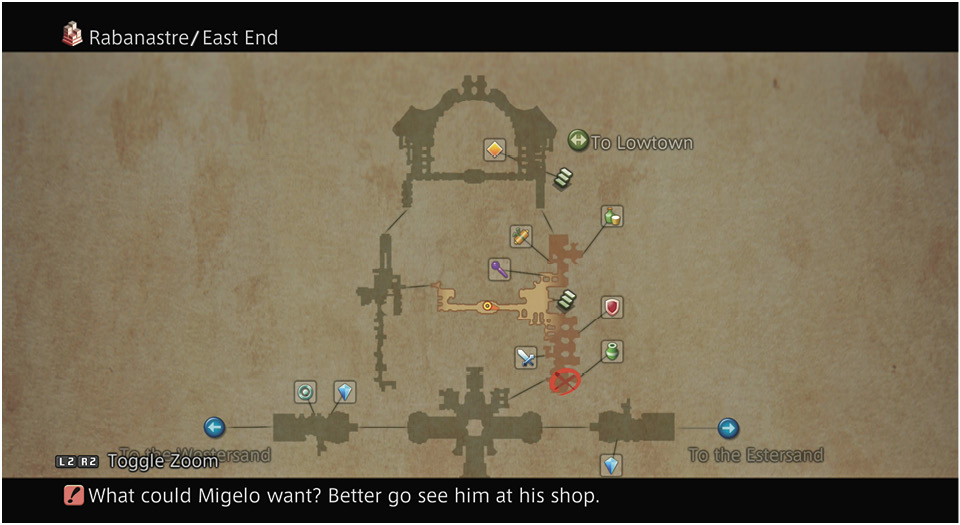
When you open the Rabanastre map, you will find Migelo’s location indicated by the flashing red ‘X.’ Hey, it’s nearby. Head due east to the intersection and veer right, bearing south until you trigger another event.
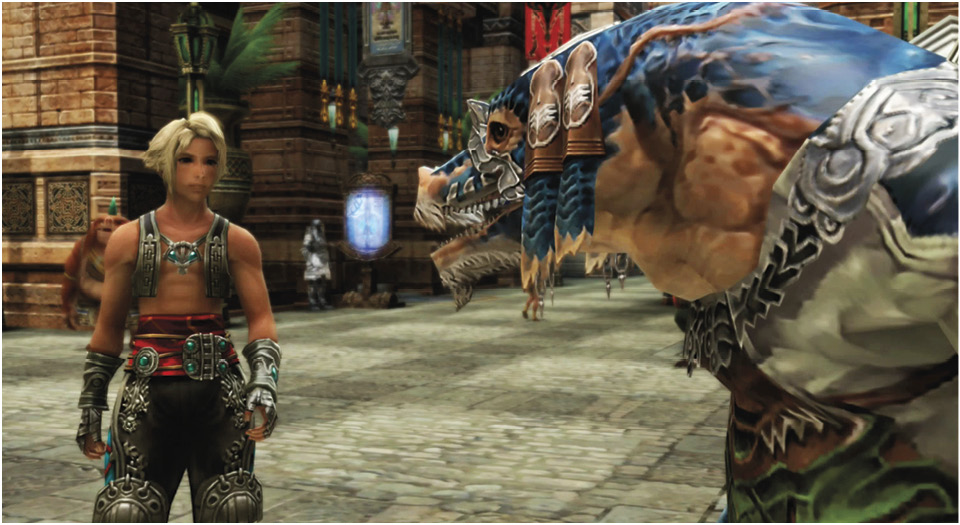
Migelo, a bangaa trader, is waiting for some goods to arrive for the palace banquet tonight. Unfortunately, they have not yet turned up, so he has had to order some replacement goods from Tomaj over at the Sandsea, a local tavern. Kytes was supposed to run this errand, but Migelo has seen no sign of him. Your new objective is to find Kytes at the Sandsea and see that the young boy completes his errand.
Find Kytes at the Sandsea
Press the touch pad to access the Rabanastre map, then use the directional buttons to highlight your current location, which is the East End. Press  to see a list of all the establishments in East End. Most of Rabanastre’s important shops (for your purposes) are in this district, along with the Sandsea. Note that the red ‘X’ indicating Kytes’s location is right on top of the Sandsea.
Head north along the East End street to the Sandsea and enter to trigger an event. Vaan finds Kytes, who points out the Notice Board and says, “This is why Migelo’s courier didn’t get here on time!” Tomaj comes over and describes the “nastiness” in the Estersand that’s harassing the couriers. He’s posted a bill offering a reward for anyone who can hunt down the creature.
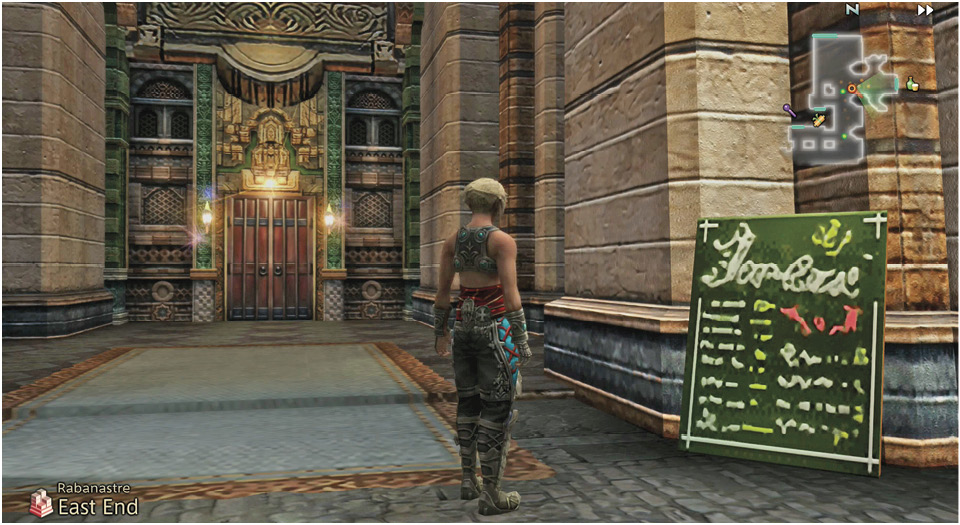
This “work” is certainly more to Vaan’s liking. When the scene ends, Tomaj explains that people post bills on the Notice Board when they need a monster eliminated. Note that when you accept a hunting job, the monster you’re tracking is called your “mark.”
When Tomaj shows the bill again, select the dialogue choice that asks to learn more about hunts. Tomaj explains how you must contact the petitioner who posted the bill to accept the job and learn where to find the mark. Then, after you complete the hunt, you must report back to that person to claim your bounty. Tomaj also hands over a Clan Primer to help keep track of hunts. You can now access the Clan Primer via the Party Menu.
Finally, Tomaj relinquishes an Orrachea Armlet, a basic accessory that raises a character’s Max HP by 25 and Defense and Magick Resist by 1 when the item is both licensed and equipped. Unfortunately, you don’t have a license for it yet.
This leads to a brief tutorial on the process of selecting jobs and licensing in THE ZODIAC AGE. This definitive edition of FFXII includes 12 distinct jobs in which characters can specialize.
A job is taken up by selecting that job's license board. When party members first join, one job can be selected for them, and one job only—job choices cannot be changed later. From a job's license board, spend License Points (LP) to unlock licenses. Any piece of gear you equip, any technick you use, and any magick you cast requires that a corresponding license be purchased with LP.
However, partway through the story, the ability to add a second job is acquired! The second job's abilities combine with the first in equal measure—characters have simultaneous access to all licensed abilities and boosts from both license boards.
Selecting jobs is no small choice. There's no hurry—you can play for quite some time and simply avoid selecting any jobs, using basic abilities and hoarding LP along the way. Not until events in the Tomb of Raithwall does it begin to get difficult without any jobs assigned, and that's when access to second job license boards become available anyway.
Veterans of original FINAL FANTASY XII might consider plowing through to that point without picking any jobs. (The main gameplay difference along the way is that you'll have to chug a lot of Potions, so stock up.) Once the full party is assembled and second board access available, this is a perfect place to create several copies of a "master save." The full party assembled without jobs assigned is the perfect jumping-off point to experiment with all the jobs for a bit before reloading the save and locking in, and to use as a "clean" branch-point for another party configurations on a different playthrough.
The Zodiac Job System section of this book is designed to help you make party job choices that will be lasting and fun. If you don't feel like delaying license board selection as described above, at least take some time to check out that section of the guide, which is full of helpful job references and considerations, most of which are not at all obvious when you're first allowed to pick.
Tomaj gives you a Writ of Transit so that you can exit the city gates; he suggests that you leave via the East Gate to find your “mark” in the Estersand. Also note that the Licenses category has now been added to the Party Menu. When Tomaj has finished talking, a graphic flashes on-screen to signify the beginning of the hunt for the Rogue Tomato.
Get to the Dalmasca Estersand
Press the touch pad to open the Rabanastre map and plot your path down to the flashing red ‘X’ at Eastgate. Before you leave East End, though, we recommend that you explore the shops to see what’s available (not much yet), then stop at Migelo’s Sundries to purchase a couple of extra Potions just to be safe.
From East End you must go into the Southern Plaza, then down the eastern stairs to Eastgate to trigger an event. The Imperial guard tries to halt Vaan, but Vaan’s Writ of Transit gets him through the gate. Once you’re in Eastgate, save your game at the blue crystal and head due east into the Estersand.