Final Fantasy XII: The Zodiac Age Guide Walkthrough Part 2
Ozmone Plain
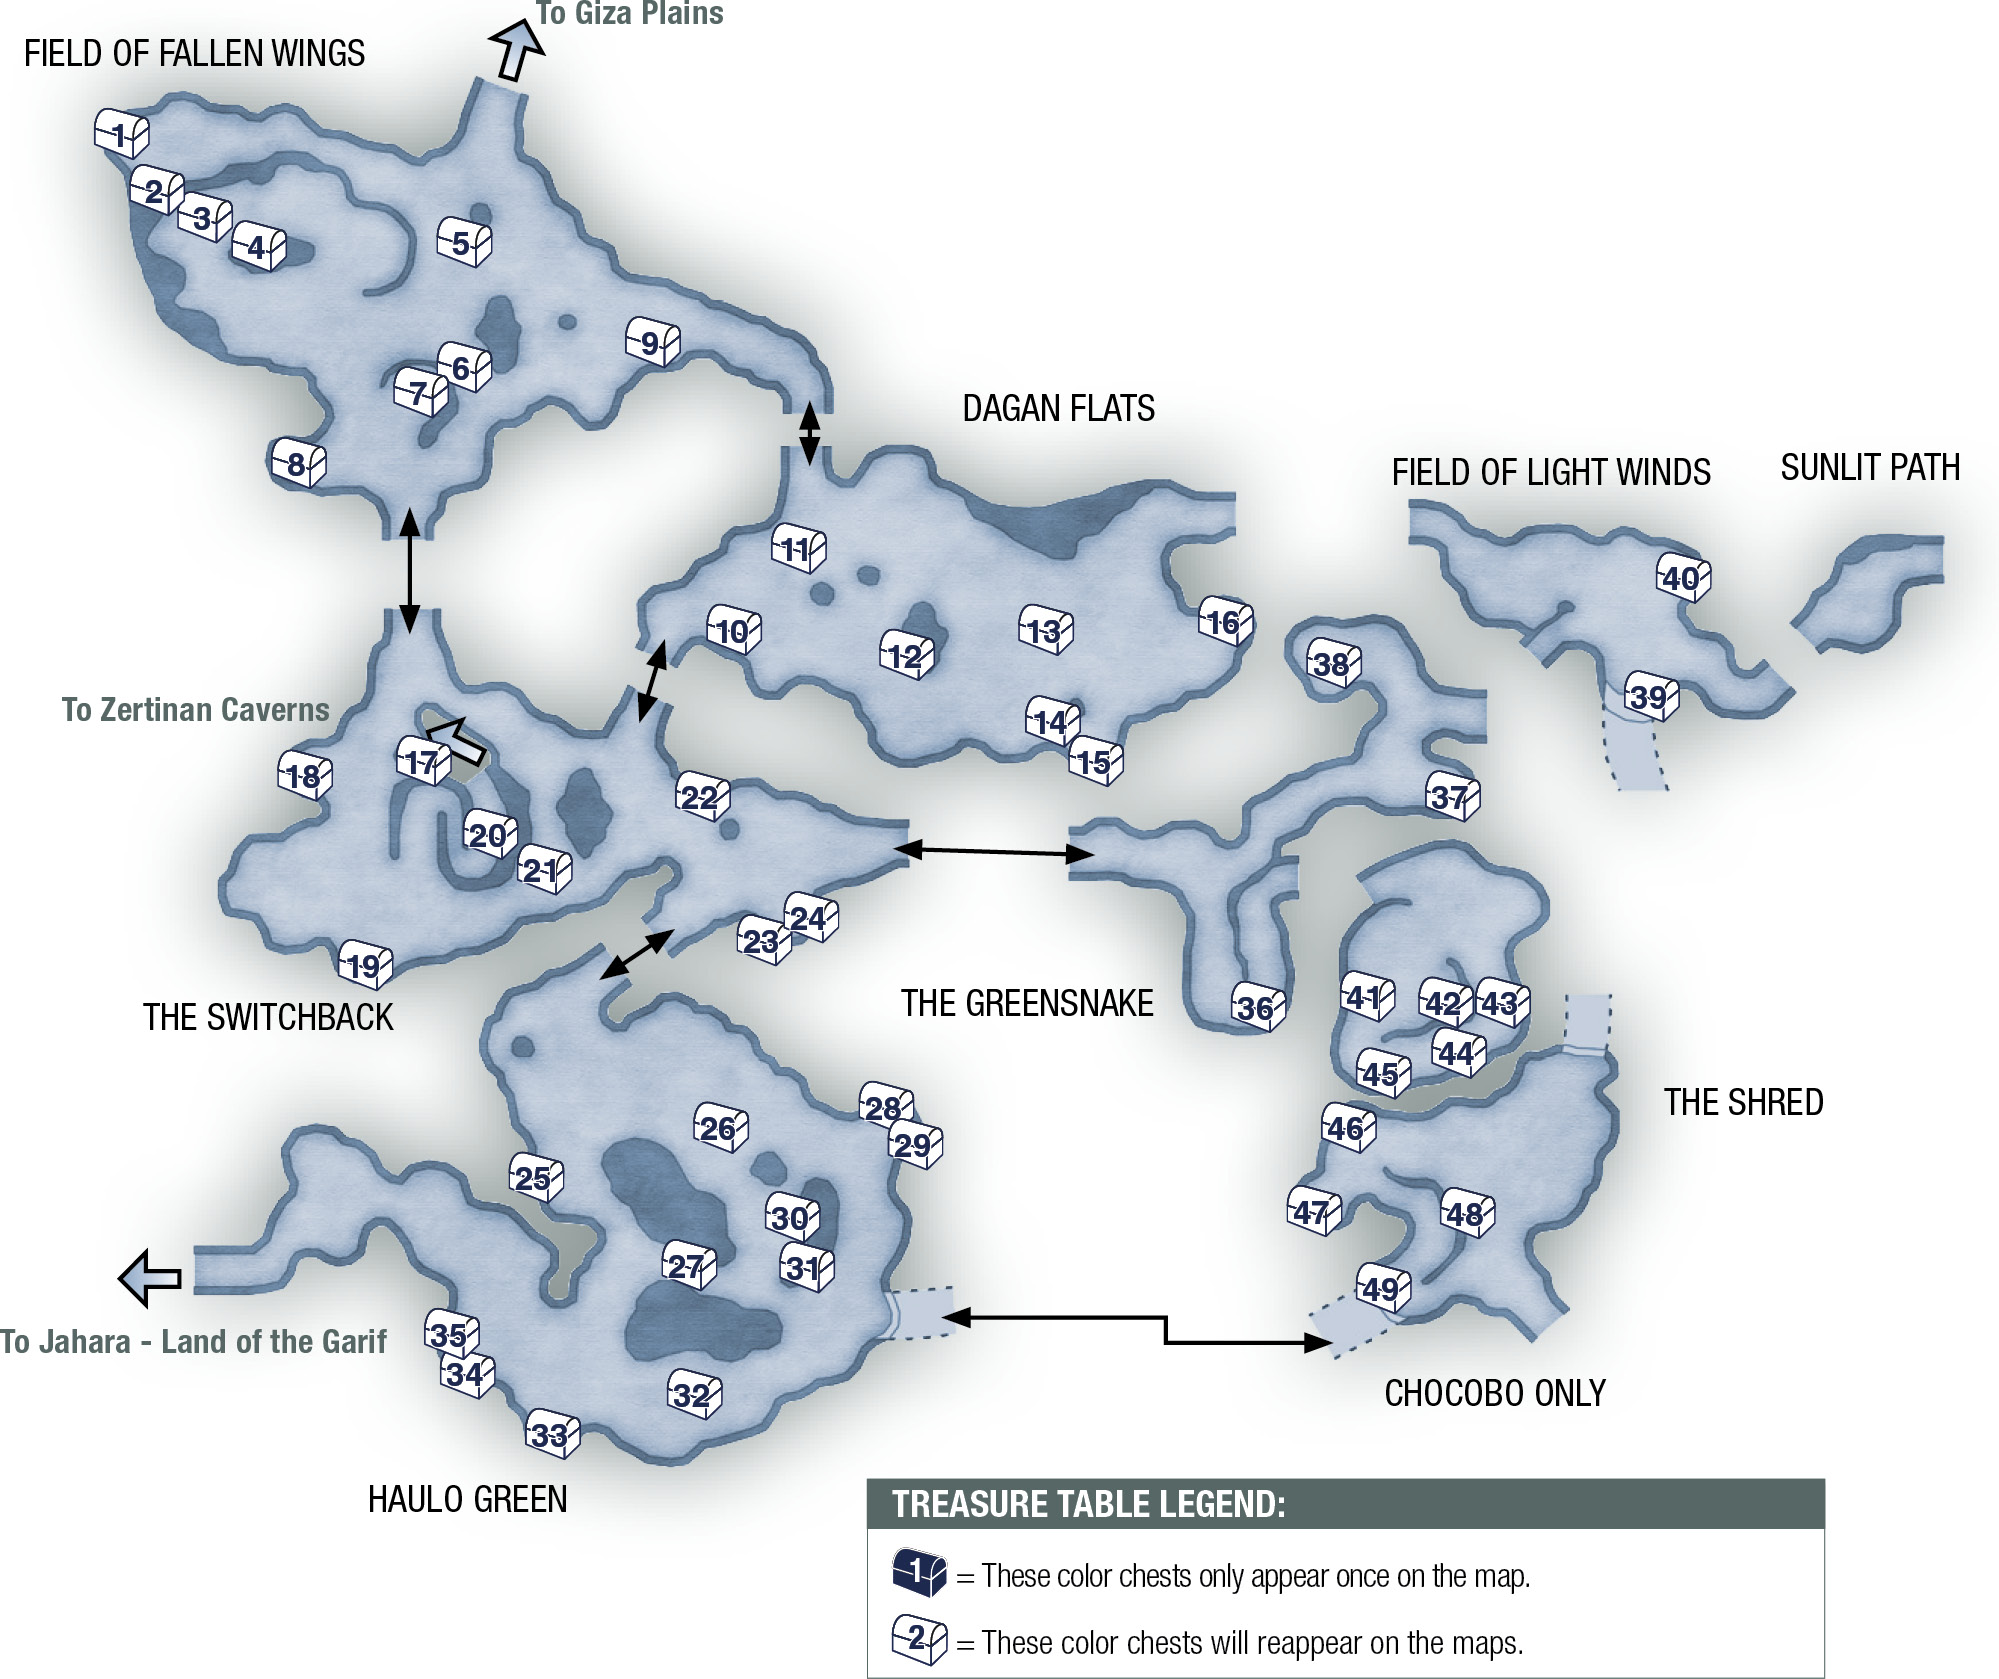
| Pop odds | If pop, Gil odds & Amt | Normal Loot | w/Diamond Armlet | ||||
|---|---|---|---|---|---|---|---|
| # | App. % | Gil % | Amt. if Gil | 50% | 50% | 90% | 10% |
|
1 |
80% |
40% |
~250 |
Potion |
Potion |
Knot of Rust |
Meteorite (A) |
|
2 |
80% |
40% |
~250 |
Ether |
Chronos Tear |
Knot of Rust |
Meteorite (A) |
|
3 |
80% |
40% |
~250 |
Dispel Mote |
Chainmail |
Knot of Rust |
Meteorite (A) |
|
4 |
80% |
40% |
~250 |
Soleil Fang |
Dark Mote |
Knot of Rust |
Meteorite (A) |
|
5 |
80% |
40% |
~250 |
Chronos Tear |
Phoenix Down |
Knot of Rust |
Meteorite (A) |
|
6 |
80% |
40% |
~250 |
Ether |
Chronos Tear |
Knot of Rust |
Meteorite (A) |
|
7 |
80% |
40% |
~250 |
Ether |
Dark Mote |
Knot of Rust |
Meteorite (A) |
|
8 |
80% |
40% |
~250 |
Hi-Potion |
Ether |
Knot of Rust |
Meteorite (A) |
|
9 |
80% |
40% |
~250 |
Gold Needle |
Heavy Lance |
Knot of Rust |
Meteorite (A) |
|
10 |
80% |
40% |
~250 |
Ether |
Echo Herbs |
Knot of Rust |
Meteorite (A) |
|
11 |
80% |
40% |
~250 |
Echo Herbs |
Hi-Potion |
Knot of Rust |
Meteorite (A) |
|
12 |
80% |
40% |
~250 |
Gold Needle |
Remedy |
Knot of Rust |
Meteorite (A) |
|
13 |
80% |
40% |
~250 |
Antidote |
Echo Herbs |
Knot of Rust |
Meteorite (C) |
|
14 |
80% |
40% |
~250 |
Echo Herbs |
Phoenix Down |
Knot of Rust |
Meteorite (A) |
|
15 |
80% |
40% |
~250 |
Ether |
Soleil Fang |
Knot of Rust |
Meteorite (B) |
|
16 |
80% |
40% |
~250 |
Ether |
Echo Herbs |
Knot of Rust |
Meteorite (A) |
|
17 |
80% |
40% |
~260 |
Ether |
Potion |
Knot of Rust |
Meteorite (A) |
|
18 |
80% |
40% |
~260 |
Potion |
Aqua Mote |
Knot of Rust |
Meteorite (A) |
|
19 |
80% |
40% |
~260 |
Gold Needle |
Ether |
Knot of Rust |
Meteorite (A) |
|
20 |
75% |
40% |
~260 |
Prince’s Kiss |
Chopper |
Knot of Rust |
Meteorite (A) |
|
21 |
80% |
40% |
~260 |
Prince’s Kiss |
Poison Bombs |
Knot of Rust |
Meteorite (B) |
|
22 |
80% |
40% |
~260 |
Potion |
Cura Mote |
Knot of Rust |
Meteorite (A) |
|
23 |
80% |
40% |
~260 |
Gold Needle |
Phoenix Down |
Knot of Rust |
Meteorite (A) |
|
24 |
80% |
40% |
~260 |
Prince’s Kiss |
Ether |
Knot of Rust |
Meteorite (A) |
|
25 |
80% |
40% |
~300 |
Handkerchief |
Silent Shot |
Knot of Rust |
Meteorite (B) |
|
26 |
80% |
40% |
~300 |
Ether |
Potion |
Knot of Rust |
Meteorite (A) |
|
27 |
80% |
40% |
~300 |
Potion |
Potion |
Knot of Rust |
Meteorite (A) |
|
28 |
80% |
40% |
~300 |
Handkerchief |
Potion |
Knot of Rust |
Meteorite (A) |
|
29 |
80% |
40% |
~300 |
Handkerchief |
Ether |
Knot of Rust |
Meteorite (A) |
|
30 |
80% |
40% |
~300 |
Ether |
Potion |
Knot of Rust |
Meteorite (A) |
|
31 |
75% |
50% |
~280 |
Parallel Arrows |
Tourmaline Ring |
Knot of Rust |
Meteorite (A) |
|
32 |
80% |
40% |
~300 |
Ether |
Ether |
Knot of Rust |
Meteorite (A) |
|
33 |
80% |
40% |
~300 |
Ether |
Potion |
Knot of Rust |
Meteorite (A) |
|
34 |
80% |
40% |
~300 |
Ether |
Ether |
Knot of Rust |
Meteorite (A) |
|
35 |
80% |
40% |
~300 |
Handkerchief |
Phoenix Down |
Knot of Rust |
Meteorite (A) |
|
36 |
80% |
30% |
~300 |
Potion |
Hi-Potion |
Knot of Rust |
Meteorite (A) |
|
37 |
80% |
30% |
~300 |
Potion |
Phoenix Down |
Knot of Rust |
Meteorite (B) |
|
38 |
80% |
30% |
~300 |
Ether |
Potion |
Knot of Rust |
Meteorite (A) |
|
39 |
80% |
60% |
~250 |
Hi-Potion |
Slasher |
Knot of Rust |
Meteorite (B) |
|
40 |
80% |
60% |
~250 |
Ether |
Traveler’s Vestment |
Knot of Rust |
Meteorite (A) |
|
41 |
75% |
30% |
~270 |
Potion |
Dispel Mote |
Knot of Rust |
Meteorite (B) |
|
42 |
75% |
30% |
~270 |
Ether |
Hi-Potion |
Knot of Rust |
Meteorite (A) |
|
43 |
75% |
30% |
~270 |
Potion |
Long Bolts |
Knot of Rust |
Meteorite (A) |
|
44 |
75% |
30% |
~270 |
Potion |
Phoenix Down |
Knot of Rust |
Meteorite (C) |
|
45 |
75% |
30% |
~270 |
Ether |
Aqua Mote |
Knot of Rust |
Meteorite (A) |
|
46 |
80% |
25% |
~300 |
Ether |
Float Mote |
Knot of Rust |
Meteorite (A) |
|
47 |
80% |
25% |
~300 |
Ether |
Hi-Potion |
Knot of Rust |
Meteorite (A) |
|
48 |
80% |
25% |
~400 |
Remedy |
Green Beret |
Knot of Rust |
Meteorite (A) |
|
49 |
80% |
25% |
~420 |
Hi-Potion |
Flametongue |
Knot of Rust |
Meteorite (A) |
Cross the Ozmone Plain
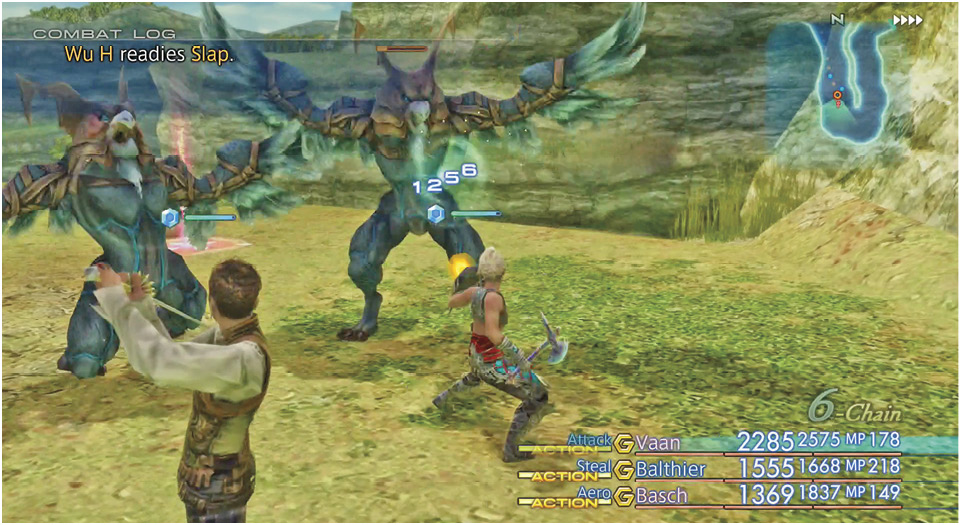
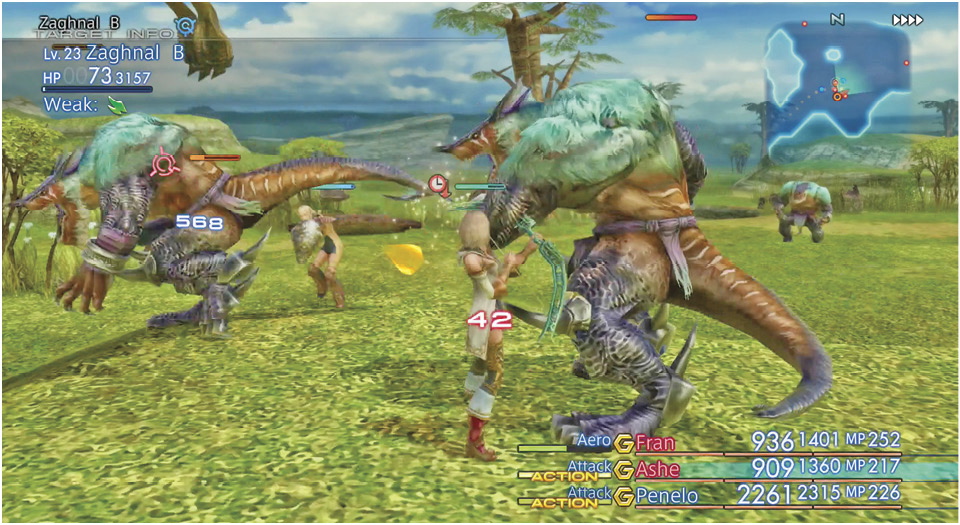
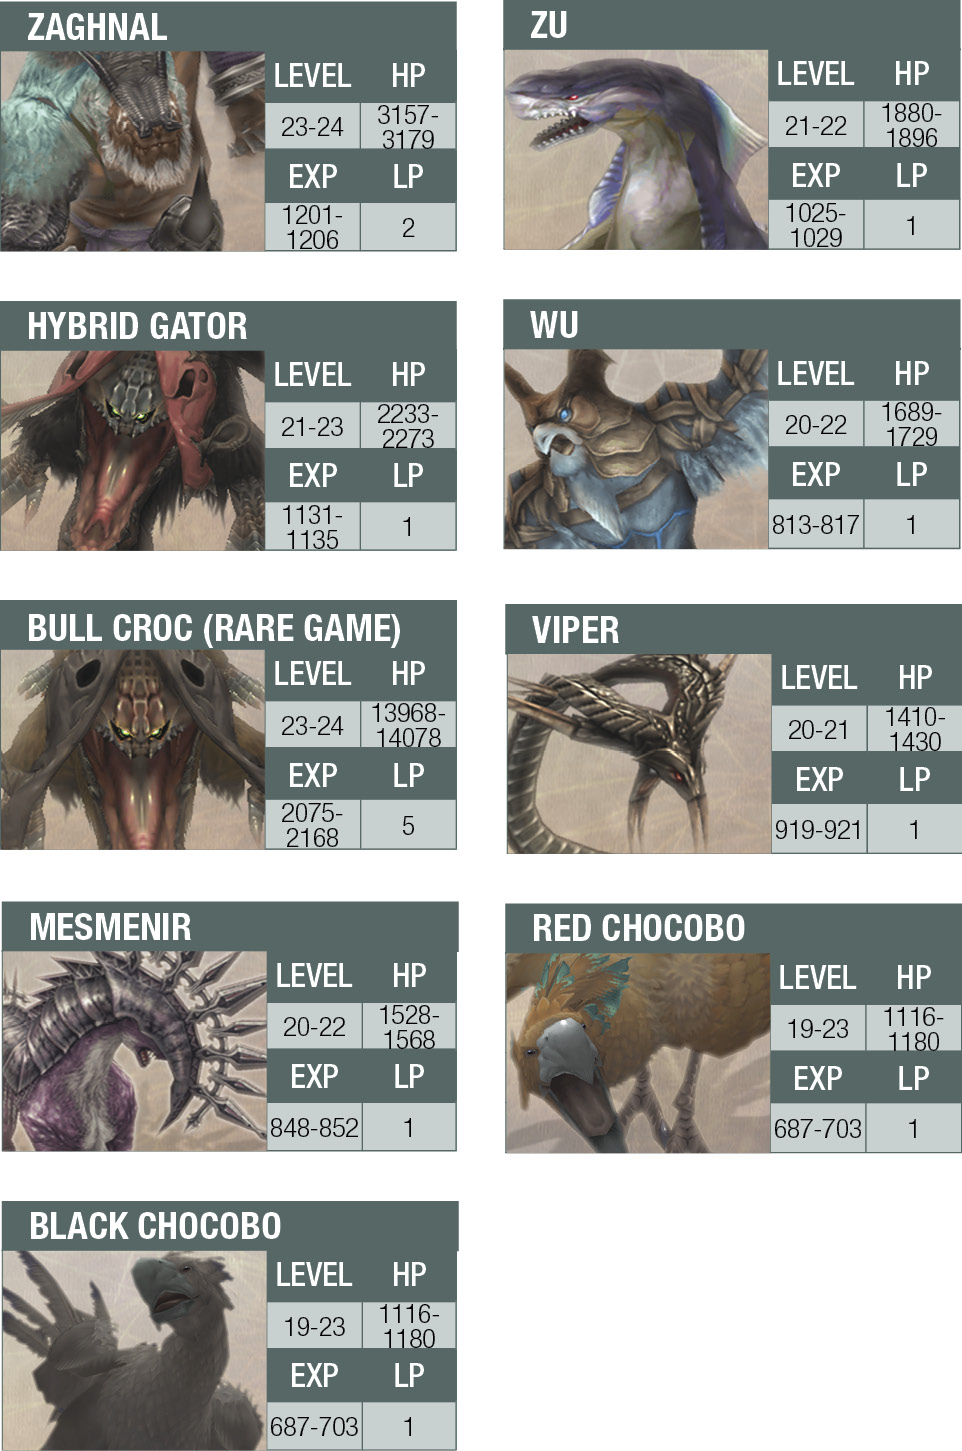
The foes grow considerably tougher here in the Ozmone Plain. Massive, brutal Zaghnals, flying Zus, and Mesmenir warhorses will test your party’s limits in the Field of Fallen Wings, the northernmost sector of the plain. Try to engage foes one at a time; if they team up, you’re in trouble. Zaghnals, in particular, like to trudge around in groups, and these cousins of the Werewolf are very powerful. Don’t be afraid to flee if necessary. Always know the location of the nearest area exit.
Take the southernmost exit into an area called The Switchback. Herds of Mesmenirs wander this area. Again, be aware that these foes can be challenging when they work in tandem, depending on your characters’ levels and quality of equipment.
A rock ramp in the middle of The Switchback spirals downward into the Zertinan Caverns, but foes are even tougher down there, so leave them alone for now. In any case, it’s time to visit the Garif. Leave The Switchback via the south exit into Haulo Green, then exit that area west into Jahara, Land of the Garif.