Final Fantasy XII: The Zodiac Age Guide Walkthrough Part 2
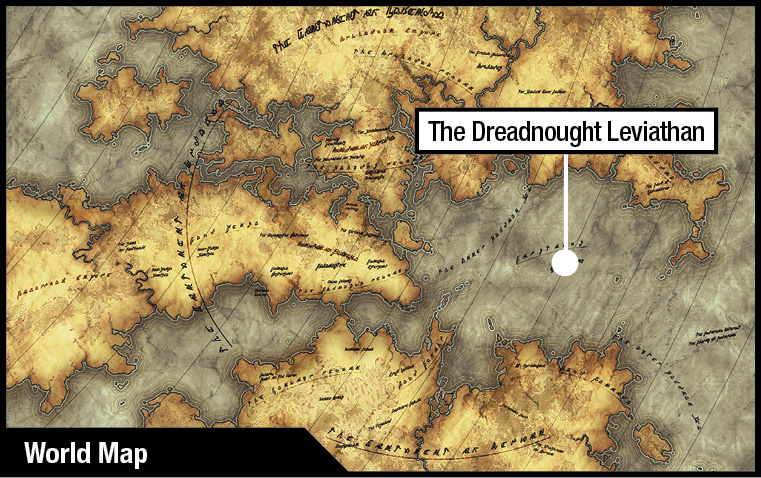
The Dreadnought Leviathan
OBJECTIVE
Escape the Leviathan with the Princess
Judge Ghis holds a very important prisoner aboard the flagship of the 8th Imperial fleet. Free her and escape.
Action Checklist
1. Proceed to the brig area in the central block of the ship.
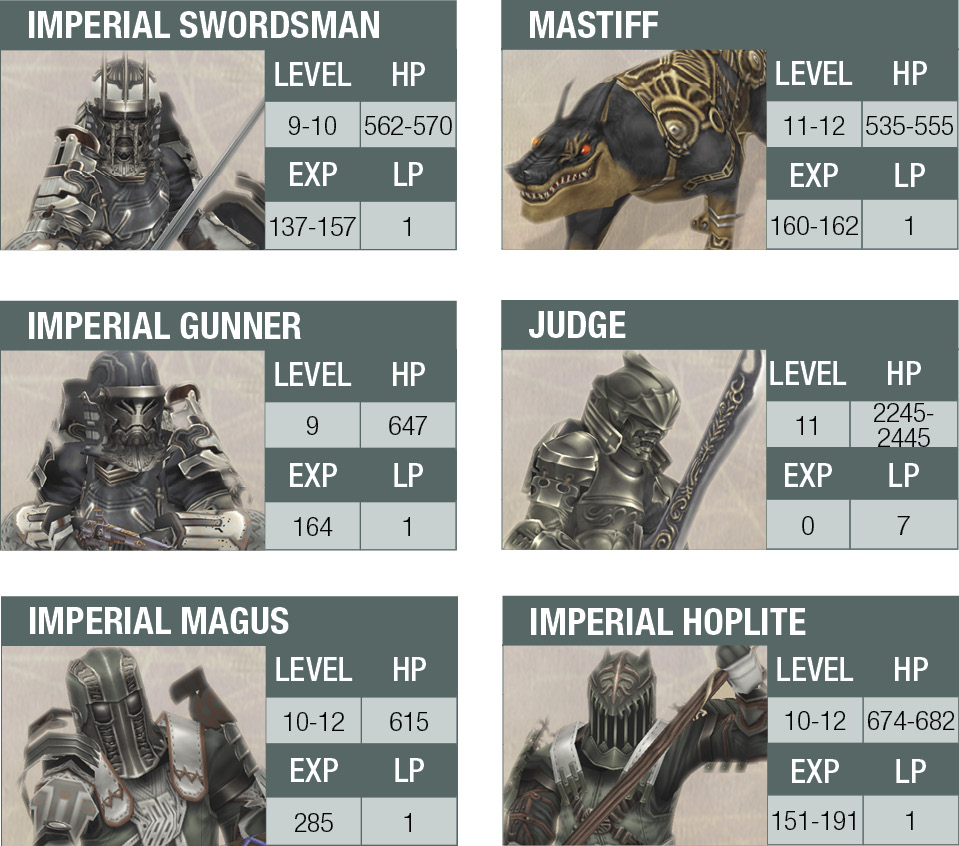
2. Defeat a contingent of Imperials led by lesser Judges.
3. Rescue a prisoner from the brig.
4. Defeat the powerful Judge Ghis.
| Pop odds | If pop, Gil odds & Amt | Normal Loot | w/Diamond Armlet | ||||
|---|---|---|---|---|---|---|---|
|
# |
App. % |
Gil % |
Amt. if Gil |
50% |
50% |
90% |
10% |
|
1 |
80% |
20% |
~320 |
Potion |
Phoenix Down |
Knot of Rust |
Meteorite (B) |
|
2 |
80% |
20% |
~320 |
Potion |
Hi-Potion |
Knot of Rust |
Meteorite (A) |
|
3 |
80% |
20% |
~320 |
Potion |
Partisan |
Knot of Rust |
Meteorite (A) |
|
4 |
80% |
20% |
~320 |
Potion |
Crossbow |
Knot of Rust |
Meteorite (A) |
|
5 |
100% |
0% |
— |
Reflectga Mote |
Reflectga Mote |
Reflectga Mote |
Reflectga Mote |
|
6 |
100% |
0% |
— |
Reflectga Mote |
Reflectga Mote |
Reflectga Mote |
Reflectga Mote |
|
7 |
80% |
30% |
~350 |
Potion |
Gold Needle |
Knot of Rust |
Meteorite (A) |
|
8 |
75% |
30% |
~350 |
Echo Herbs |
Prince’s Kiss |
Knot of Rust |
Meteorite (B) |
|
9 |
80% |
25% |
~350 |
Eye Drops |
Ringmail |
Knot of Rust |
Meteorite (A) |
|
10 |
80% |
25% |
~350 |
Handkerchief |
Shepherd’s Bolero |
Knot of Rust |
Meteorite (A) |
|
11 |
100% |
0% |
— |
Sleep |
Sleep |
Sleep |
Sleep |
|
12 |
75% |
40% |
~350 |
Ether |
Iron Armor |
Knot of Rust |
Meteorite (B) |
|
13 |
75% |
40% |
~350 |
Ether |
Iron Helm |
Knot of Rust |
Meteorite (A) |
|
14 |
75% |
35% |
~350 |
Rime Fang |
Hi-Potion |
Knot of Rust |
Meteorite (C) |
|
15 |
75% |
40% |
~400 |
Potion |
Reflectga Mote |
Knot of Rust |
Meteorite (A) |
|
16 |
75% |
35% |
~350 |
Hi-Potion |
Iron Sword |
Knot of Rust |
Meteorite (A) |
|
17 |
80% |
40% |
~400 |
Potion |
Vega |
Knot of Rust |
Meteorite (B) |
|
18 |
80% |
25% |
~400 |
Potion |
Phoenix Down |
Knot of Rust |
Meteorite (A) |
|
19 |
100% |
0% |
— |
Infuse |
Infuse |
Infuse |
Infuse |
|
20 |
75% |
35% |
~400 |
Hi-Potion |
Zwill Blade |
Knot of Rust |
Meteorite (A) |
The Story Continues…
There’s one more event before you regain control of your party: a meeting before Judge Ghis with Amalia, AKA the Princess Ashelia B’Nargin Dalmasca. Yes, Amalia is Ashe, the princess said to have committed suicide. Judge Ghis demands her “ministry” in restoring peace to Dalmasca, but Ashe refuses to play puppet to Vayne. Ghis threatens the gallows if she cannot offer proof of her royal claim.
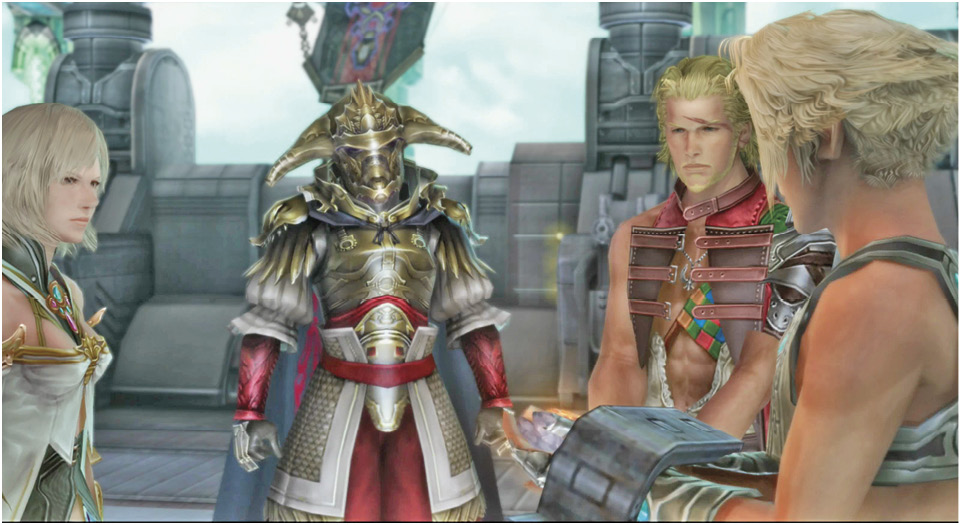
Basch mentions something called the Dusk Shard, her birthright as the Dalmascan heir. It’s a magic stone that will prove she is of royal blood. But hey, guess who has it? That’s right—the “Goddess’s Magicite” that Vaan has been carrying, the stone that he stole from the Palace Treasury, is none other than the Dusk Shard! It starts glowing in Vaan’s hands.
Ghis demands the stone and Vaan reluctantly gives it to him. The Judge then sends everyone off to be incarcerated…
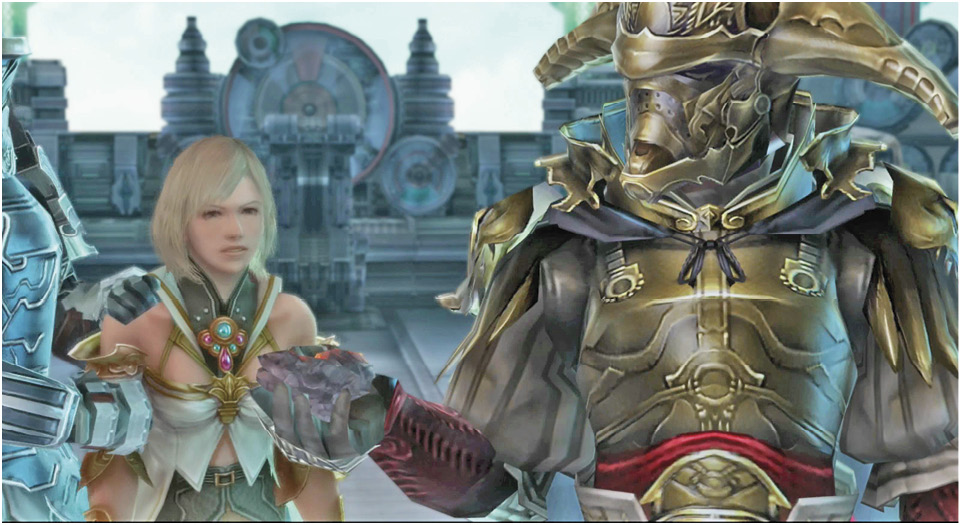
The scene shifts to a view of the party being marched to the ship’s brig. However, a mistake by an overeager Imperial leads to an old-fashioned prison break aided by one of the helmeted guards; it’s Vossler! He unlocks everyone’s cuffs, explaining that for two full years he has kept Ashe safe, and now he plans to get her out.
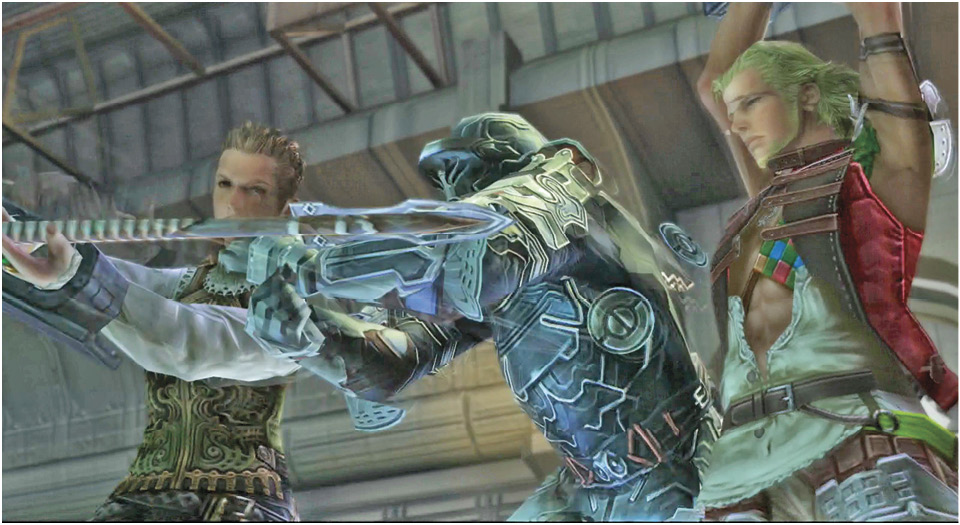
Rescue Princess Ashe
At last, control again! Vossler joins your party as a guest, plus you gain a full map of the Leviathan. Configure your party the way you want; besides Vossler, who you cannot switch out, you can use three of your four available members. Save your game at the nearby Save Crystal in the Port Launch. Then head through the doors labeled “West Block” into the corridors of the Port Section.
The immediate goal is to fight through the Imperial soldiers, mastiffs, and elites to the Large Freight Stores section. While heading down the first hall, Vossler warns about the intruder alarm system. Take the second right to avoid the beams. Then go right, left, and finally south down to the open room with the glazed floor.
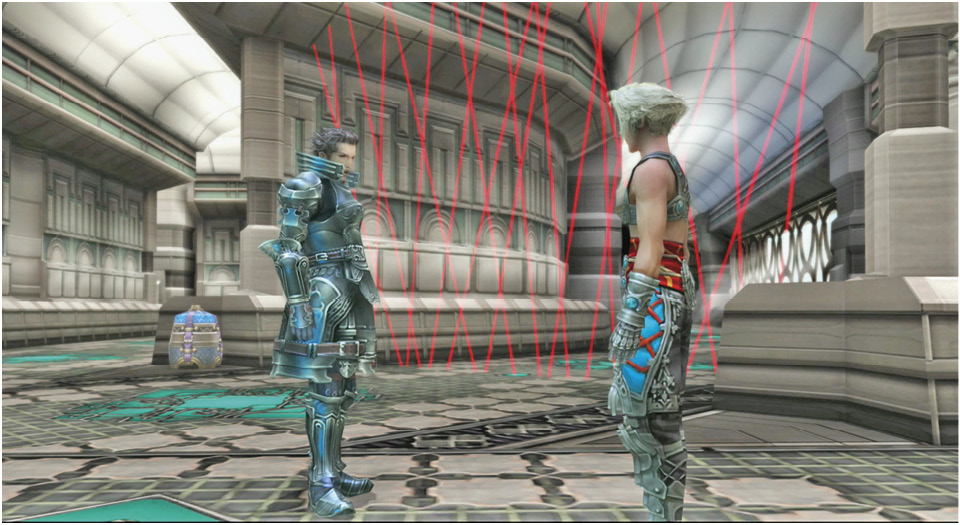
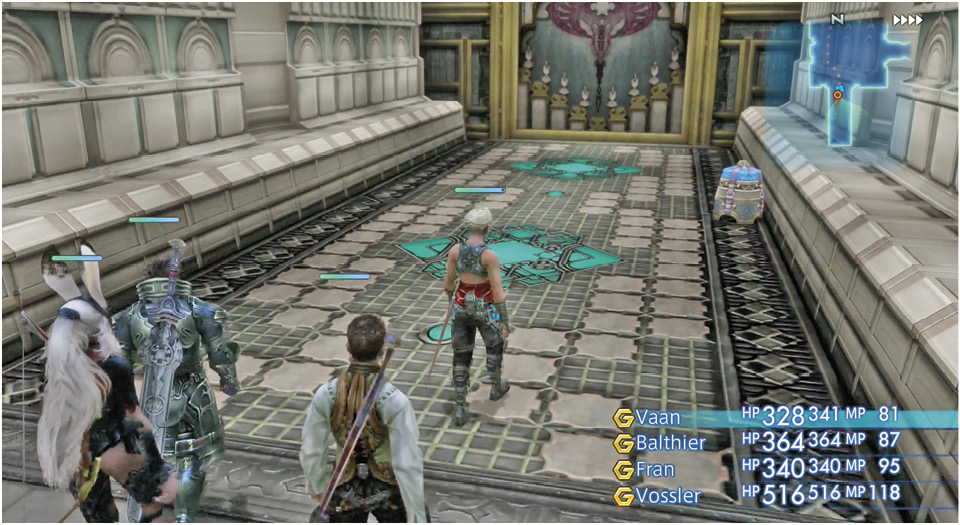
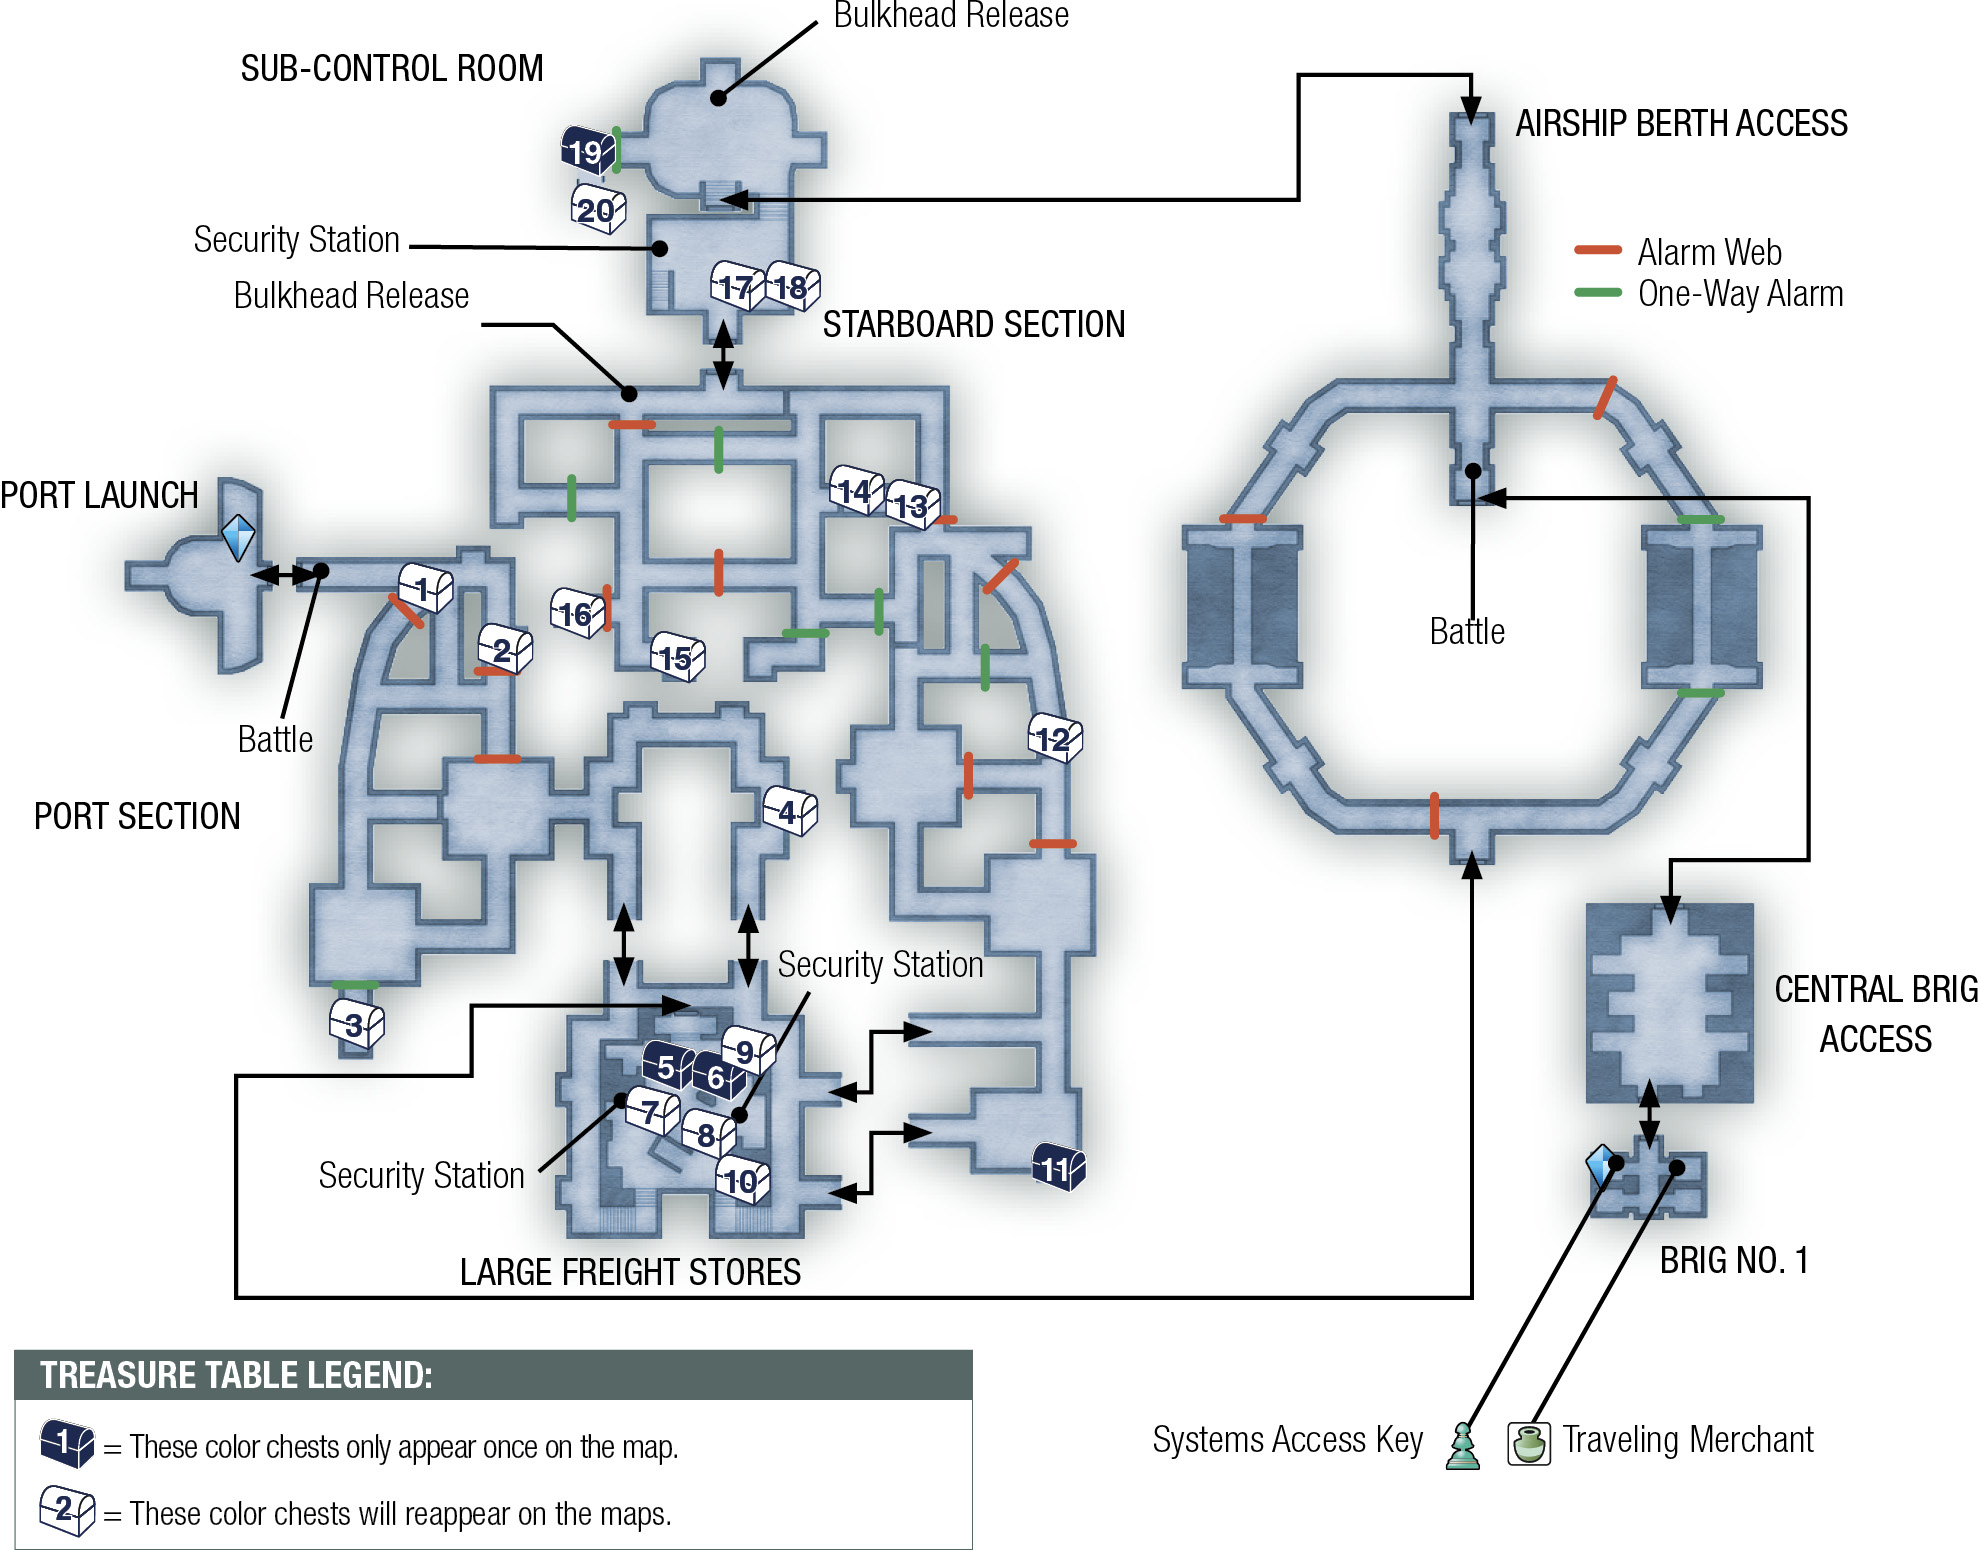
There is a treasure in a dead-end hallway due south. If you go after it, a “one-way” detection web activates behind your party, trapping them in the dead-end; you’ll have to trip the alarm to get out. Is the treasure worth it? It’s just a handful of gil, but you do get to fight a squad of Imperials.
Exit to the east and follow the corridor until you reach a walkway around an open atrium. You can now take one of two paths south to the next area, the Large Freight Stores.
North or South?
Check the area map. The red “X” marks Brig No. 1. You can take one of two different routes from the Large Freight Stores to reach this area and each way has its advantages and disadvantages.
The North Route
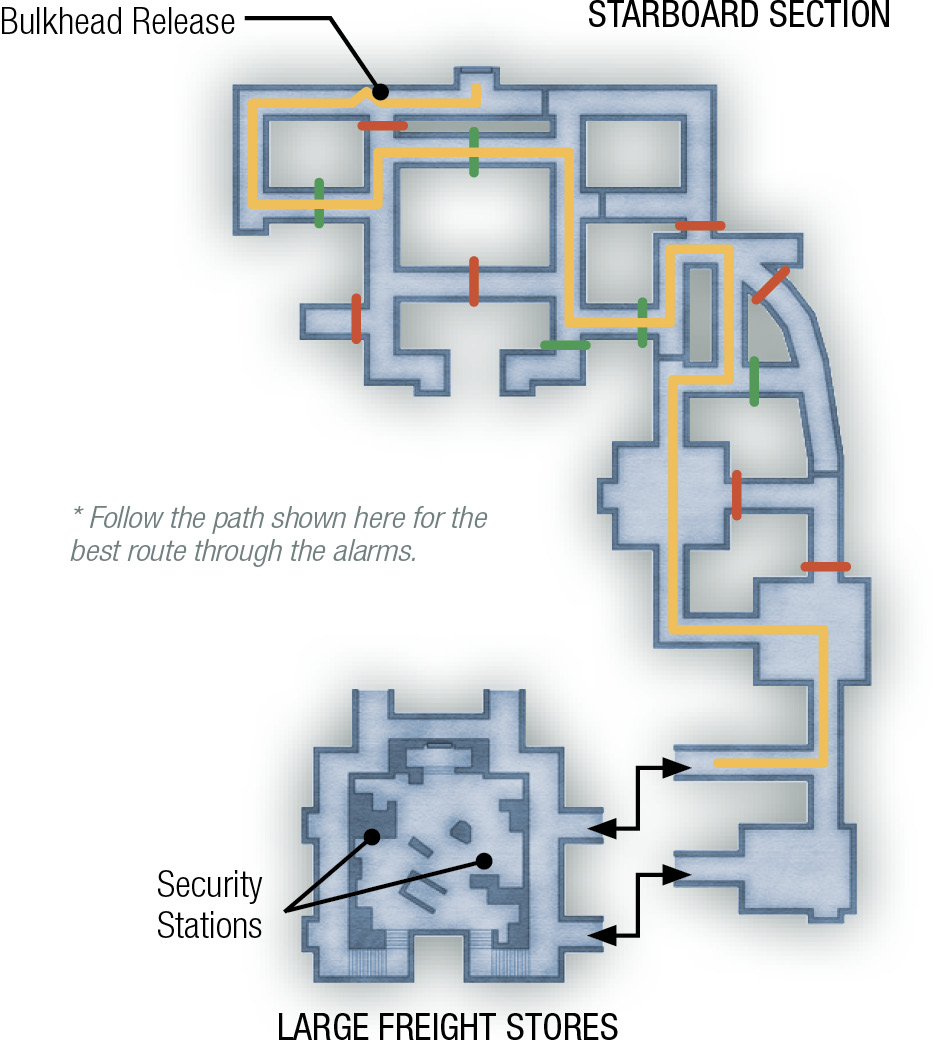
Upon entering the Large Freight Stores, go immediately to the east exit via one of two eastern doors and head north through a labyrinth of corridors filled with alarm webs in the Starboard Section and Sub-control Room. This is the much longer way to the Airship Berth Access where the brig is located, but it’s actually the easier way—because if you follow the correct route, you can avoid setting off any alarms. (See the route on the map of the Starboard Section.) You pass through several one-way alarms that don’t activate until after you pass through them, so if you don’t backtrack, you won’t set them off.
At the north edge of the Starboard Section, use the Bulkhead Release to unlock the door into the Sub-control Room (note that it won’t work during an alarm), then proceed through the bulkhead door. In the Sub-control Room, KO the guards at the controls, activate the Bulkhead Release, and proceed downstairs into the Airship Berth Access area. From there, it’s a straight shot south to the brig area.
To South Route
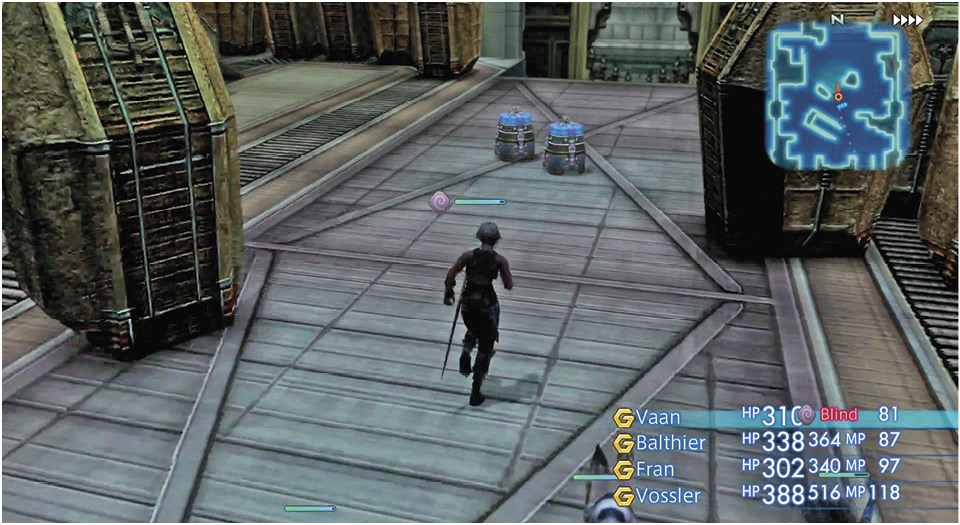
You can choose to take the shorter (but more difficult) route downstairs to reach a tough fight on the main floor of the Large Freight Stores. Note the two security stations, one on either side of the room. Raid the treasure chests and exit via the center door to the north. This door takes the party straight to the Airship Berth Access, but forces you through a few alarm webs as you wander around the narrow, circular corridor. The fighting can get pretty intense here!
Battle Elites and Minions
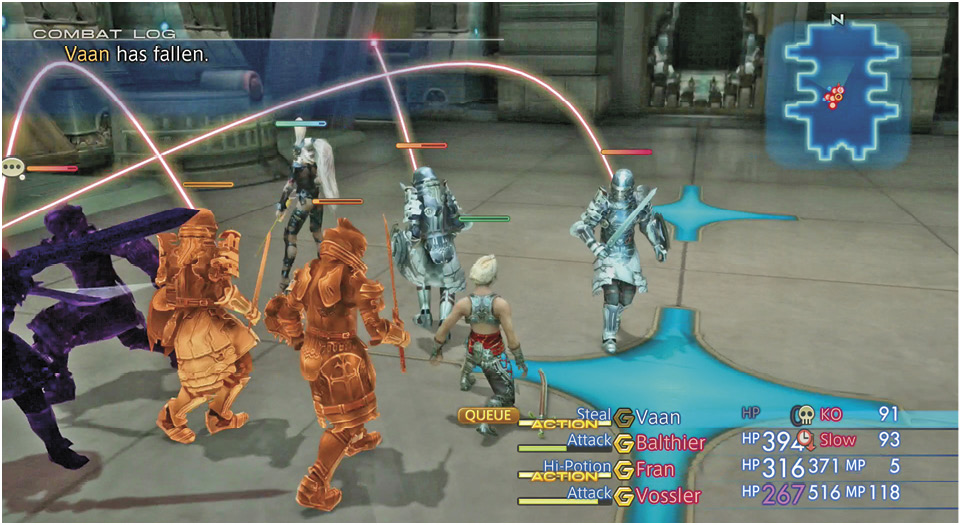
Whether you go north or south, once you finally reach the Central Brig Access, get ready for a tough fight. A mixed six-pack of Imperials steps into the room ready to fight. A standard approach is to focus on the four lesser Imperials first (three Swordsmen and a Poison-casting Magus), thinning the enemy party quickly to reduce the damage your party takes. But Vossler’s advice to focus only on the leaders is well considered, too. The moment both Judges fall, the fight is over, even if the other Imperials are still standing.
The following strategy is based upon fighting the powerful leaders first, the two Judges. However, it may be a good idea to nail the Imperial Magus first to eliminate his spell-casting mischief. Make sure at least two of your characters are set with healing gambit priorities. If anyone in your party falls, switch in your reserve party member right away. Use Phoenix Down as a last resort—for example, if a second character gets KO’d.
After the battle, you receive a congratulations screen and obtain a No. 1 Brig Key. Don’t pat yourself on the back too much; it’s time to move on.
Heal Up and Free Ashe
Proceed to the south exit door and open it to enter Brig No. 1. Open Door C-203 to reach a couple of moogles, one of whom is a traveling merchant. Check out his goods (he has some nice accessories) and buy anything that looks useful.
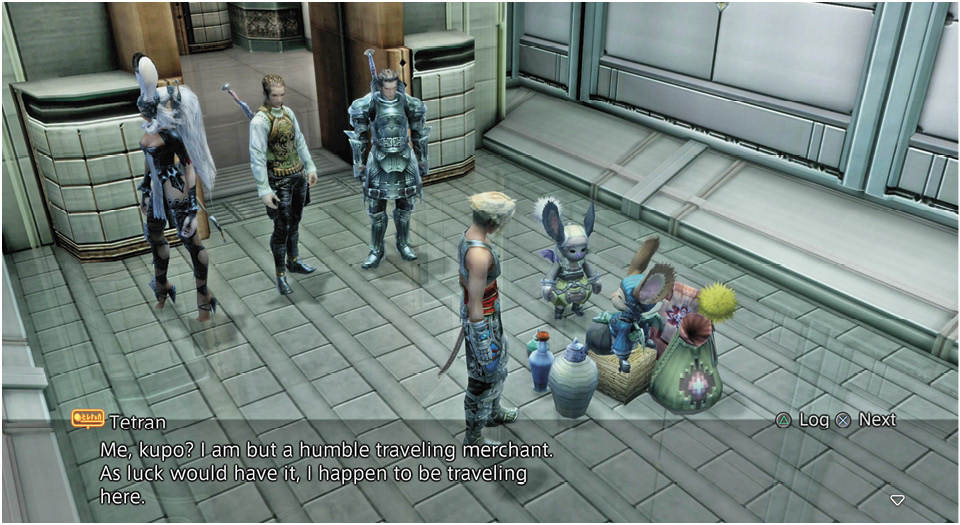
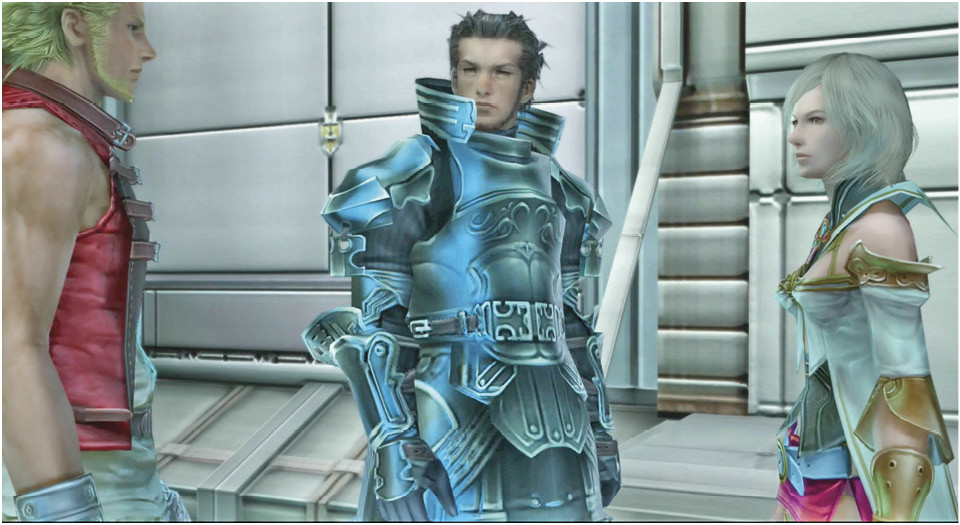
Go across the hall to open C-201. Ah, a Save Crystal! Nab the Systems Access Key from the Urn, then heal up and save your game. Now go open C-202 to rescue Ashe. After a short event, she joins your party. Exit Brig No. 1 to set off an alarm and start a wild sprint back to where you started.
Sprint to the Security Terminals
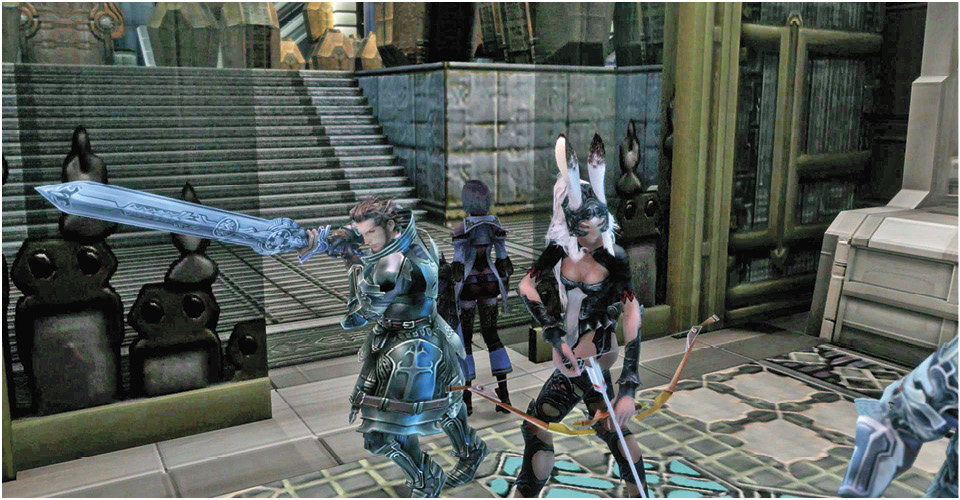
Imperial soldiers will swarm the party if you make a stand, so we recommend that you hold down the R2 button and ignore all attackers. Sprint north, straight through the Central Brig Access into the Airship Berth Access. Turn left at the intersection and sprint along the circular corridor to the southern exit into the Large Freight Stores area.
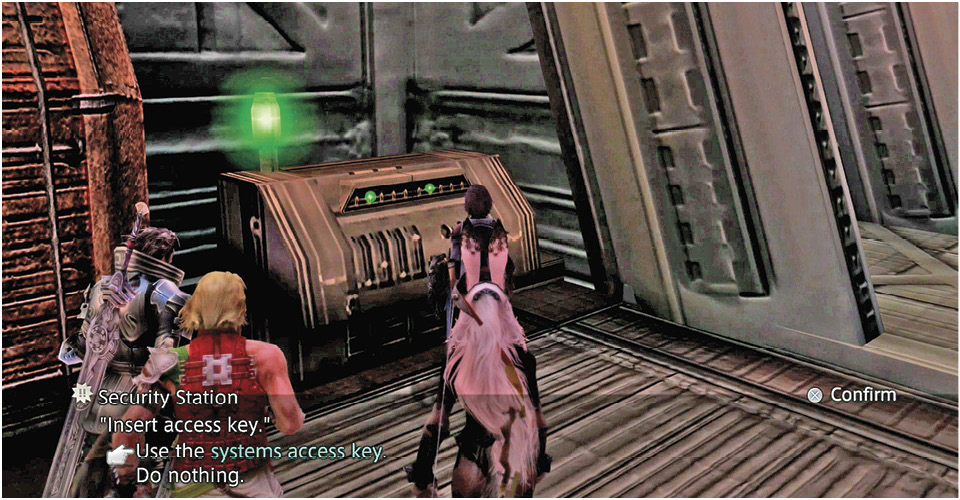
Check the area map. The Security Terminals are highlighted for good reason. You can use the recently acquired Systems Access Key to reset the security alarm! This silence is good for just 60 seconds—a countdown timer appears on-screen—so immediately run upstairs and exit via the northwest door. Finally, enter the Port Section.
When the party arrives, you meet Larsa and Penelo! Larsa says that Judge Ghis knows about the escape and he tells Vossler (Captain Azelas) to follow him. Then Larsa gives Penelo the blue sample of manufacted nethicite he’s been carrying.
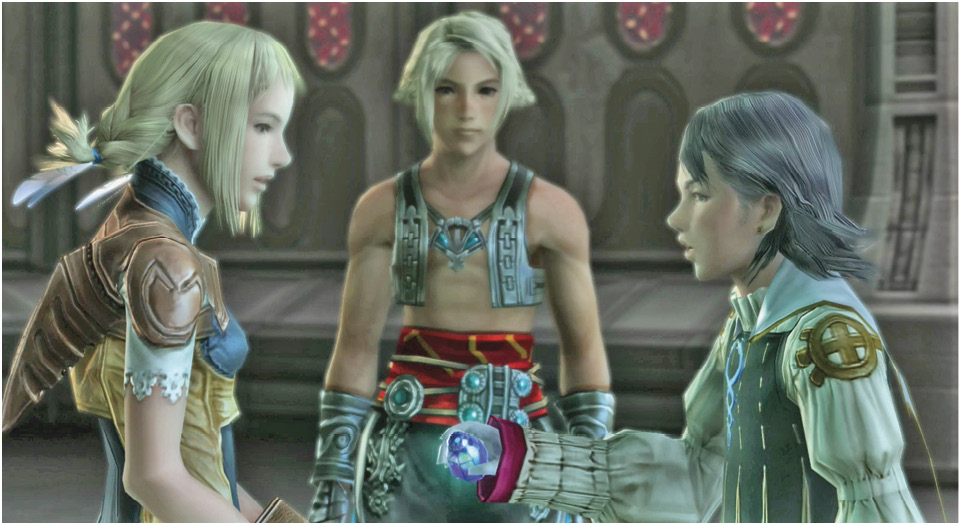
Vossler exits with Lord Larsa, thus leaving the party. In his place, Penelo joins the party and the “piece of Manufacted Nethicite” enters your inventory.
There should be a few seconds on the countdown timer before the alarms start wailing again, so make haste to reach the Port Launch where this crazy level began. When the party arrives, their reward for all that quick work is… a meeting with Judge Ghis!
He tells Ashe that she’s no longer useful and tries to zap her with a powerful magick spell but, luckily, the manufacted nethicite in Penelo’s hand absorbs the magickal energy, rendering the spell harmless. As you may expect, this doesn’t sit well with the Judge.
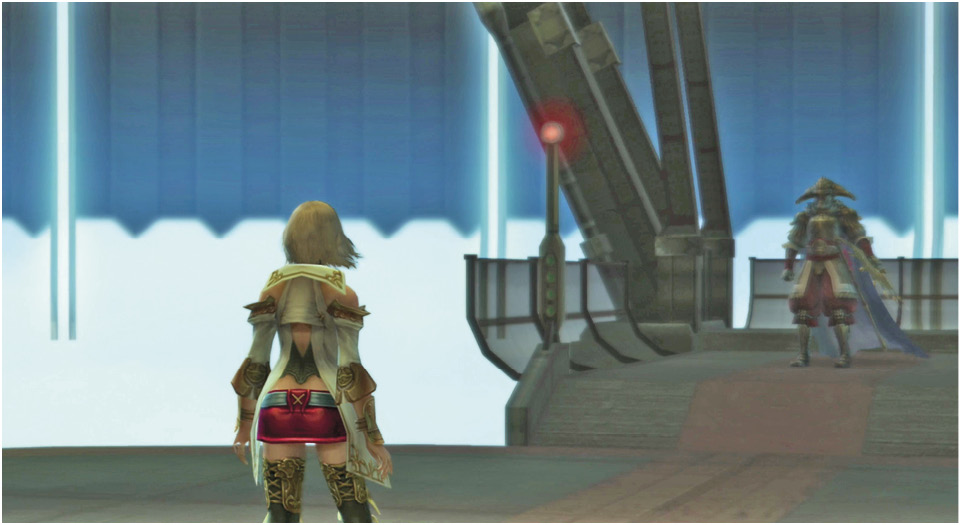
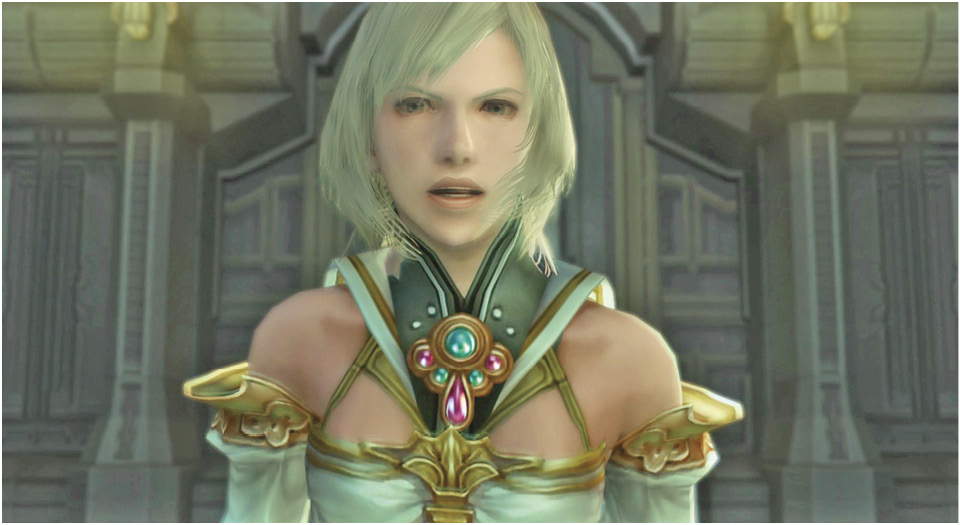
Judge Ghis
Judge Ghis is the first big powerhouse boss in the main story of the game. He hits like he really means it, and his big magick attack can quickly KO any character with less than 50 percent HP remaining. Make sure the party’s healers have their Cure or Potion gambits in the top slot, ready to kick in when any ally’s HP drops to less than 50 percent—and preferably higher. 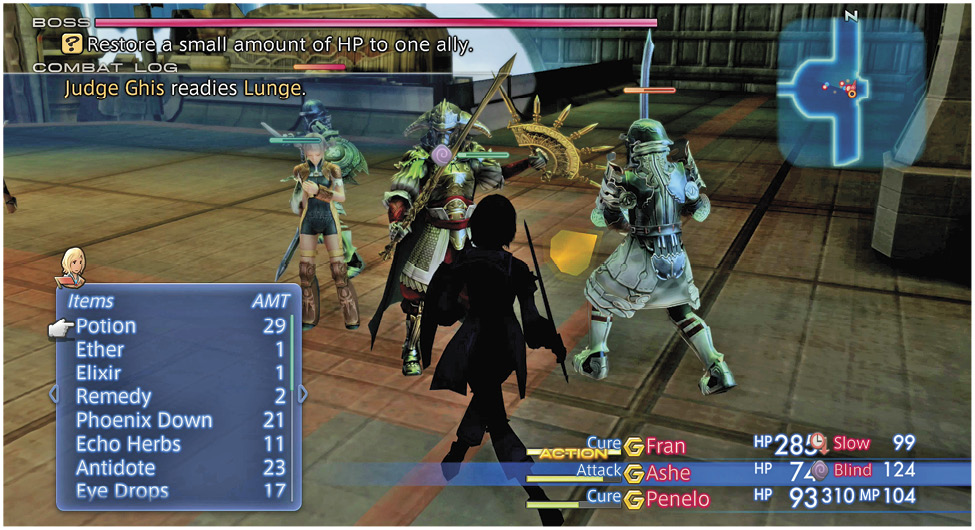
The Judge’s Swordsman minions are nothing special, so try to wipe out all three of them as quickly as possible. Keep your healers back, though; in general, it’s good to have ranged fighters (like, say, Balthier with a gun or Fran with a bow) performing the bulk of the healing from a distance. Set the gambits of your close-quarter brawlers to fight first, with healing gambits set for when HP is low or even critical. Needless to say, your melee fighters should also have the heaviest armor you can afford, since they’ll be taking the most punishment. |

When Ghis finally falls, Vossler bursts into the room and announces that he has secured an Atomos for escape. (Balthier isn’t happy about it, but a ship’s a ship.) Now sit back and watch a spectacular sequence with Fran calmly piloting the Atomos out of the Leviathan and past a fighter wing to safety.
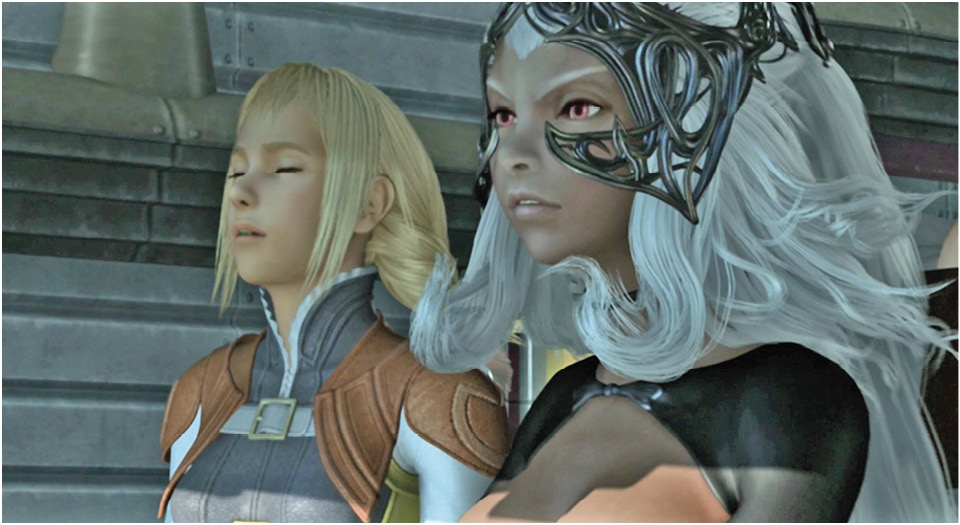
Cut to the Bhujerba Aerodrome. Basch convinces Lady Ashe to meet with Ondore. Vossler then takes his leave to explore other ways to seek Dalmascan freedom and Basch now takes over the role of Ashe’s protector.
Visit Ondore’s Estate
Exit the Aerodrome and head to the Marquis Ondore’s estate again, just up the stairs and to the left. This triggers another event.
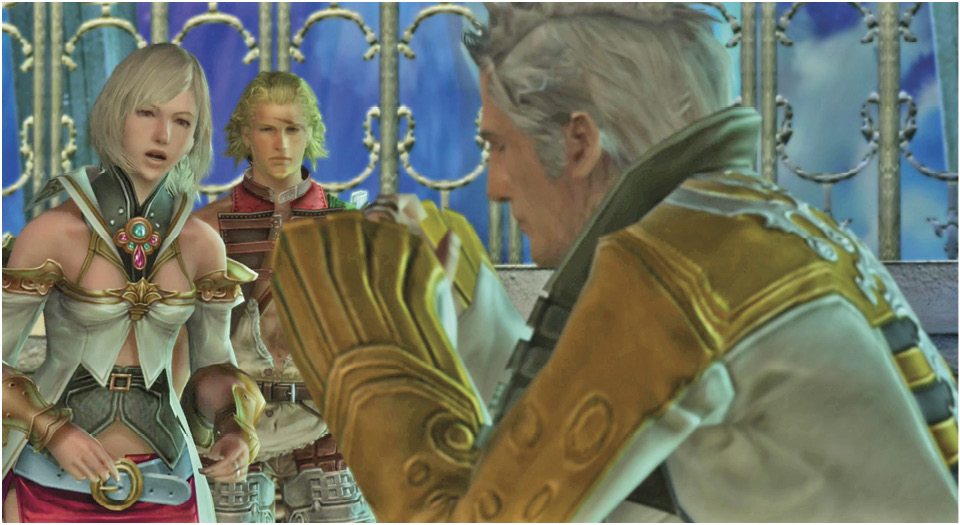
Ashe entreats Ondore to stand with her Resistance movement to stop Vayne. However, the Marquis points out that until Ashe regains the Dusk Shard, the Gran Kiltias on Mt Bur-Omisace (a holy man) will not recognize her as the rightful heir. “Without proof of your identity,” he tells her, “you are powerless.”
Later that night, Vaan catches Ashe trying to hijack Balthier’s airship, the Strahl. Balthier shows up and Ashe concocts a daring plan. She suggests that Balthier…kidnap her! “You’re a sky pirate, aren’t you?” she says. In exchange, she will lead him to something called the Dynast-King’s treasure in King Raithwall’s tomb.
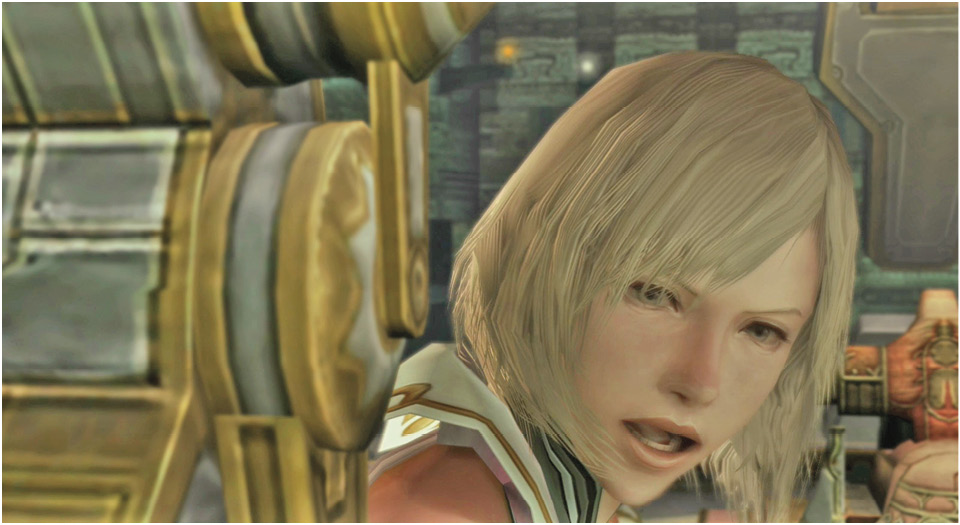
This gets Balthier’s attention. He’s on board now, as is Basch, who will perform his duty by protecting Ashe. So is Fran, of course; where Balthier goes, she goes. And finally, so are the orphans of Rabanastre, Vaan and Penelo. Your party is now complete.
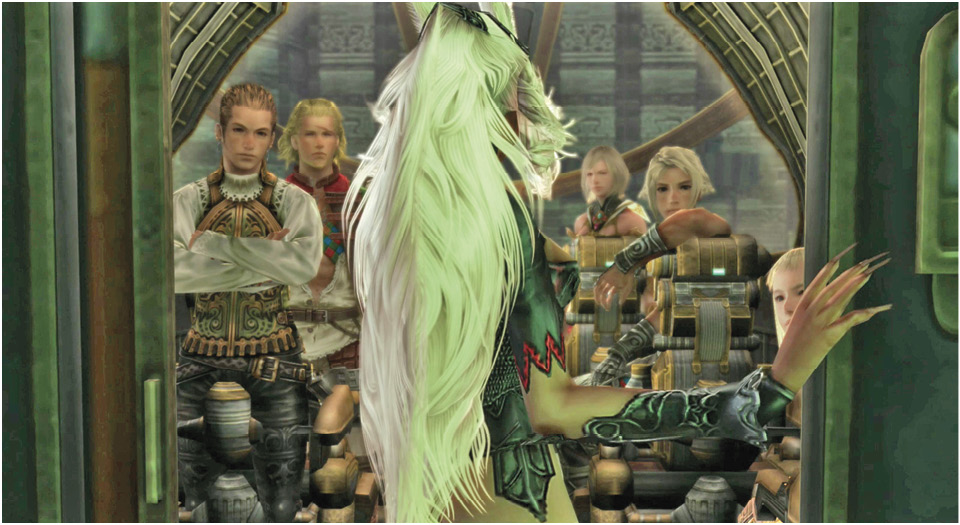
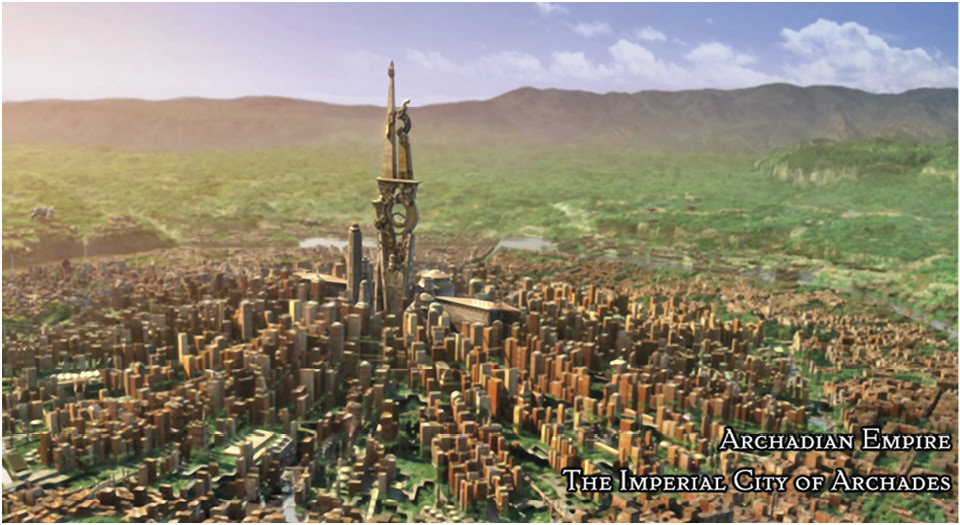
But before gameplay begins again, there is more story to tell. Far to the north, in the Archadian capital city of Archades, Judge Gabranth stands before Emperor Gramis with reports on the activities at Draklor Laboratories, the Empire’s primary weapons research lab.
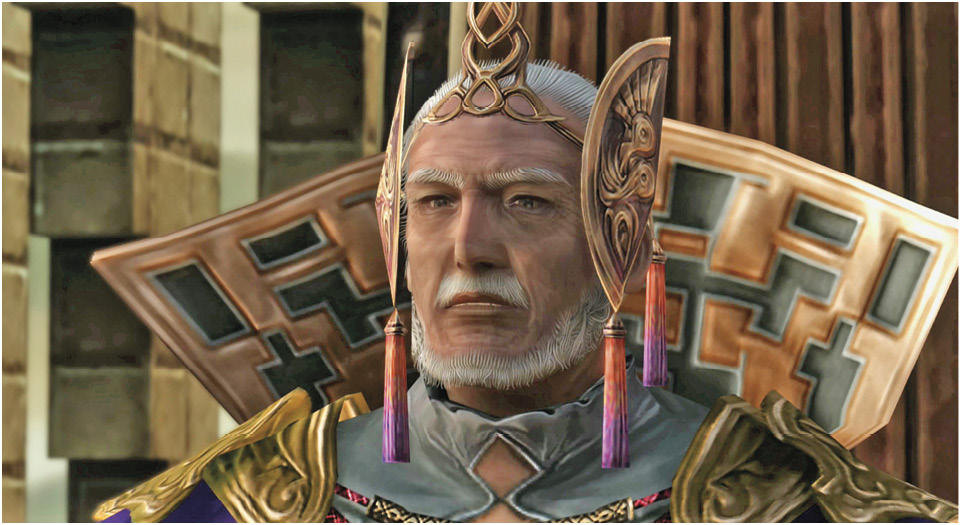
The Emperor, who is clearly ill, asks the Judge to be Larsa’s “shield”—and to keep a close watch on Vayne. Then the scene changes to the Dalmasca Westersand.