Final Fantasy XII: The Zodiac Age Guide Walkthrough Part 2
Tomb of Raithwall
OBJECTIVE
Retrieve the Dawn Shard
Fight through the foul protectors of Raithwall’s legacy to recover the Dawn Shard from the Dynast-King’s tomb.
Action Checklist
1. Defeat Garuda.
2. Get past the Demon Walls.
3. Defeat the Esper Belias.
4. Take the Dawn Shard and exit the tomb.
| Pop odds | If pop, Gil odds & Amt | Normal Loot | w/Diamond Armlet | ||||
|---|---|---|---|---|---|---|---|
|
# |
App. % |
Gil % |
Amt. if Gil |
50% |
50% |
90% |
10% |
|
1 |
100% |
0% |
— |
Dispel |
Dispel |
Dispel |
Dispel |
|
2 |
50% |
50% |
~500 |
Chronos Tear |
Handkerchief |
Knot of Rust |
Meteorite (A) |
|
3 |
100% |
0% |
— |
Vanish |
Vanish |
Vanish |
Vanish |
|
4 |
50% |
50% |
~500 |
Echo Herbs |
Gold Needle |
Knot of Rust |
Meteorite (B) |
|
5 |
100% |
0% |
— |
Scathe Mote |
Scathe Mote |
Scathe Mote |
Scathe Mote |
|
6 |
80% |
30% |
~300 |
Warp Mote |
Chanter’s Djellaba |
Knot of Rust |
Meteorite (A) |
|
7 |
80% |
30% |
~300 |
Cura Mote |
Soldier’s Cap |
Knot of Rust |
Meteorite (B) |
|
8 |
100% |
80% |
~100 |
Potion |
Hi-Potion |
Knot of Rust |
Meteorite (A) |
|
9 |
100% |
80% |
~150 |
Potion |
Hi-Potion |
Knot of Rust |
Meteorite (A) |
|
10 |
100% |
80% |
~100 |
Potion |
Hi-Potion |
Knot of Rust |
Meteorite (A) |
|
11 |
80% |
30% |
~300 |
Gravity Mote |
Flame Staff |
Knot of Rust |
Meteorite (A) |
|
12 |
100% |
0% |
— |
Hastega Mote |
Hastega Mote |
Hastega Mote |
Hastega Mote |
|
13 |
30% |
80% |
~400 |
Aeroga Mote |
Ice Shield |
Knot of Rust |
Meteorite (B) |
|
14 |
80% |
30% |
~280 |
Cura Mote |
Paramina Crossbow |
Knot of Rust |
Meteorite (A) |
|
15 |
100% |
80% |
~100 |
Potion |
Hi-Potion |
Knot of Rust |
Meteorite (A) |
|
16 |
100% |
80% |
~150 |
Potion |
Hi-Potion |
Knot of Rust |
Meteorite (A) |
|
17 |
100% |
80% |
~100 |
Potion |
Hi-Potion |
Knot of Rust |
Meteorite (A) |
|
18 |
80% |
30% |
~280 |
Gravity Mote |
Lambent Hat |
Knot of Rust |
Meteorite (C) |
|
19 |
80% |
30% |
~280 |
Balance Mote |
Heavy Coat |
Knot of Rust |
Meteorite (A) |
|
20 |
100% |
0% |
— |
Phoenix Down |
Phoenix Down |
Phoenix Down |
Phoenix Down |
|
21 |
100% |
0% |
— |
Blood Sword |
Blood Sword |
Blood Sword |
Blood Sword |
|
22 |
100% |
0% |
— |
Shades of Black |
Shades of Black |
Shades of Black |
Shades of Black |
|
23 |
100% |
0% |
— |
Elixir |
Elixir |
Elixir |
Elixir |
Defeat Garuda!
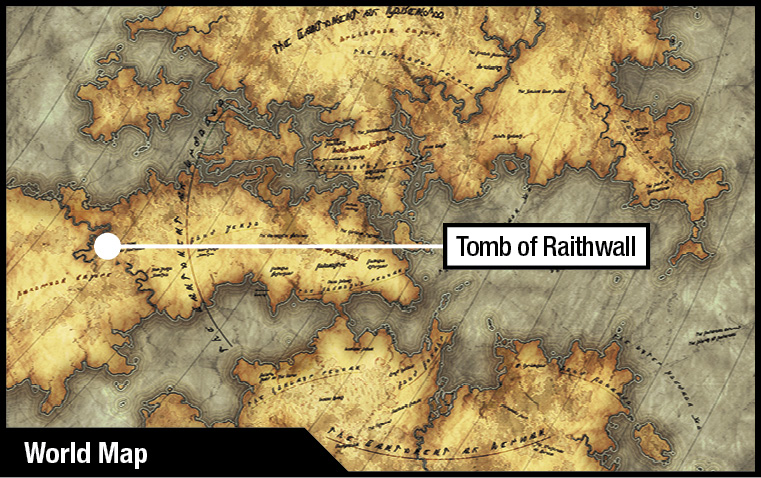
Cross the tomb’s entry courtyard, called the Valley of the Dead—not a cheerful name for an area. Soon you learn why. A great avion beast called a Garuda drops from the sky, ready to protect the tomb.
Garuda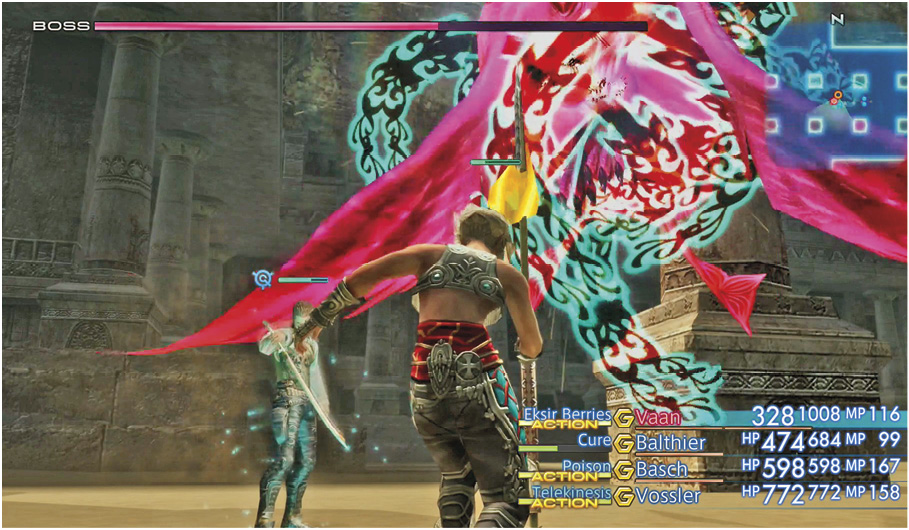
The Garuda is a flying foe, so ranged and magick attacks are the best way to go. Aqua deals good damage, as does Thunder. Attack with guns, bows, and spears and keep a close eye on each character’s HP. If your party’s healing gambits get overwhelmed, step in and manually distribute a few Hi-Potions to get everyone back up to strength. This boss casts Sleep on occasion, so be ready with the Prince's Kiss item to awaken snoozing party members. If you nail this foe with Silence, you can eliminate its magick attacks. (A gun firing Silent Shot works great, too.) Vossler’s Telekinesis is also very effective against the Garuda, too, so keep him healed and firing away. When the Garuda finally falls, an “ancient device” stirs inside the tomb. This is a teleportation system, as you’ll soon discover. |

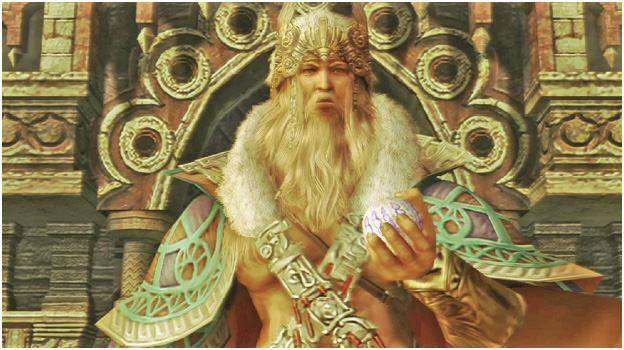
After the fight, Lady Ashe gives a brief history lesson regarding the Dynast-King and his peaceful, compassionate uses of power. Raithwall’s alliance included the city-states of Archadia and Rozarria, and his era of peace and prosperity endured for a long time. The Dynast-King left three relics to signify his descendants: the Midlight Shard to House Nabradia, the Dusk Shard to the founders of Dalmasca, and the Dawn Shard, which remains hidden inside the tomb.
Get Past the Demon Walls
Revisit the courtyard to see Dyce, the traveling merchant, again. This guy’s everywhere! Refill anything you’re running low on, then upgrade weapons and armor, if you've assigned jobs and starting spending LP on equipment licenses. After doing so, head back upstairs and save your game at the Save Crystal.
Now use the nearby “Ancient Device”— a Way Stone that can teleport people to different places. This one teleports the party directly into the tomb. The party arrives in the Hall of the Destroyer. That doesn’t sound good either. Another Way Stone nearby doesn’t work yet, so move on.
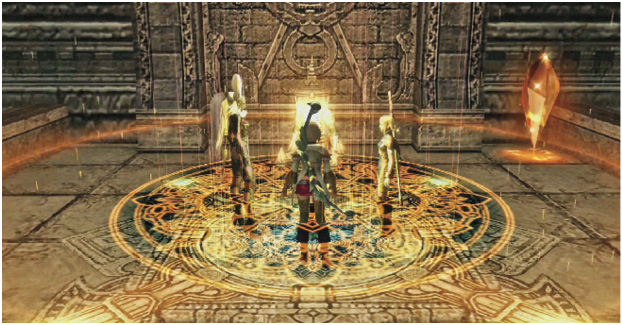
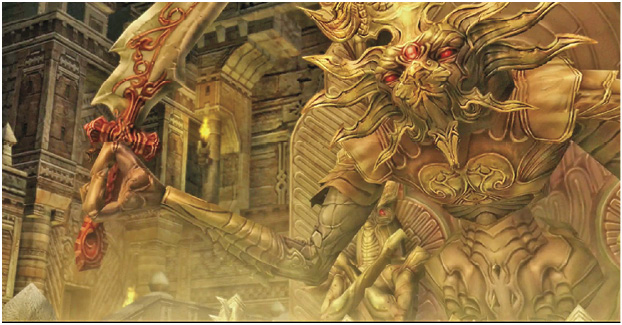
Proceed down one of the center staircases and get ready to run! By stepping onto the main walkway, you bring to life a massive Demon Wall. This boss starts moving toward the party, blocking the walkway, forcing the party to fight or run away.
The best advice here is to run away. Just press and hold the R2 button and sprint to the door at the end of the walkway and go through. Uh oh—another Demon Wall! And this time there’s no escape. It’s time for a boss fight.
Demon Wall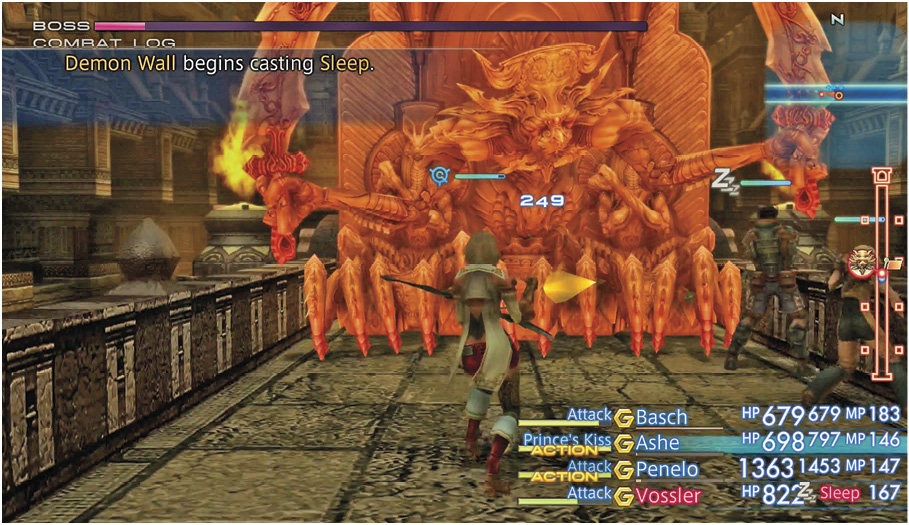 Time is precious here! The Demon Wall is moving toward the party and will crush them if you don’t defeat it before it pushes them against the far wall. The moment you regain control, sprint immediately toward the wall and start attacking it. Use a party of big hitters. It also helps to have characters with gambits that automatically remove Sleep (with Alarm Clock) and Blind (with Eye Drops or Blindna) status effects, so you don’t have to worry about them too much. If you have any characters with Quickening abilities, use them while you still can, as they will knock a lot of HP out of the wall. Then just start hammering on the monster. Consider lowering or even disabling any Cure gambits that are active. Too much healing takes time away from attacking: remember, time is running out. It may be better to heal manually with Hi-Potions when characters are in a critical condition. If you've assigned jobs and unlocked Quickening licenses for your fighters, now is an excellent time to use them. Quickening chains provide a way to freeze the forward movement of the Demon Wall while hitting it repeatedly. Defeating the first Demon Wall (the one you probably ran past at first) basically requires at least a couple powerful Quickening chains, complete with special Concurrence effects at the end. |

After the victory, head west, climb the stairs, and go through the Ancient Door. Lady Ashe claims to hear the Dawn Shard’s call, and so onward they go.
Open the Secret Passage
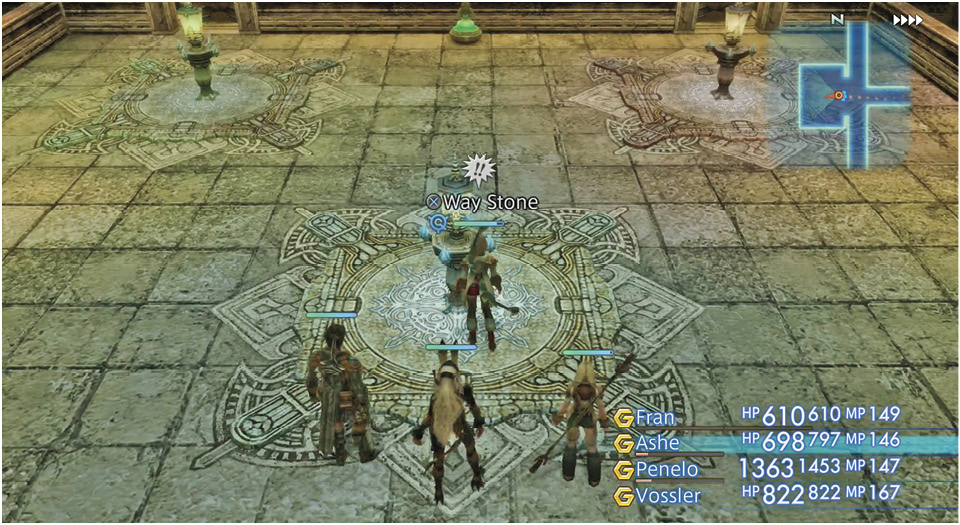
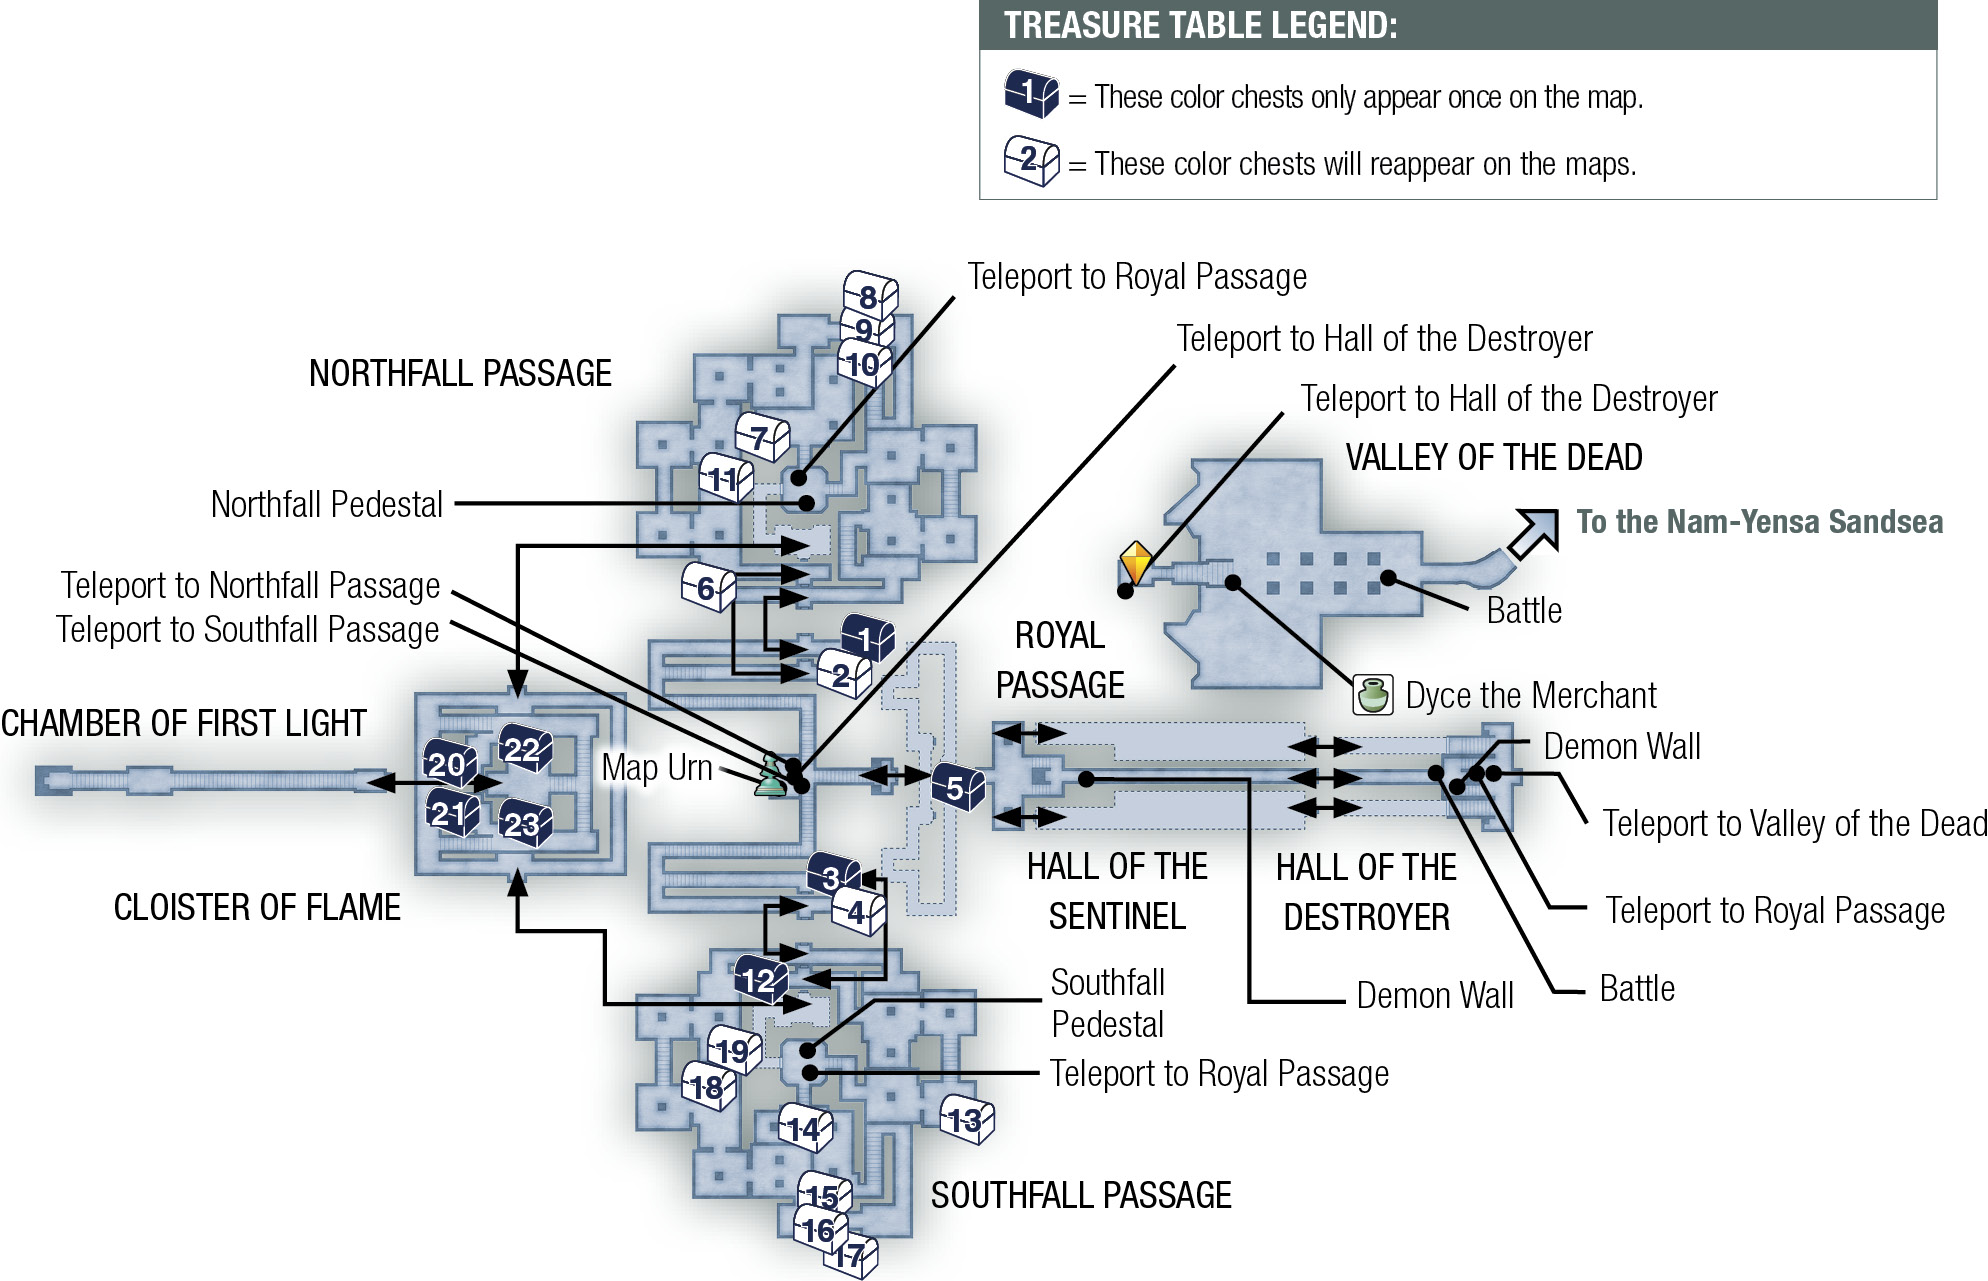
The next task is to find the secret passage to the Dawn Shard. Descend the stairs leading down to the three Way Stones and a Map Urn. Open the urn to get a full map of the Tomb of Raithwall, then check out the Way Stones:
- The white Way Stone teleports you back to the Hall of the Destroyer—the arrival area, back before the Demon Wall, thank goodness. From this location, you can use the nearby yellow Way Stone to exit the Tomb and use the Save Crystal, if you want. Just be sure to not walk in front of the first Demon Wall, unless you want a fight.
- The reddish Way Stone connects with a Way Stone in the Northfall Passage, but it doesn’t work yet.
- The greenish Way Stone connects with a Way Stone in the Southfall Passage, but it doesn’t work yet, either.
Northfall Passage Jewel
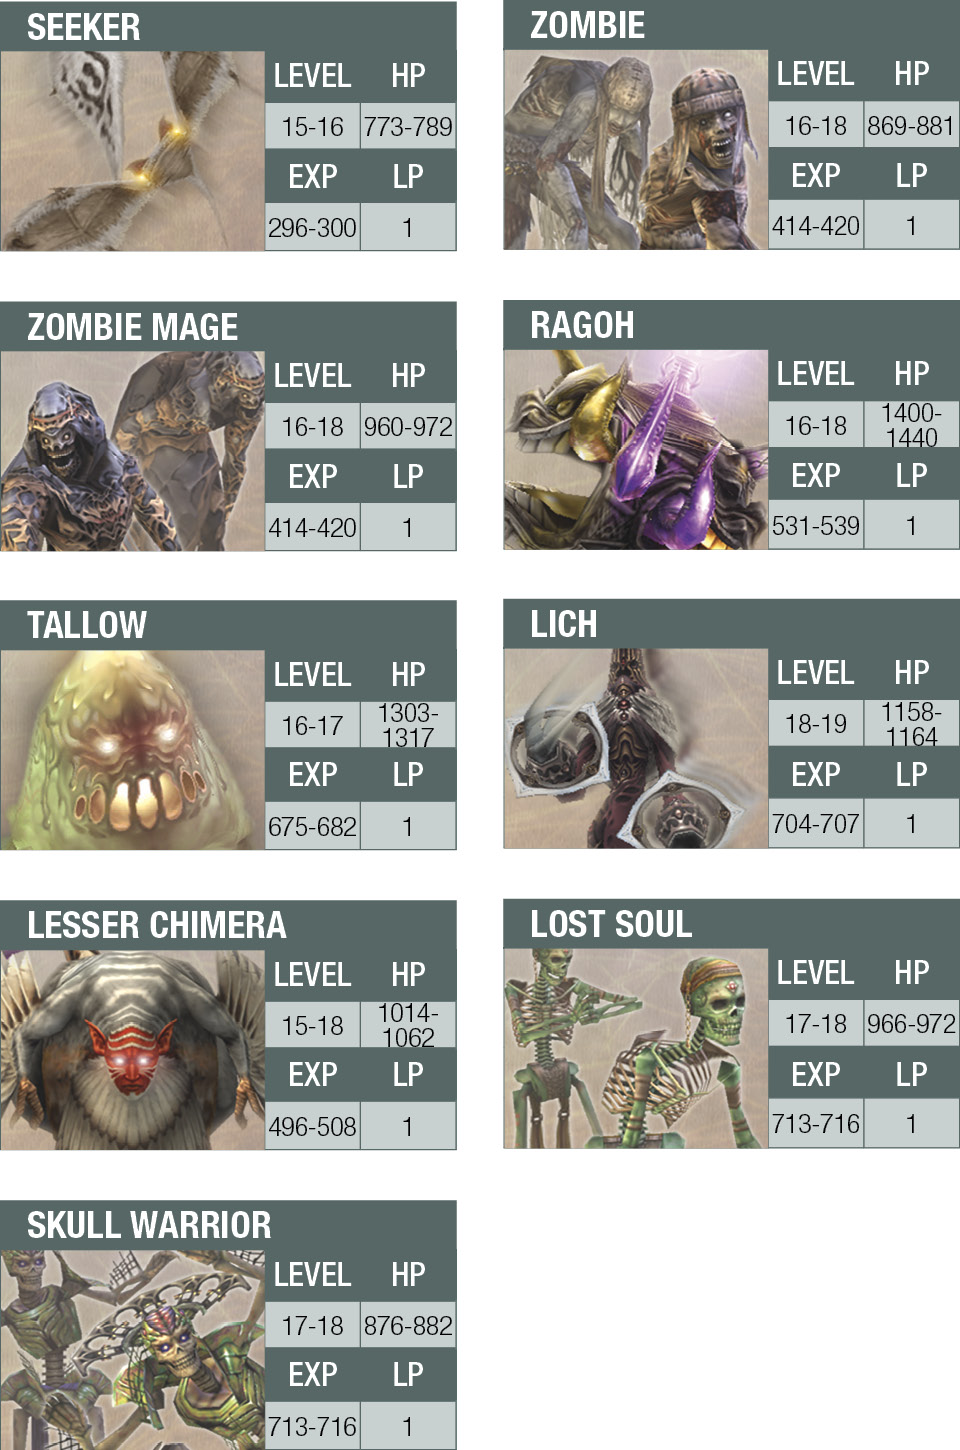
Go down the steep north staircase and turn right. Then take the first right, going down another staircase. At the bottom, proceed through the Ancient Door into the Northfall Passage. Follow the corridor around the first corner and knock out the two big Ragohs. Keep moving from room to room, battling through the Zombies, Ragohs, and Lesser Chimeras and descending stairs until you reach a room with a Way Stone.
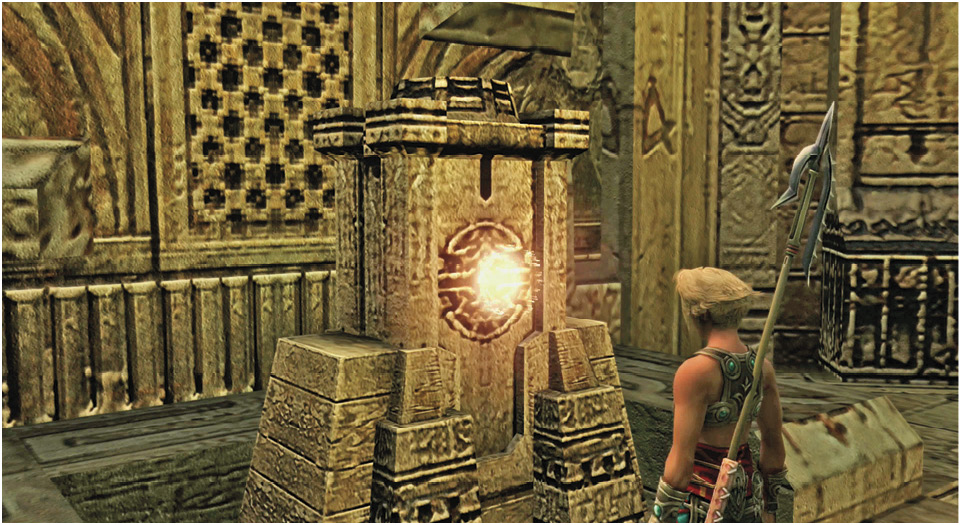
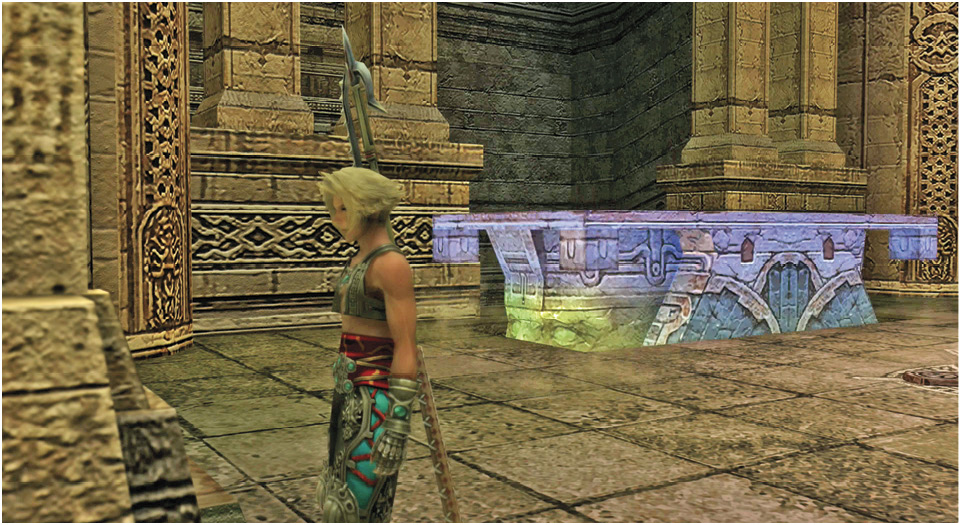
Touch the luminous crimson jewel on the Northfall Pedestal to lower the nearby Mystic Altar, a large stone carved with faces blocking a secret passage to the west. The altar only sinks halfway into the floor, however, so you can’t enter the passage just yet. As the altar lowers, three Zombie Mages rise and vent their anger at this intrusion, casting Dark magick spells. Wipe them out and use the Way Stone to teleport back to the reddish Way Stone on the Royal Passage platform.
Southfall Passage Jewel
Now repeat the process going south. The Southfall Passage is a mirror image of the Northfall Passage, so follow the same steps as in the last section, only in reverse. You meet new types of undead enemies along the way: the Lich, the Skull Warrior, and the Lost Soul; like Zombies, they are weak against Cure magick.
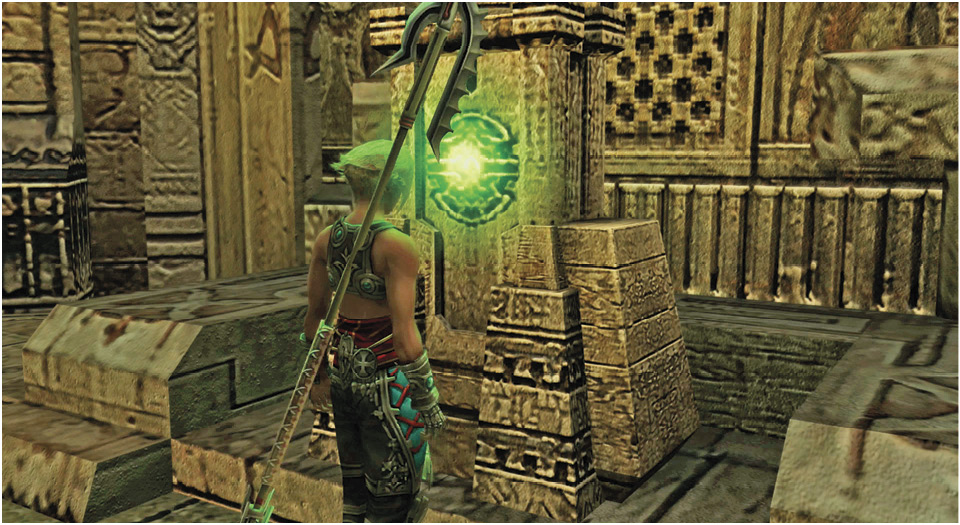
Upon reaching the Way Stone, note that the Mystic Altar in this room has been lowered halfway already; you did this when you touched the crimson jewel in Northfall. Now touch the glowing berylline jewel set in the Southfall Pedestal to lower the Mystic Altar all the way to the floor. Unfortunately, this also releases a bunch of oil-spewing Liches into the room. Eliminate them and use Handkerchiefs to clean off any lingering Oil status.
This might be a good time to use the Way Stone network to teleport back to the Save Crystal in front of the tomb. Save your game! After doing so, return and go through the secret passage now revealed behind the lowered Mystic Altar.
Find the Cloister
Follow the secret passage. The Mini-Map will show the party moving through open, uncharted space. (The guide maps in this book show the parameters of secret areas, however.) Open the Ancient Door to trigger an event.
The party enters a foggy area. Fran tells Penelo it is not fog, but “Mist.” It is dangerous, but dense Mist also allows for the working of powerful magicks, which could be helpful.
When the scene ends, the party stands just inside the south entrance to the Cloister of Flame. Follow the corridor to the left and down the stairs to the main floor. An entity that looks like a statue sits on a throne. But when you approach, something happens.
Belias, the Gigas Belias is a powerful Esper who hits hard with physical attacks and Fire spells, including Firaja, a Fire attack with an area effect that sometimes inflicts the Oil status. Start by casting both Protect and Shell (if you have both at your disposal) on all of your frontline fighters. Then start hammering away at Belias. 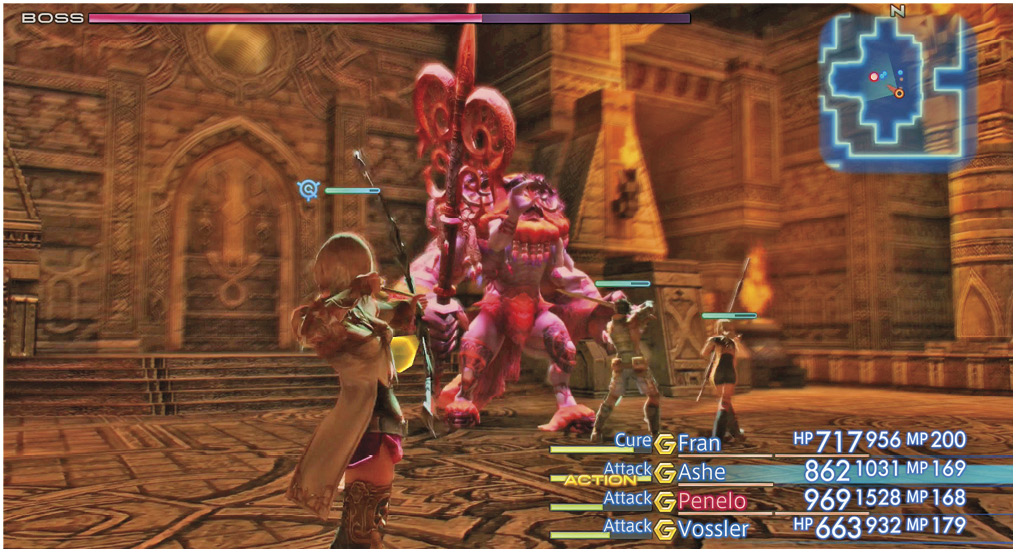 This Esper is somewhat slow to attack, so it’s possible to connect with multiple hits between his attacks. Stick to Cure and 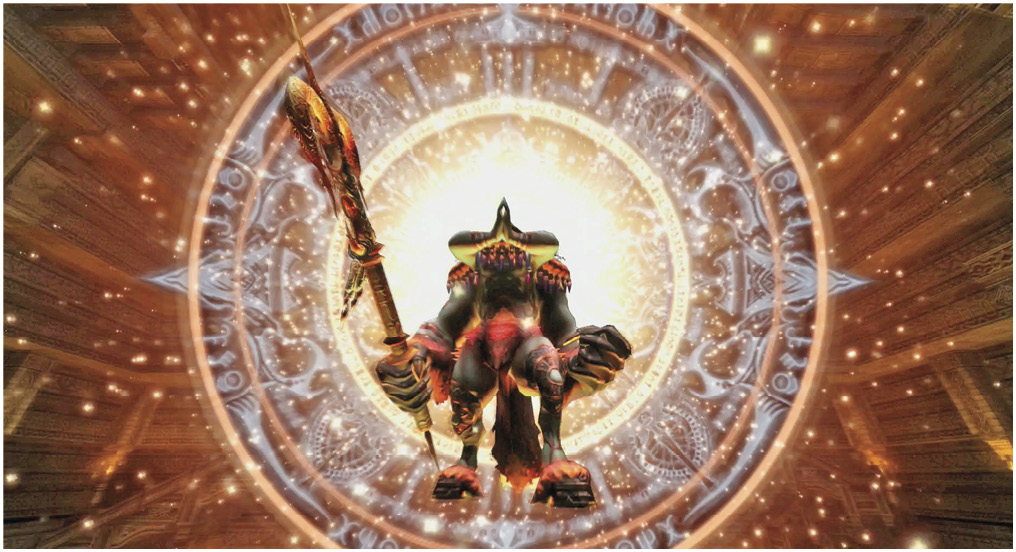 Cura to maintain health, but switch to Hi-Potions if you have characters slipping into HP Critical conditions. Remember that potions work much faster than healing spells, so they delay your attacks for only a short time. 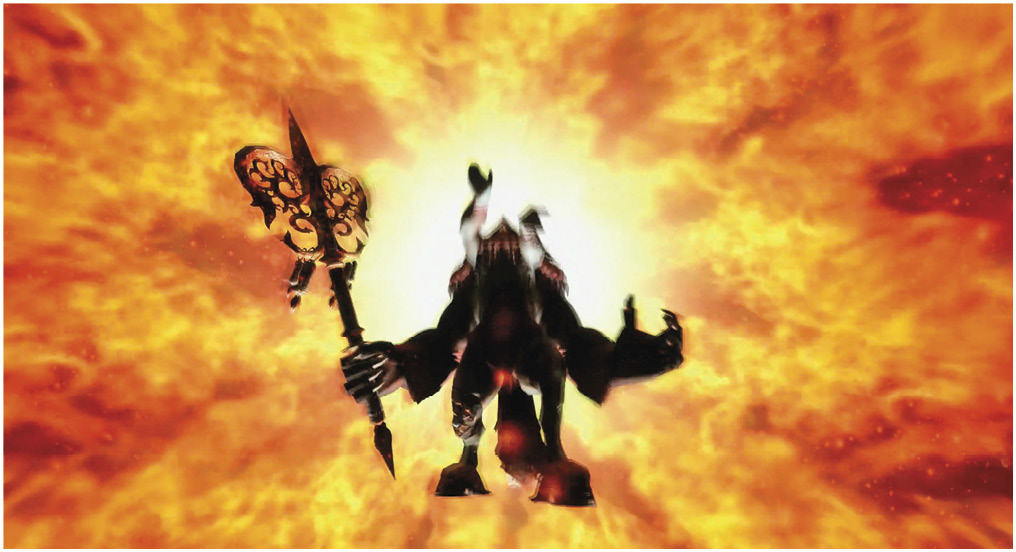 |

The Zodiac Age: Choosing Second Jobs And Assigning Espers
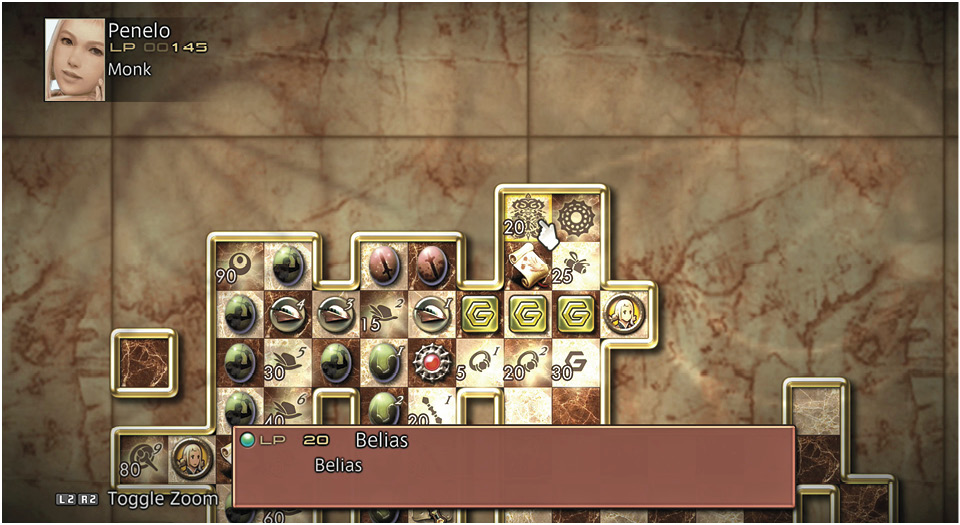
When Belias finally falls, you obtain his spirit and he appears on all job license boards, available for 20 LP. Once purchased for one character, he'll disappear on the boards of all other characters—Espers can only be acquired once, for each ally. Choosing whom to gift each Esper is more complicated than it looks at first, since most Espers pave the way to important licenses on some (but not all) job boards. Check out the Zodiac Job System chapter for tools to help you plan your Esper distribution, because, like job selection itself, Esper choices cannot be redone.
Next to the Belias license, an even more important license appears: the license that unlocks a second job license board! For the low cost of 30 LP, the full potential of a second job is opened up to each party member, with all the licenses that come with it. For much more on jobs, job choices, and party setup, see the Zodiac Job System chapter.
If you've managed to make it all the way here without assigning a job to anyone, now is the time to make a copy or two of a "master" save file outside of Tomb Raithwall—all six main party allies assembled, and twelve potential jobs to assign at once, with all the LP you've earned so far ready for spending. This clean slate can be a launchpad for all future FFXII The Zodiac Age playthroughs.
With Belias defeated and two jobs unlocked on each fighter, now is also a decent time to take a crack at Trial Mode, where Belias happens to be the stage 10 boss. Getting that far will earn some gil, some disposable items, and lots of LP to spend.
Load a main game save into Trial Mode to start an endurance attempt at stage 1. Push that run until the GAME OVER screen, then (back at the title screen) load into the main game with the most recent autosave, which will be from the highest traversed stage of Trial Mode (wherever the party finally perished). This returns you to the adventure with Trial Mode item and LP spoils intact. In this way, anywhere there is a Save Crystal, Trial Mode can be employed for sparring practice and extremely efficient LP farming. See the Trial Mode chapter for more details.
Find the Dawn Shard and Exit the Tomb
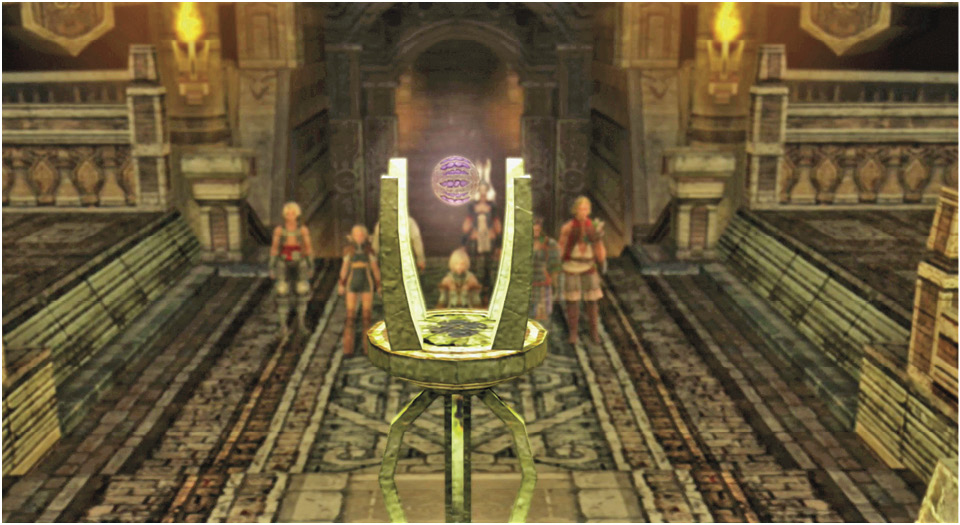
After the fight, Fran and Ashe speak of Espers and their bound relationship to the ones who conquer them. Balthier suggests that Belias has been guarding the Dynast-King’s treasure, but Ashe corrects him: “Not so. Belias is the Dynast-King’s treasure.” Balthier, of course, is a bit disappointed.
When control returns, go forward through the door into the Chamber of First Light. Descend the stairs and walk past the Way Stone at the bottom, then climb the stairs on the opposite side. This triggers another event. The party discovers the Dawn Shard. But as Ashe approaches it, she sees a ghostly apparition.
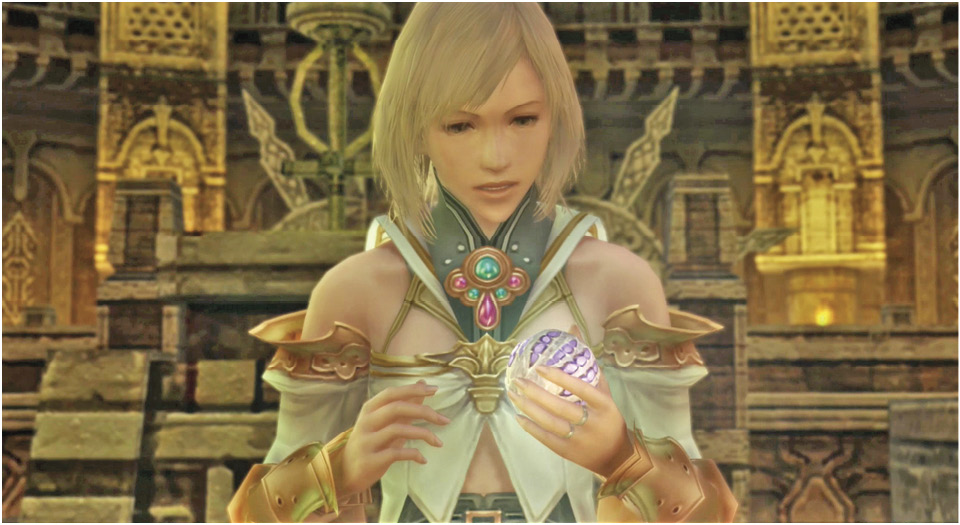
As the apparition drifts away past the party, Lady Ashe is left holding the Dawn Shard. It now enters your inventory, and control returns to you. Return to the Way Stone you just passed at the bottom of the stairs. Use it to teleport back to the Hall of the Destroyer, then use the next (yellow) Way Stone to teleport out of the tomb to the Valley of Death.
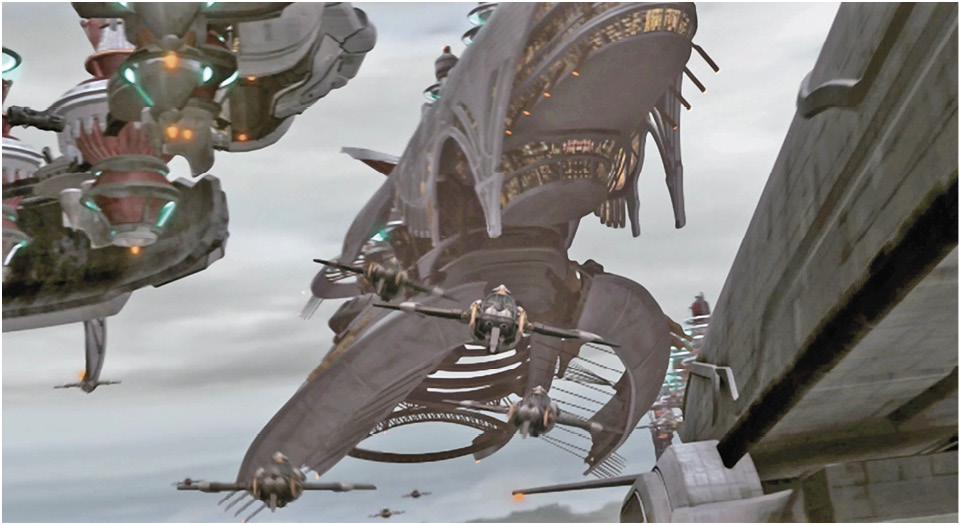
Save your game, then proceed down the stairs toward the courtyard to trigger another series of events. An Imperial fleet, led by the Leviathan, drops in over the valley.
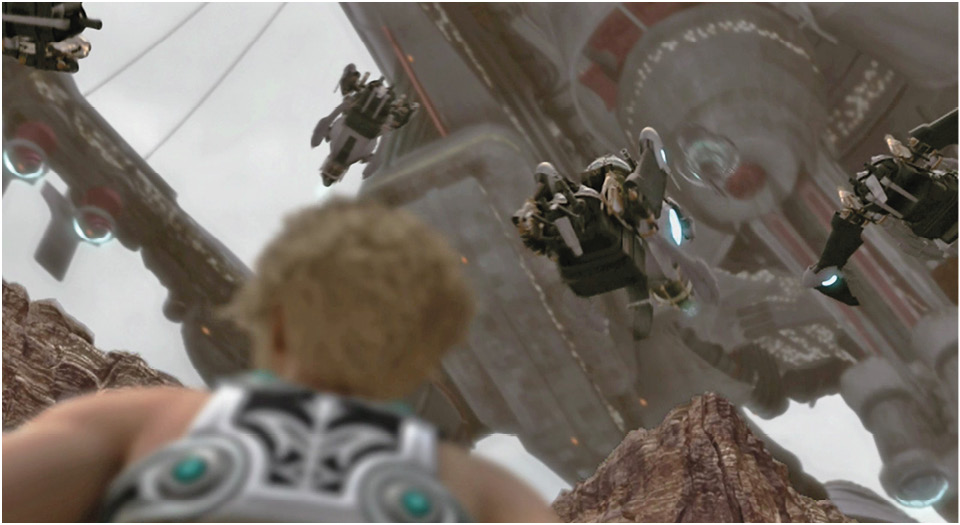
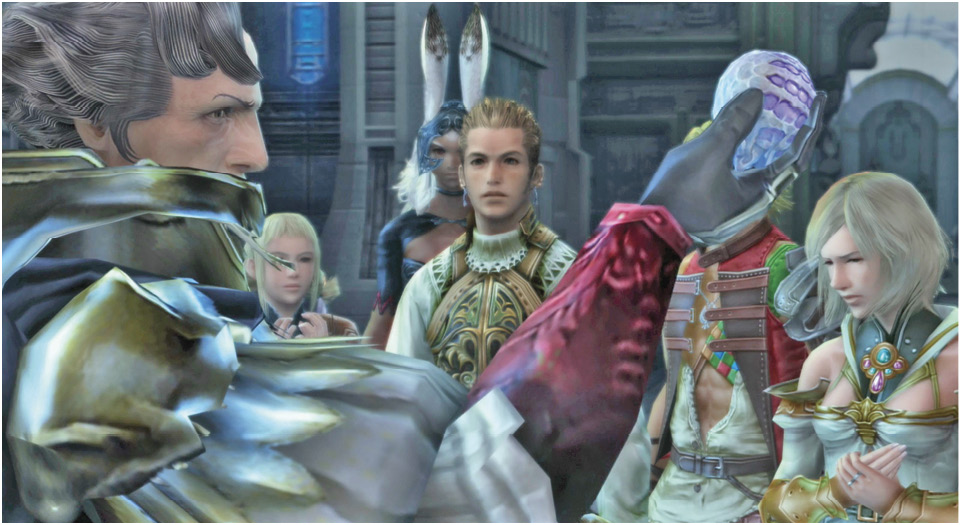
Soon the party finds itself before Judge Ghis once again. Ghis demands the nethicite—no, not the “base imitation” held by Penelo, which is manufacted nethicite, but rather the real thing: the Dawn Shard, “deifacted nethicite,” one of the ancient relics of the Dynast-King. Apparently, Vayne wants all three of the great nethicite shards.
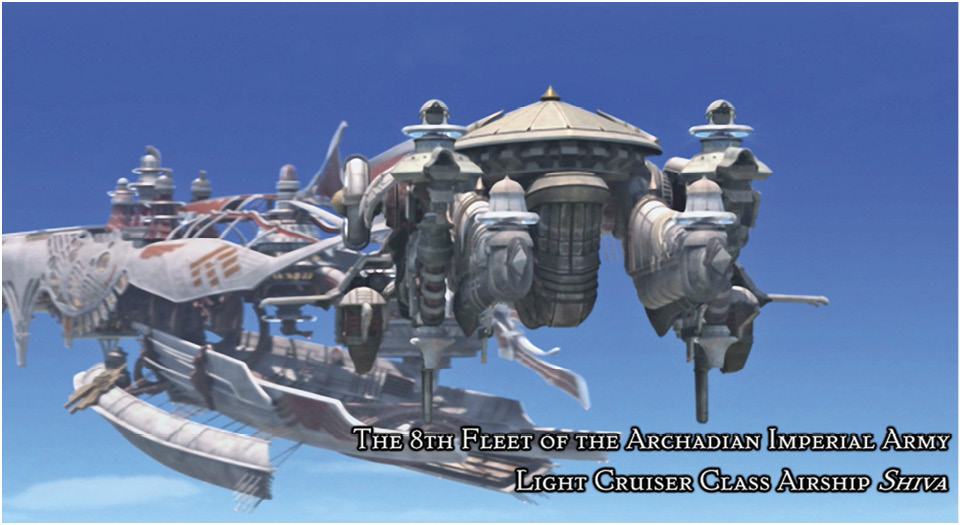
Ashe turns over the stone. The party is sent off to the Light Cruiser Shiva while Ghis orders his science staff to assess the Dawn Shard’s powers. But as the Imperial nethicite research begins, Fran, sensitive to the Mist, is suddenly stricken.
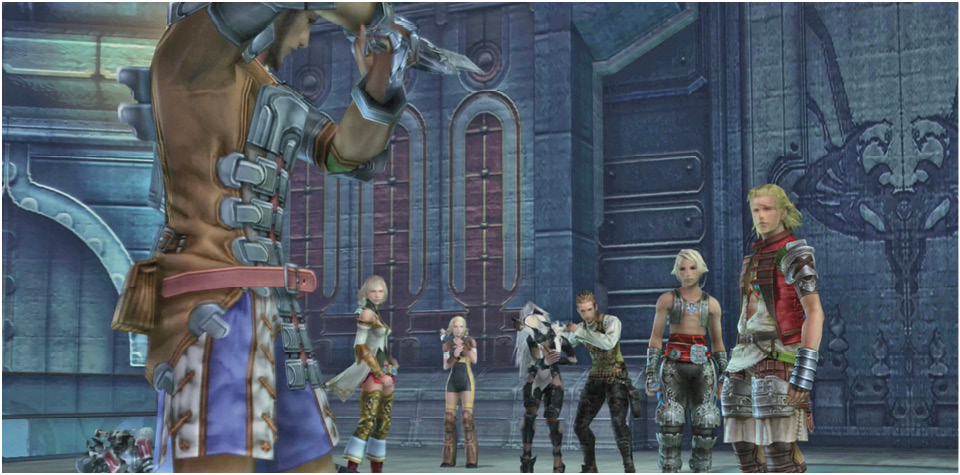
It becomes clear that Ghis plans to usurp the Archadian throne from Vayne with the aid of this deifacted nethicite. Back on the Shiva, Fran, driven into a frenzy by the nethicite experiment on the Leviathan, decimates the guards. The party attempts to escape, but Vossler leaps in their way. And thus begins another boss battle.
Vossler What a shame. Vossler seemed like a good guy, but his dreams for Dalmasca have pushed him to the dark side. He’s a rugged warrior, and this fight can be very tough. Quickly dispatch his three minions, then focus on the boss. Magick attacks should work at first, but soon Vossler casts both Reflect and Haste on himself. He fights fast, with good combo attacks, and you must respond with pure physical combat. 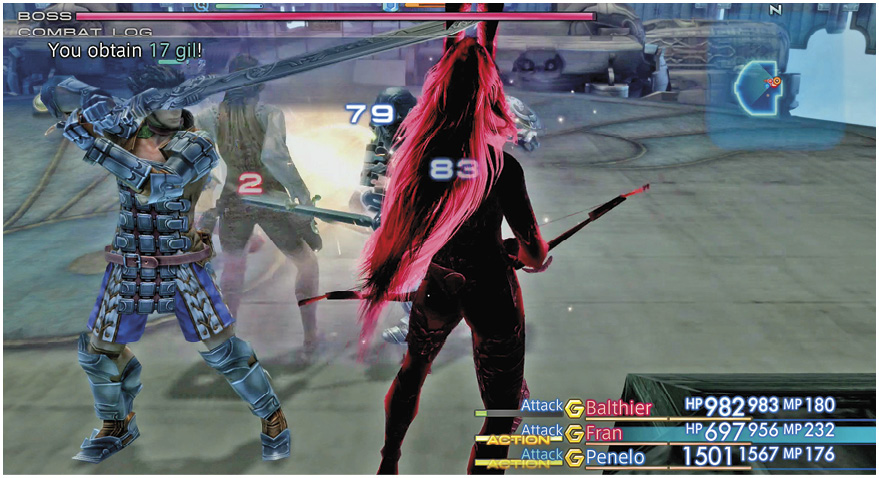 You may consider summoning the Esper Belias for this fight, as he can make short work of Vossler and company. Alternately, if you have Quickenings at your disposal, try using them right away. You may wipe out Vossler’s trio of guards and damage him significantly if you can put together a Quickening hit chain and trigger Inferno or Cataclysm. Fran is still suffering from the effects of Berserk, so she’s out of control but she won’t attack the party members. Instead, she focuses her attacks on Vossler and his crew. Vossler unleashes more and faster combinations as his HP drops to critical, but you have six characters’ worth of HP and MP to burn through, so you can outlast him. When Vossler falls, victory is bittersweet, for it is clear that he has no personal ambition. He is purely, as he says, “a son of Dalmasca.” |

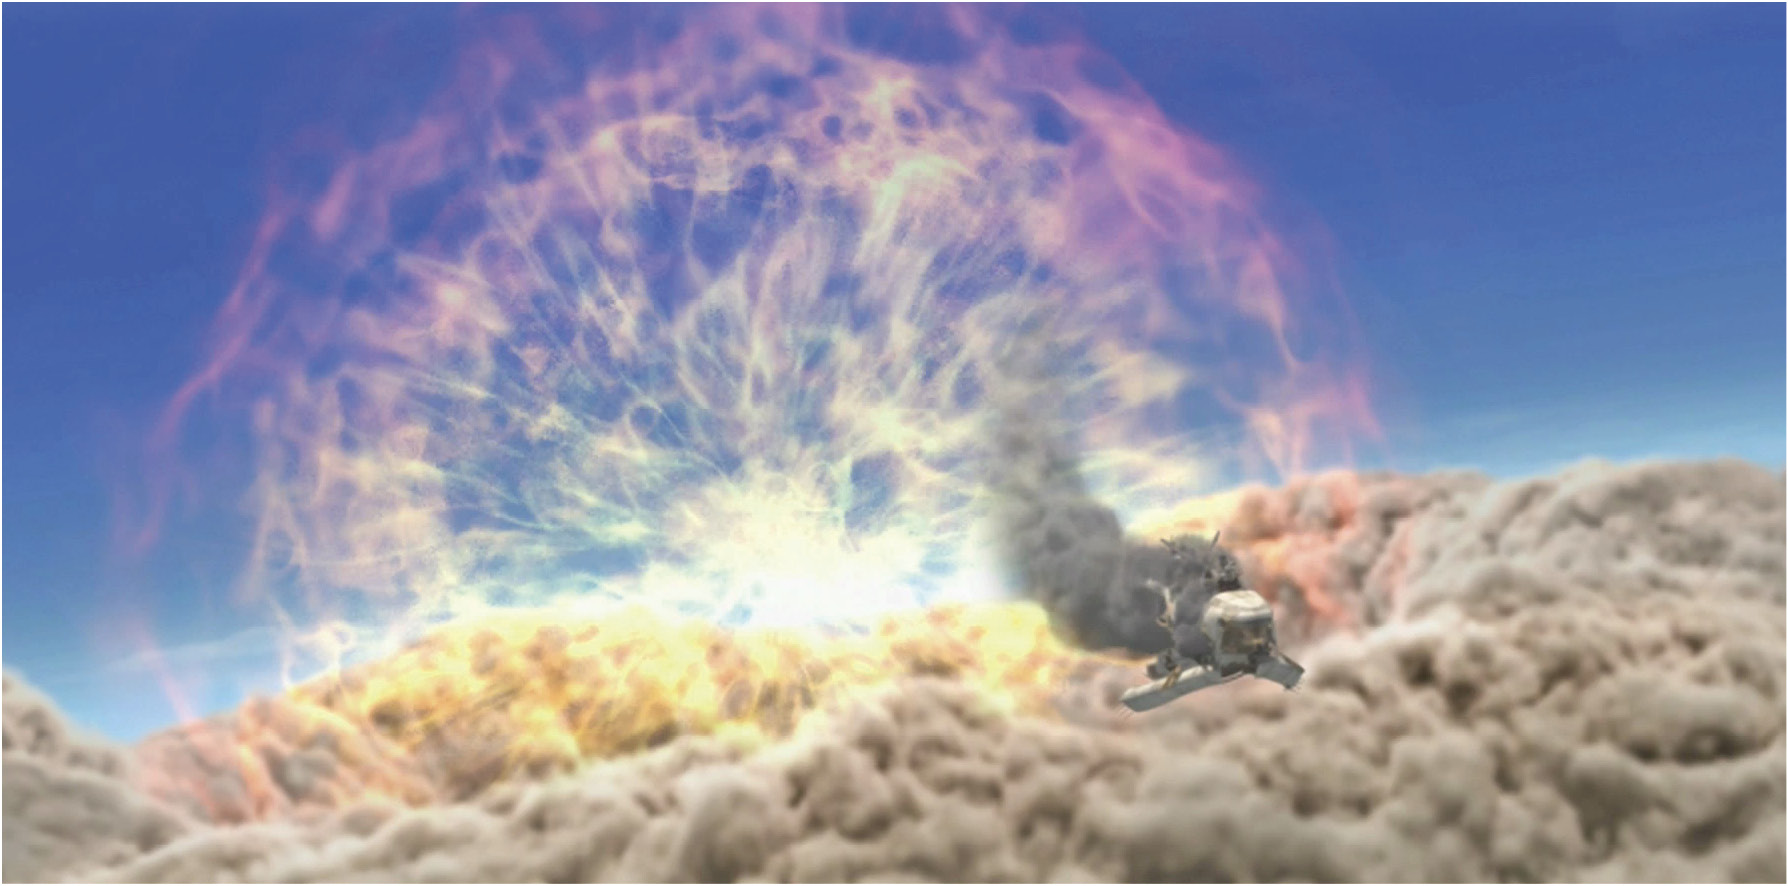
Meanwhile, things are going crazy on the bridge of the Leviathan. The nethicite is overloading the ship’s systems, the power test is spinning out of control and Ghis gets his proof of the Dynast-King’s power.
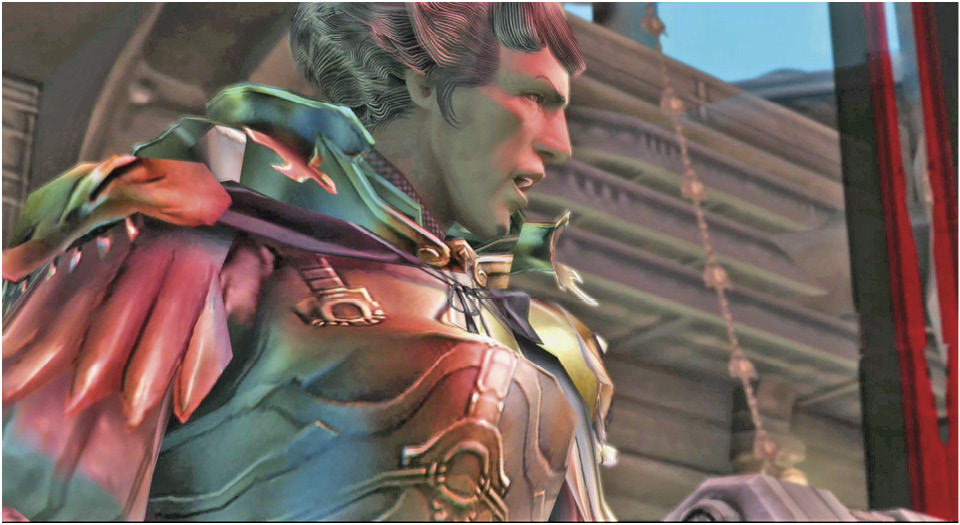
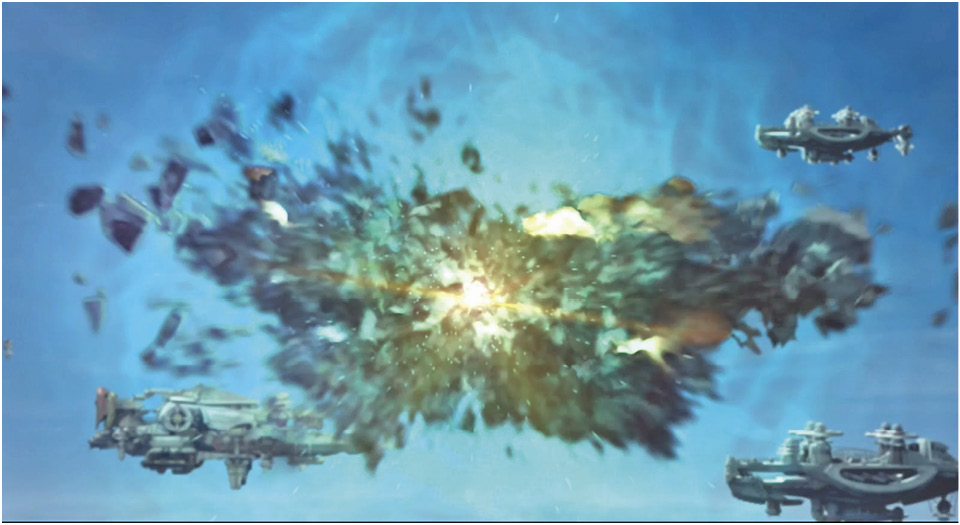
Somehow, Balthier manages to pilot a craft out of the inferno. The Dawn Shard can be seen emerging as well, and soon they are after it.
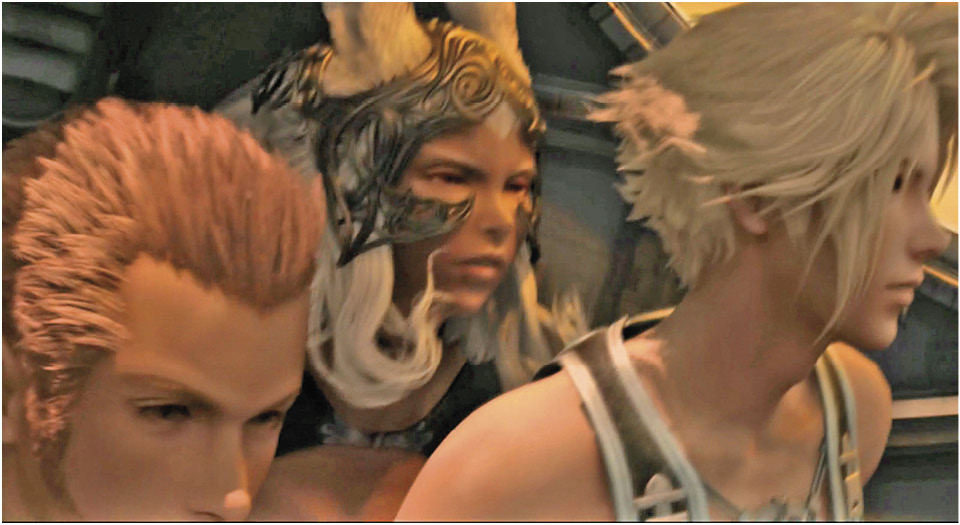
This segment ends with another excerpt from the memoirs of the Marquis Ondore. He writes of leaving Bhujerba, seeking to bring together scattered pockets of the Resistance throughout Ivalice into a unified movement. Meanwhile, Lady Ashe and crew return to Rabanastre to lay low for awhile and bide their time. The scene shifts to the Imperial City of Archades…