
Final Fantasy XII: The Zodiac Age Guide Walkthrough Part 2
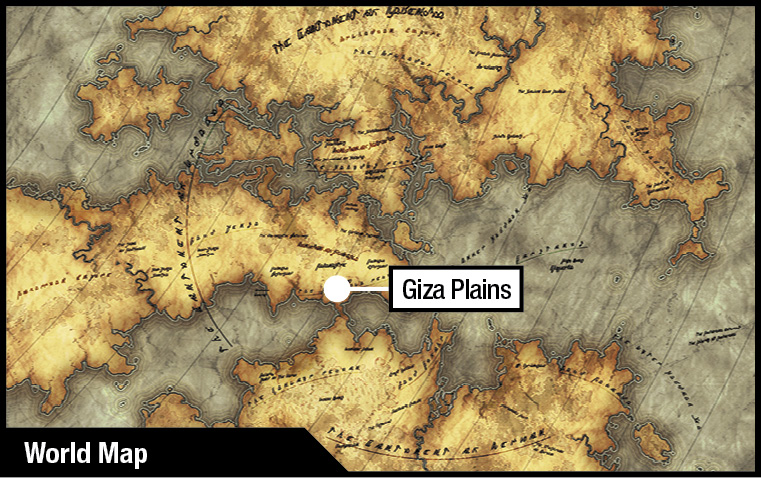
Giza Plains (The Rains)
OBJECTIVE
Meet with the Garif
Cross the wet, swampy Giza Plains and the Ozmone Plain to find the Garif village and speak to the elders.
Action Checklist
1. Cross the rainy Giza Plains.
2. Cross the Ozmone Plain.
3. Find the Garif village and speak to the Great-chief.
| Pop odds | If pop, Gil odds & Amt | Normal Loot | w/Diamond Armlet | ||||
|---|---|---|---|---|---|---|---|
|
# |
App. % |
Gil % |
Amt. if Gil |
50% |
50% |
90% |
10% |
|
1 |
80% |
30% |
~260 |
Lightning Fang |
Ether |
Knot of Rust |
Meteorite (A) |
|
2 |
80% |
30% |
~260 |
Phoenix Down |
Eye Drops |
Knot of Rust |
Meteorite (A) |
|
3 |
80% |
30% |
~260 |
Ether |
X-Potion |
Knot of Rust |
Meteorite (A) |
|
4 |
80% |
30% |
~260 |
Chronos Tear |
Phoenix Down |
Knot of Rust |
Meteorite (B) |
|
5 |
100% |
0% |
— |
Regen |
Regen |
Regen |
Regen |
|
6 |
75% |
40% |
~230 |
Potion |
Gravity Mote |
Knot of Rust |
Meteorite (A) |
|
7 |
75% |
40% |
~230 |
Chronos Tear |
Phoenix Down |
Knot of Rust |
Meteorite (C) |
|
8 |
75% |
30% |
~400 |
Ether |
Iron Pole |
Knot of Rust |
Meteorite (A) |
|
9 |
75% |
30% |
~400 |
Ether |
Slasher |
Knot of Rust |
Meteorite (A) |
|
10 |
75% |
40% |
~230 |
Potion |
Balance Mote |
Knot of Rust |
Meteorite (B) |
|
11 |
80% |
40% |
~270 |
Dark Mote |
Potion |
Knot of Rust |
Meteorite (A) |
|
12 |
80% |
60% |
~350 |
Remedy |
Golden Helm |
Knot of Rust |
Meteorite (A) |
|
13 |
80% |
40% |
~270 |
Potion |
Bio Mote |
Knot of Rust |
Meteorite (A) |
|
14 |
80% |
60% |
~350 |
Aqua Mote |
Leather Gorget |
Knot of Rust |
Meteorite (B) |
|
15 |
80% |
40% |
~270 |
Aqua Mote |
Hi-Ether |
Knot of Rust |
Meteorite (A) |
|
16 |
80% |
40% |
~270 |
Balance Mote |
Potion |
Knot of Rust |
Meteorite (A) |
|
17 |
80% |
35% |
~300 |
Ether |
Rose Corsage |
Knot of Rust |
Meteorite (A) |
|
18 |
80% |
35% |
~280 |
Ether |
Potion |
Knot of Rust |
Meteorite (B) |
|
19 |
80% |
35% |
~280 |
Hi-Potion |
Feathered Cap |
Knot of Rust |
Meteorite (A) |
|
20 |
80% |
35% |
~280 |
Chronos Tear |
Hi-Ether |
Knot of Rust |
Meteorite (C) |
|
21 |
80% |
35% |
~280 |
Potion |
Green Beret |
Knot of Rust |
Meteorite (A) |
|
22 |
80% |
35% |
~280 |
Ether |
Gold Needle |
Knot of Rust |
Meteorite (A) |
|
23 |
80% |
30% |
~250 |
Handkerchief |
Potion |
Knot of Rust |
Meteorite (B) |
|
24 |
80% |
30% |
~250 |
Potion |
Bio Mote |
Knot of Rust |
Meteorite (A) |
|
25 |
80% |
30% |
~250 |
Prince’s Kiss |
Bacchus’ Wine |
Knot of Rust |
Meteorite (A) |
|
26 |
80% |
30% |
~250 |
Gold Needle |
Ether |
Knot of Rust |
Meteorite (C) |
|
27 |
80% |
30% |
~250 |
Potion |
Ether |
Knot of Rust |
Meteorite (A) |
|
28 |
80% |
30% |
~250 |
Echo Herbs |
Phoenix Down |
Knot of Rust |
Meteorite (A) |
|
29 |
80% |
50% |
~220 |
Potion |
Potion |
Knot of Rust |
Meteorite (A) |
|
30 |
80% |
50% |
~220 |
Antidote |
Phoenix Down |
Knot of Rust |
Meteorite (A) |
|
31 |
75% |
55% |
~300 |
Hi-Potion |
Float Mote |
Knot of Rust |
Meteorite (A) |
|
32 |
80% |
50% |
~220 |
Antidote |
Potion |
Knot of Rust |
Meteorite (B) |
|
33 |
75% |
55% |
~300 |
Gold Needle |
Remedy |
Knot of Rust |
Meteorite (C) |
|
34 |
80% |
50% |
~200 |
Potion |
Hi-Ether |
Knot of Rust |
Meteorite (A) |
|
35 |
80% |
60% |
~180 |
Balance Mote |
Gravity Mote |
Knot of Rust |
Meteorite (A) |
|
36 |
80% |
50% |
~330 |
Remedy |
Flametongue |
Knot of Rust |
Meteorite (A) |
|
37 |
80% |
50% |
~330 |
Hi-Ether |
Survival Vest |
Knot of Rust |
Meteorite (C) |
|
38 |
80% |
50% |
~330 |
Hi-Ether |
Traveler’s Vestment |
Knot of Rust |
Meteorite (A) |
|
39 |
80% |
50% |
~330 |
Aqua Mote |
Shock Mote |
Knot of Rust |
Meteorite (A) |
|
40 |
80% |
50% |
~330 |
Hi-Ether |
Magoroku |
Knot of Rust |
Meteorite (A) |
|
41 |
80% |
50% |
~330 |
Phoenix Down |
Main Gauche |
Knot of Rust |
Meteorite (B) |
|
42 |
80% |
50% |
~330 |
Remedy |
Golden Armor |
Knot of Rust |
Meteorite (C) |
The Story Continues…
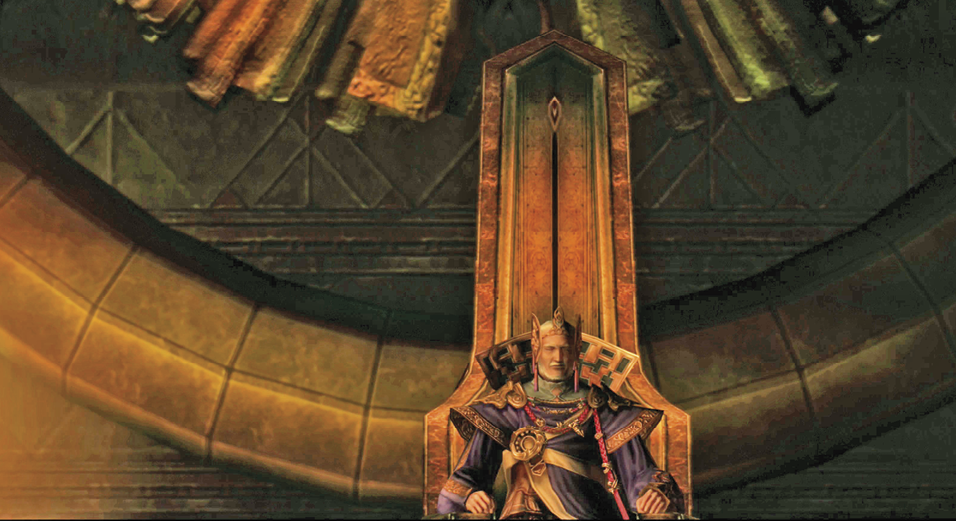
Back in the Archadian Senate, the Emperor hears reports of Rozarrian war exercises, believed to be a precursor to an actual strike. Some Senators are clearly displeased with what they consider to be Lord Vayne’s capricious actions.
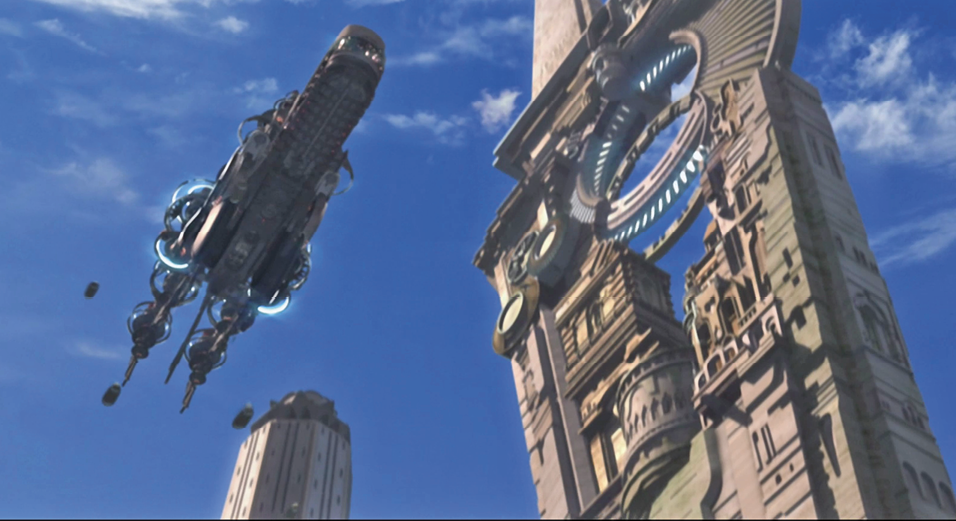
Meanwhile, back in Dalmasca, the party discusses the Dawn Shard’s awesome destructive force. It is becoming clear to Ashe and the others that Vayne seeks the power of deifacted nethicite for himself, a power that can subjugate all of Ivalice. Vayne most likely already has both the Dusk Shard and the Midlight Shard. Lady Ashe claims she will fight back with the Dawn Shard. She speaks of vengeance—but does she know how to use the stone?
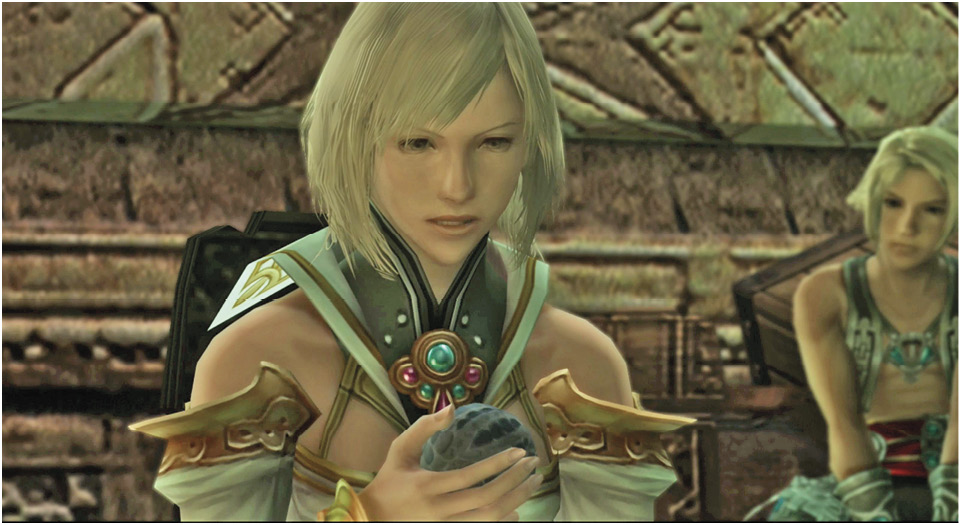
Fran says that the Garif may know. Magicite lore is part of their culture. Ashe asks to be taken there, beyond Ozmone Plain. Finally, everyone moves out into Rabanastre to prepare for the long journey to the Garif village.
Prep for the Journey
Take some time in Rabanastre to visit Montblanc at the Clan Hall for rewards, upgrade equipment, and shop for magicks, technicks, and gambits. This is also a good time to check out the Notice Board at the Sandsea and complete a hunt or two for some extra gil. By now, after you clear the initial Thextera hunt, you'll be able to hunt monsters like Wraith, Nidhogg, Rocktoise, Wyvern Lord, Croakadile, and more, sharpening the party's fangs and acquiring lots of great rewards. When you’re ready, exit the city via Southgate and head into the Giza Plains.
Giza Plains (The Rains)
Cross the Wet Plains
Wow, Giza looks different, doesn’t it? The geography alters considerably once the rainy season kicks in; the “wadis” are swollen with the deluge. A new set of monsters roams the swampy plains, and treasure locations have changed. But the general movement from area to area is still the same.
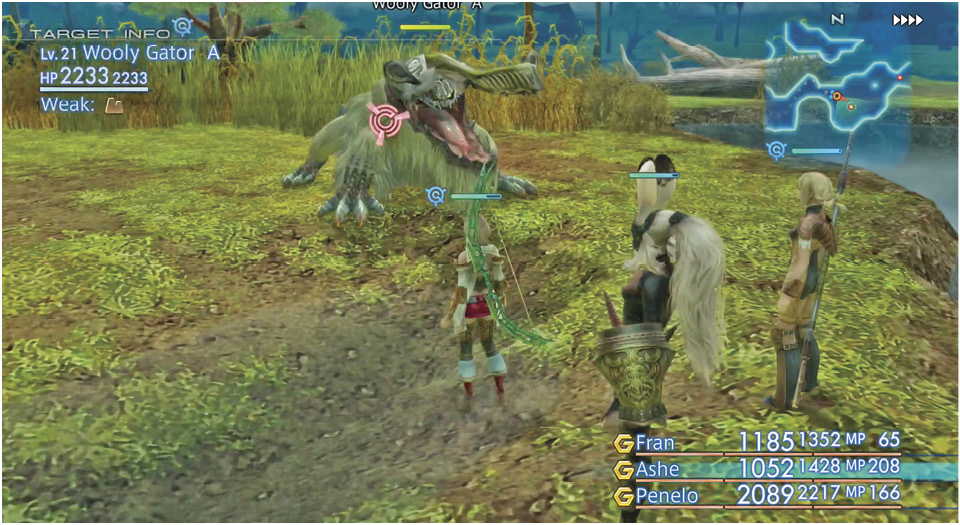
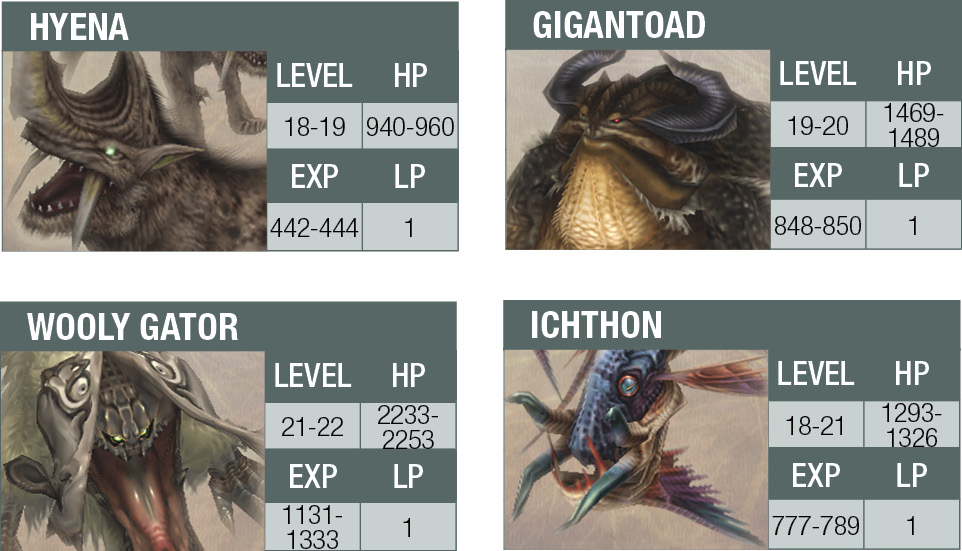
Fight south through the Hyenas and Gigantoads in Throne Road until you exit into the Nomad Village area. The nomads have packed up and left until the rains end, but the Save Crystal is still here. Talk to the nearby Weary Seeq to learn that the Ozmone Plain is to the south, and the Garif village is on the west end of that plain. He adds, “The creatures there are murder.” Uh-oh.
Side Quest: Withered Tree Bridge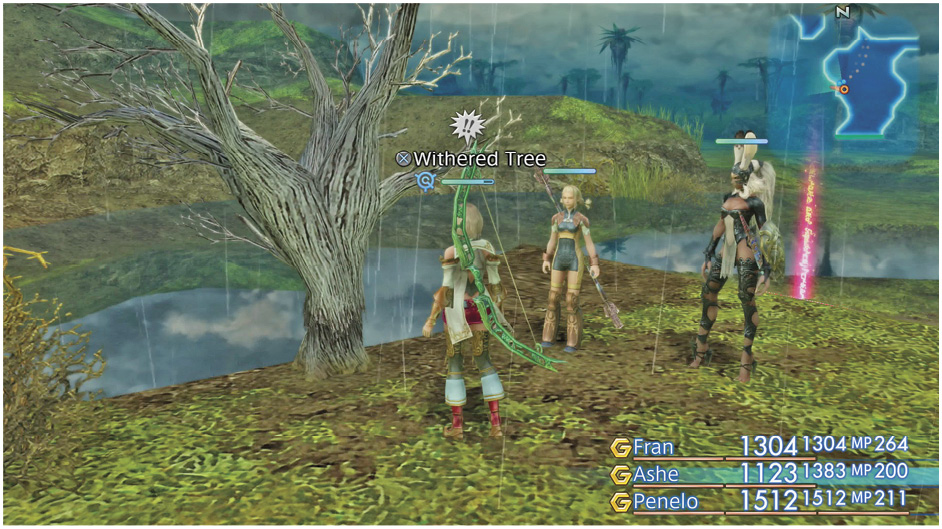
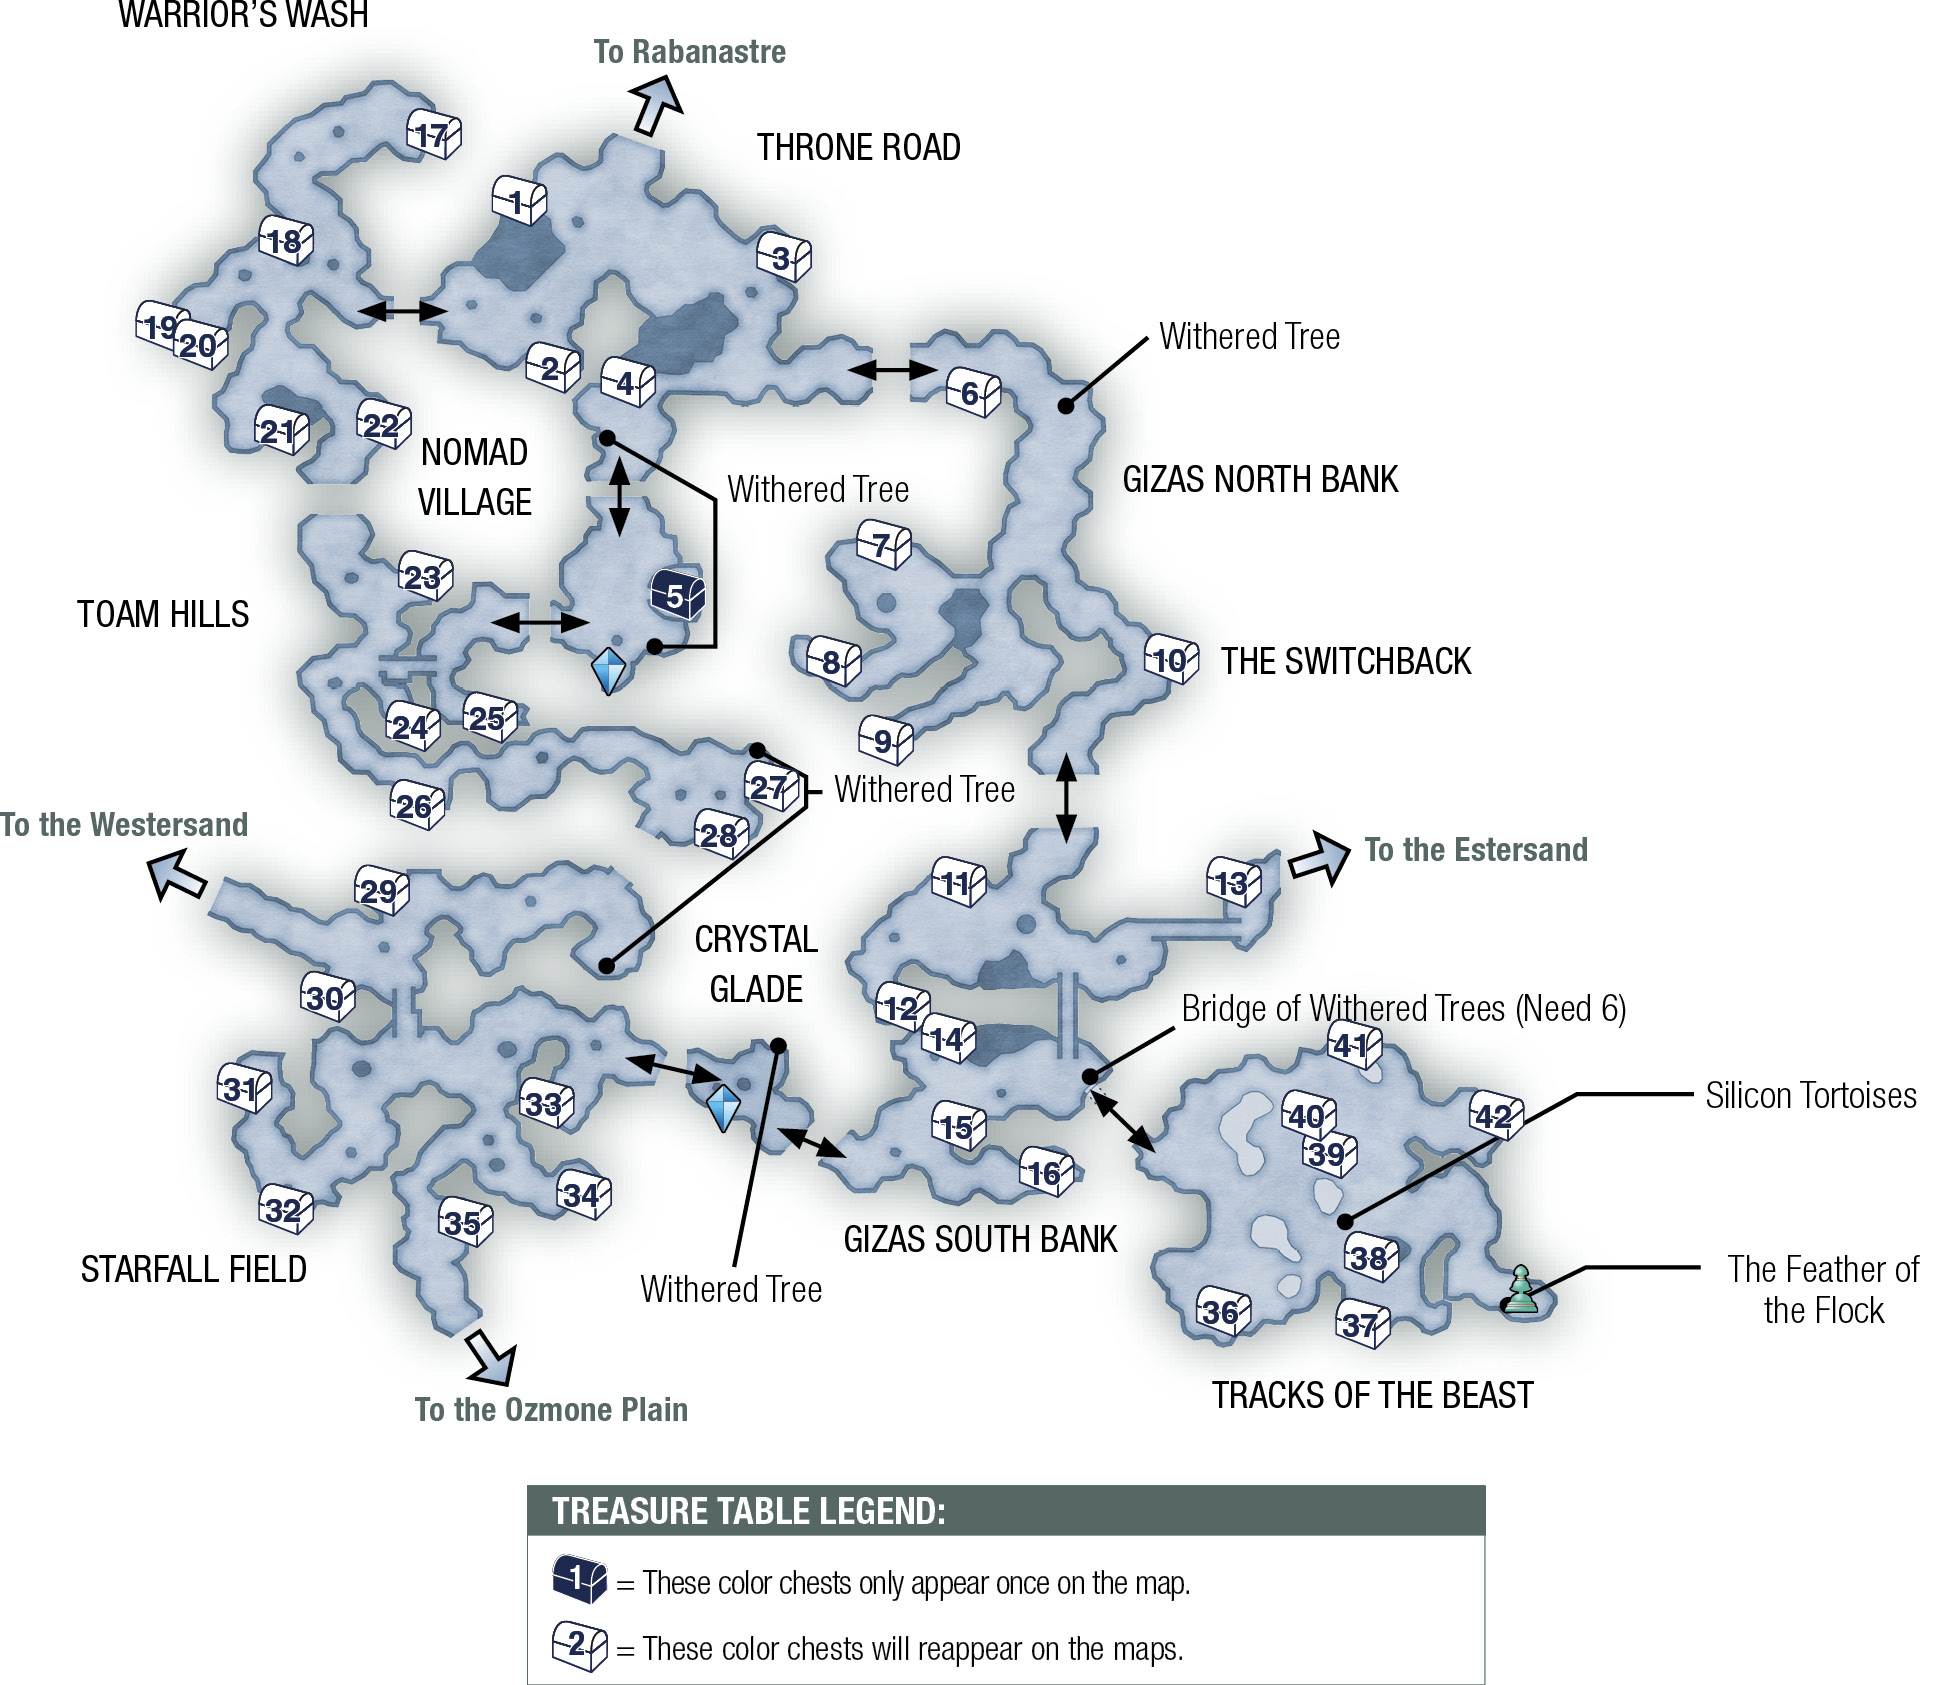
A number of Withered Trees—six, to be exact—sit on the banks of the water in various parts of the Giza Plains. All six locations are marked on the Giza Plains maps in this section. If you strike a Withered Tree, it falls into the water and floats downstream, snagging at a spot in the Gizas South Bank. When all six Withered Trees are snagged, they form a tangled walkbridge that you can cross into an area called Tracks of the Beast. There, you’ll find an Urn that holds an item called the Feather of the Flock. There are also three extremely powerful Silicon Tortoises, all at Level 37 and most likely too tough to fight at this stage of the game. Despite the overwhelming monsters for this stage, it's worth your while to duck in and out of this zone several times, reaping the equipment upgrades found in the treasure chests here. Obtaining the Feather of the Flock is one part of the Cockatrice side quest. The Tracks of the Beast area is also where a clan mark appears when you take on the Rank III Clan Hunt “Paradise Risen,” for the petitioner Nanau. See the “Side Quest” chapter for more details on both of these side events. |
You can certainly explore any of the areas not mentioned in this walkthrough, seeking EXP, LP, dropped items, and treasure, all of which are useful and necessary for success. But this is a “story walkthrough,” so this section presents the most direct route to Ozmone Plain.
Exit west into the Toam Hills, cross the bridge to the west, then head south and east along the narrow banks of the river to the passage into Starfall Field. Watch for a Wooly Gator and a pair of Ichthons along the way. They are not aggressive, but you can attack them if you want EXP, LP, or the loot items.
You can exit to the south into the Ozmone Plain from Starfall Field. If you feel like exploring, however, you can proceed west into the Crystal Glade to find a Save Crystal, then on to the Gizas South Bank. If you chopped down all six of the Withered Trees in the Giza Plains, you can cross over a bridge of entangled driftwood to the area mentioned earlier, Tracks of the Beast. The monsters there will be too tough to take on yet, but the treasure chests contain big equipment upgrades for the party.