Final Fantasy XII: The Zodiac Age Guide Walkthrough Part 4
Third Ascent: Mete of Dynasty
Action Checklist
1. Solve the sigil color code system to teleport through the ascent.
2. Defeat Hashmal.
3. Defeat Gabranth.
4. Defeat Dr. Cid and the Esper Famfrit.
| Pop odds | If pop, Gil odds & Amt | Normal Loot | w/Diamond Armlet | ||||
|---|---|---|---|---|---|---|---|
|
# |
App. % |
Gil % |
Amt. if Gil |
50% |
50% |
95% |
5% |
|
1 |
80% |
40% |
~500 |
X-Potion |
Wyrmfire Shot |
Knot of Rust |
Meteorite (A) |
|
2 |
100% |
0% |
— |
Antares |
Antares |
Antares |
Antares |
|
3 |
100% |
0% |
— |
Flare |
Flare |
Flare |
Flare |
|
4 |
80% |
40% |
~500 |
Hi-Potion |
X-Potion |
Knot of Rust |
Meteorite (A) |
|
5 |
80% |
40% |
~500 |
X-Potion |
Nishijin Belt |
Knot of Rust |
Meteorite (A) |
|
6 |
100% |
0% |
— |
Ardor |
Ardor |
Ardor |
Ardor |
|
7 |
100% |
0% |
— |
White Robes |
White Robes |
White Robes |
White Robes |
|
8 |
100% |
0% |
— |
Ultima Blade |
Ultima Blade |
Ultima Blade |
Ultima Blade |
|
9 |
80% |
40% |
~500 |
Aeroga Mote |
Cura Mote |
Knot of Rust |
Meteorite (A) |
|
10 |
80% |
40% |
~500 |
Hi-Potion |
Blazer Gloves |
Knot of Rust |
Meteorite (A) |
|
11 |
100% |
0% |
— |
Elixir |
Elixir |
Elixir |
Elixir |
|
12 |
100% |
0% |
— |
Dark Matter |
Dark Matter |
Dark Matter |
Dark Matter |
|
13 |
3% |
0% |
— |
Dark Matter |
Dark Matter |
Dark Matter |
Dark Matter |
|
14 |
100% |
0% |
— |
Megalixir |
Megalixir |
Megalixir |
Megalixir |
|
15 |
2% |
0% |
— |
Megalixir |
Megalixir |
Megalixir |
Megalixir |
Use the Teleport Stones to Cross the Third Ascent
80F: Spire Ravel, 1st Flight
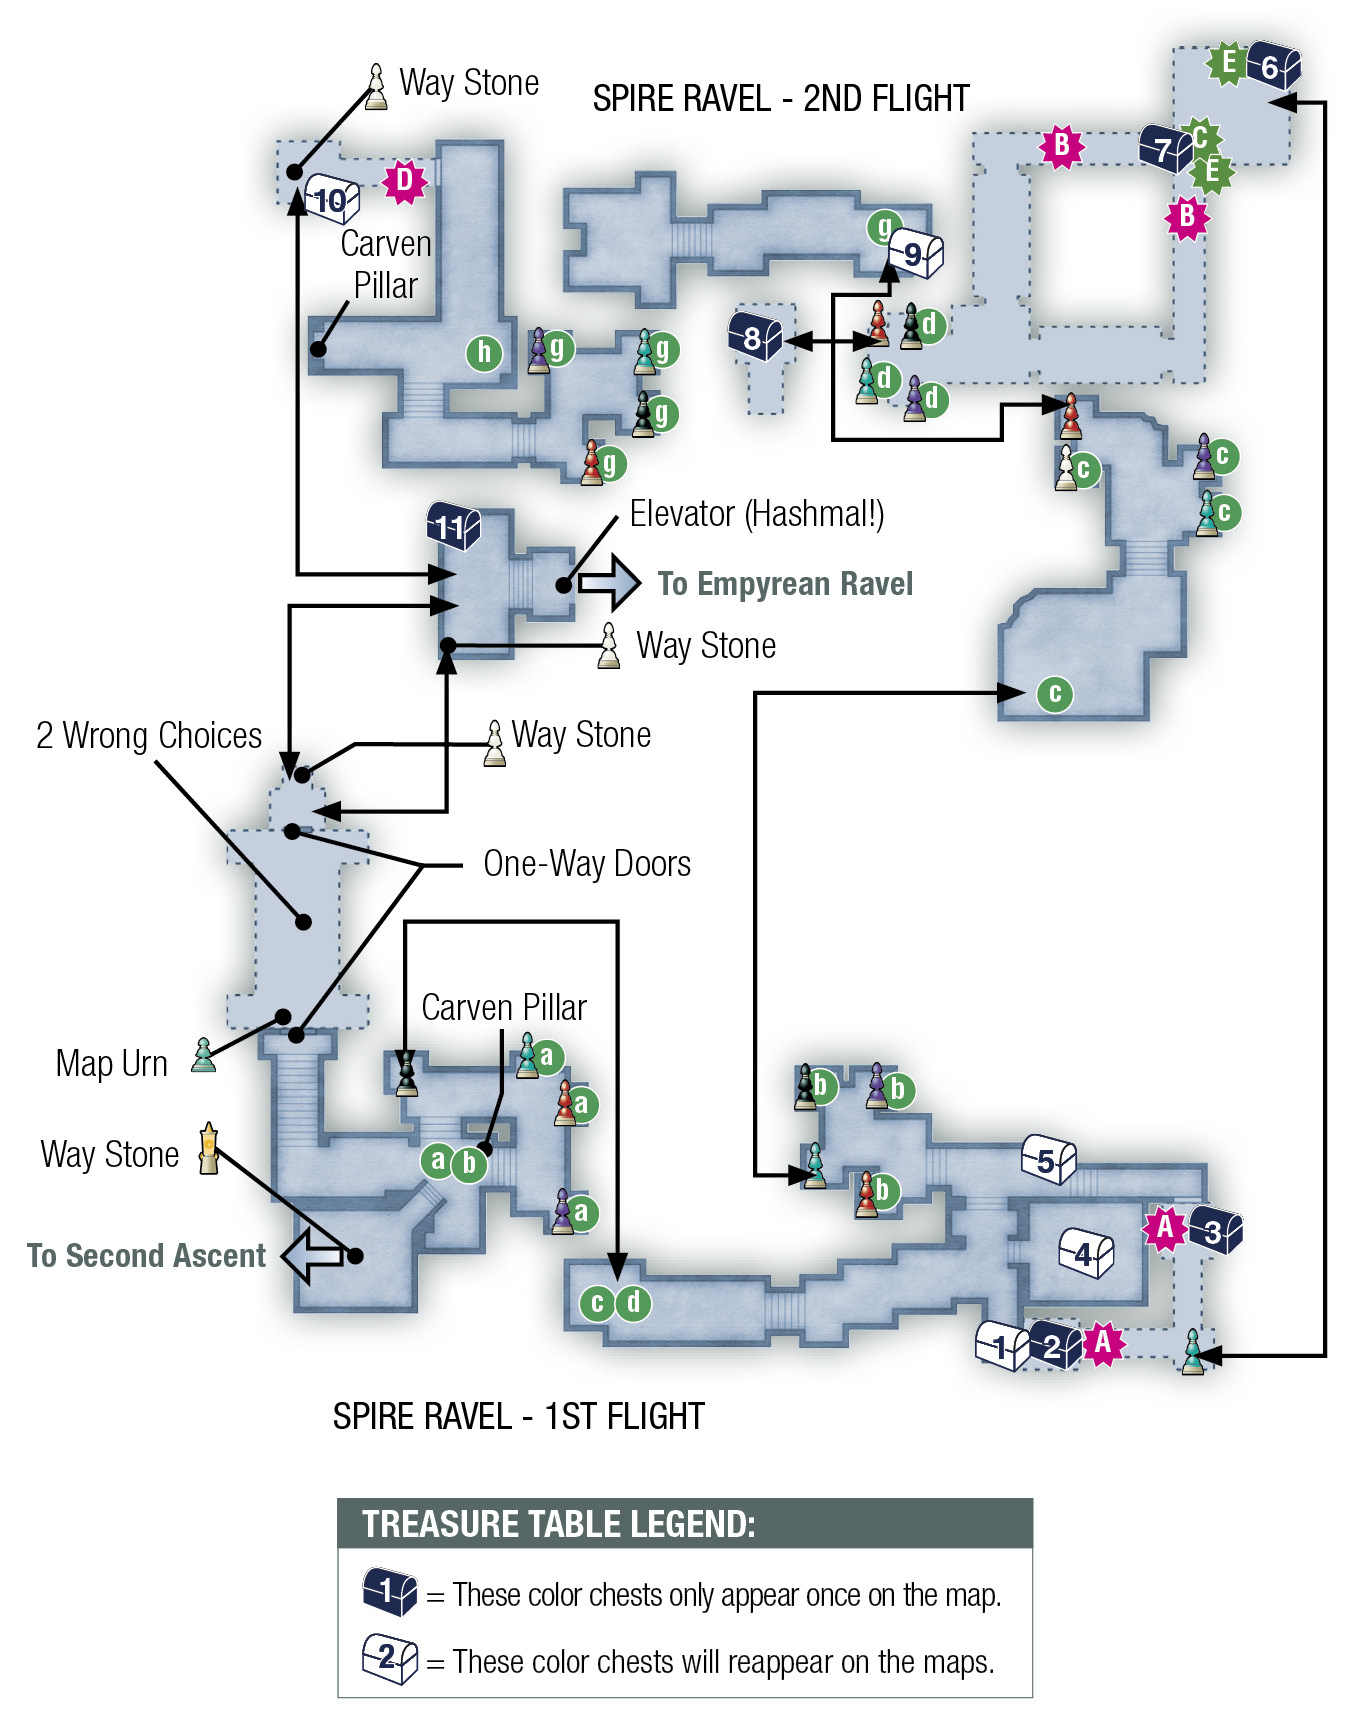
Yes, the map in this section looks scary, but this Way Stone transit system is easy to navigate if you just follow these simple steps:
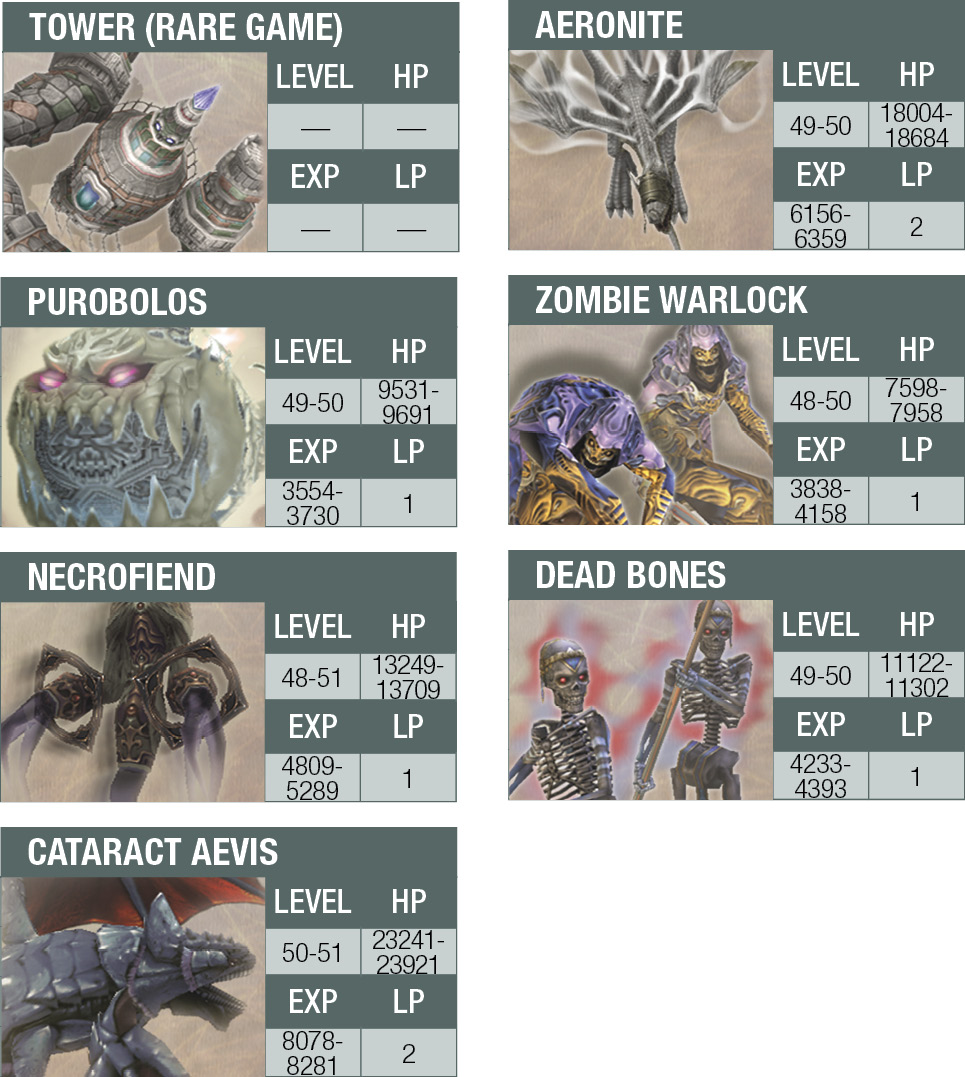
- When the party arrives from the Second Ascent, watch out for the Purobolos! When these bomb creatures explode, they can take out multiple party members if they aren’t at full health. Don’t forget to read the Carven Pillar which states, “To seal of night look first.”
- Night is dark, right? So go up the stairs on either side of the pillar and go to the black Way Stone. It is identified as “Way Stone – Black Sigil” when you approach it. Use the Black Sigil to teleport across the gap to another section of the Spire Ravel, 1st Flight area.
- Proceed east to an intersection.
You have a choice of two paths at the intersection and both work. You can choose to turn left (north) and head up to the next sigil platform, fighting through a painful Purobolos swarm (five of them!) to use the Green Sigil. Instead, let’s take the secret path that leads to some treasure!
- At the intersection, turn right (south) and walk into what looks like a dead-end alcove. Find the Fool’s Facade and smash through it to find a hidden hallway and a Green Sigil. Use it to teleport to another secret hall in the next area.
83F: Spire Ravel, 2nd Flight
You’re about halfway through the Third Ascent at this point.
- Step into the first trap. It’s a rejuvenation trap and it heals your party! The traps down the two side halls are explosive, though, so carefully maneuver around whichever route you take. You can go down either hall, since both are essentially the same, and meet up around the corner.
- Smash through a pair of fake walls to reach the sigil platform, where an Aeronite hovers. Remember that Thundaga works wonders against these flyers. Also remember that Telekinesis works even better. Use the Way Stone - Red Sigil and not the purple “Sigil of Sacrifice,” which is also a reddish color.
- This takes the party to a small platform beneath two more Aeronites. Zap them out of the sky, then examine the four Way Stones.
- The “Sigil of Sacrifice” is on all four stones, but the colors match up with the four altars back in The Reach. Touch the sigil with the color that matches the ability you chose to lose. The color associations are: Yellow-Wealth (items), Purple-Magick (magick), White-Steel (weapons), Pink-Knowledge (map).
- When you select the right color, the party ends up on the northwest platform. Go forward and read the Carven Pillar to receive your last clue in the phrase “untainted by tint or color.” When you approach the final sigil platform, you will see the usual four colors—nothing colorless. If you use any one of these, the party gets zapped back to a previous location.
- Instead, go to the northernmost end of the platform and find the Fool’s Facade on the left wall. Smash through it to find a clear Way Stone. Use the Way Stone to teleport to one last platform.
- Look out! The last Way Stone teleports the party to 88F, which is directly underneath the rare monster, Tower. It takes time to defeat this foe, so keep everyone Hasted and healed if you encounter this hostile golem. Finally, climb the stairs and use the Dais of Ascendance elevator. Select “90F” and take the elevator to another Esper meeting.
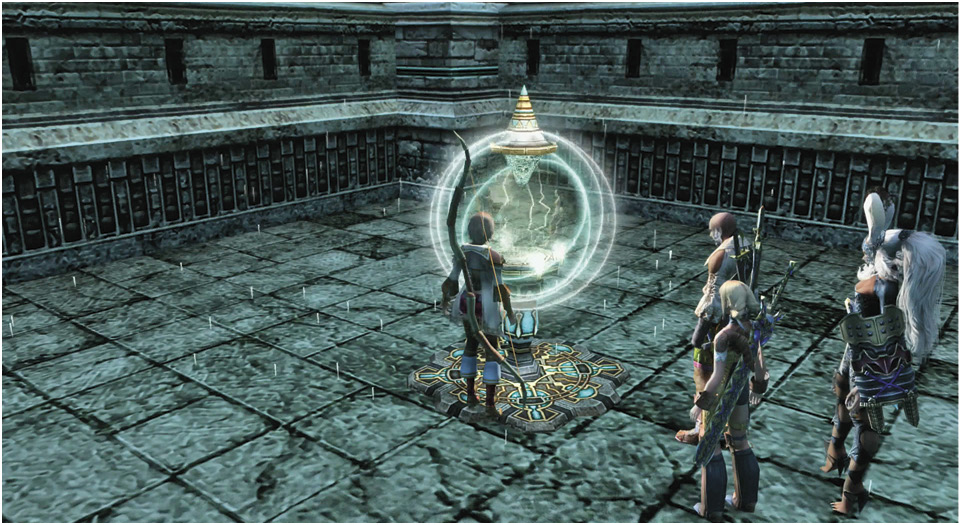
Hashmal,Bringer of Order 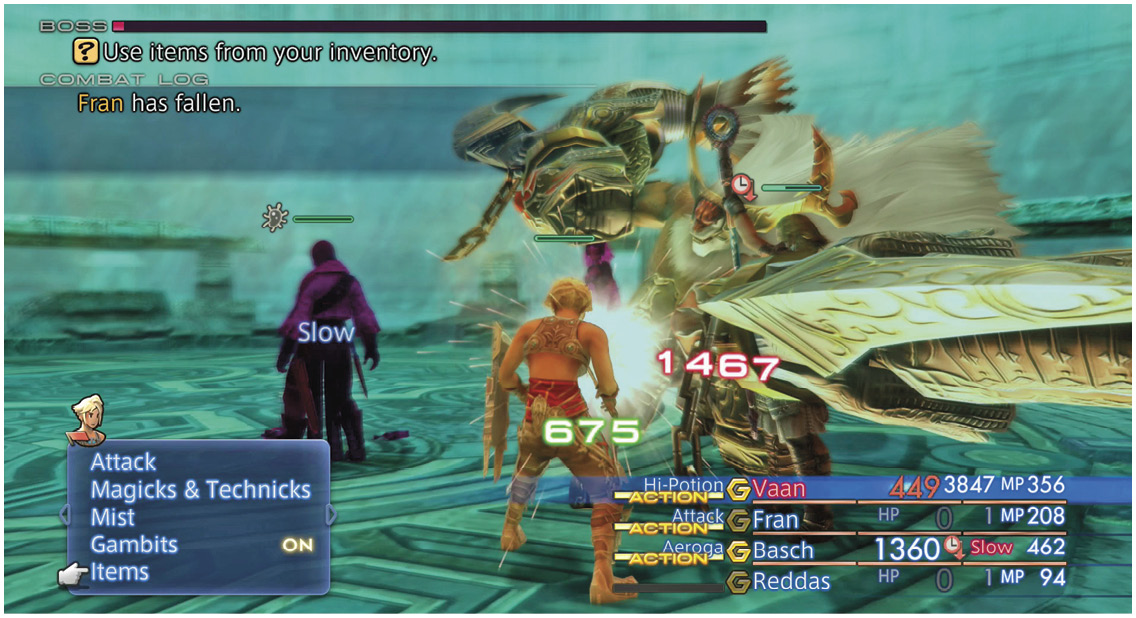 Hashmal drops right onto your stalled lift platform! Dispel the boss’s protection and cast Haste, Protect, and most importantly, Float on your party right away. With his most powerful attacks nullified by the Float status effect, his negative status effects are the only things you will have to worry about. He will hit your party members with Slow several times during the battle, so be ready to recast Haste. You may also want to equip your magick caster with a Sash for this fight to keep him or her immune to the Slow status effect. To counteract the Disease status, make sure you have a Cleanse or Serum gambit ready or heal manually. Hashmal unleashes a powerful area spell when his HP is reduced to about one-quarter. However, characters with the Float status are immune to Hashmal’s earth-based attacks. In case you don’t have Float, keep everyone’s health high to survive Hashmal’s Quakeja spell. When his HP drops in HP critical range, Hashmal erects a magickal shield that keeps him immune from attacks for a short period of time. Focus on healing when this occurs until the shield disappears, then finish him off. When victory is yours, Hashmal appears on the License Board. The party also arrives at a new location. It makes the most sense to unlock Hashmal on the license board of either a Knight or Monk character, since he'll open access to otherwise-unreachable white magick for them. |

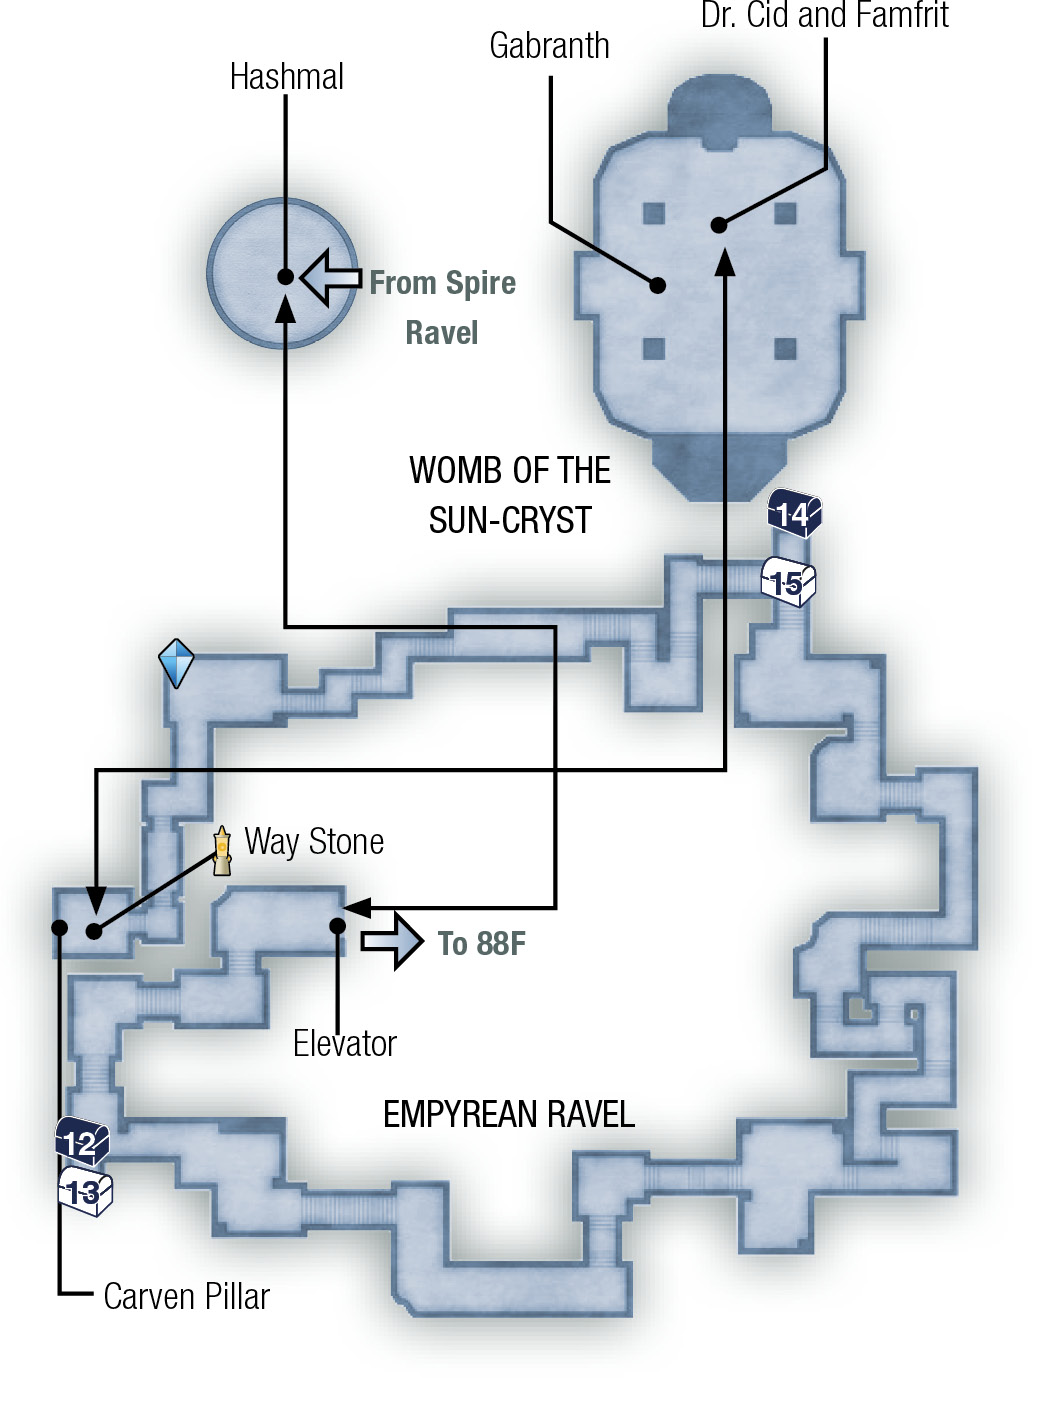
90F: Empyrean Ravel
Just follow the long, linear route up. When you pass 91F, watch the short event with Fran in which she says “the din of the Mist grows greater.” The Sun-Cryst must be nearby. Keep climbing all the way to the Save Crystal on 98F, which is truly a welcome sight at this point. As indicated at the beginning of this section, if you want to make a sort of "master" endgame Save File, now's the time to do it. There's more story yet to play out till after the Pharos, but you won't have guest characters for the home stretch. So if you want Reddas to tag along for extra firepower on side quests, don't advance farther just yet. Or, at least, make two Save Files—one to back out of Pharos and go about grinding levels and hunting marks, and the other to continue to the story's conclusion now. Once you get your Save File situation sorted out, now is a good time to give the party's gambits and gear a solid once-over till you're satisfied. Finally, continue to the Way Stone and teleport to trigger a dramatic event.
Here you learn some secrets that we will not reveal in this book. Watch carefully and prepare for a boss fight, which is then followed by another boss fight. Yes, the road out of the Pharos lighthouse is a very difficult one.
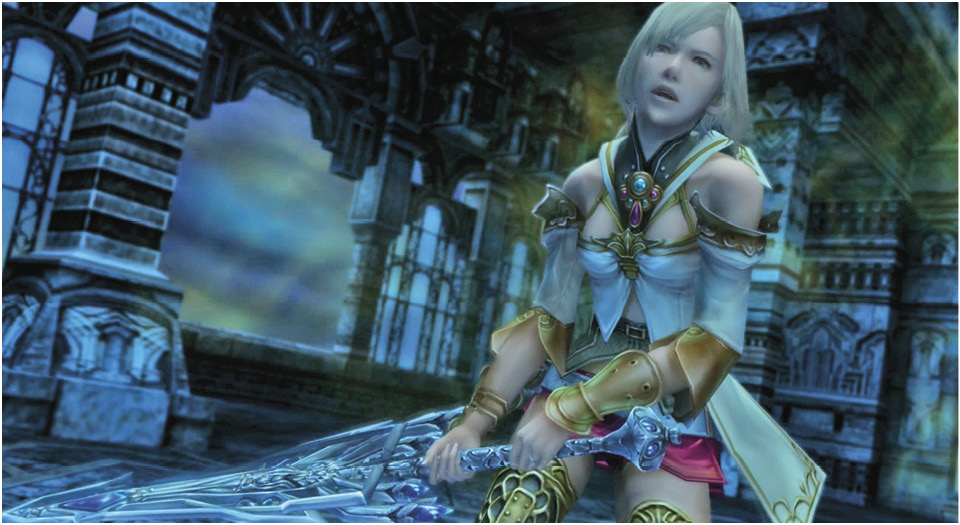

Judge Gabranth 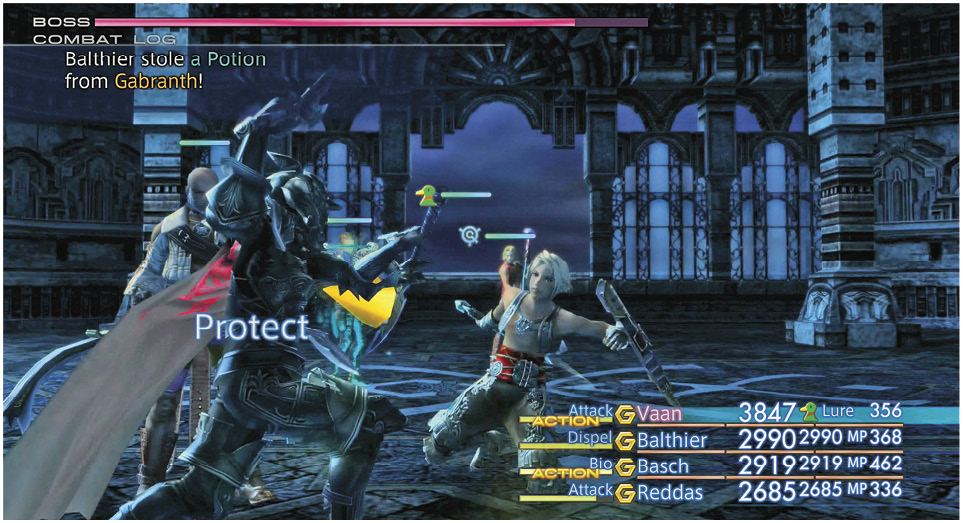 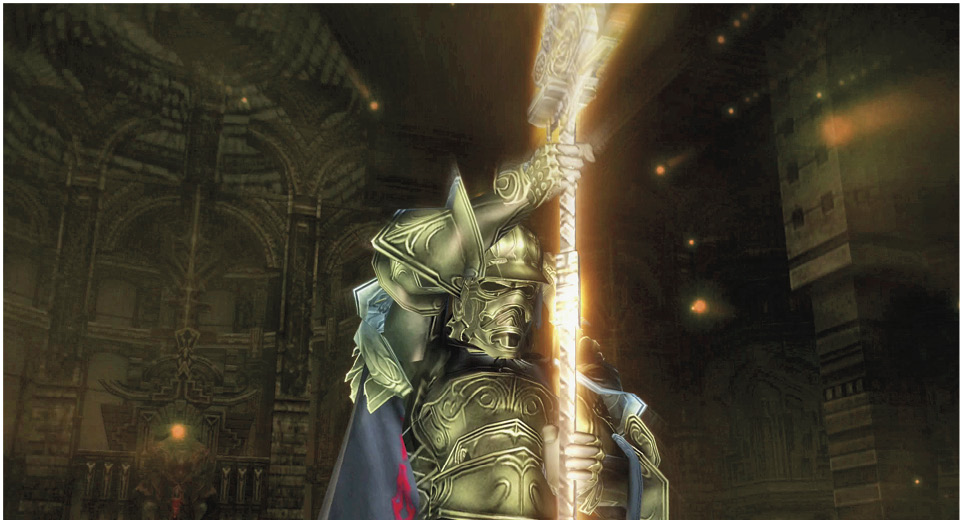 As boss fights go, this one isn’t complicated. Gabranth is one of the more straightforward foes you’ll face in the game. Follow the standard drill: Immediately cast Dispel to remove his protections, then cast Haste and Protect on your party. Normal attacks will bring him down, and it won’t take a particularly long time. Watch out for his brutal combo attack, however, as it inflicts massive damage to a single party member. |

Once Judge Gabranth goes down, the party receives another happy visit from the good doctor. Cid cruelly dismisses Gabranth and makes his agenda clear, then prepares to teach the lesser humans a godlike lesson.
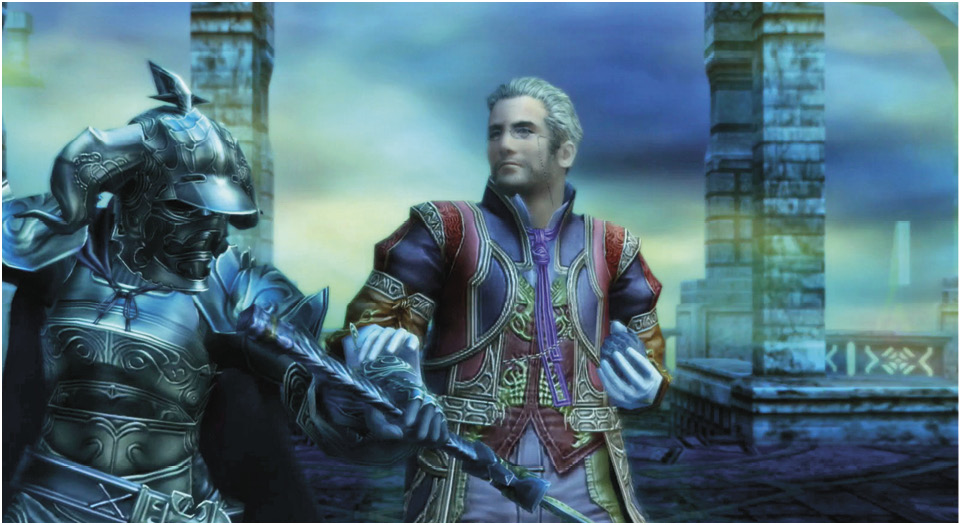
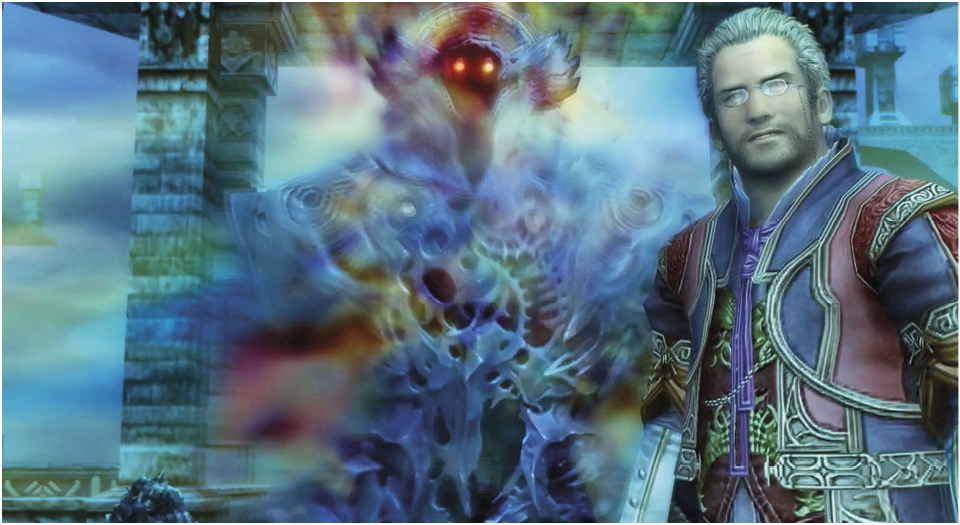
Dr. Cid and Famfrit, the Darkening Cloud 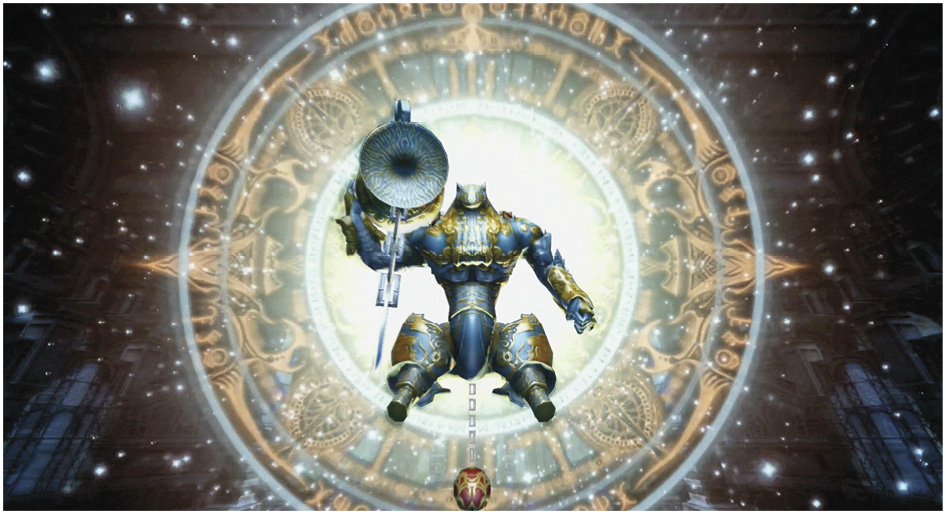 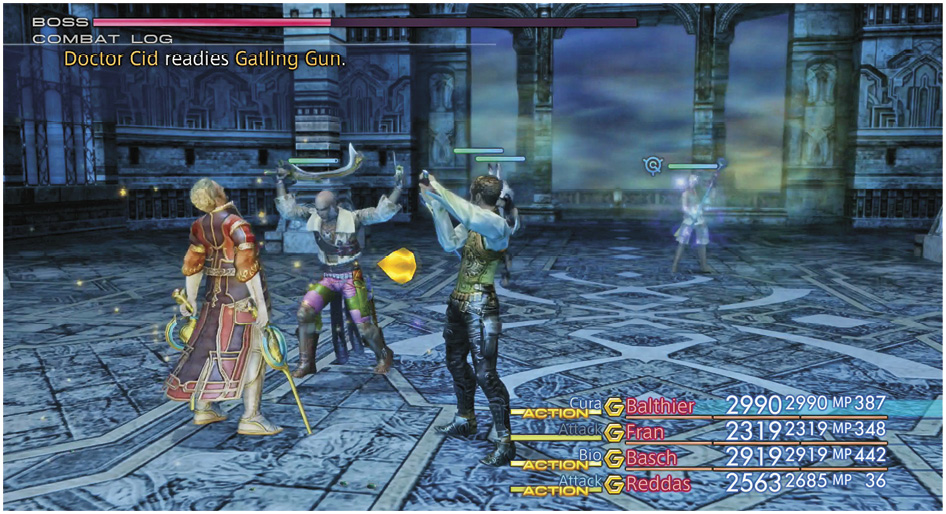 This boss battle starts out against only Dr. Cid. Cast Dispel on him and Haste/Protect on your party, then commence with your standard attacks. Hack away at Cid until his HP drops to about one-half. When this happens, he conjures up an Esper to aid him: Famfrit! Now things get more interesting. Focus your attacks on the Esper, as Famfrit has a lot of HP. (Note that the boss HP bar at the top is for Dr. Cid only.) Also, you actually CAN’T hurt Cid while Famfrit’s there. Once again, start with the usual routine of casting Dispel on Famfrit, and renew your own Haste and Protect on your party. Consider adding Shell, because Famfrit throws some magickal attacks against the party, of which the scariest is Aquaja. From time to time, Dr. Cid brings down a barrier that makes him immune to magick for a short period of time but stay focused on Famfrit until he falls. Famfrit is weak against Fire, so cast Oil and blast away with multiple shots of Firaga, if at all possible. Occasionally, Famfrit blasts a powerful area attack that causes damage and inflicts Silence on anyone nearby. Cure that status ailment immediately! When the Esper falls, focus the party’s attention back on Dr. Cid. If you’re not playing catch-up with healing and raising KO’d allies, you can take him down with ease. |
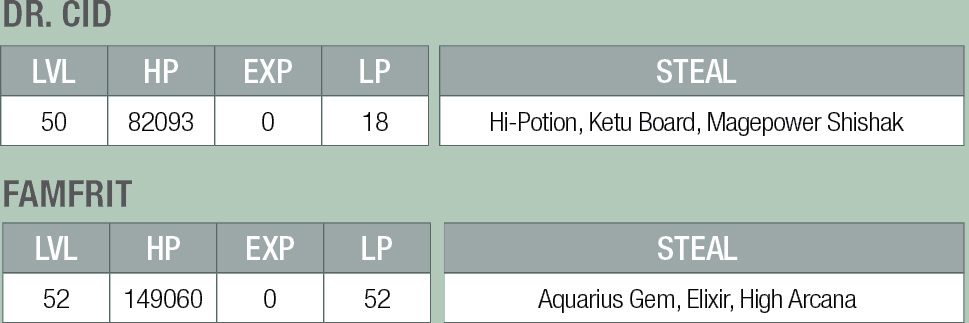
When this titanic battle ends, a spectacular event plays, containing the dramatic resolution of certain matters. Afterward, remember to save your game (taking care not to overwrite any pre-Pharos-finale Save Files you intend to keep handy). Finally, the party automatically returns to Balfonheim to prepare for the great finale of this epic adventure.