
Final Fantasy XII: The Zodiac Age Guide Walkthrough Part 4
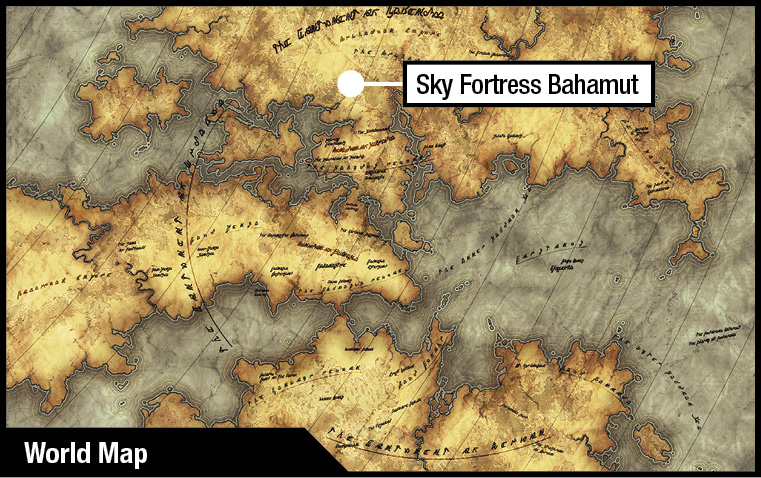
Sky Fortress Bahamut
OBJECTIVE
Stop Vayne!
If you can get to Vayne Solidor, you can avert a war. He’s most likely in the fortress command tower directly above the party. There must be an elevator somewhere…
Action Checklist
1. Get to the lift platform in the central hub.
2. Defeat Judge Gabranth.
3. Defeat Vayne Solidor three times!
| Pop odds | If pop, Gil odds & Amt | Normal Loot | w/Diamond Armlet | ||||
|---|---|---|---|---|---|---|---|
|
# |
App. % |
Gil % |
Amt. if Gil |
50% |
50% |
95% |
5% |
|
1 |
100% |
0% |
— |
Dark Matter |
Dark Matter |
X-Potion |
Scathe Mote |
|
2 |
100% |
0% |
— |
Elixir |
Elixir |
X-Potion |
Scathe Mote |
|
3 |
100% |
0% |
— |
Hastega Mote |
Hastega Mote |
X-Potion |
Scathe Mote |
|
4 |
100% |
0% |
— |
Bubble Mote |
Bubble Mote |
X-Potion |
Scathe Mote |
Get to the Central Lift ASAP
The party starts in the Antechamber. Your goal is to reach Vayne while avoiding entanglements that will only sap your strength. Note that there are no Save Crystals in the fortress! The key is to get into the central hub as quickly as possible; the longer you take, the more forces will swarm your party’s position.
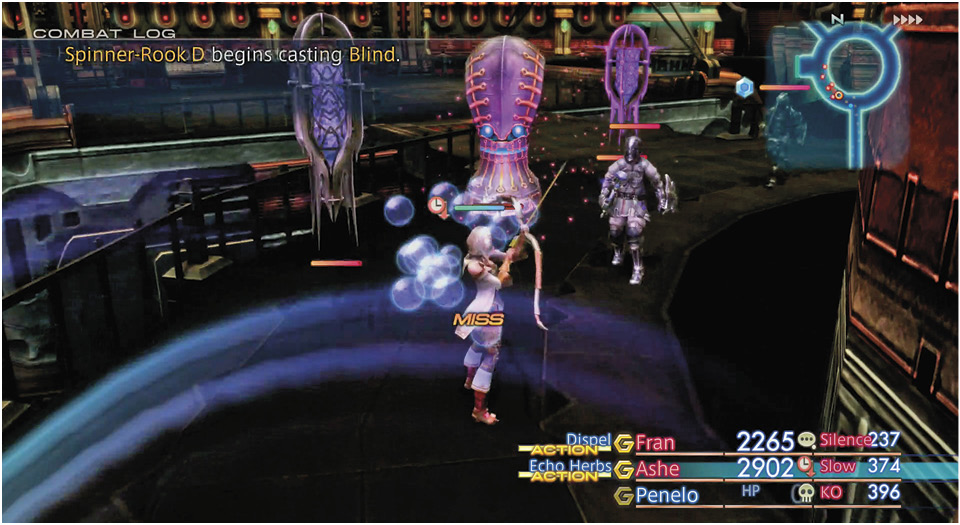
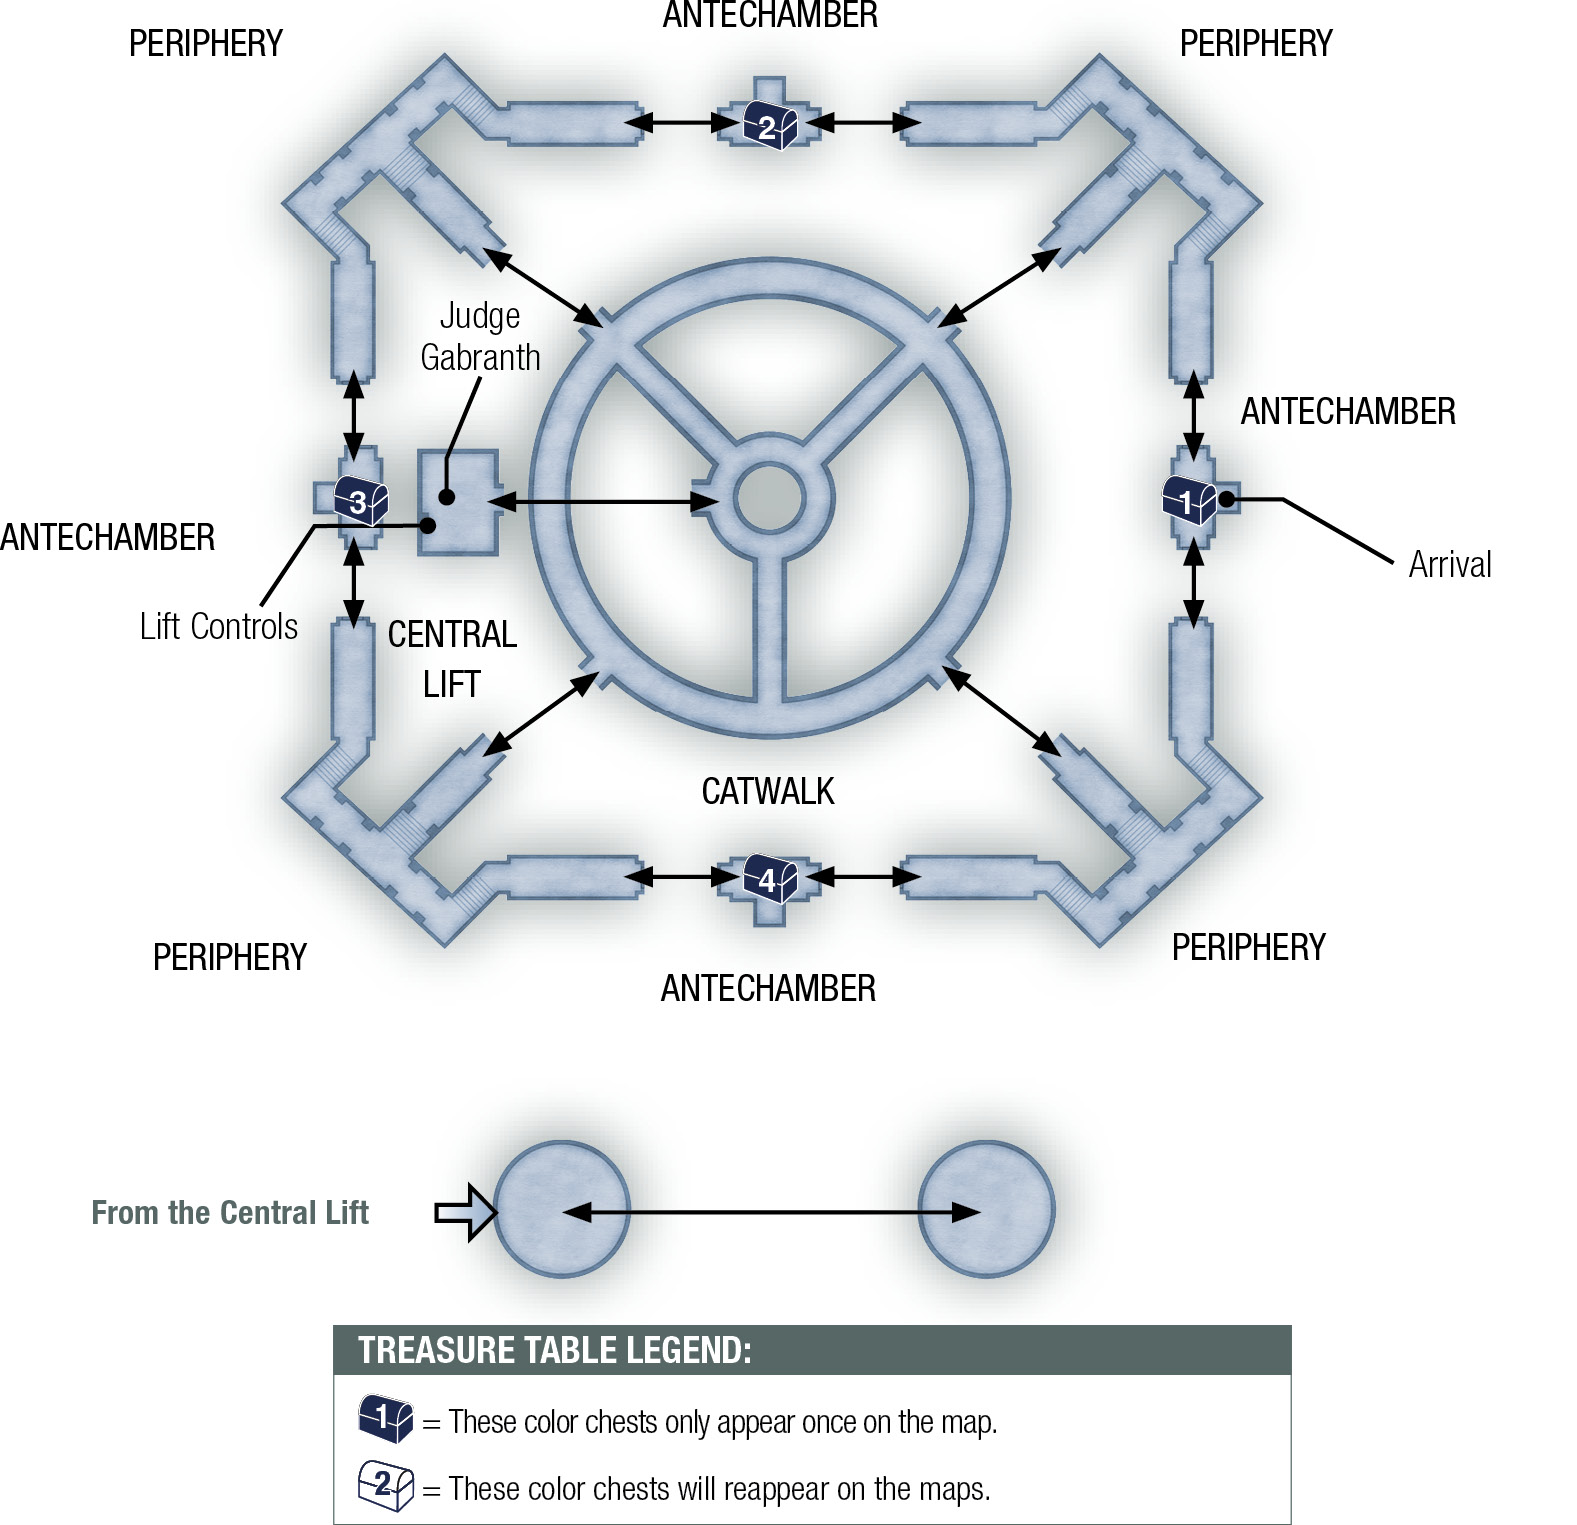
There is no Area Map, but the way to the central lift is simple. From the party’s arrival point, turn left and go through the south bulkhead. In the next area, called the Periphery, follow the path and take the first left; it leads inward, toward the central hub. When you encounter hostile resistance along the way, you can simply press and hold the R2 button and flee.
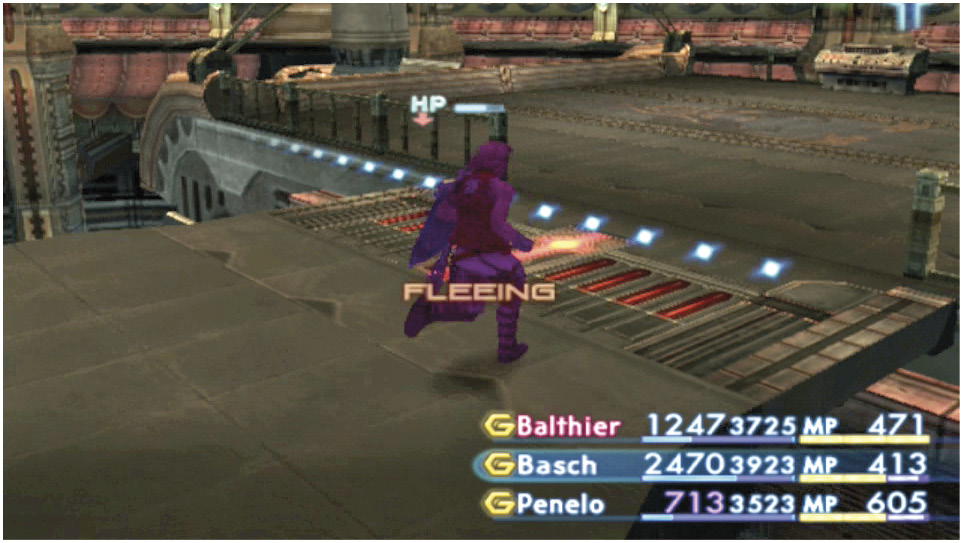
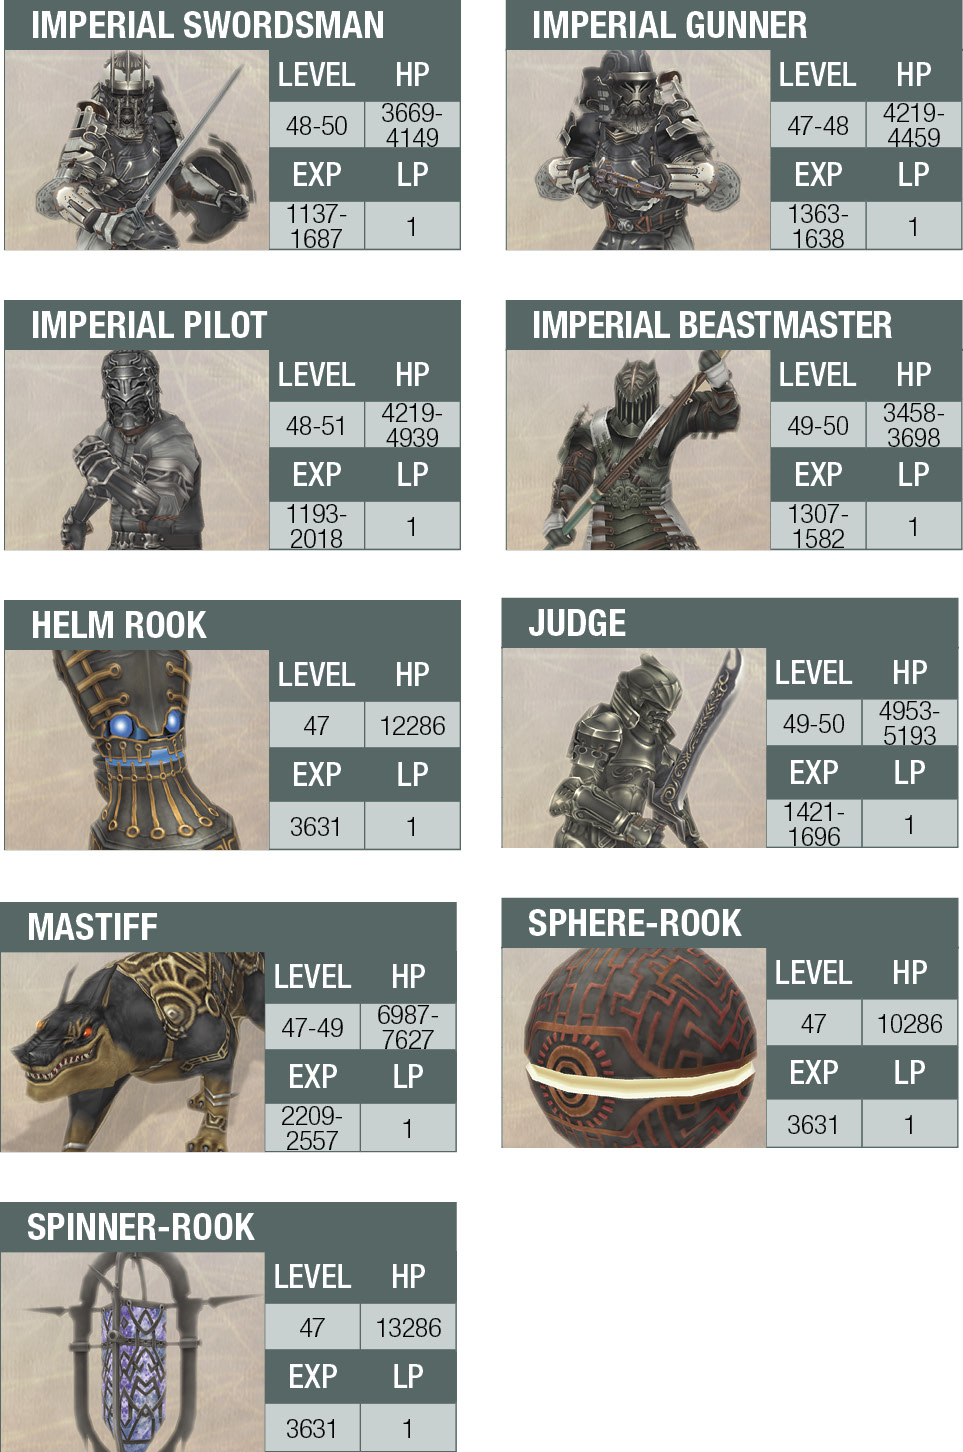
When you reach the next area, the circular interior hub called the Catwalk, sit back and watch the party arrive as the battle rages outside the fortress. The Catwalk is patrolled by some extremely powerful Rooks (robotic armaments that can overwhelm your party), so just run away! Veer down any of the three “spokes” leading into the circle’s center. You should see the lift platform ahead. Go around the hub and run across the zone line onto the platform.
Oddly enough, the pursuit halts as you cross the zone line into the Central Lift area. Take a breath. Believe it or not, you’re safe for now. Take some time to heal up, then run around the lift or use Ethers to recharge your MP to full Mist Charges.
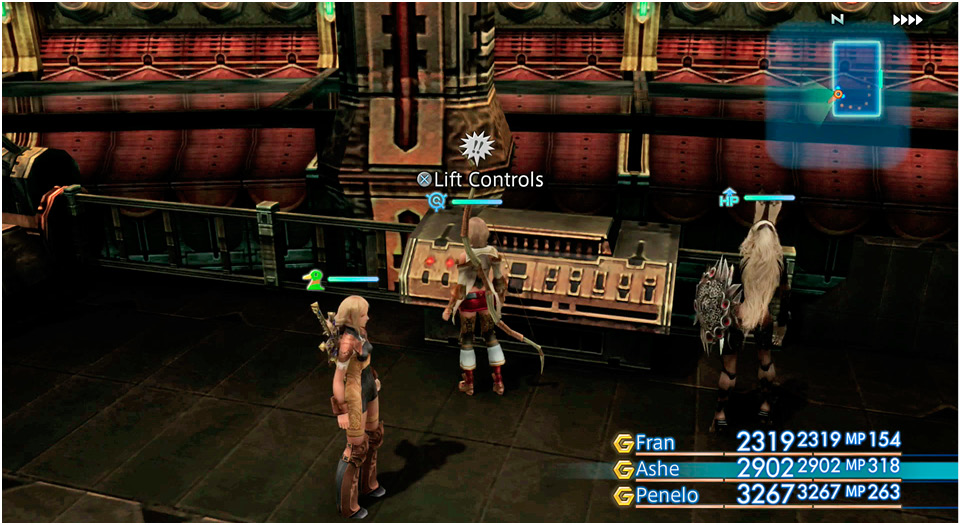
When your party reaches 100 percent HP and MP, approach the Lift Controls panel and select “Engage the lift.” This brings Judge Gabranth back into the picture.
Judge Gabranth
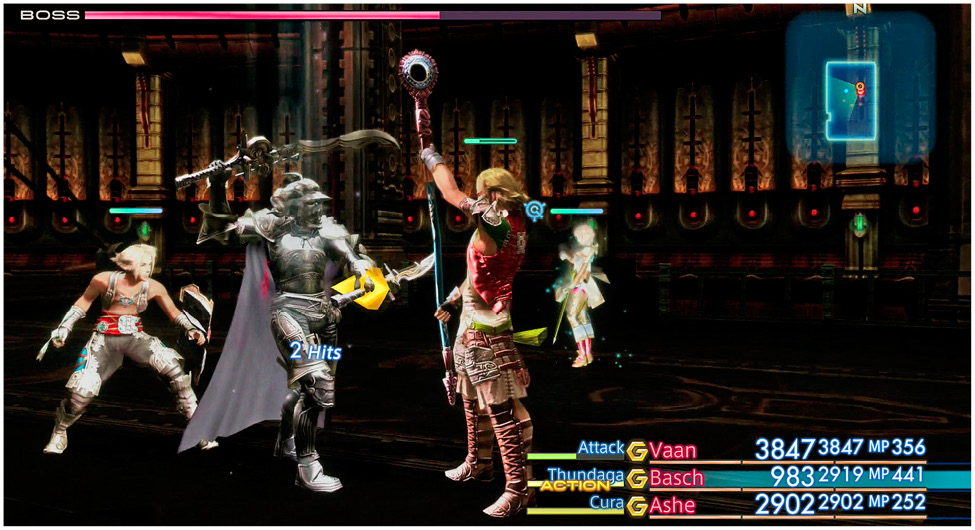
Dispel him, then cast Haste and Protect on your main melee fighter(s) and make sure your healing gambits are in order. The first part of the fight will probably go remarkably smoothly, but when Gabranth’s HP drops to about one-half, he suddenly regenerates all of his HP and he launches Innocence, a powerful new sword attack that will likely cause around 2000 HP damage. This is a very basic fight, similar to a number you’ve won in the course of this game already. Keep hitting him and healing your party. Make sure Raise (or better yet, Arise) is the gambit in each character’s number one slot. |

Vayne Solidor
This fight is similar to the other Imperial Judge boss fights in the game (Ghis, Bergan, Gabranth). Vayne unleashes heavy single target attacks/combos that are certainly painful but easily survivable. Deploy your best Heavy Armor melee fighter with a shield and use Decoy on him to draw Vayne’s attention, so your support characters can cast Dispel and heal the party. 
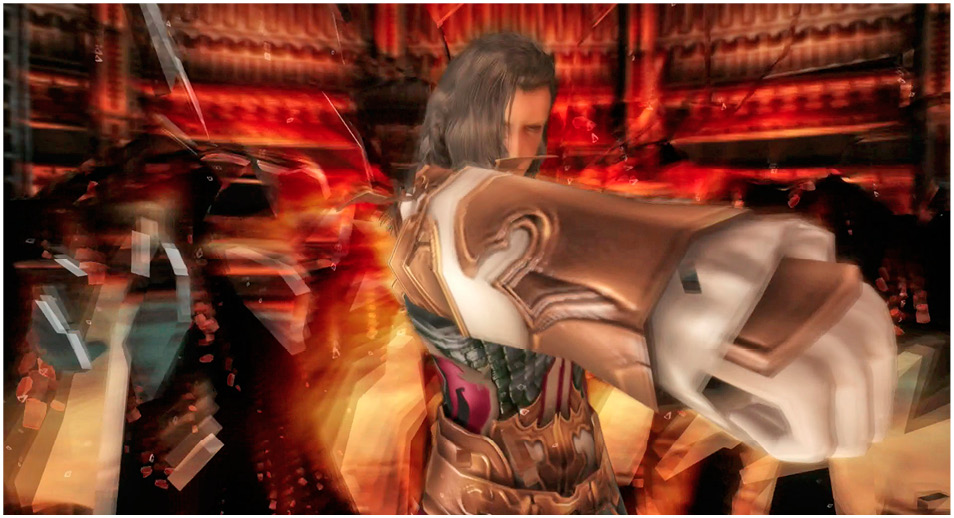
As with all fights, Dispelling Bravery, Haste, and Protect is absolutely imperative. You can’t afford to leave Bravery on against monsters that hit for 1000-plus damage and then combo attack for 4-plus times a turn. Remove buffs, and keep Protect, Shell, Haste, and Bubble up on everyone in your party. Conserve MP and consumable items if possible, as two insanely powerful bosses remain with no Save Crystal in sight. |

Vayne Novus/Sephira
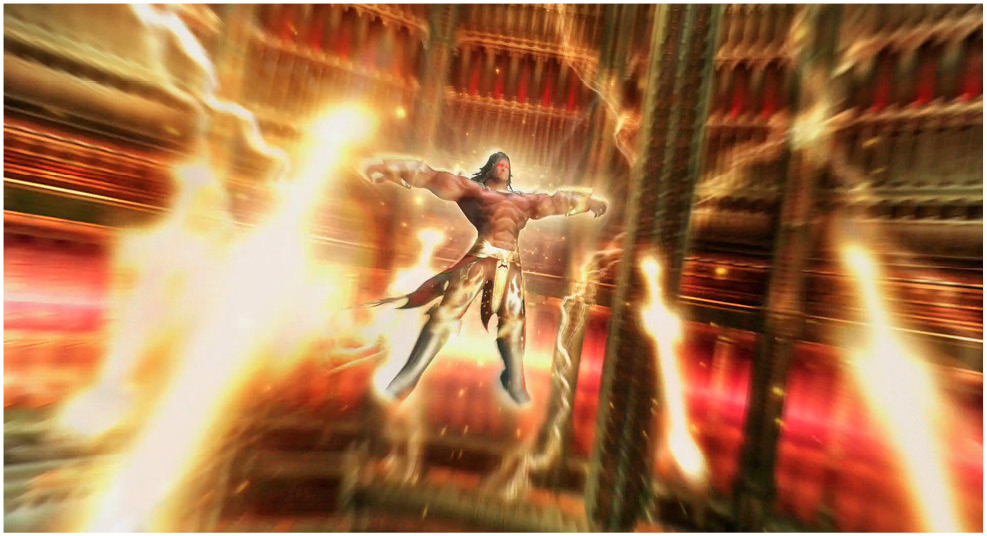
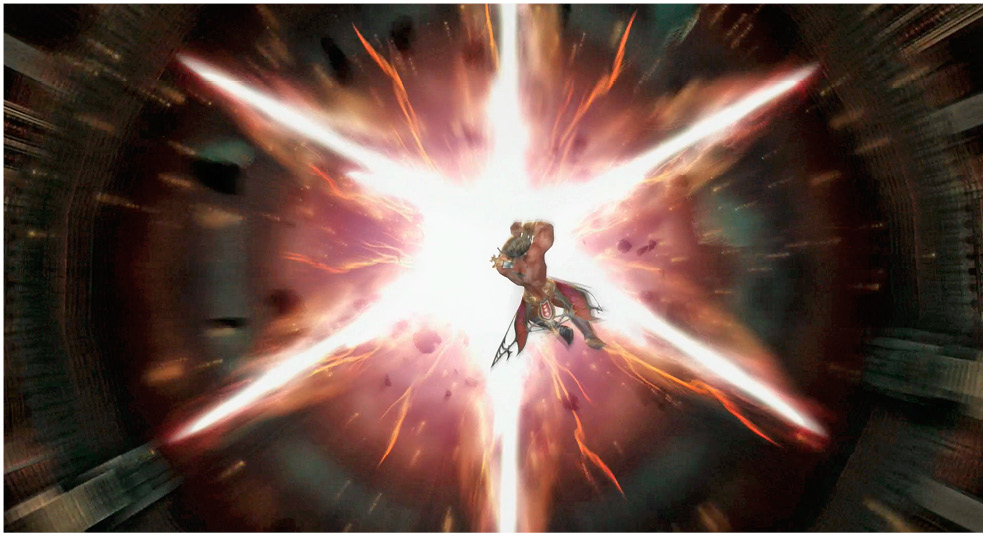
The second incarnation of Vayne is tough enough, but his sword minions flying around can be very troublesome. If you cast Berserk on one party member, that character will focus on the swords. Now you can focus your remaining party members on Vayne Novus. Another option is to burn a massive Quickening chain or have a Black Mage cast Scathe/Scourge to make the swords go away. Using up Mist Charges for a Quickening might not be prudent with another big boss still left after this fight, though, so try to handle the swords with less-costly tactics. Vayne is still not excessively hard to beat with standard attacks in this fight, but he is more aggressive and has plenty of help. He is also capable of putting up damage-blocking Palings, so if he does shield himself temporarily, focus all attention on his Sephira drone swords. |


The Undying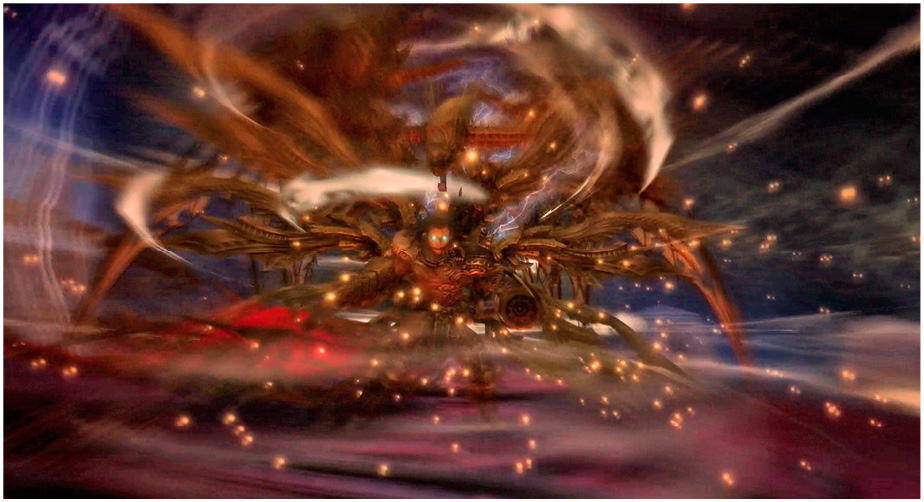
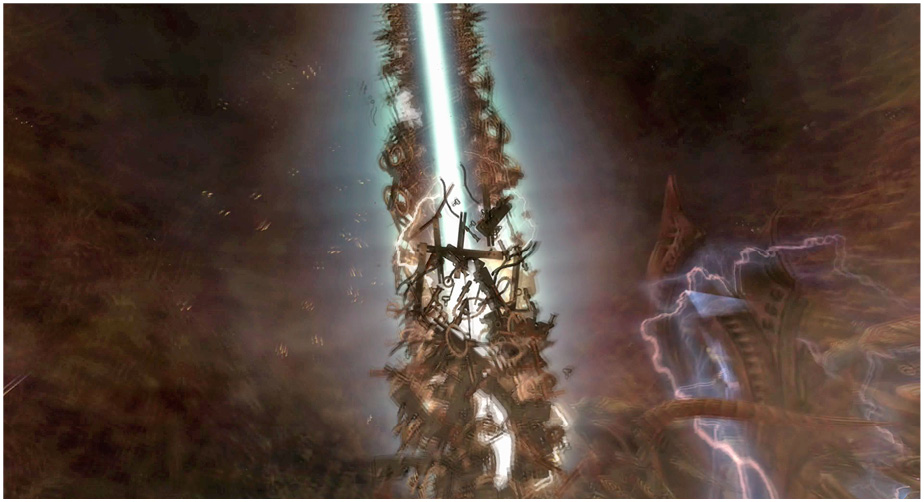
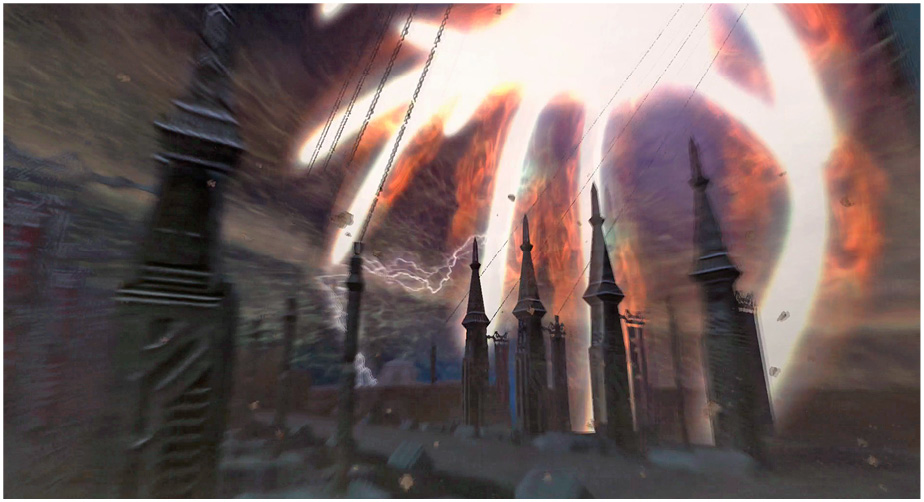
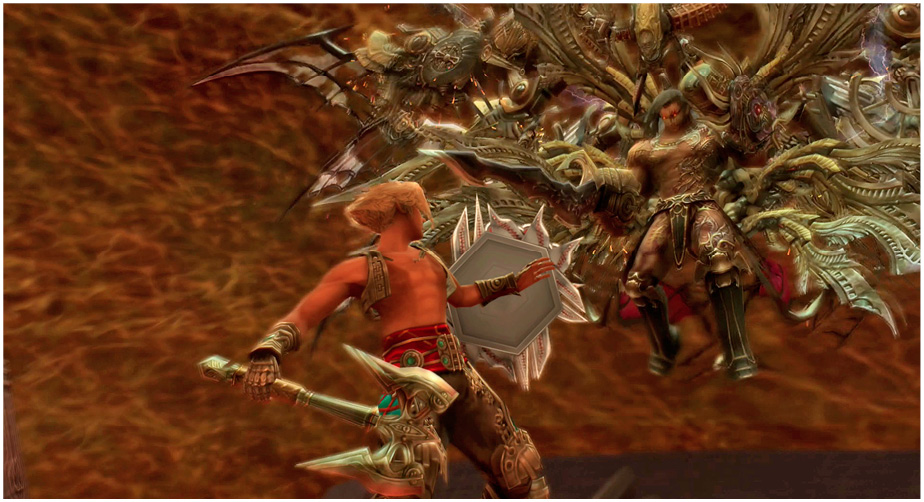
This fight is very difficult. At a minimum, your characters should be around level 40 but levels around 45 and above are recommended. Vayne can become immune to physical/magickal damage, while flying around the arena targeting anyone. Physical attackers can hit him, but that means getting in close and potentially leaving multiple people in the path of Megaflare, powerful area nukes, and The Undying’s special attacks. When a powerful attack like Teraflare strikes the party and knocks out several allies at once, recovery maybe be a matter of swapping out KO'd allies for reserve members. In this case, be sure to use Raise or Phoenix down on the reserve members who are now KO'd, in case it happens again. The Undying has no HP bar or any indication of his health, but at about 75 percent, 50 percent, and 25 percent he pops up different barriers that you need to wait out. Some of them block physical damage, while some prevent magickal damage. For the physical damage barrier, try to use Scathe or Flare over and over. For the magick barrier, you can just cast Bravery on your heavy hitter. Near 25 percent HP, Vayne is completely invulnerable and there’s nothing you can do for what seems like a long time. It’s best to just run away and heal. This is the last fight, so don’t be shy about using Quickenings, Megalixirs, and busting out Scathe/Holy Motes. Bring Rubber Suits, White Masks, and other status immunity accessories to swap in on the fly in reaction to The Undying’s area nukes and status ailments. Keep plugging away, and keep an eye on your active characters’ MP and HP levels, always ready to swap in a fresh ally if someone gets too depleted. When Vayne in his final incarnation as The Undying finally falls, you get a treat for the ages in the saga-ending event sequences. |


After viewing the ending sequences and credits, you'll have the option to begin New Game+. During this New Game+ playthrough, every character will join the party at level 90! Because of this, NG+ after the main adventure is sometimes called "Strong Mode."