
Final Fantasy XII: The Zodiac Age Guide Walkthrough Part 3
The Salikawood
Action Checklist
1. Get to the border gate.
2. Round up the moogle apprentices to finish fixing the gate.
3. Exit the Salikawood into the Phon Coast.
| Pop odds | If pop, Gil odds & Amt | Normal Loot | w/Diamond Armlet | ||||
|---|---|---|---|---|---|---|---|
|
# |
App. % |
Gil % |
Amt. if Gil |
50% |
50% |
90% |
10% |
|
1 |
85% |
50% |
~290 |
Ether |
Antidote |
Knot of Rust |
Meteorite (A) |
|
2 |
85% |
50% |
~270 |
Ether |
Eye Drops |
Knot of Rust |
Meteorite (B) |
|
3 |
75% |
50% |
~300 |
Ether |
Handkerchief |
Knot of Rust |
Meteorite (A) |
|
4 |
75% |
55% |
~280 |
Ether |
Gokuu Pole |
Knot of Rust |
Meteorite (A) |
|
5 |
75% |
50% |
~300 |
Ether |
Hi-Potion |
Knot of Rust |
Meteorite (A) |
|
6 |
75% |
50% |
~300 |
Ether |
Prince’s Kiss |
Knot of Rust |
Meteorite (A) |
|
7 |
75% |
55% |
~280 |
Ether |
Chaos Mace |
Knot of Rust |
Meteorite (A) |
|
8 |
75% |
50% |
~300 |
Ether |
Vanishga Mote |
Knot of Rust |
Meteorite (A) |
|
9 |
75% |
50% |
~300 |
Ether |
Phoenix Down |
Knot of Rust |
Meteorite (B) |
|
10 |
75% |
50% |
~300 |
Ether |
Hi-Potion |
Knot of Rust |
Meteorite (A) |
|
11 |
65% |
50% |
~280 |
Ether |
Handkerchief |
Knot of Rust |
Meteorite (A) |
|
12 |
65% |
50% |
~280 |
Ether |
Dark Mote |
Knot of Rust |
Meteorite (A) |
|
13 |
65% |
50% |
~280 |
Ether |
Phoenix Down |
Knot of Rust |
Meteorite (A) |
|
14 |
65% |
50% |
~280 |
Ether |
Nu Khai Sand |
Knot of Rust |
Meteorite (A) |
|
15 |
65% |
50% |
~280 |
Ether |
Dark Mote |
Knot of Rust |
Meteorite (B) |
|
16 |
65% |
50% |
~280 |
Ether |
Dark Mote |
Knot of Rust |
Meteorite (A) |
|
17 |
65% |
55% |
~250 |
Ether |
Bastard Sword |
Knot of Rust |
Meteorite (C) |
|
18 |
65% |
50% |
~280 |
Ether |
Ether |
Knot of Rust |
Meteorite (A) |
|
19 |
65% |
50% |
~280 |
Ether |
Phoenix Down |
Knot of Rust |
Meteorite (A) |
|
20 |
65% |
55% |
~280 |
Ether |
Ras Algethi |
Knot of Rust |
Meteorite (A) |
|
21 |
65% |
50% |
~280 |
Ether |
Remedy |
Knot of Rust |
Meteorite (A) |
|
22 |
65% |
50% |
~280 |
Ether |
Phoenix Down |
Knot of Rust |
Meteorite (A) |
|
23 |
75% |
45% |
~290 |
Ether |
Nu Khai Sand |
Knot of Rust |
Meteorite (A) |
|
24 |
75% |
45% |
~290 |
Potion |
Potion |
Knot of Rust |
Meteorite (A) |
|
25 |
70% |
50% |
~290 |
Potion |
Rose Corsage |
Knot of Rust |
Meteorite (B) |
|
26 |
75% |
45% |
~290 |
Potion |
Prince’s Kiss |
Knot of Rust |
Meteorite (A) |
|
27 |
70% |
50% |
~270 |
Ether |
Nu Khai Sand |
Knot of Rust |
Meteorite (A) |
|
28 |
70% |
50% |
~270 |
Ether |
Prince’s Kiss |
Knot of Rust |
Meteorite (A) |
|
29 |
70% |
50% |
~270 |
Ether |
Chronos Tear |
Knot of Rust |
Meteorite (A) |
|
30 |
70% |
50% |
~270 |
Ether |
Potion |
Knot of Rust |
Meteorite (A) |
|
31 |
70% |
50% |
~270 |
Ether |
Remedy |
Knot of Rust |
Meteorite (A) |
|
32 |
70% |
50% |
~270 |
Ether |
Chronos Tear |
Knot of Rust |
Meteorite (B) |
|
33 |
100% |
0% |
— |
Charm |
Charm |
Charm |
Charm |
|
34 |
75% |
90% |
~200 |
Knot of Rust |
Knot of Rust |
Knot of Rust |
Meteorite (B) |
|
35 |
60% |
60% |
~150 |
Handkerchief |
Dark Mote |
Knot of Rust |
Meteorite (A) |
|
36 |
50% |
60% |
~150 |
Ether |
Potion |
Knot of Rust |
Meteorite (A) |
|
37 |
70% |
50% |
~230 |
Ether |
Bacchus’ Wine |
Knot of Rust |
Meteorite (A) |
|
38 |
70% |
50% |
~230 |
Ether |
Phoenix Down |
Knot of Rust |
Meteorite (A) |
|
39 |
70% |
50% |
~230 |
Ether |
Nu Khai Sand |
Knot of Rust |
Meteorite (B) |
|
40 |
60% |
55% |
~500 |
Ether |
Balance Mote |
Knot of Rust |
Meteorite (A) |
|
41 |
70% |
45% |
~260 |
Ether |
Nu Khai Sand |
Knot of Rust |
Meteorite (A) |
|
42 |
70% |
45% |
~260 |
Ether |
Hi-Potion |
Knot of Rust |
Meteorite (A) |
|
43 |
70% |
45% |
~260 |
Ether |
Potion |
Knot of Rust |
Meteorite (C) |
|
44 |
70% |
45% |
~260 |
Ether |
Remedy |
Knot of Rust |
Meteorite (A) |
|
45 |
70% |
45% |
~260 |
Ether |
Phoenix Down |
Knot of Rust |
Meteorite (A) |
|
46 |
70% |
45% |
~260 |
Ether |
Phoenix Down |
Knot of Rust |
Meteorite (A) |
|
47 |
70% |
45% |
~260 |
Ether |
Prince’s Kiss |
Knot of Rust |
Meteorite (B) |
|
48 |
75% |
50% |
~250 |
Potion |
Remedy |
Knot of Rust |
Meteorite (A) |
|
49 |
70% |
50% |
~250 |
Ether |
Hi-Ether |
Knot of Rust |
Meteorite (B) |
|
50 |
75% |
50% |
~250 |
Ether |
Adamant Hat |
Knot of Rust |
Meteorite (A) |
Get to Salikawood’s East Gate
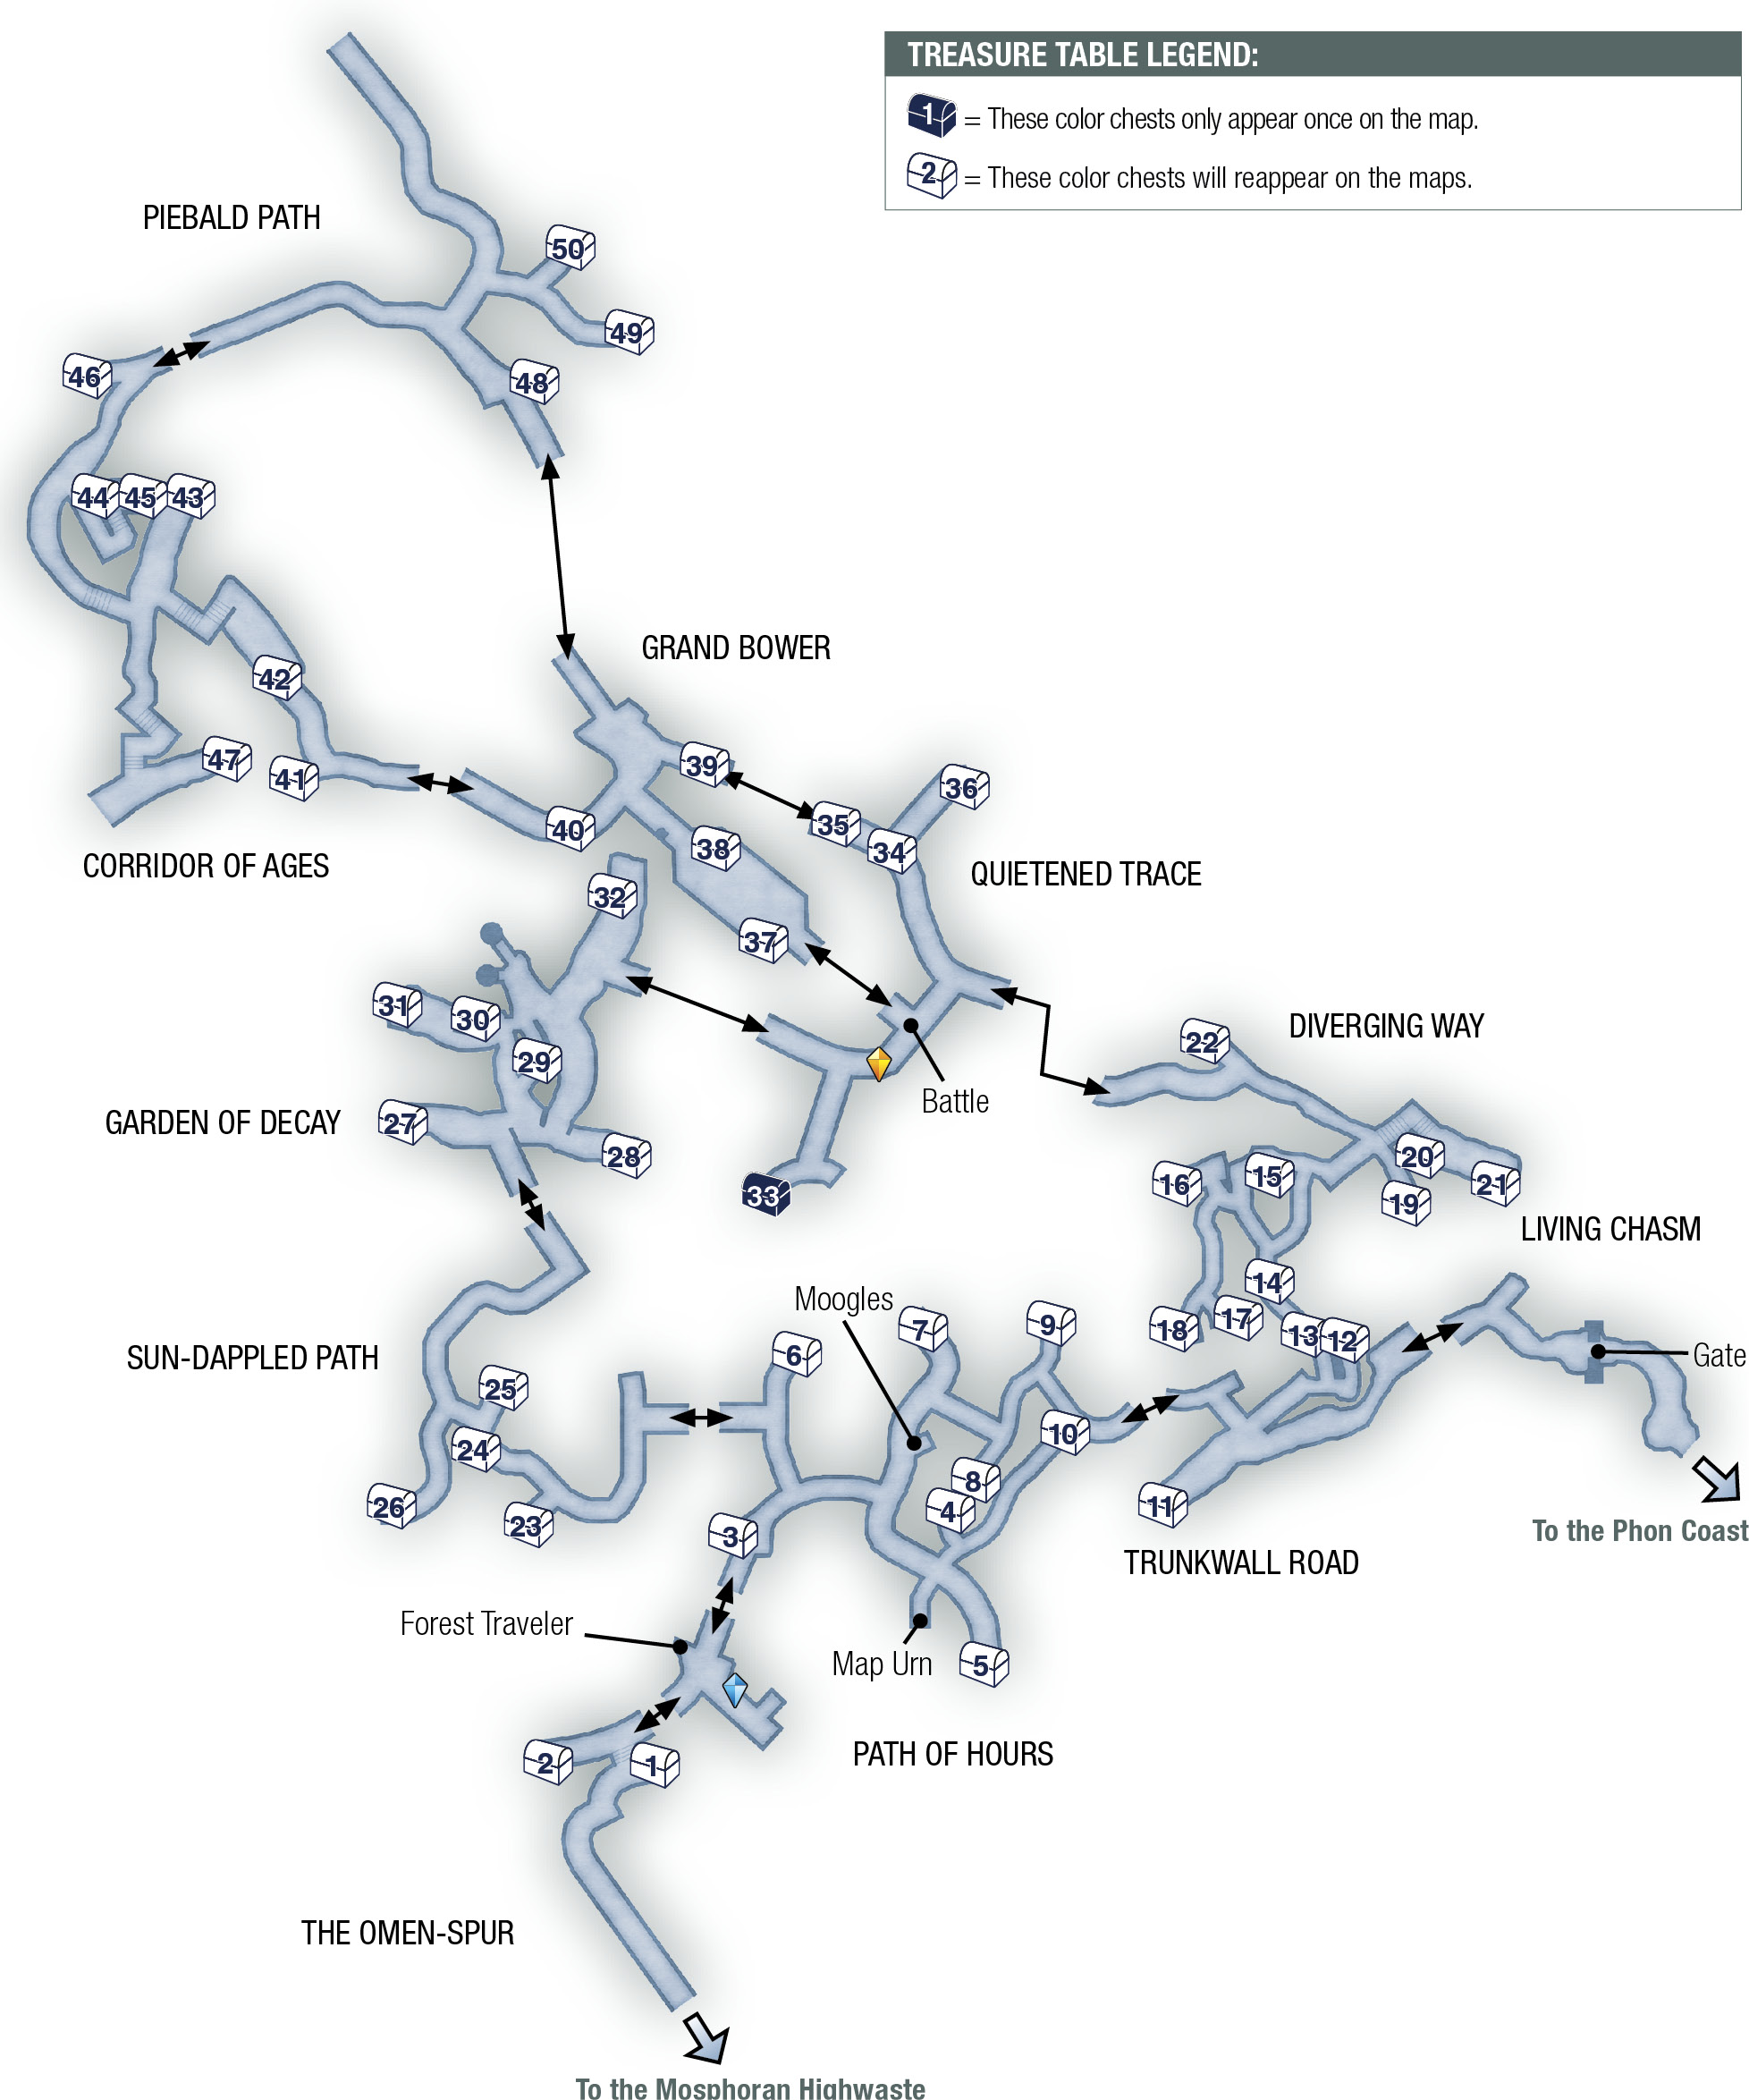
The party arrives in the Omen-Spur area, which contains some odd creatures. Follow the path to the next area, the Path of Hours, where a welcome sight awaits: a Save Crystal. Talk to the pacing Forest Traveler to learn about the hunters’ camp on the Phon Coast to the east—the party’s interim destination. Unfortunately, the Salikawood’s east gate is broken; a moogle crew is doing repairs, but their work ethic is a bit sub-par. He also says he dropped his map of the wood; chances are it’s nearby somewhere.
Approach the nearby forest bungalow and talk to the three “layabout” moogles inside. They indicate that they’re working on the gate up ahead. Well… actually, they’re resting right now. Now take a moment to find the area map. Exit the Path of Hours, crossing the next bridge north onto Trunkwall Road.
Veer right at the first fork, then go right two more times to find the Map Urn that holds the full map of the Salikawood. Next, head straight up the walkway to the northeast; veer east at the intersection to exit into Diverging Way.
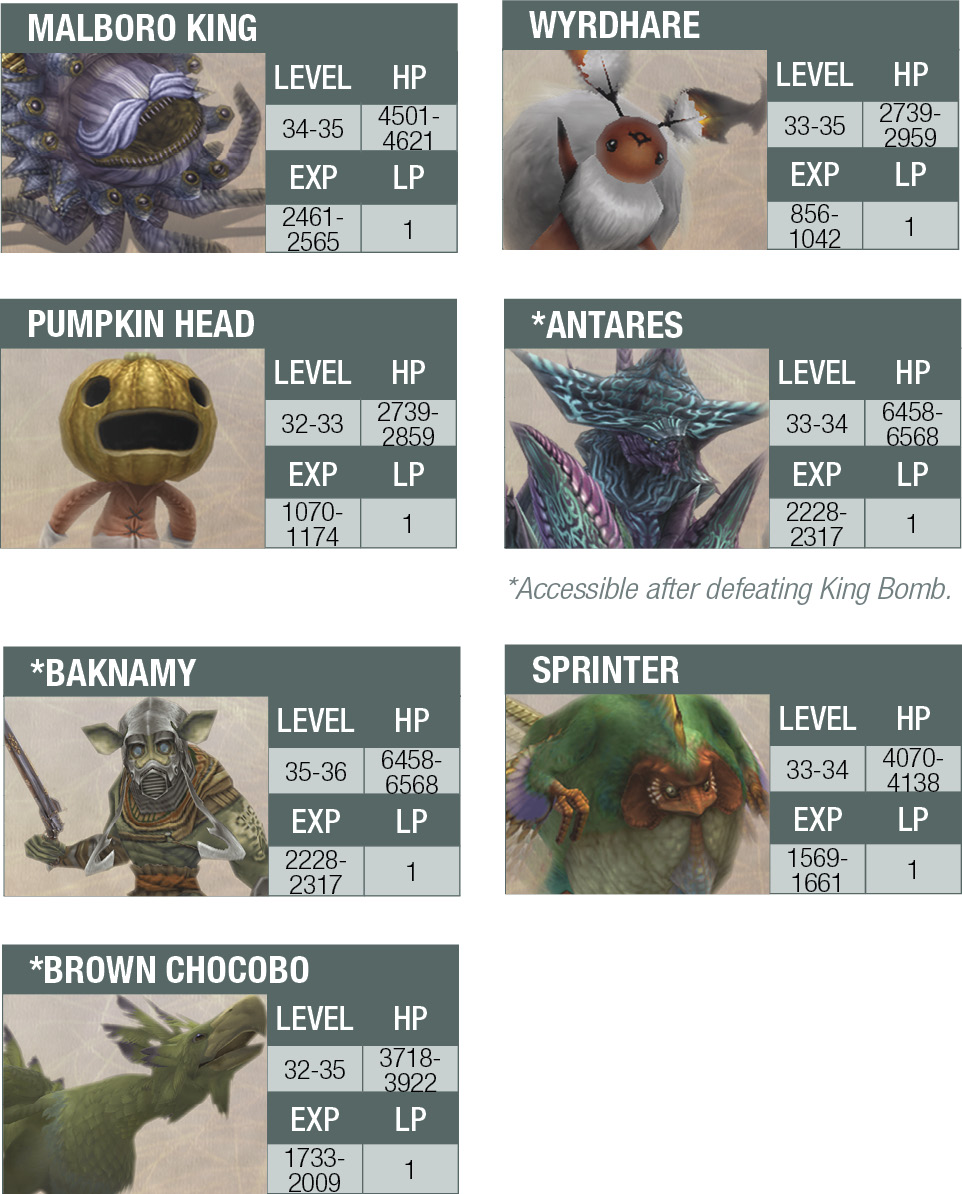
There are lots of Pumpkin Heads everywhere, which makes for good Battle Chains. They’re tougher than they look, though, especially when they swarm their targets in groups of three or more. Head for the east exit into the next area, Living Chasm.
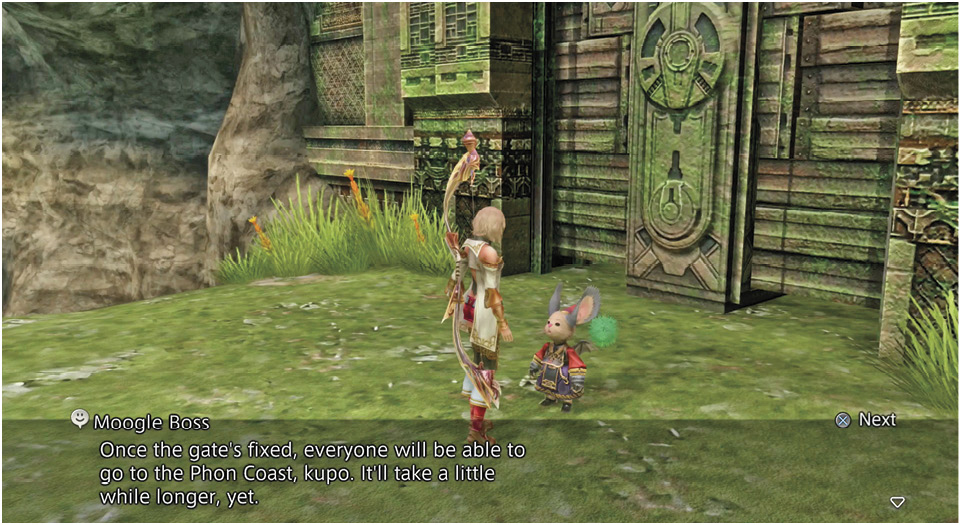
While in Living Chasm, you can see the huge gate in the cliff wall up ahead. Approach the moogle boss pacing at the gate. He explains that the gate leads to the Phon Coast. It will be open as soon as his nine moogle apprentices return from their break in the Salikawood and finish the repair work. He suggests that you look in the Salikawood bungalows scattered throughout the woods. After the conversation ends, talk to him again to get a more complete version of the story.
Round Up the Nine Moogles
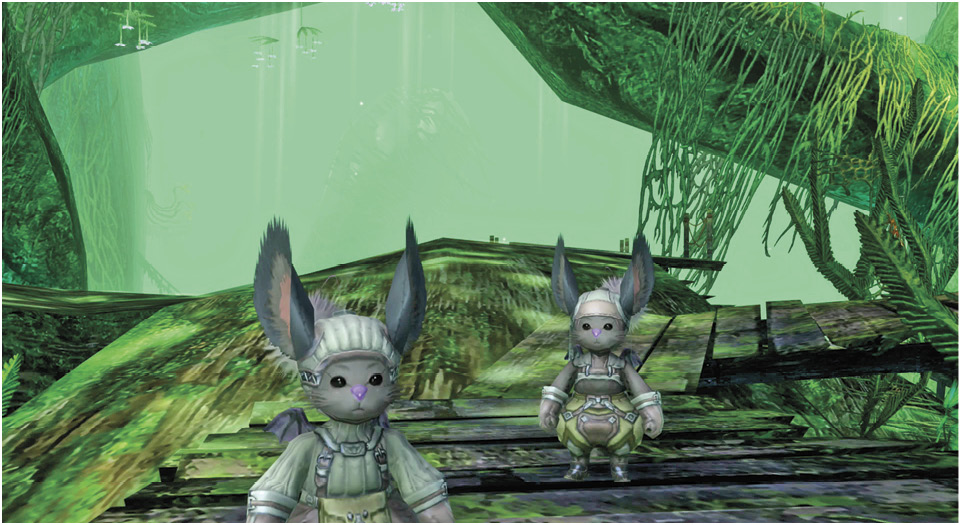
Open up the Area Map to see new flashing icons that indicate where the nine moogles are holed up. Find them and talk to them in their bungalows to get them working on the gate again. A “moogle counter” in the upper-right corner of the screen tracks the number of moogles found. Two of their bungalows are side by side, in the Garden of Decay.
When all nine moogles are back on the job, take them up on their offer to return to the gate with them. The party automatically goes to the east gate to watch the gate open. Walk through and talk to the moogle boss to get a thank-you gift: a Sash, an accessory that makes the wearer immune to Slow. Next, continue east to the Phon Coast.
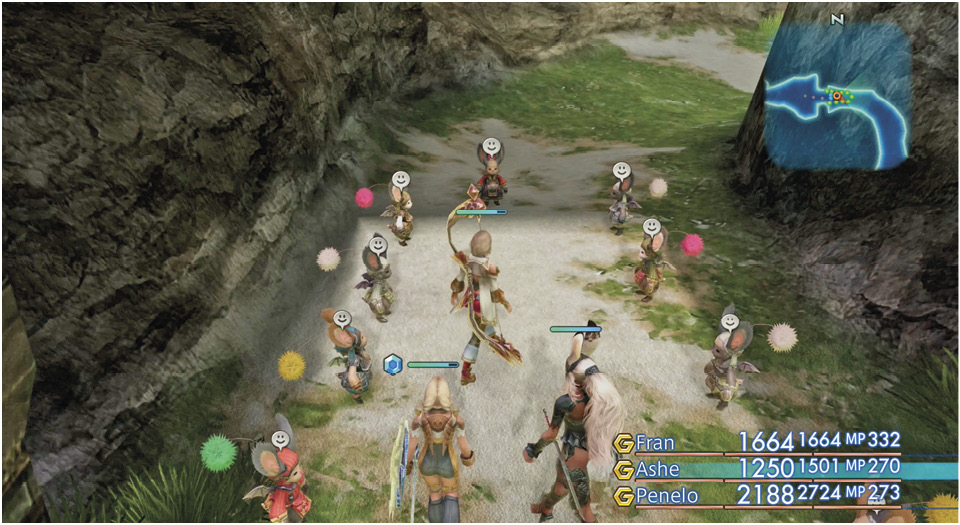
Side Quest: The Big Bomb Boss and the Necrohol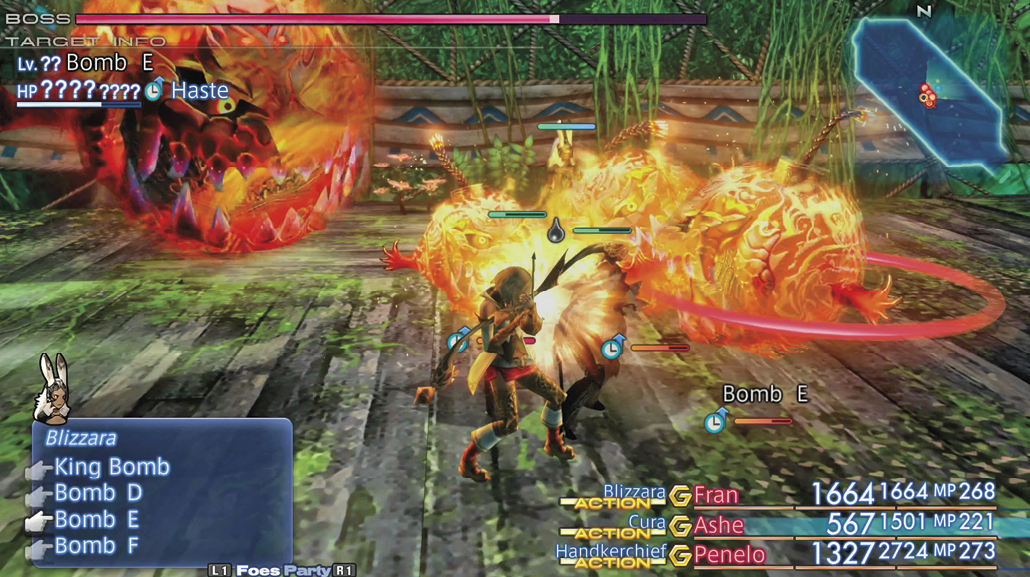
An optional boss battle awaits in the Grand Bower in the northwest part of the Salikawood. The King Bomb and three minions prowl this area. This crew may be too tough right now, but you can run away from this boss fight if you get overwhelmed. After defeating the King Bomb, you can continue to the Corridor of Ages and find Braegh, the mark in the “Rodeo to the Death” hunt. Again, check the “Side Quests” chapter for more details on these fights. There's at least no reason not to try, and if it turns out you're ready to take out King Bomb (perhaps through a couple really solid Quickening chains), then you'll also easily be able to hunt Braegh. You can also use the zone exit here right next to the King Bomb to allow repeated Steal attempts against the boss. You can also build up large battle chains on the minions King Bomb summons, as long as you don't touch the Save Crystal just outside the area. If you continue northwest from the Salikawood, you will enter the Necrohol of Nabudis. This is quite a grim area with very tough enemies. 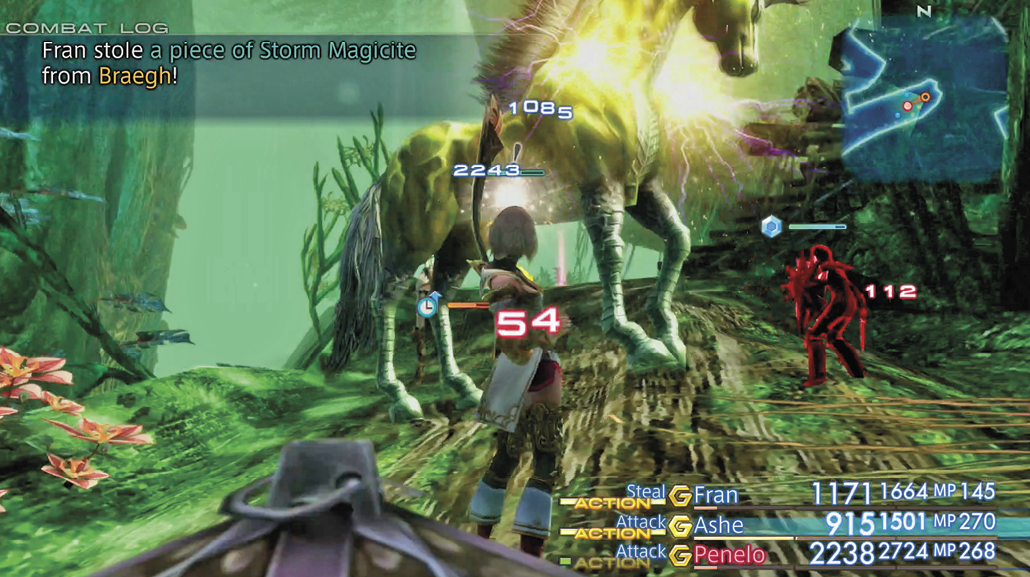
|